Monthly Archives: April 2014

Splicing

Line splicing is an age old method of joining 2 lines or making an eye at the end of a line. Double braid 12-stand eye splicing involves separating the core from the cover and following a 10-step procedure. The only tools needed to make an eye splice are a fid (appropriately sized for the line), pusher-rod, marlin spike, and a needle and waxed thread for lock stitching the final splice. Lines on Apropos that have eye spices are used for halyards, topping lifts, lazy jacks, and dock lines. Below are pictures of the splicing procedure for a 5/16″ double braid line used for a topping lift.

20140420-100222.jpg

20140420-100240.jpg

20140420-100250.jpg

20140420-100341.jpg

20140420-100353.jpg

Share

Metal Polishing

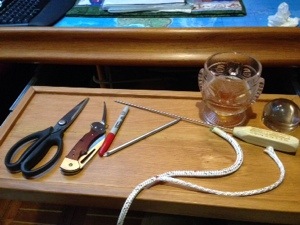
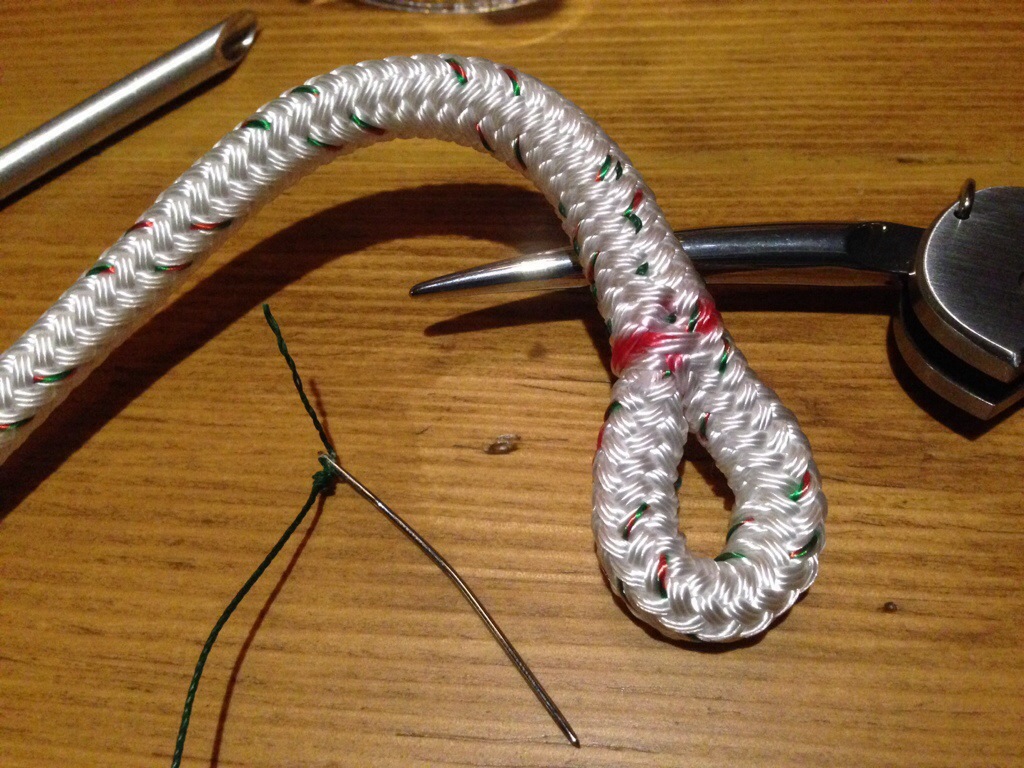
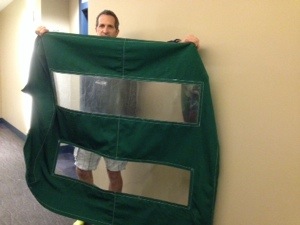
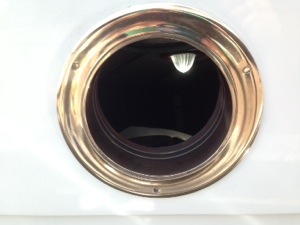
Apropos has a lot of bronze and brass parts. The binnacle, 14 opening ports, sampson post caps, and cowl vent plates to name a few. When I bought the boat, EVERYTHING was polished, even the bronze traveller, cowl vent caps, horn cleats, and the rings around the deck prisms. Over the past 10 years I have kept the ports and binnacle polished. The thing about brass/bronze metals, is they begin tarnishing the second you finish polishing. During the summer, I found they stay shiny for a week or two. Any rain speeds up the tarnishing 10x. Salt water causes the metal to go from shiny to dull and green in a few hours. In the spring, when I remove the full boat cover, it would take me about 15 minutes per port, or a couple of hours to polish all the port rings to get them back to shiny. After that and throughout the summer, it would only take about 5 minutes per port. The more often you do it, the less time it takes to remove the tarnish. Over the years I experimented with different polishing products. What I found works best is Flitz Polishing Compound. I apply it by hand using rubber gloves and work it into the metal, then I use a nylon scrub pad to speed up the removal of tarnish (every year or so my mom makes these pads for me, they are the best–thanks mom!). After about 9 years of doing this, I discovered a product called ProtectaClear (www.protectaclear.com) by Everbright that claims to seal and stop the metal from oxidizing and tarnishing. I was skeptical at first, but another Hans Christian owner said it works well for interior and exterior parts. So last fall I decided to apply it to a few exterior brass and bronze parts to see how it would do over the winter. I polished and then applied 2 coats to the 12″ port in the cockpit which is bronze, the top part of the binnacle (brass), and the top of the samson post (brass). 7 months later they are all still shiny. I’ve since applied ProtectaClear to all the remaining ports as well as some interior parts such as the bronze sink faucet, a brass ships bell, and a brass trawler lamp. It also works on other metals such as aluminum and stainless steel. When I refinished a teak/aluminum dinghy engine mount, I removed the chipped paint from the aluminum, polished it, and applied 2 coats of ProtectaClear. Another good thing about ProtectaClear is that it’s self annealing, so you can apply a 2nd coat after the 1st coat dries in about an hour.
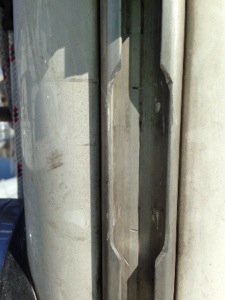
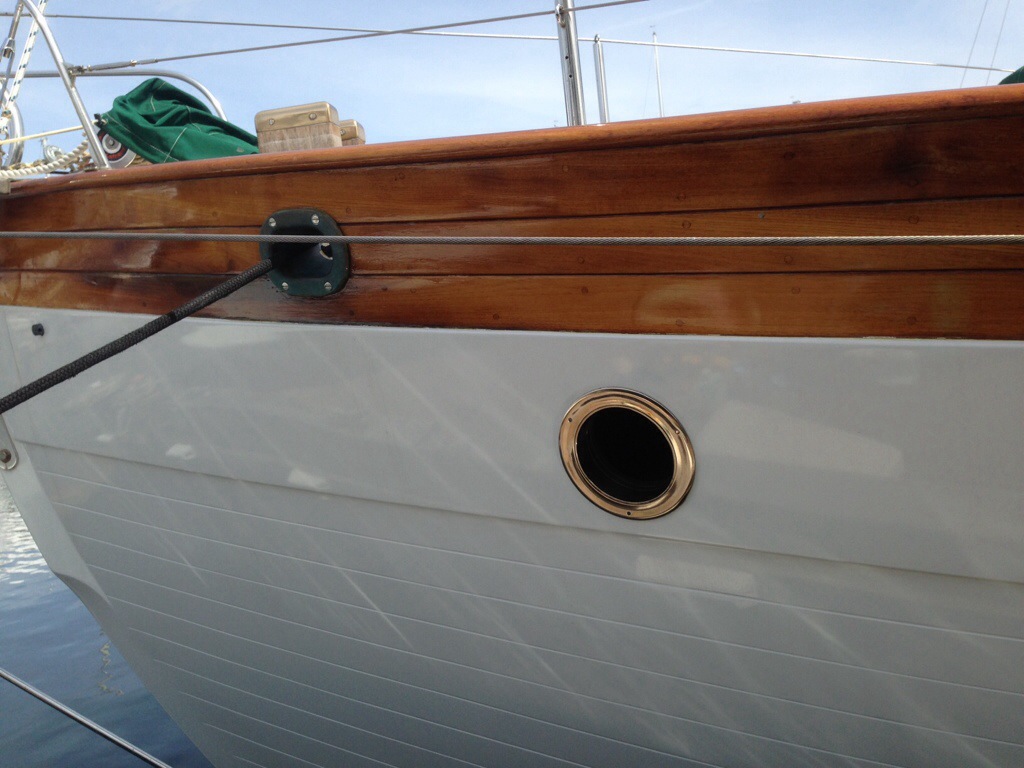
Shown below are before and after pictures of a bow port. This is 1 of 2 ports that I didn’t polish regularly because they are harder to reach and they constantly get wet when sailing (sometimes they are underwater when the boat heals over). So it took about 2 hours to remove years of tarnish using Flitz compound on a polishing ball connected to a drill. These 2 ports will be a good test to see how well and how long ProtectaClear works.

20140420-004859.jpg

20140420-005011.jpg

20140420-005042.jpg

Share

Running Rigging and Lazy Jacks

Running Rigging–After 10 years, the running rigging on Apropos was looking tired. I replaced the main halyard, mizzen halyard, drifter halyard, main and mizzen topping lifts, and jib halyard. I also added halyard clutches on both masts for line control.
Still to go are the jib sheets, stays’l sheets, and main sheet.

Lazy Jacks–Lazy Jacks help with lowering sails and are invaluable for short-handed crew. The lazy jacks keep the stack from falling all over the deck when flaking is not possible due to emergency situations or when sails need to be lowered quickly. I made my own lazy jacks after reading several articles from sailing magazines. I first made them for the mainsail, then copied the design with minor changes for the mizzen. Both designs use spreader mounted blocks, mast-mounted Spinlock cam cleats, 3/16″ AmSteel-grey line, stainless steel rings and eyestraps. The main was fitted with a 4-leg system and the mizzen a 3-leg system. They are easily deployed and stow against the mast when not in use. The AmSteel line and splicing to the ss rings minimize sail chafe.

Share

Track and Slide System

The new mainsail is being fitted with new slides made from 316 stainless that fit into a UHMW track (ultra-high molecular weight which is very strong and abrasion resistant) that slides into the original mast luff groove. This system by Tides Marine lowers the friction and makes it easier to raise and lower the mainsail. I installed the one-piece track by first cutting a new slot in the aluminum mast groove using a dremel tool with cutting discs. Next, the new track, which came in a big roll, was fed into the slot and slid all the way to the top of the mast. I had to remove the boom so there would be no angle when feeding the track up. This was an easy project that took about 3 hours.

New slot cut into mast groove>20140407-234603.jpg

Feeding new track up mast20140407-234736.jpg

New track in place20140407-234830.jpg

Share

Canvas and Dodger Windows

Canvas–I washed and treated all the boat Sunbrella canvas. I have a ton of canvas–a full boat cover, 2 boom sail covers, a dodger, 2 deck box covers, helm seat cover, binnacle cover, 2 winch covers, 4 grab rail covers, 2 hatch covers, 2 stantion covers, and a BBQ cover. Most of the canvas is 10 years old but in pretty good shape, so they’re worth taking care of. The wash was done using Simple Green diluted to a medium strength and just a small amount of clorox cleanup. A light scrub with a stiff bristle brush helped remove some of the dirt and mildew. After rinsing and letting them dry well in the sun, I sprayed a waterproofing material on them using a small pump type garden sprayer. I used a product by Gold Eagle called 303 Fabric Guard that was given a best rating by Practical Sailor magazine and is endorsed by Sunbrella. It’s not cheap at $75/gal (and I went through 4 gallons!), but the results turned out great. After years in the Seattle rain, the canvas wasn’t repelling water like when it was new. Now the water beads up and runs right off. I’ll have to see how long it stays that way and decide how ofter to repeat the treatment. Shown below are photos of untreated canvas (top) and treated canvas (bottom) that were sprayed with water.

Untreated Canvas20140402-135856.jpg

Treated Canvas20140402-135911.jpg

Dodger Windows–The dodger was brand new when I bought the boat 10 years ago and is still in good shape. But the vinyl windows have become scratched and are not nearly as clear as they were 10 years ago, so I decided to replace them. I used double polished 40 mil vinyl by Regalite, which is the same as the original. The procedure was to first cut the new vinyl the same shape as the old. Next remove the outside stitching and trim back the old vinyl to the inside stitching. Then sew in the new vinyl with the outside stitch. Next remove the inside stitch which will allow the old vinyl to be completely removed. Finally sew the inside stitch and you’re done. This procedure ensures the dodger will keep the same shape when all done (removing the old vinyl first would make it nearly impossible to keep the dodger shape the same). The dodger consisted of 3 large forward facing windows and 2 small side windows. This project turned out to be very time consuming but we’re pleased with the results. Here’s a picture of the old and new vinyl:
.

20140403-165017.jpg

20140407-231310.jpg
I also replaced the vinyl on the butterfly hatch cover. Here’s when it was half done showing the difference between the new (bottom) and old (top).

20140413-234741.jpg

Share