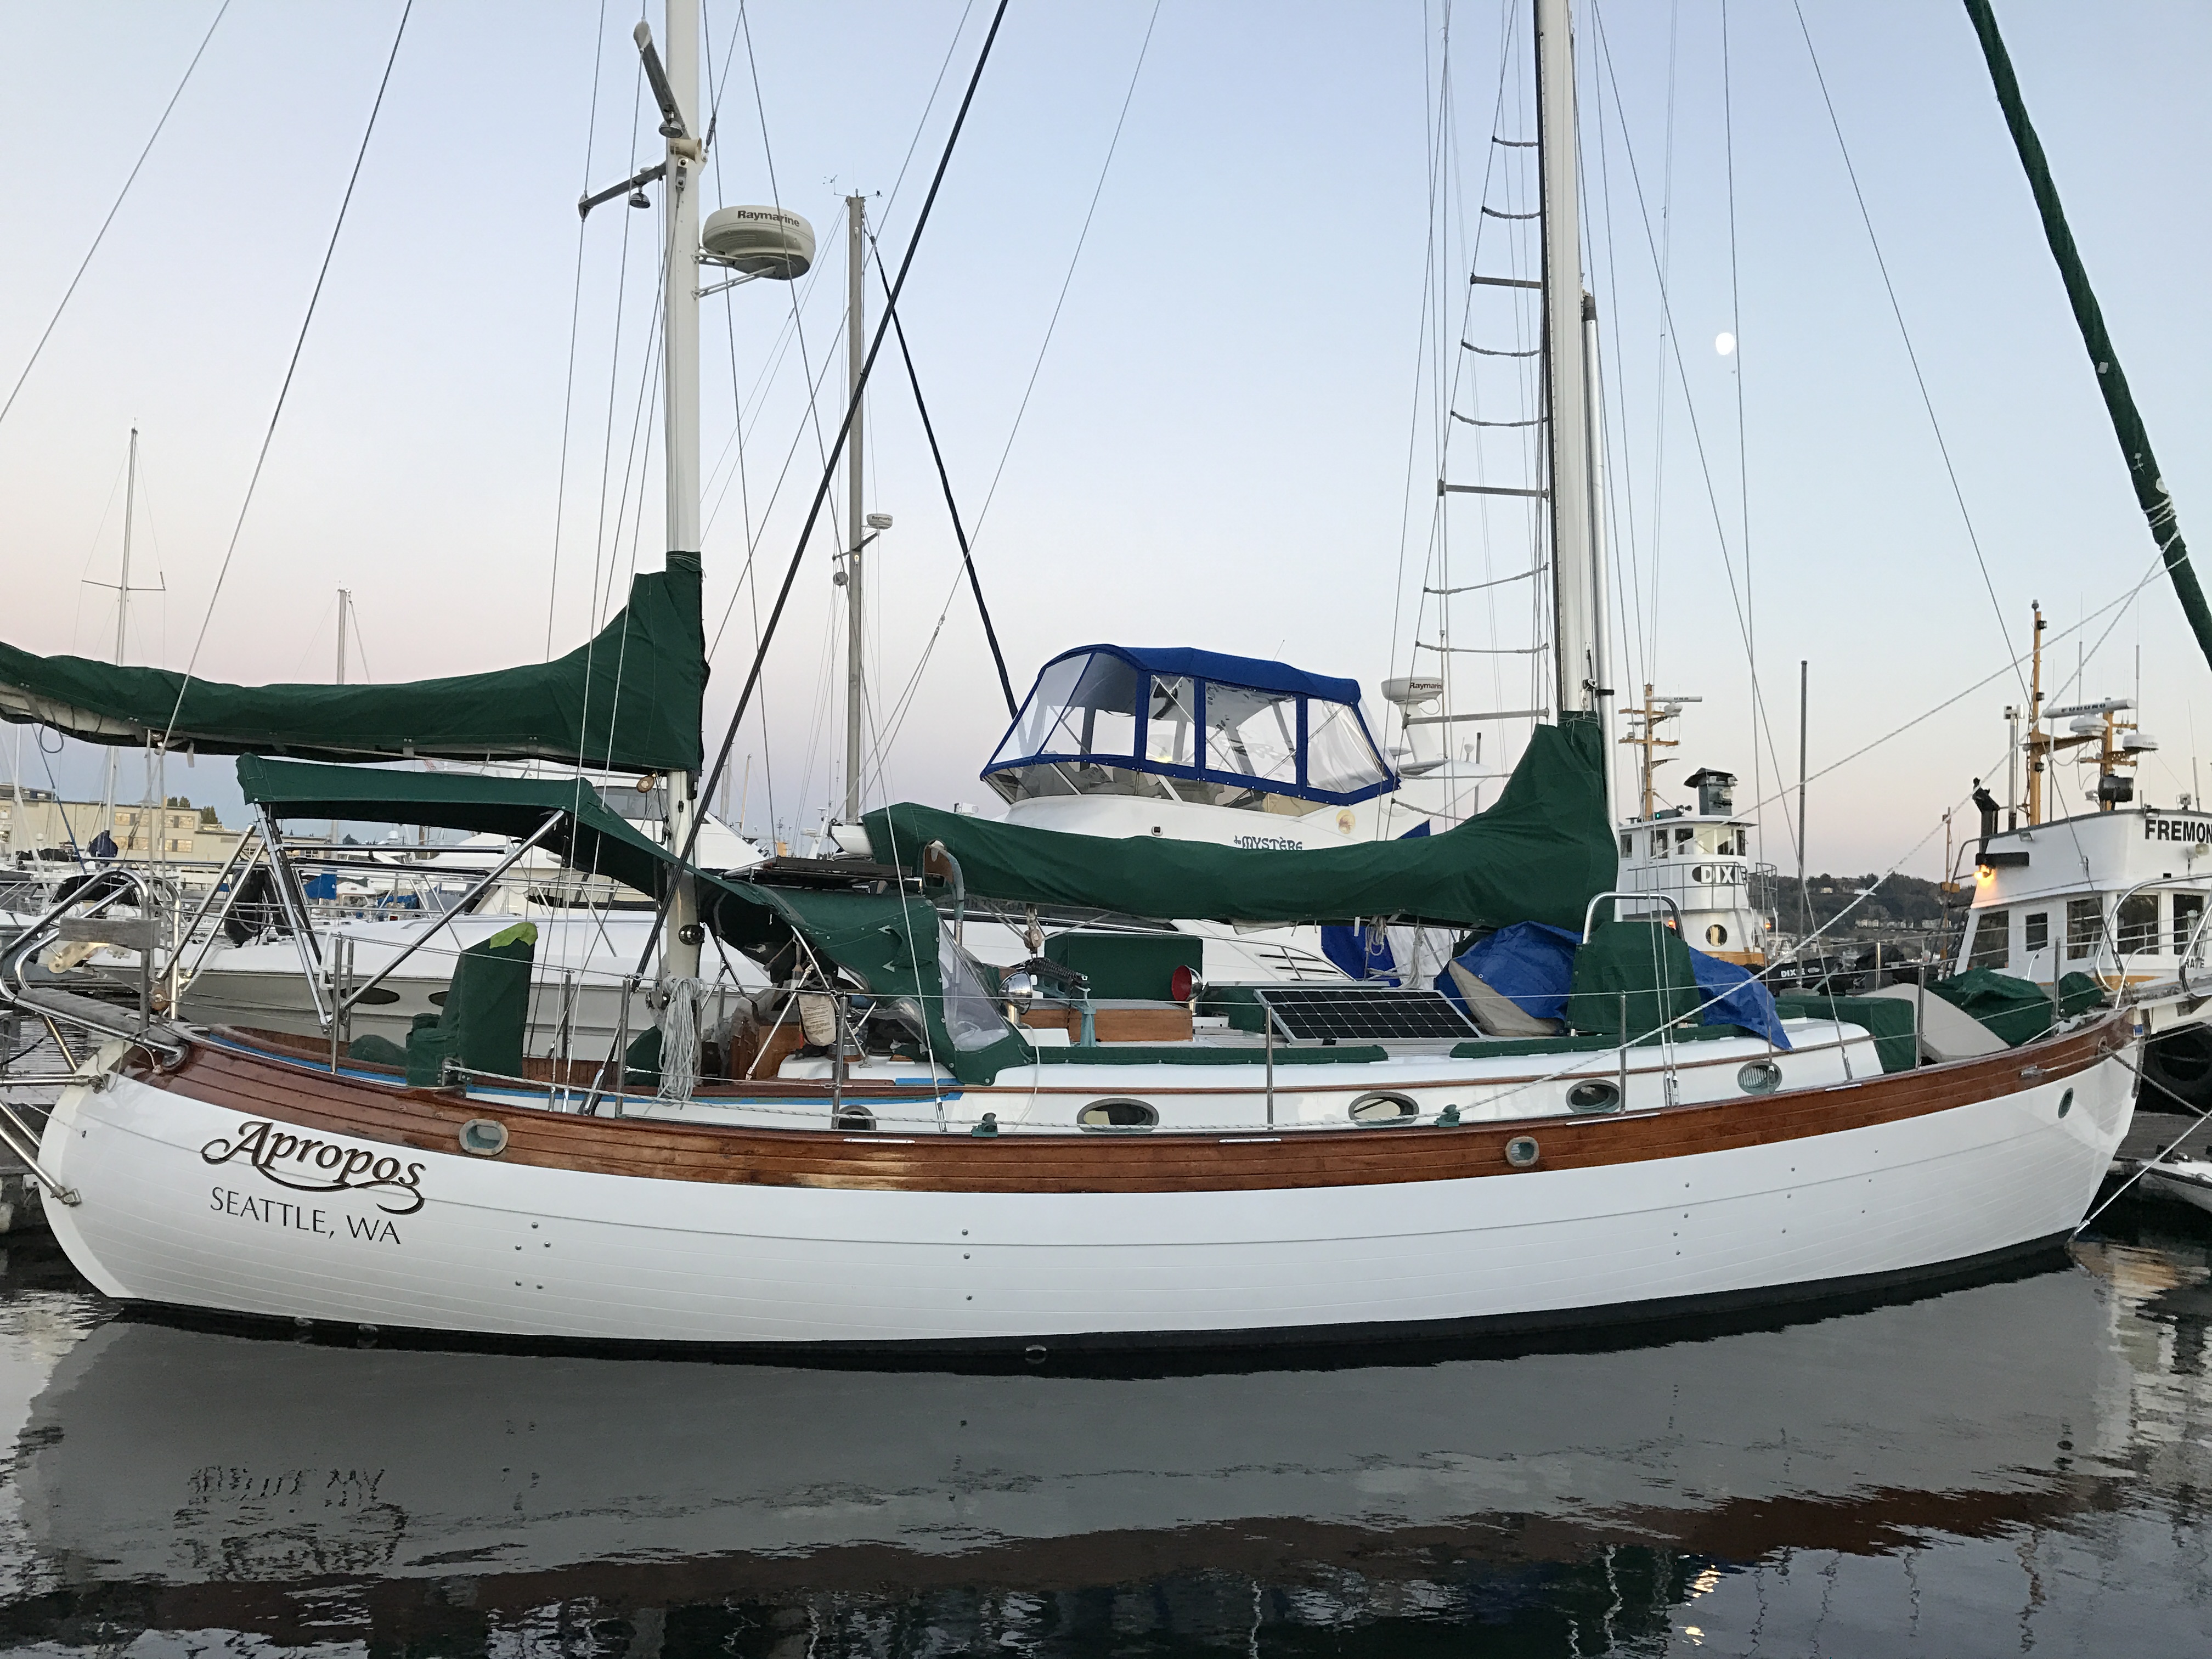
In my last post, I wrote about how bad Apropos’ teak brightwork looked and how I would have to tackle it “some day”. Well, I decided to get started on it after seeing the long-range weather forecast showing sunny conditions for most of September and into October.
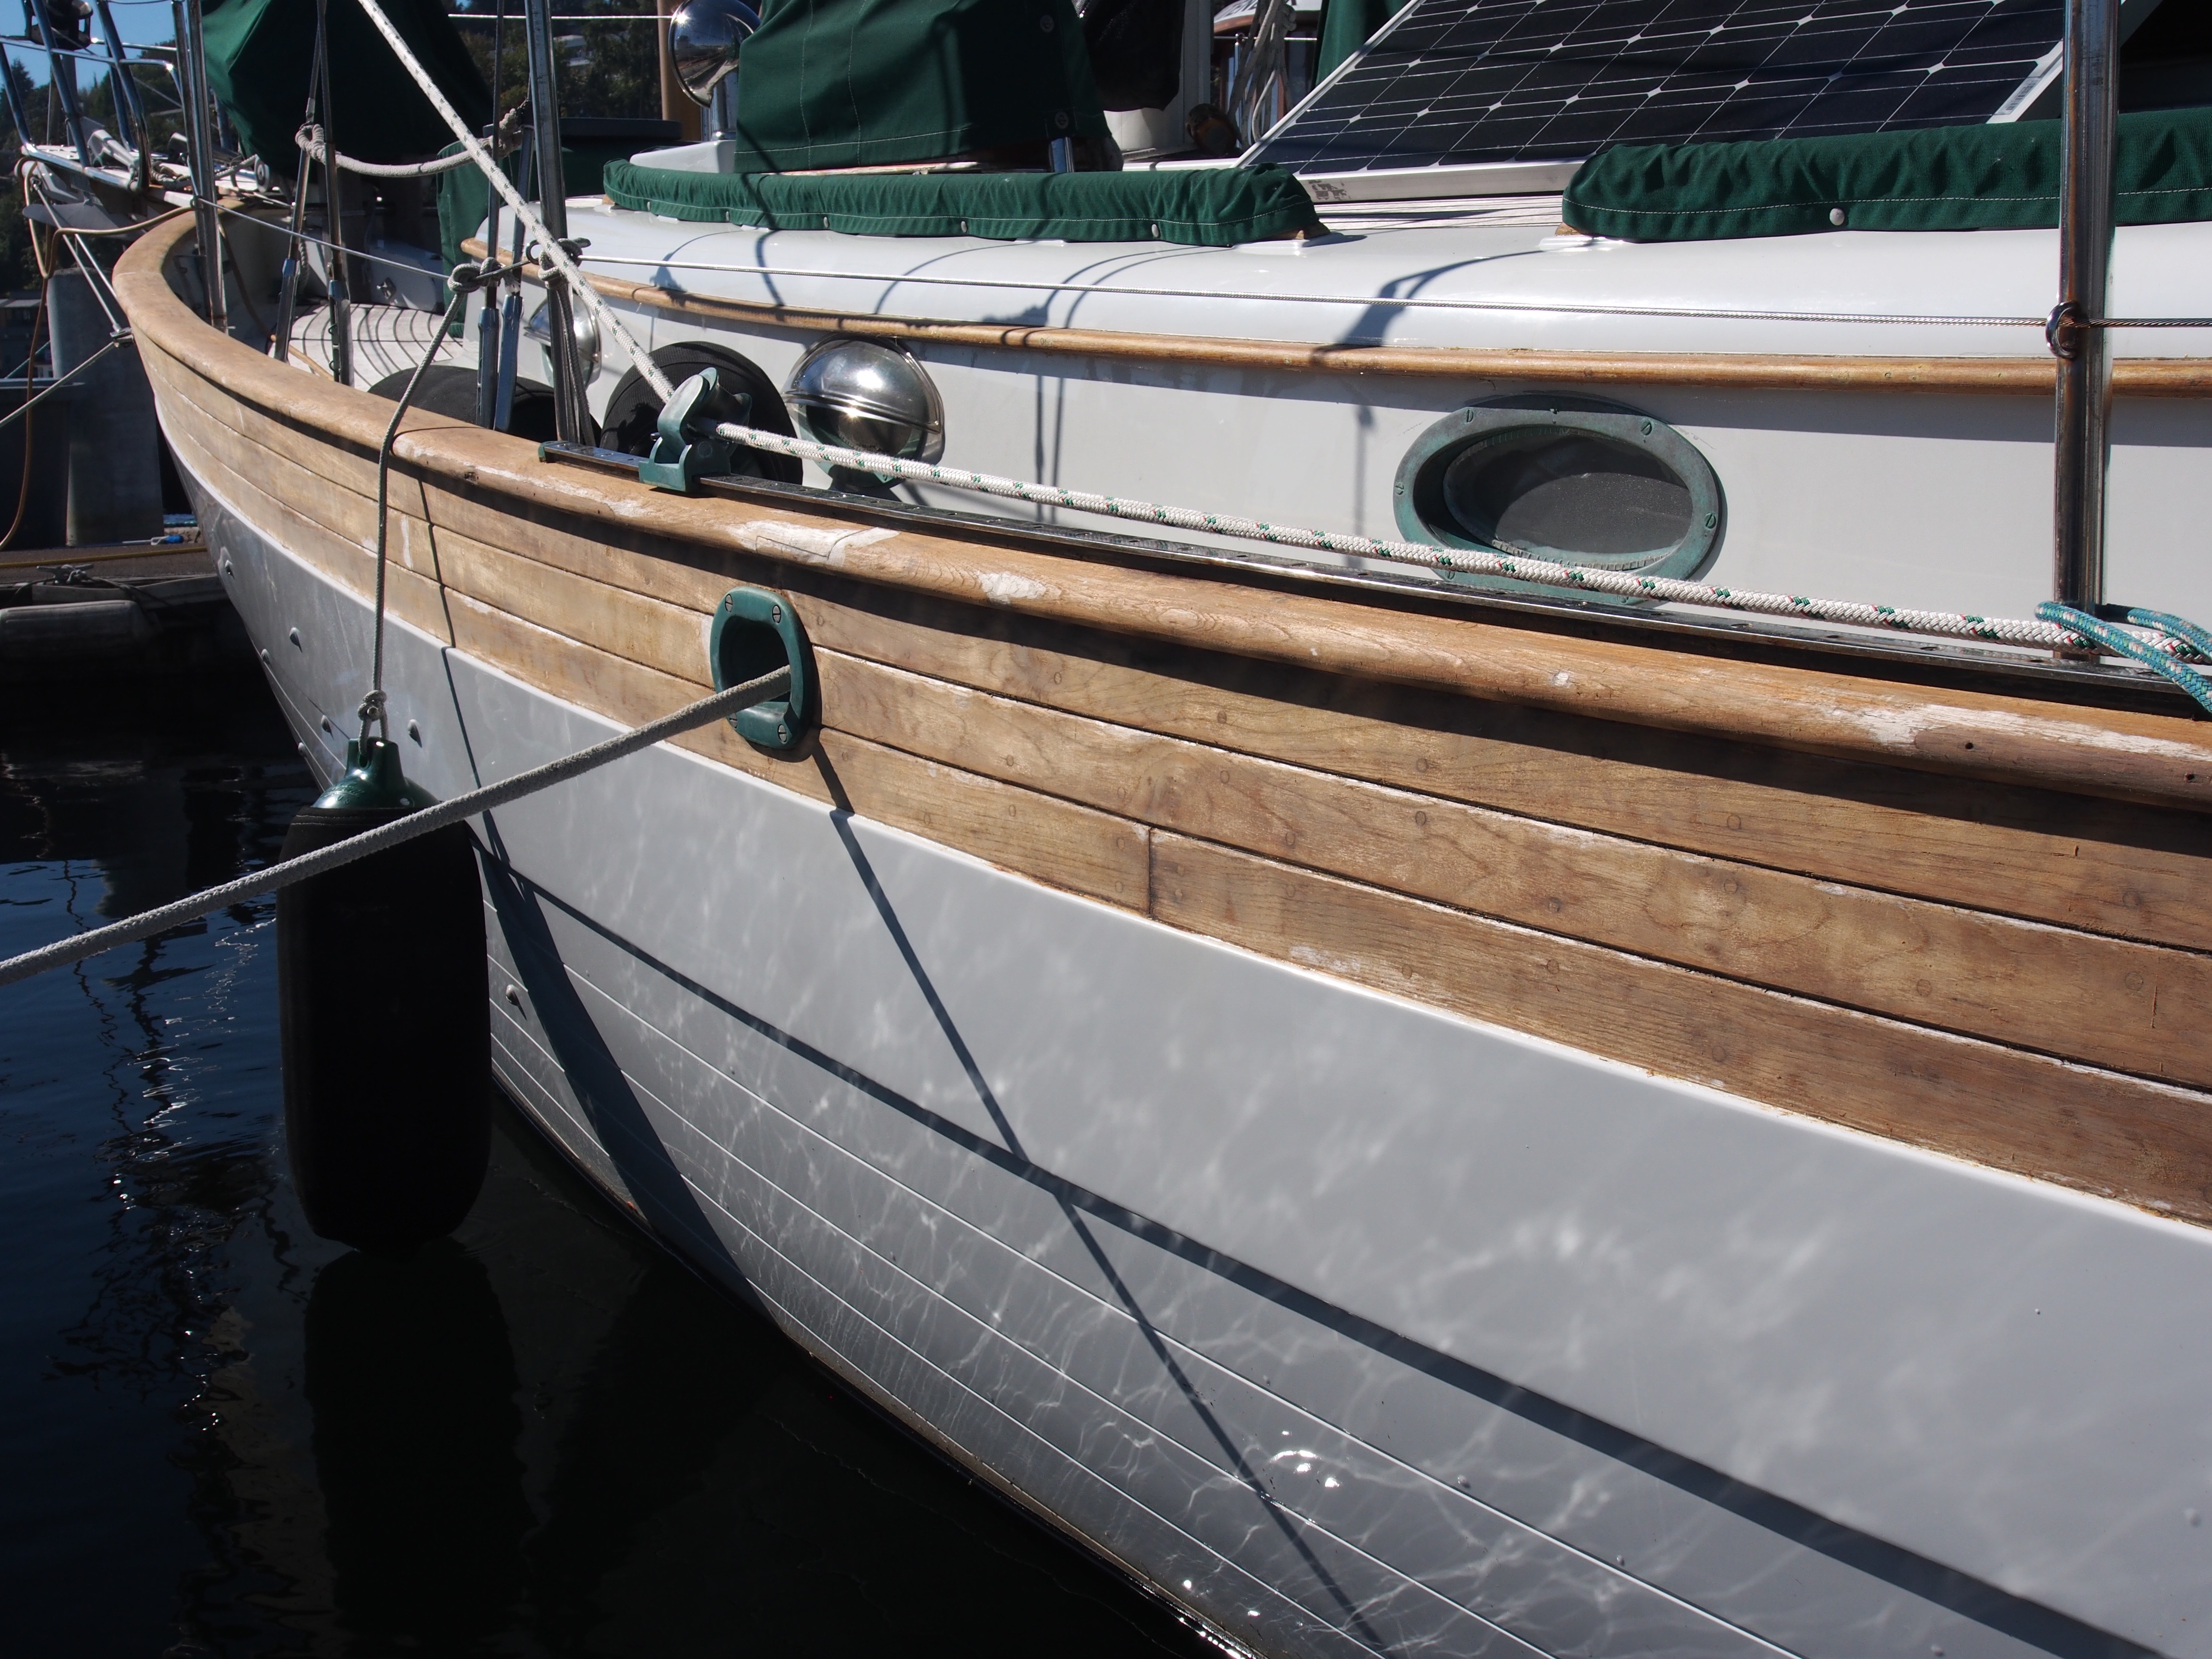
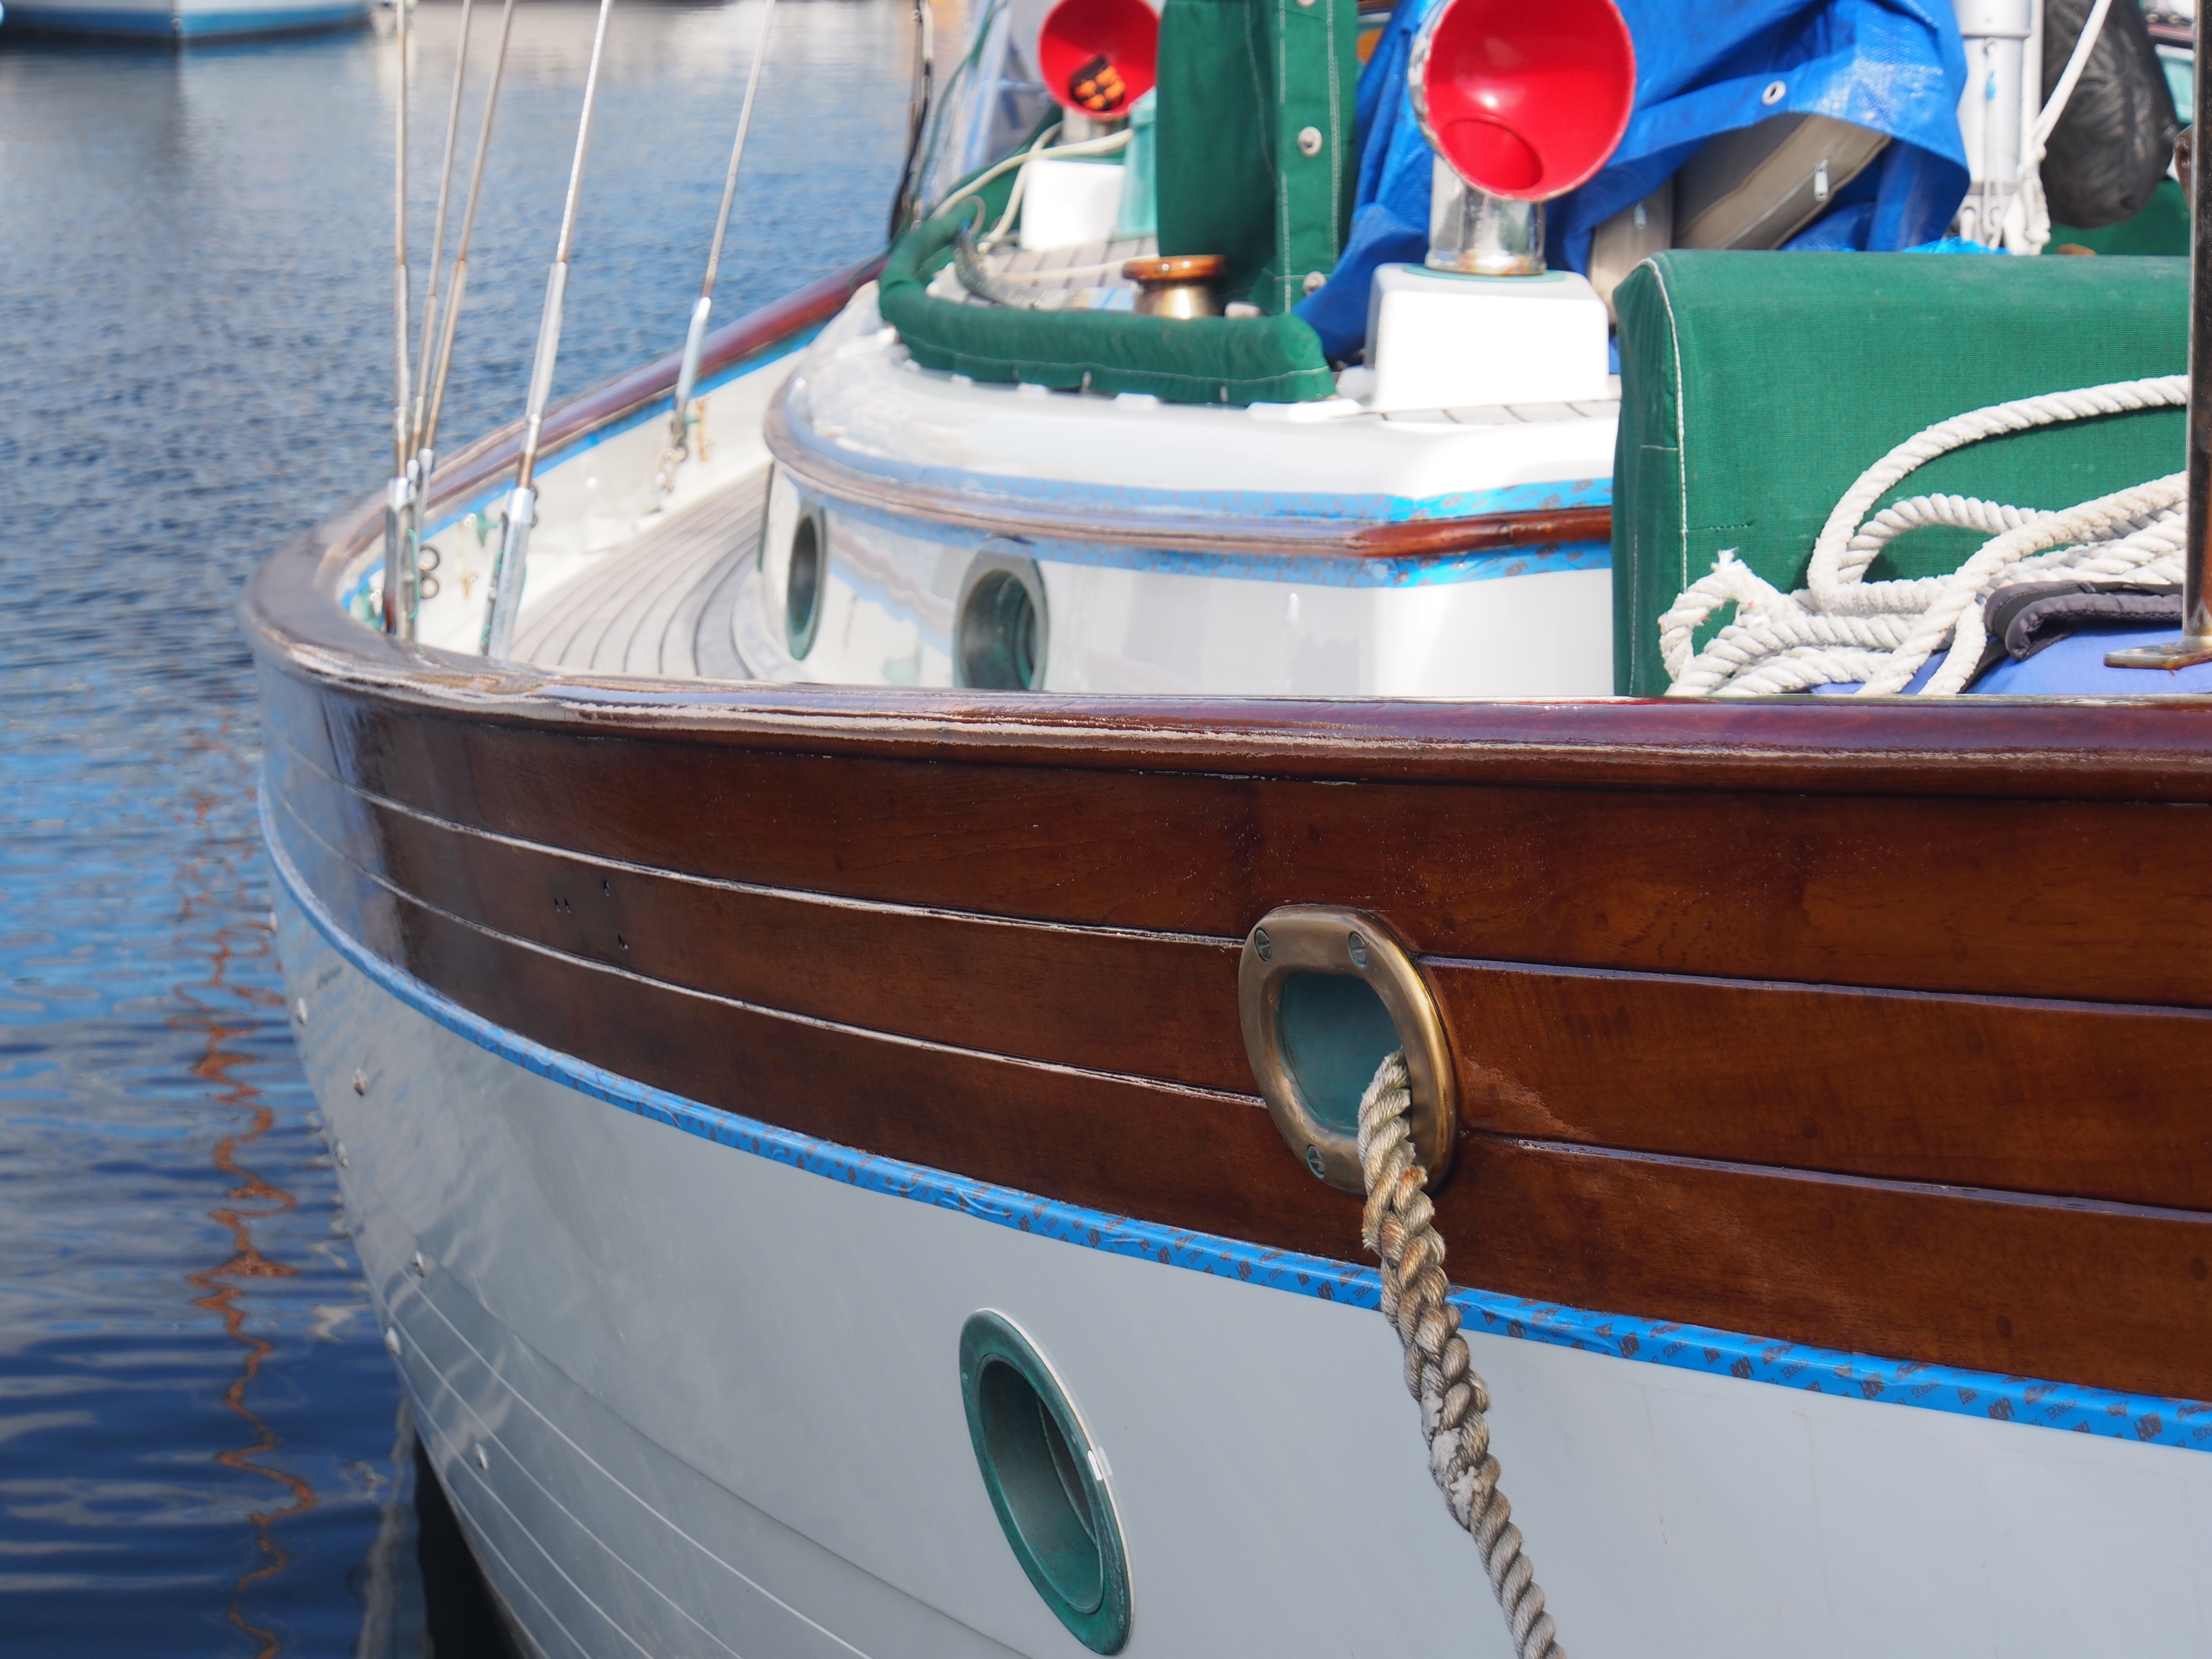
Over the previous 12 years, I applied 2 “refresher coats” to most of the exposed brightwork–cap rails, turtle/hatch, coach-roof trim, cockpit, boom gallows, etc. The brightwork that was normally covered by canvas would get refresher coats every other year–deck boxes, grab-rails, helm seat, butterfly hatch, etc. But after spending 2 years in the tropics, sitting on land for 6 months in Fiji, and sailing 16,000 nautical miles in the ocean, all of the varnish was in very poor condition. The worst were the cap rails, outer planks, cockpit, and coach-roof trim since they were exposed to UV rays most of the time. I decided to attack these first.
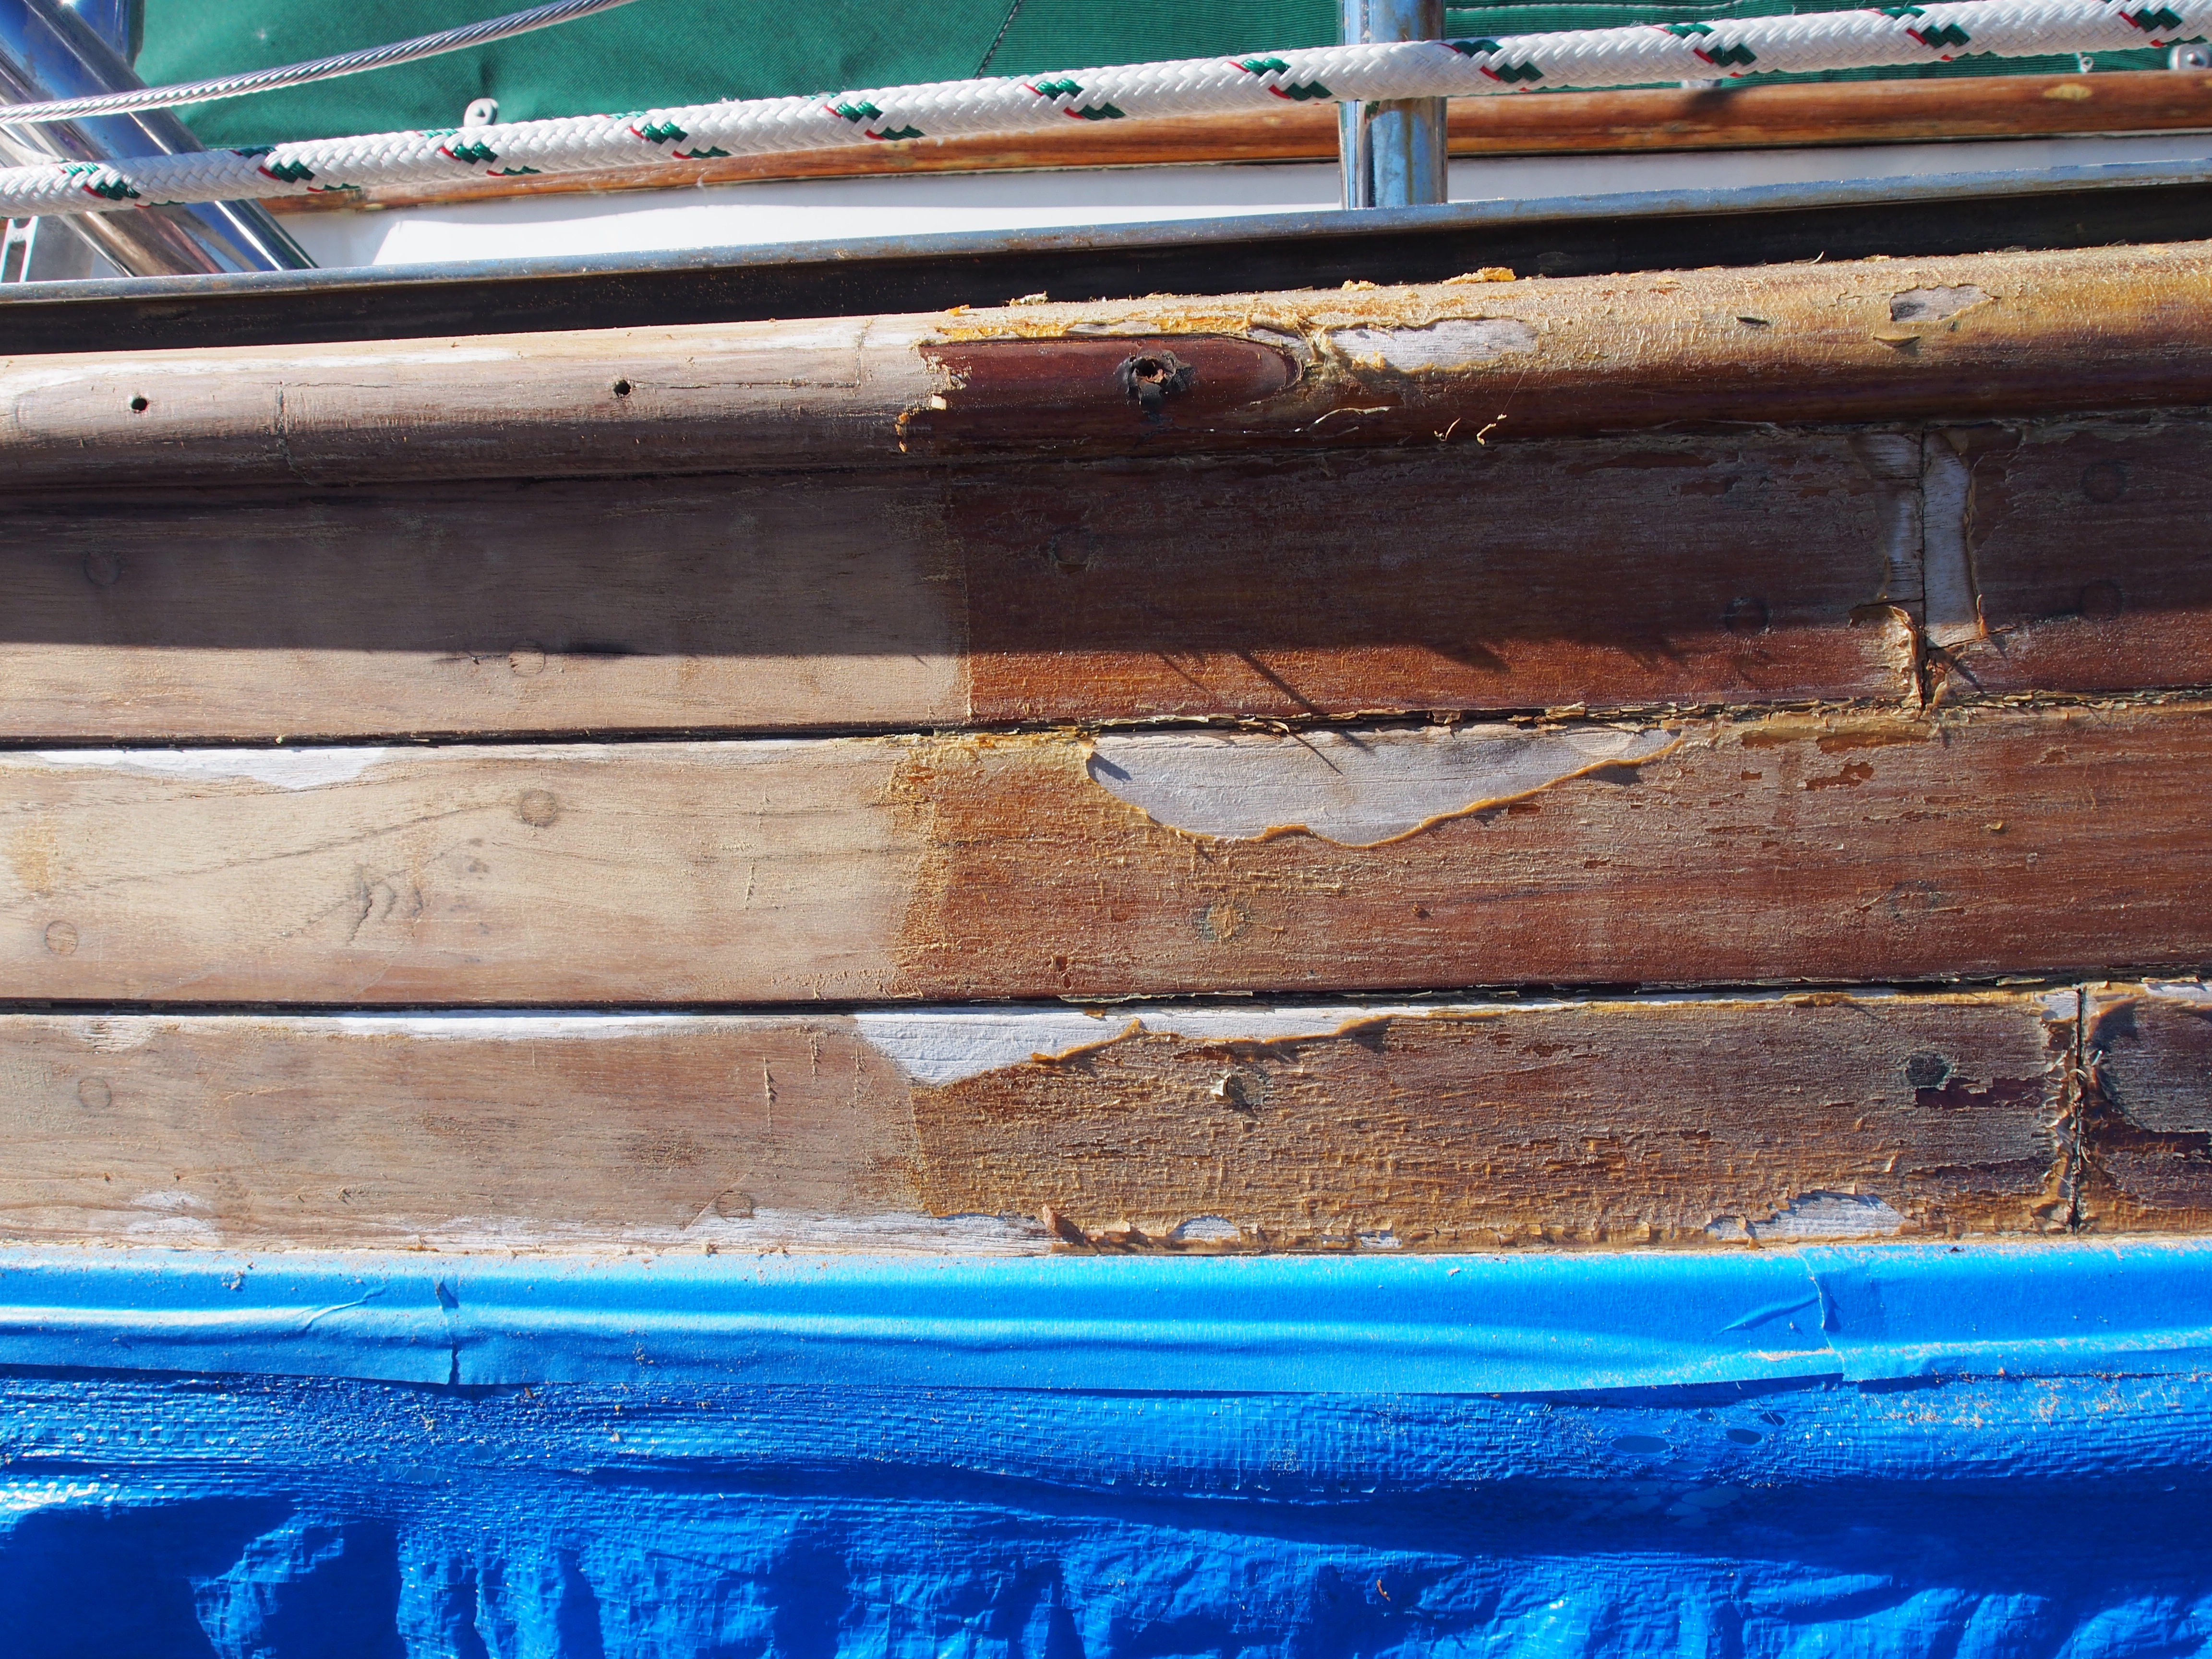
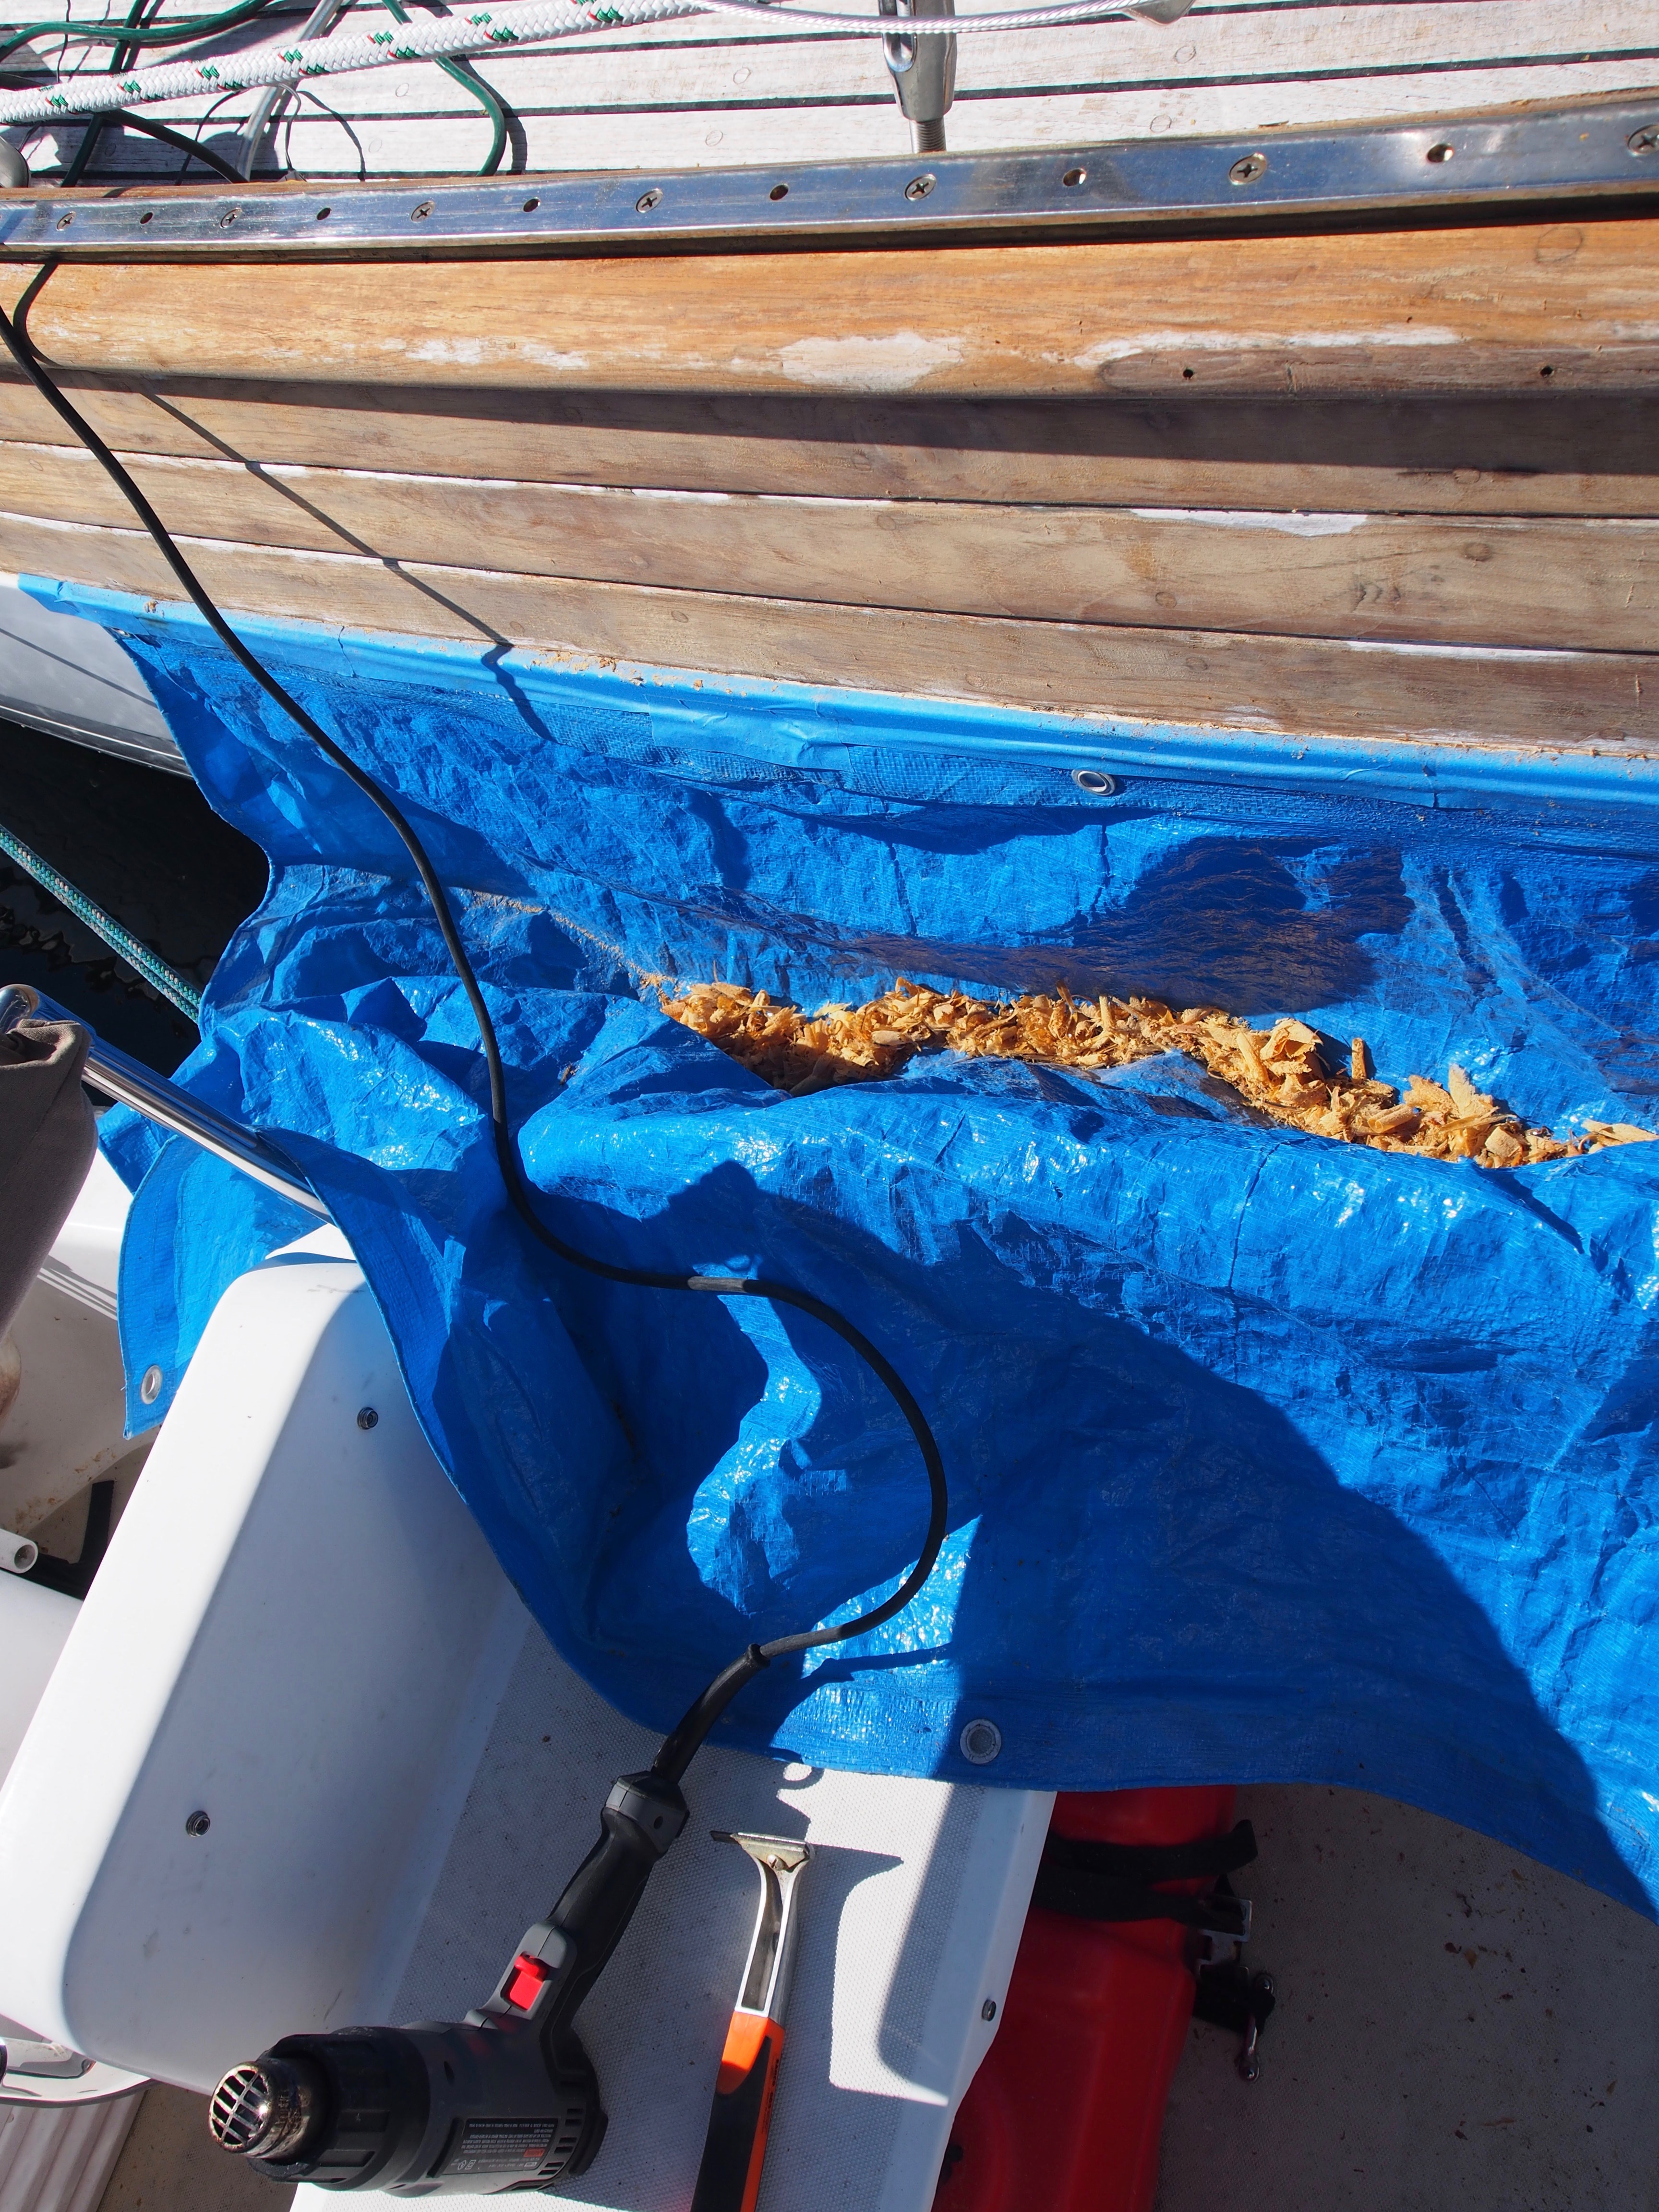
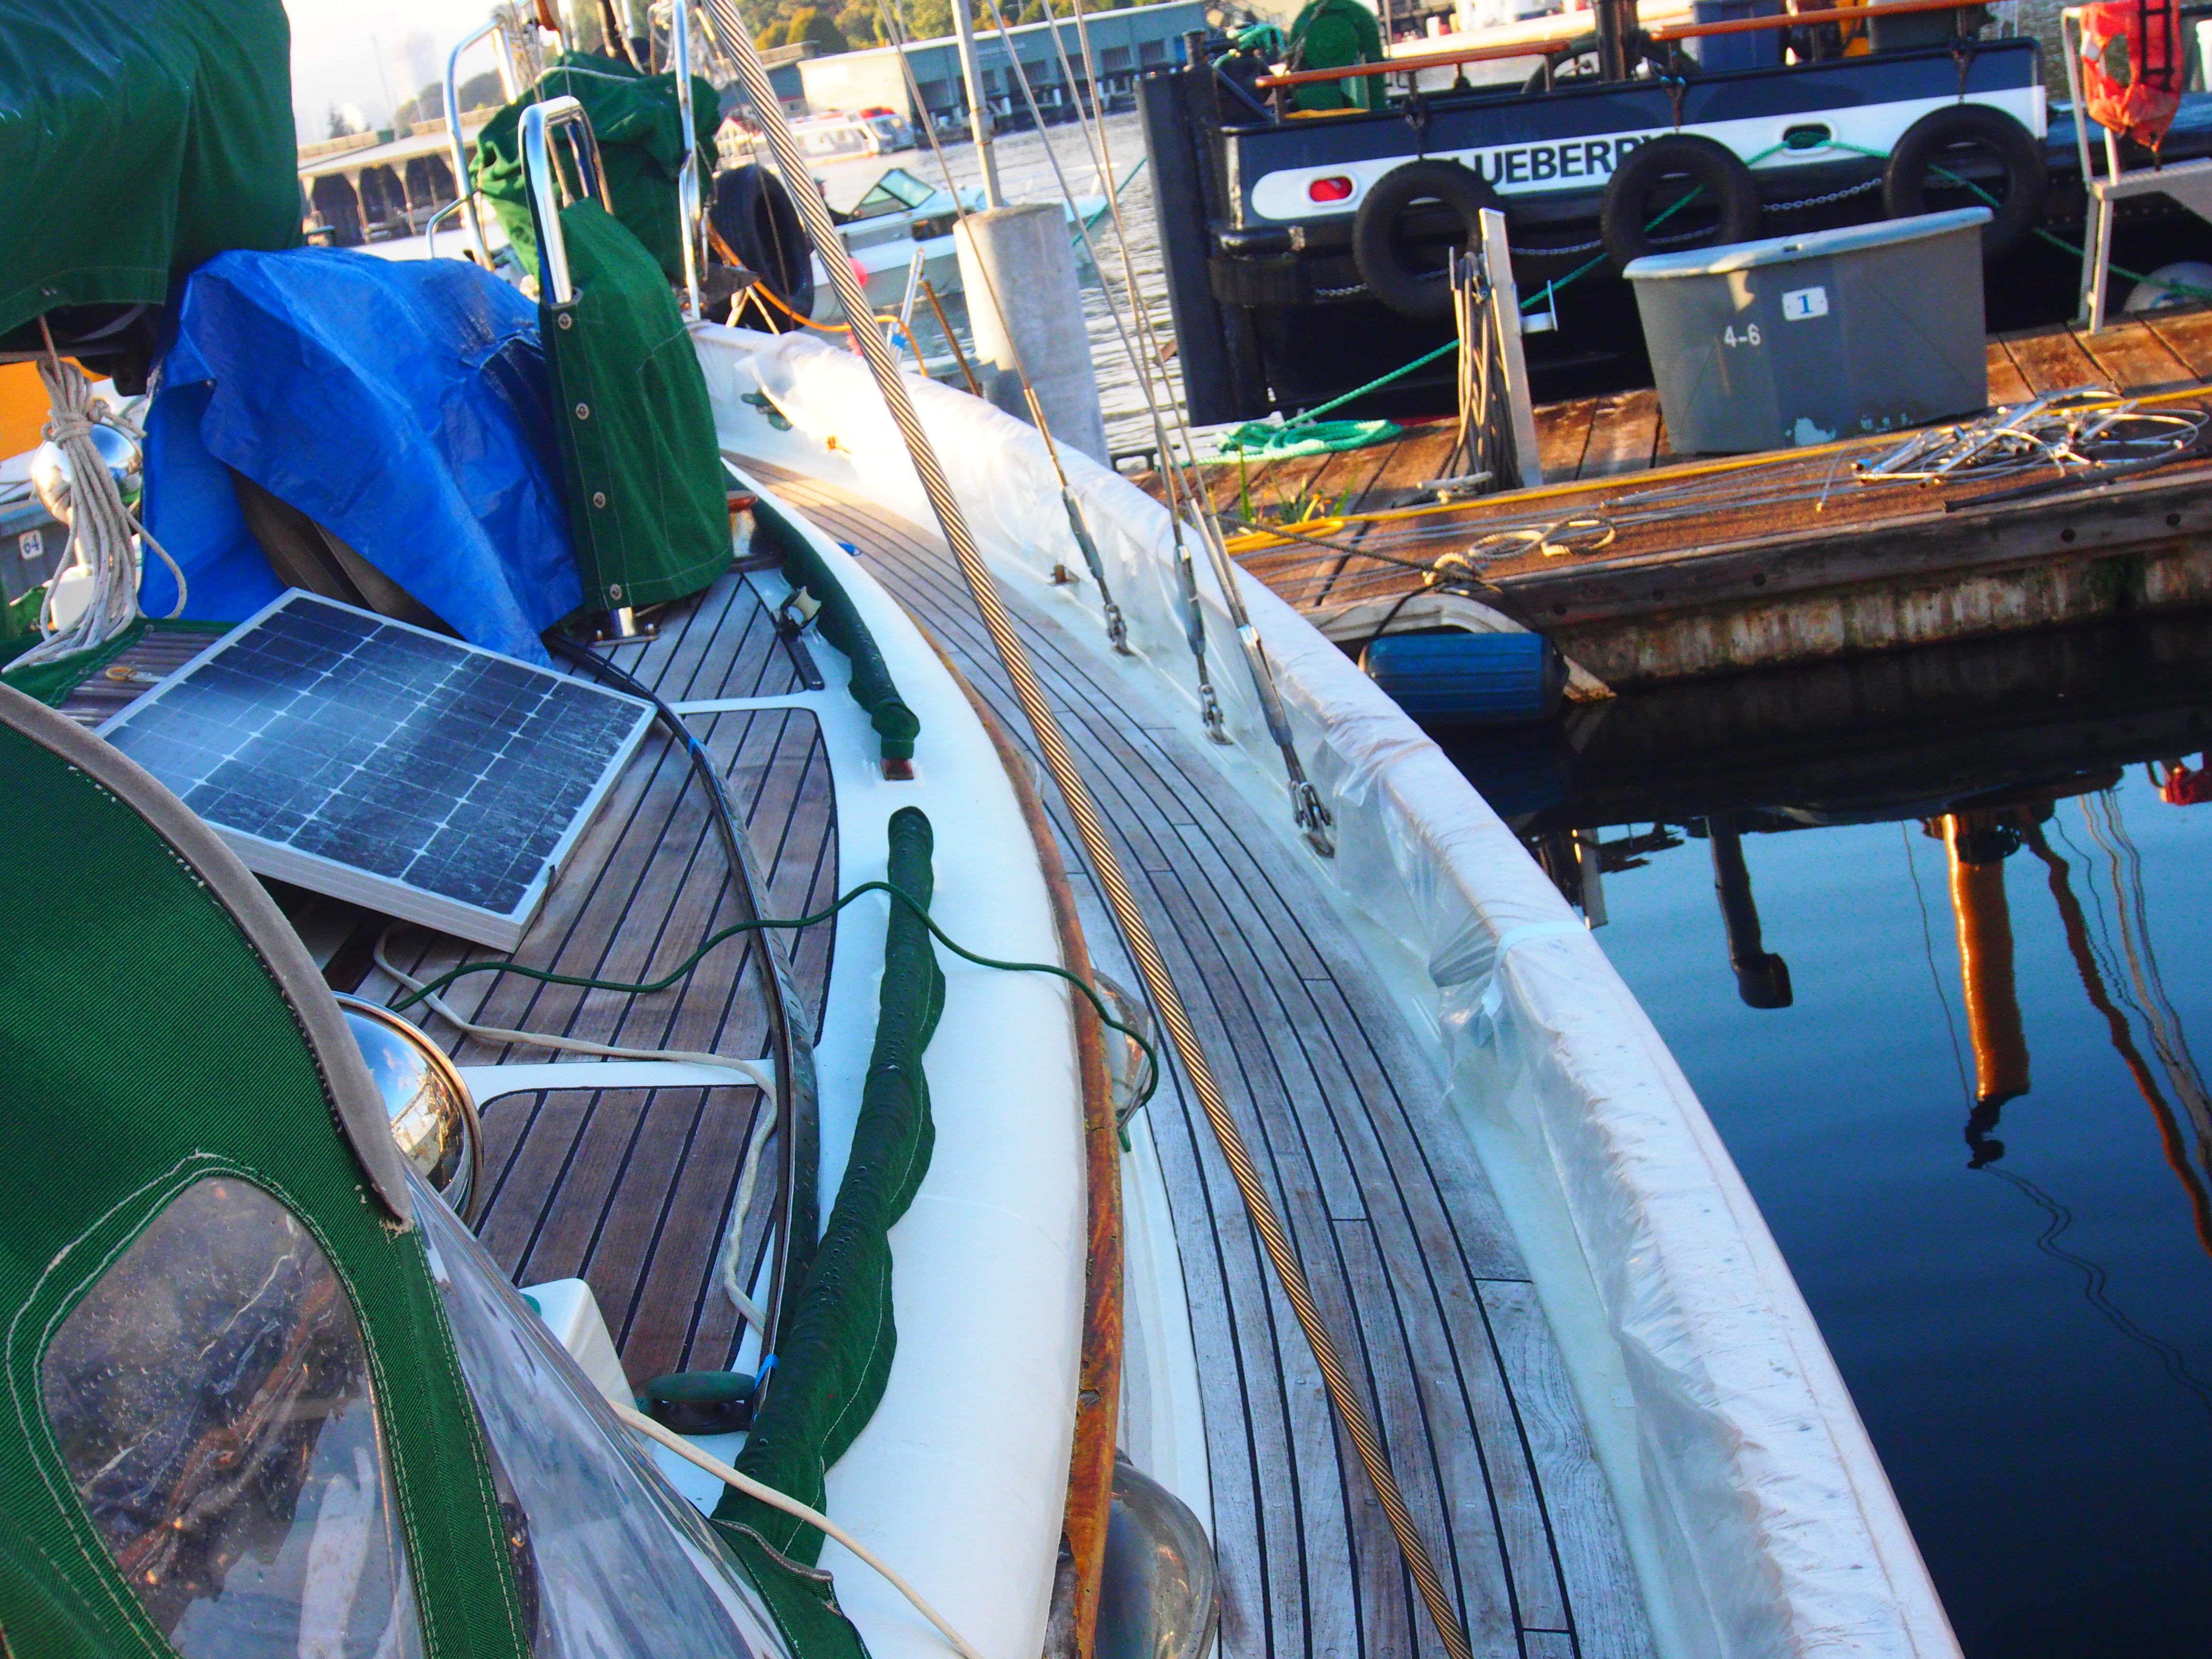
I used a heat gun and scraper to remove the old varnish. It’s time-consuming but effective, and I got better at it the more I did. When I first started, I hadn’t removed much from the boat besides small things like cleats and fender protectors. But as time went on, I realized how much easier (and how much better of a job) it would be to remove as much as possible, so I ended up removing the stanchions, lifelines, bimini, genoa tracks, whisker stays, and the stern pushpit. Even though it took over a day, it was worth it as it made the varnish removing, sanding, taping, and applying the new finish much easier and faster. Since I was working with the boat in the water, I was able to use the finger dock when working on the port side. For the starboard side, I borrowed a small Boston Whaler from a friend and used it to move along-side Apropos. I tarped below the outer planks to keep the removed varnish chips from reaching the water and vacuumed up gallons of it from the tarp. It took about a week of full-time (10-hour days) work to remove the varnish from the cap rail, outer planks, and coach-roof trim.
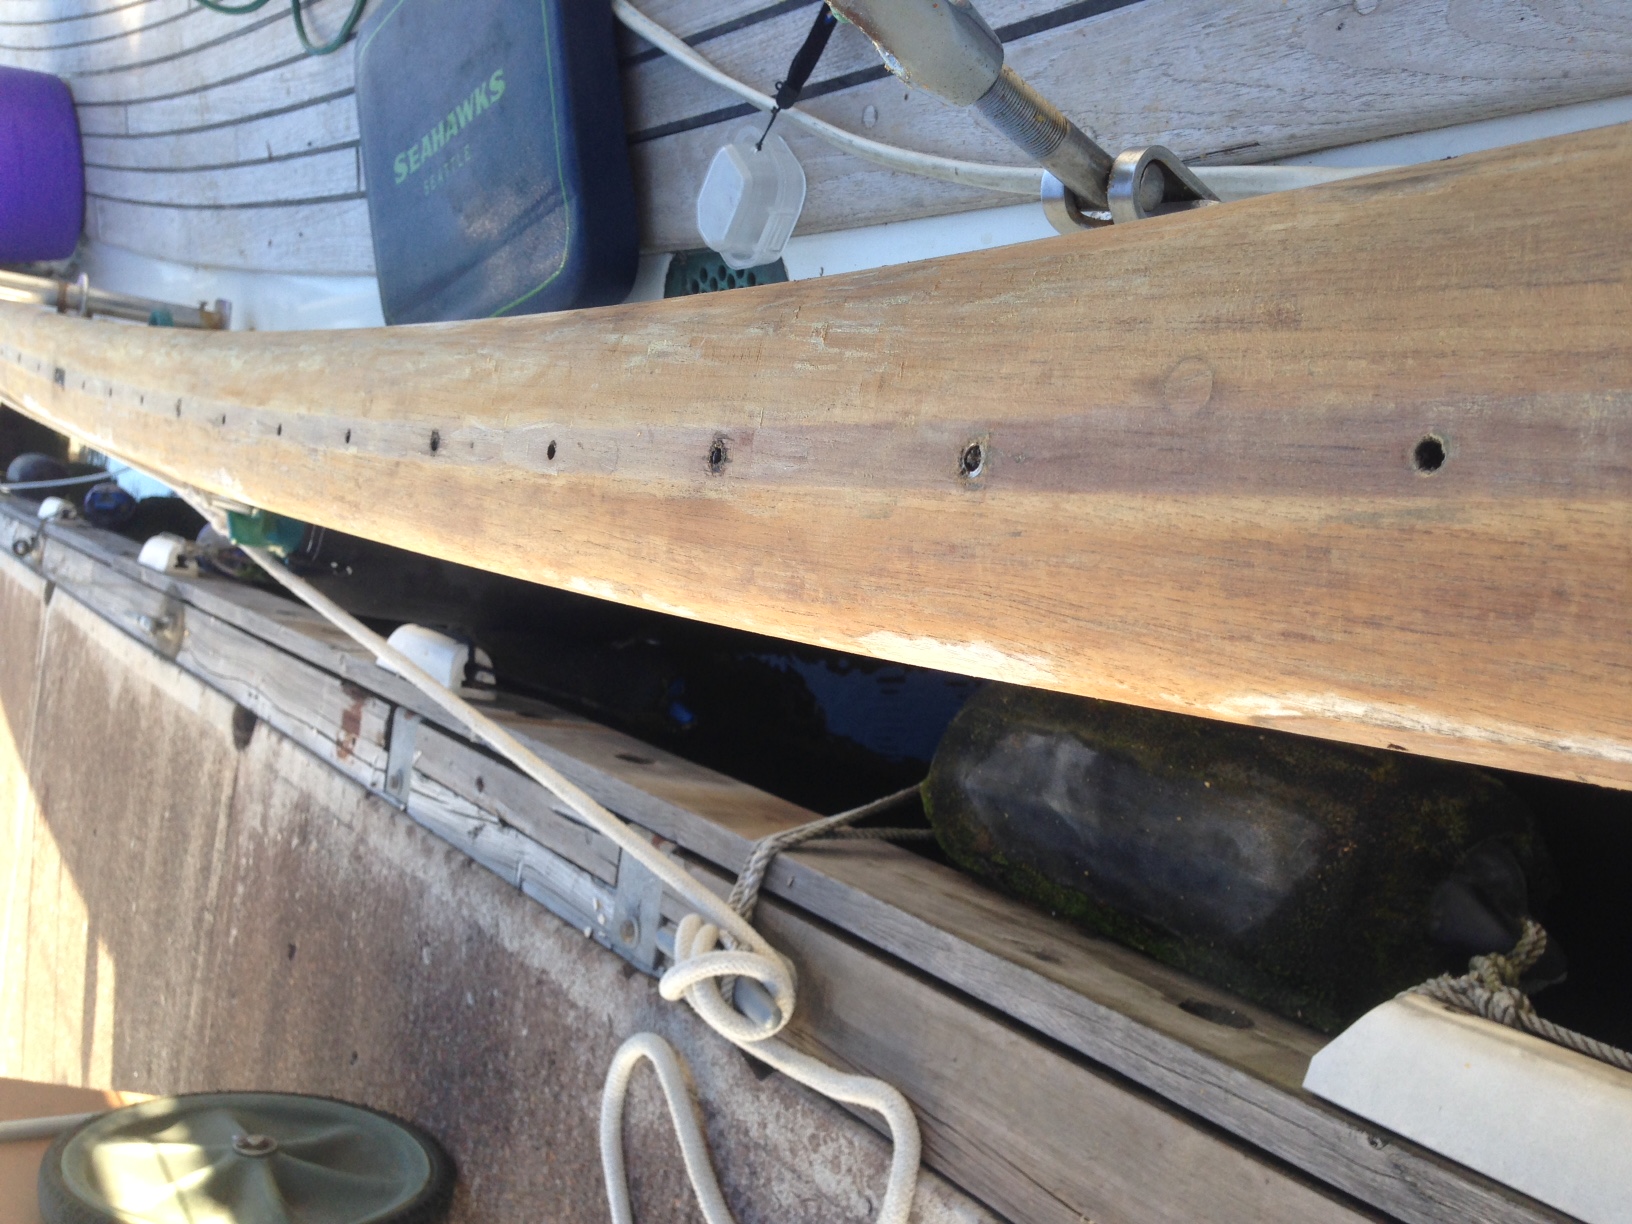
Next came the sanding to remove any scrape marks left behind after melting and scraping off the old varnish. This also removed the gray areas where the varnish had completely lifted, exposing bare teak to the elements. I first used a 5″ orbital sander with 120 grit paper and followed it by hand sanding with a 15″ long-board to get the surfaces as level as possible. This took a couple of days. A friend helped with masking the joint between the cap rail and outer planks and I applied a marine sealant to fill the small void, possibly the cause of some of the water entry we experienced during the trip.

Now that the surface was ready for re-finishing, I made sure to cover it with plastic to keep the overnight dew from reaching the bare teak.
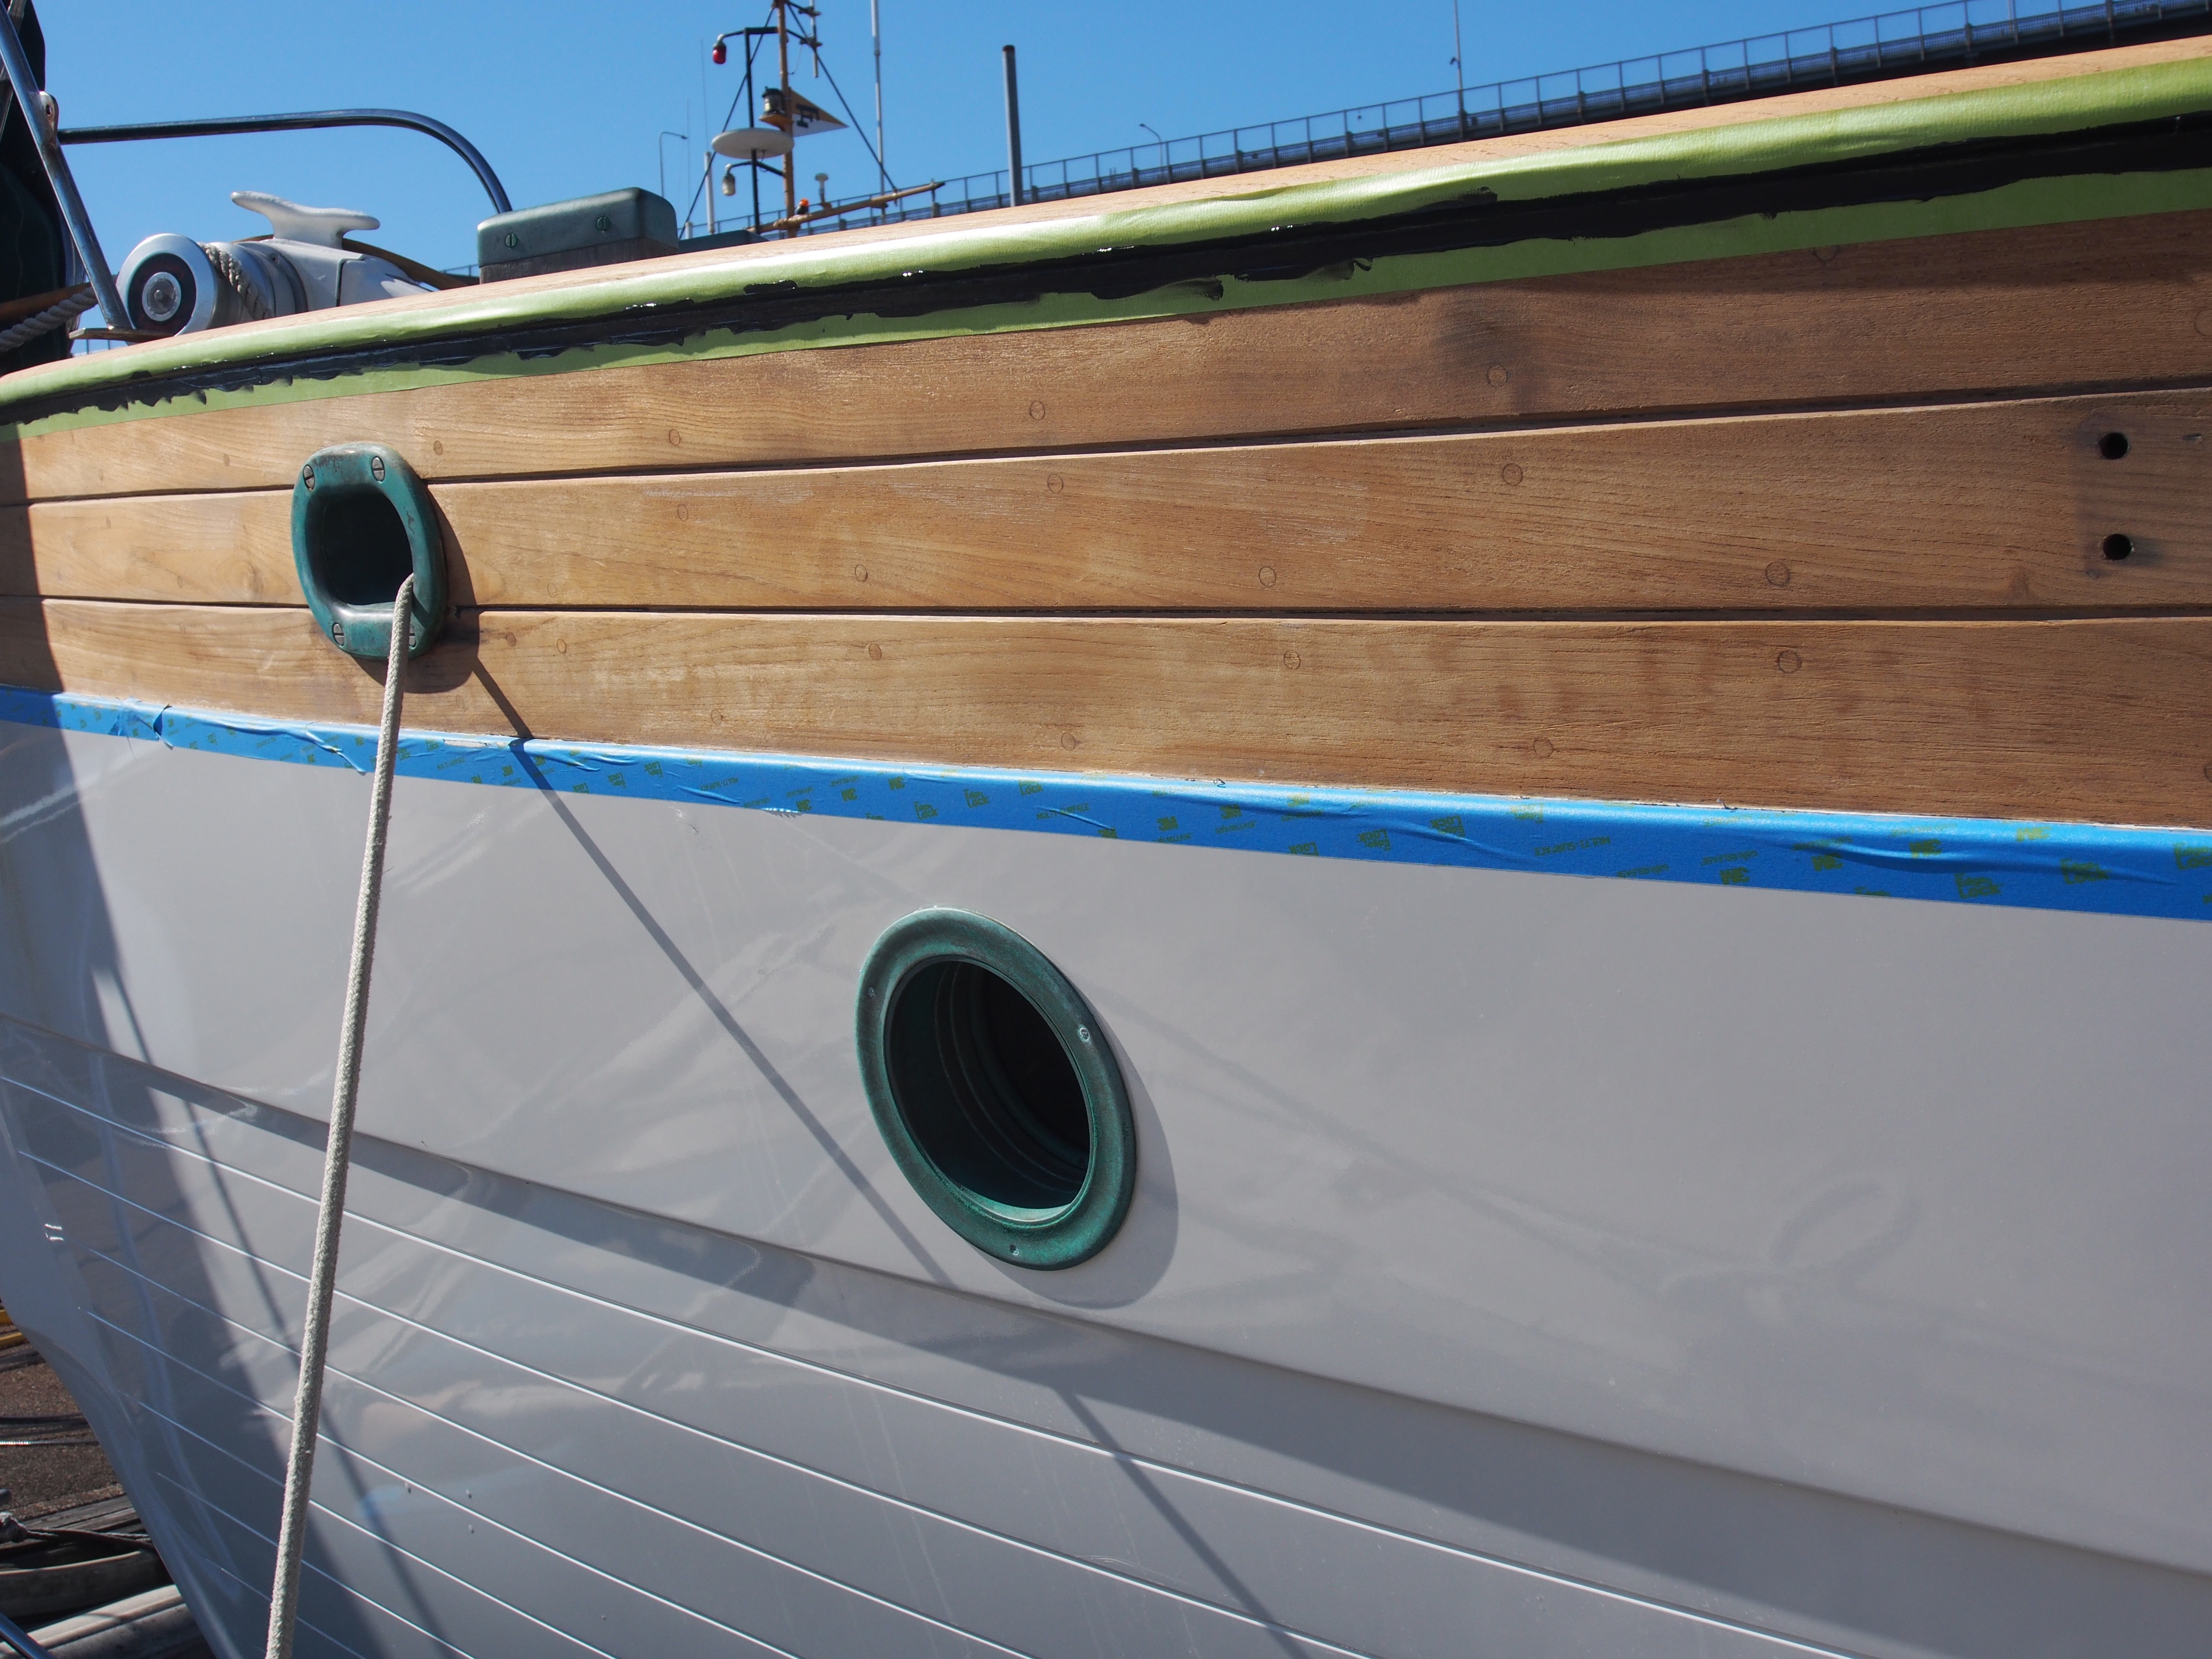
Finally it was time to apply the new finish. I looked into alternatives to varnish, and decided on a product called Awlwood system made by AwlGrip. It’s a one-part system that catalyzes by the moisture in the air (as opposed to a 2-part system that requires a hardener). It’s relatively new, but testing claims it outlasts traditional varnish and can go several years between refresher coats. Some of the downfalls with it–it’s expensive at $65/quart, and it takes some getting used to applying. Since it catalyzes with moisture, you need to work with a small amount at a time. I settled on 4 ounces and found that I could apply that amount in 20-30 minutes, before it became too thick.
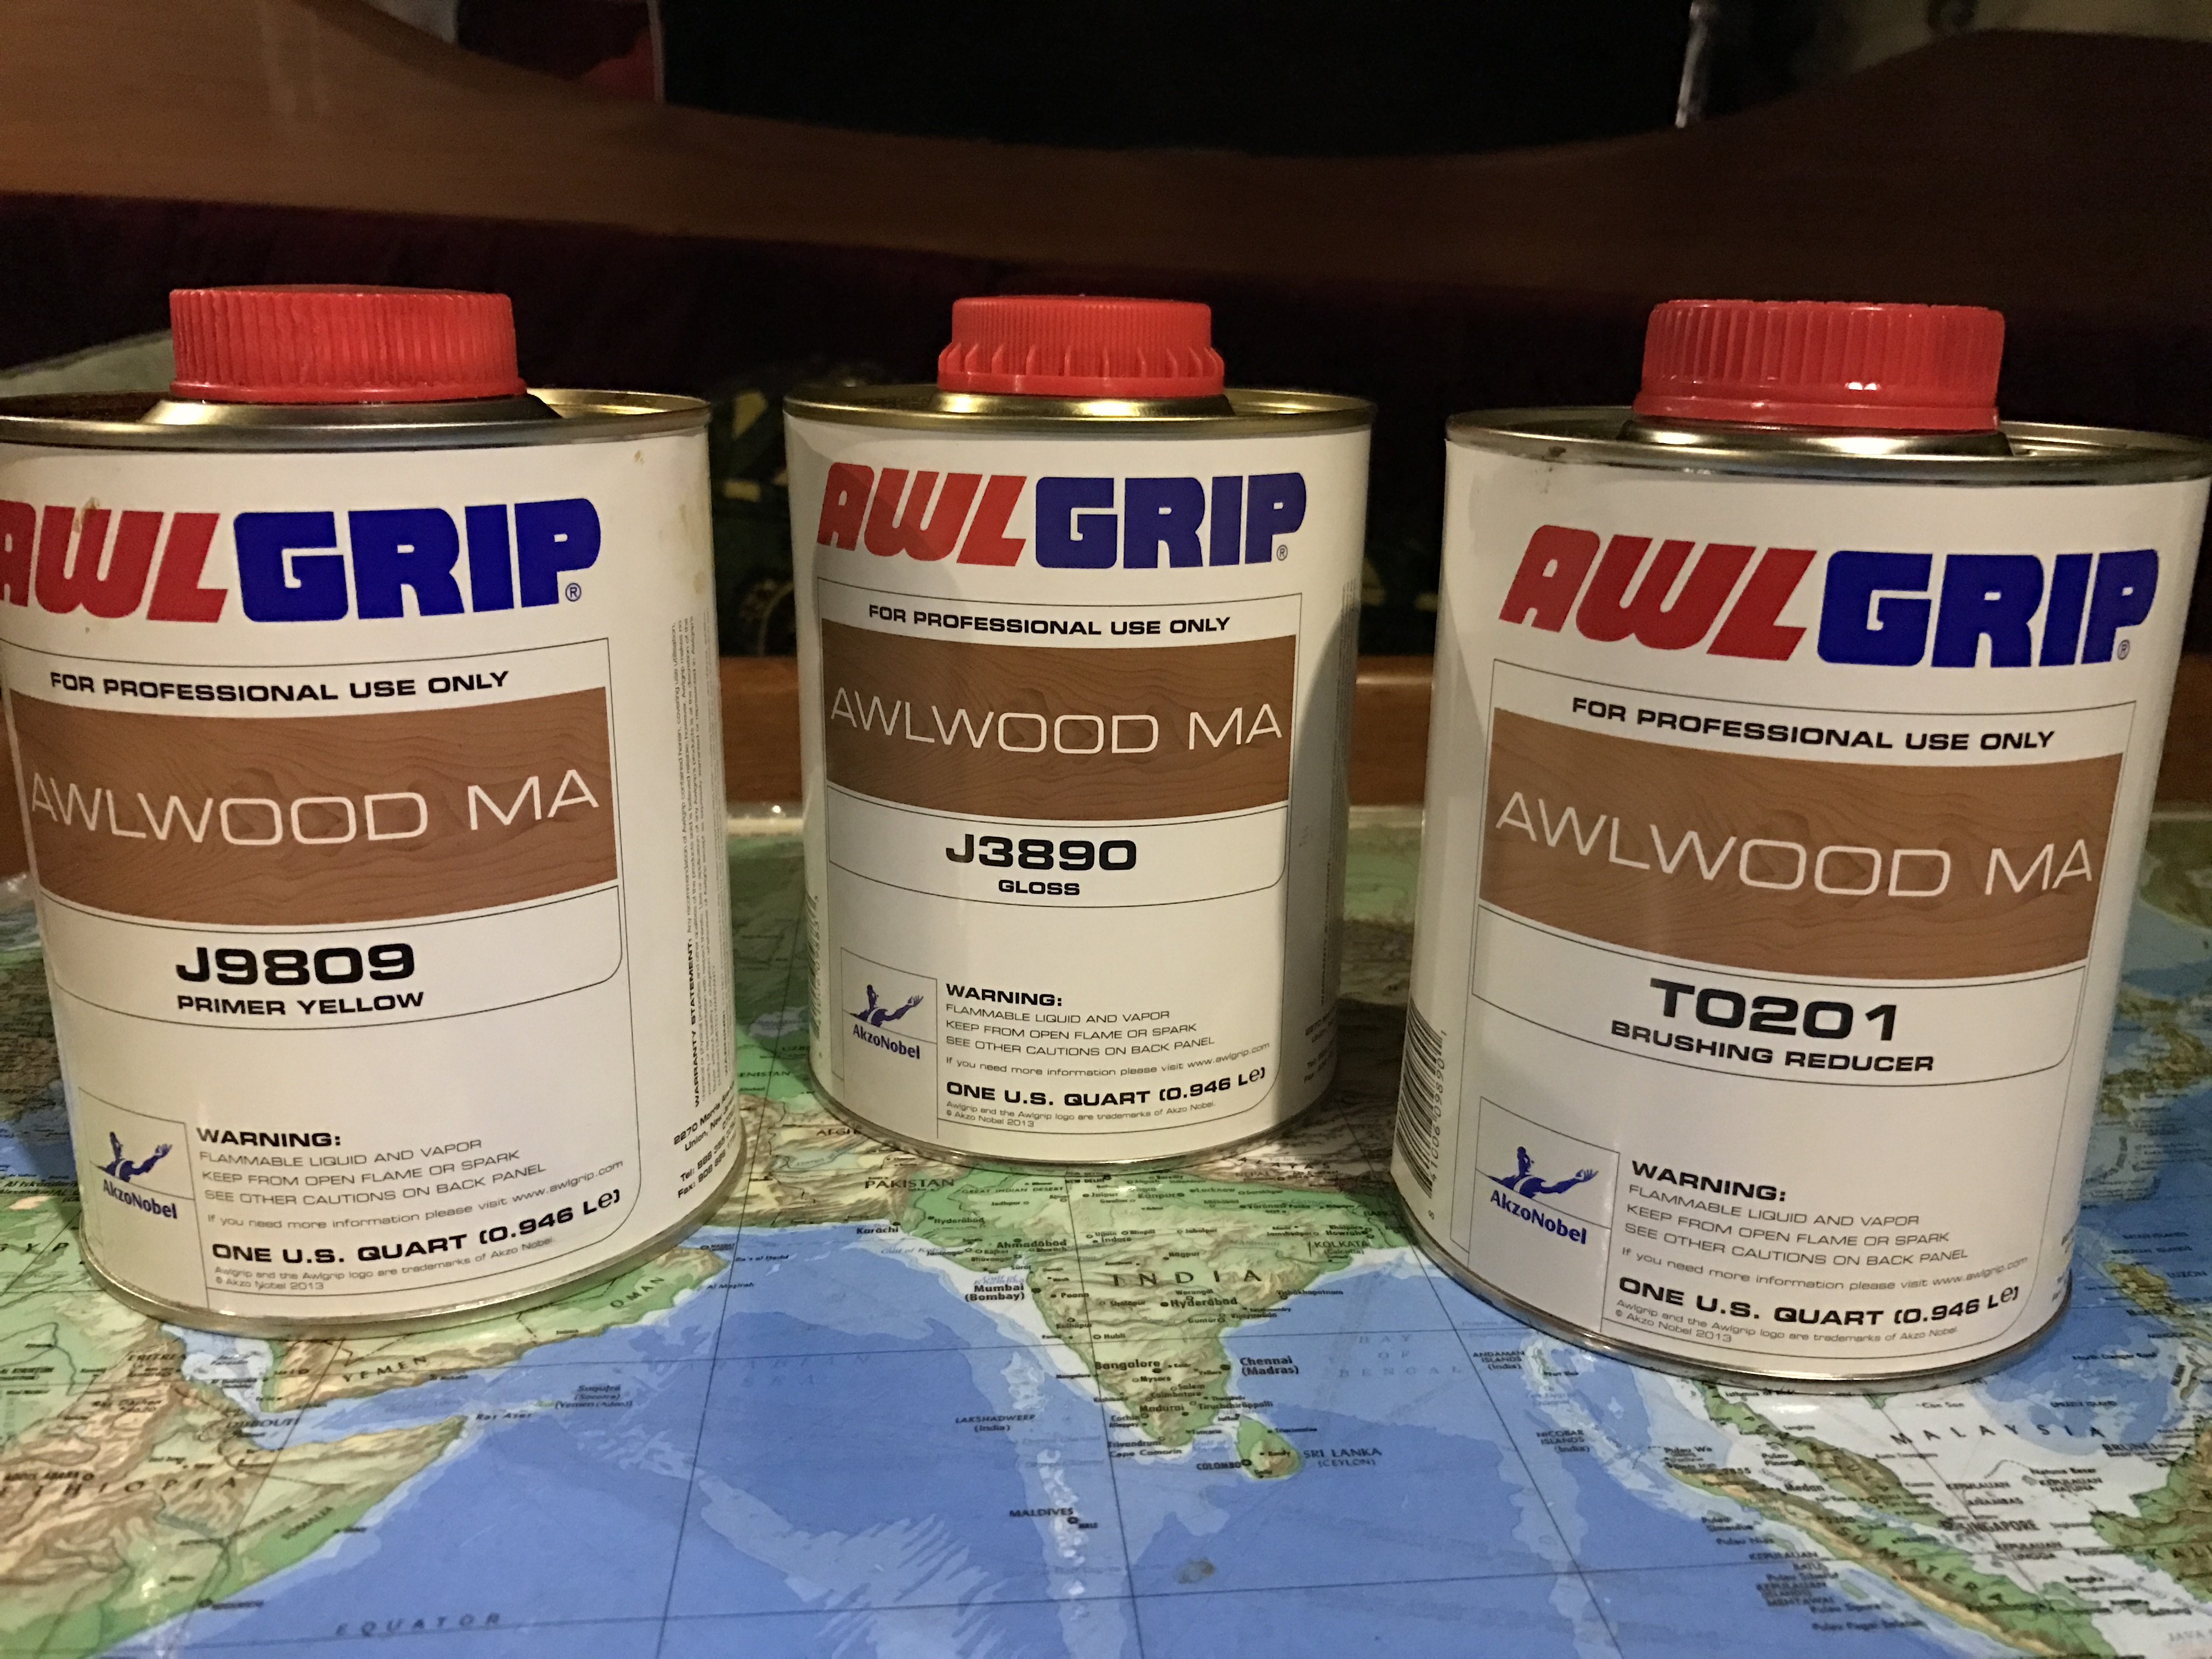
The first step with the Awlwood system was to apply a primer coat for the clear coat to adhere to. The primer coat contains a yellow dye to give the teak a more consistent and deeper tone. It was easy to apply with a cloth–similar to applying stain. This was an important step and without it, the top coat would just peel right off.

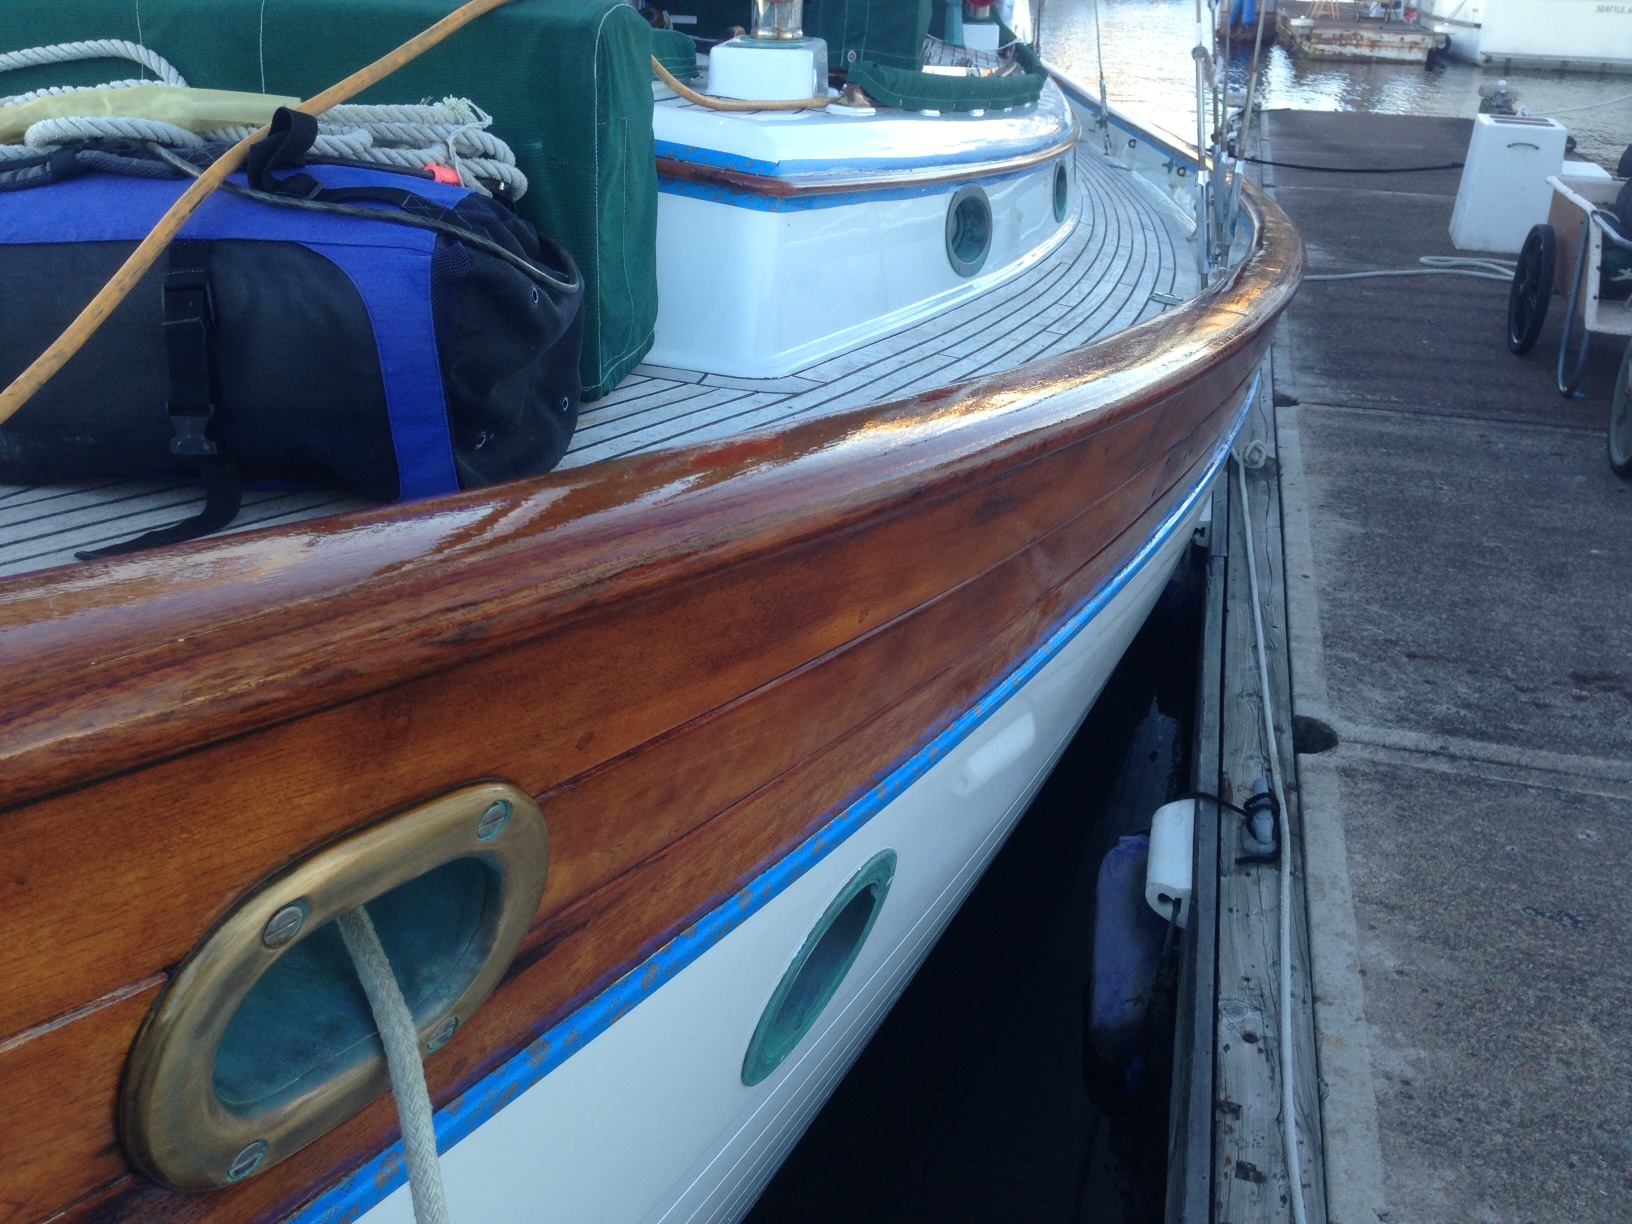
Finally, the clear top-coats were applied using Awlwood Clear. They recommend 8 coats, and one of the advantages of the product is that multiple coats can be applied in one day. A 4-hour dry time is needed between coats, and it took me 3 hours to apply, leaving an hour to rest in between! I settled in on applying 2 coats per day for 3 days, lightly sanding at the beginning of each day to remove imperfections. I found tiny bubbles forming in the first few clear coats (not sure why this happened, but a friend who used the same product on teak also found this). A light sanding each morning removed these imperfections and allowed the next coat to flow better. Prior to the 8th (final) coat, I let the 7th coat dry for 24 hours, gave it a final sanding, then applied Awlwood Clear thinned 5% with Awlwood Brushing Reducer and was pleased with the final outcome.
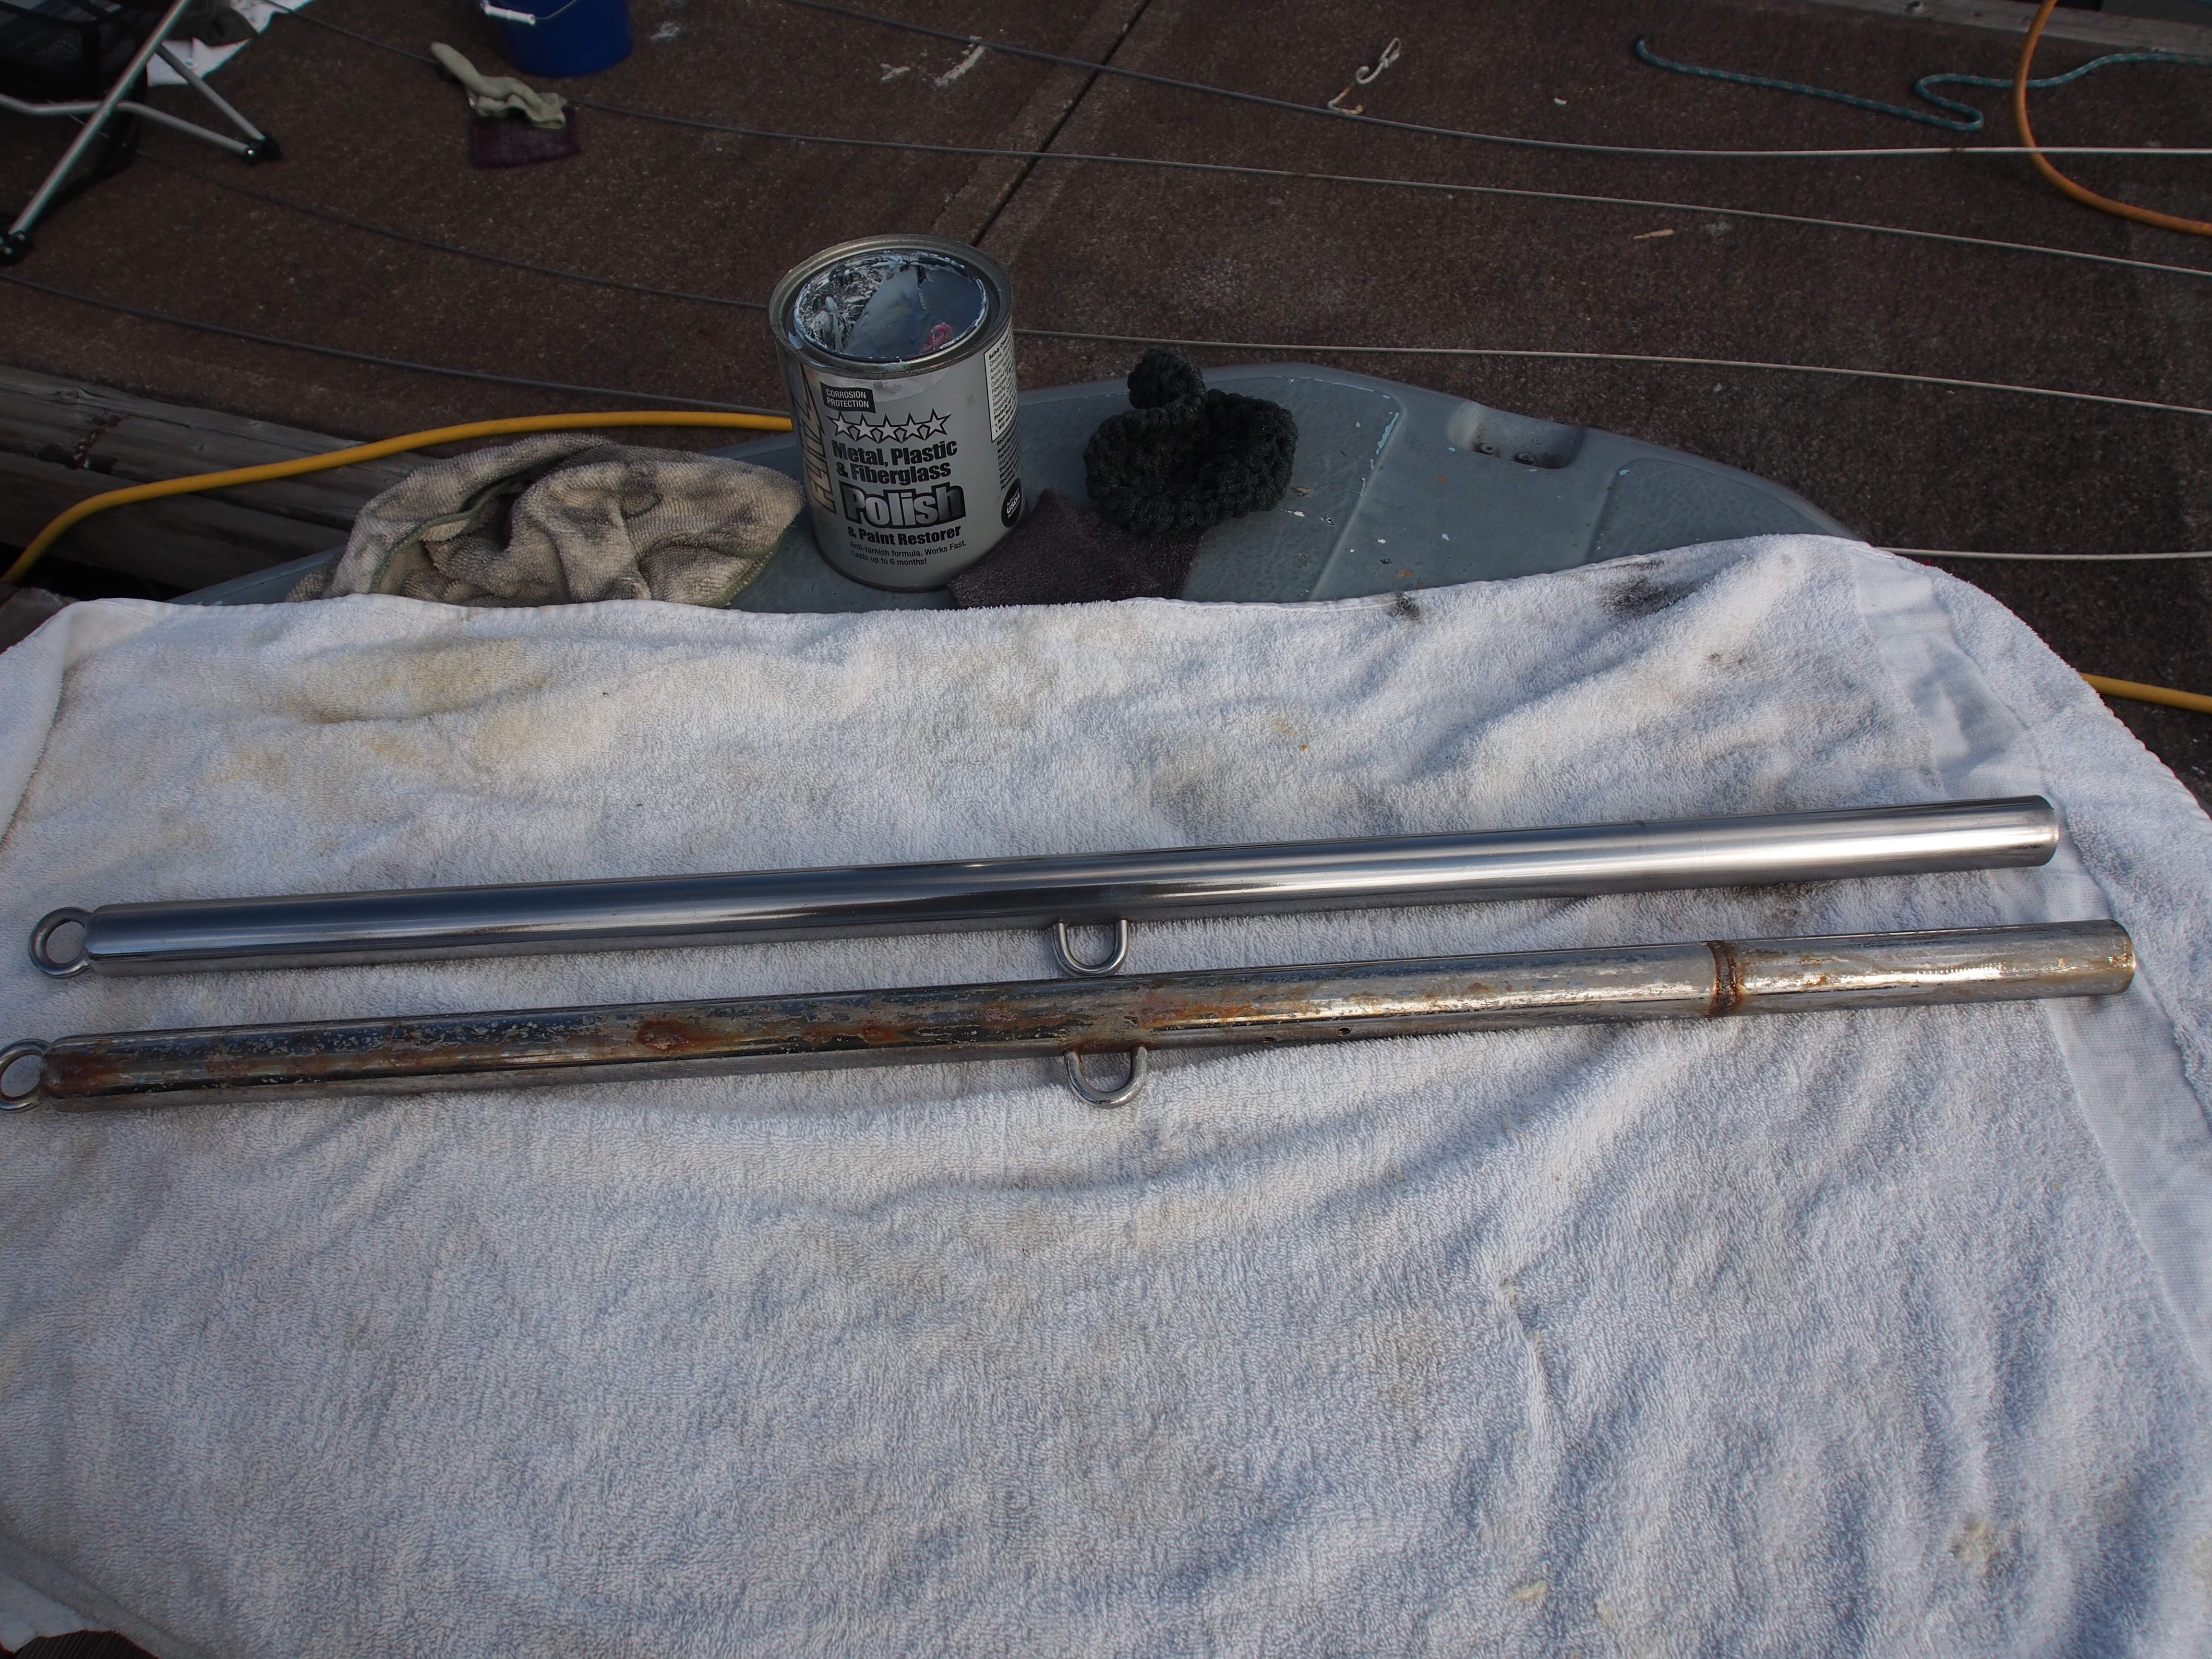
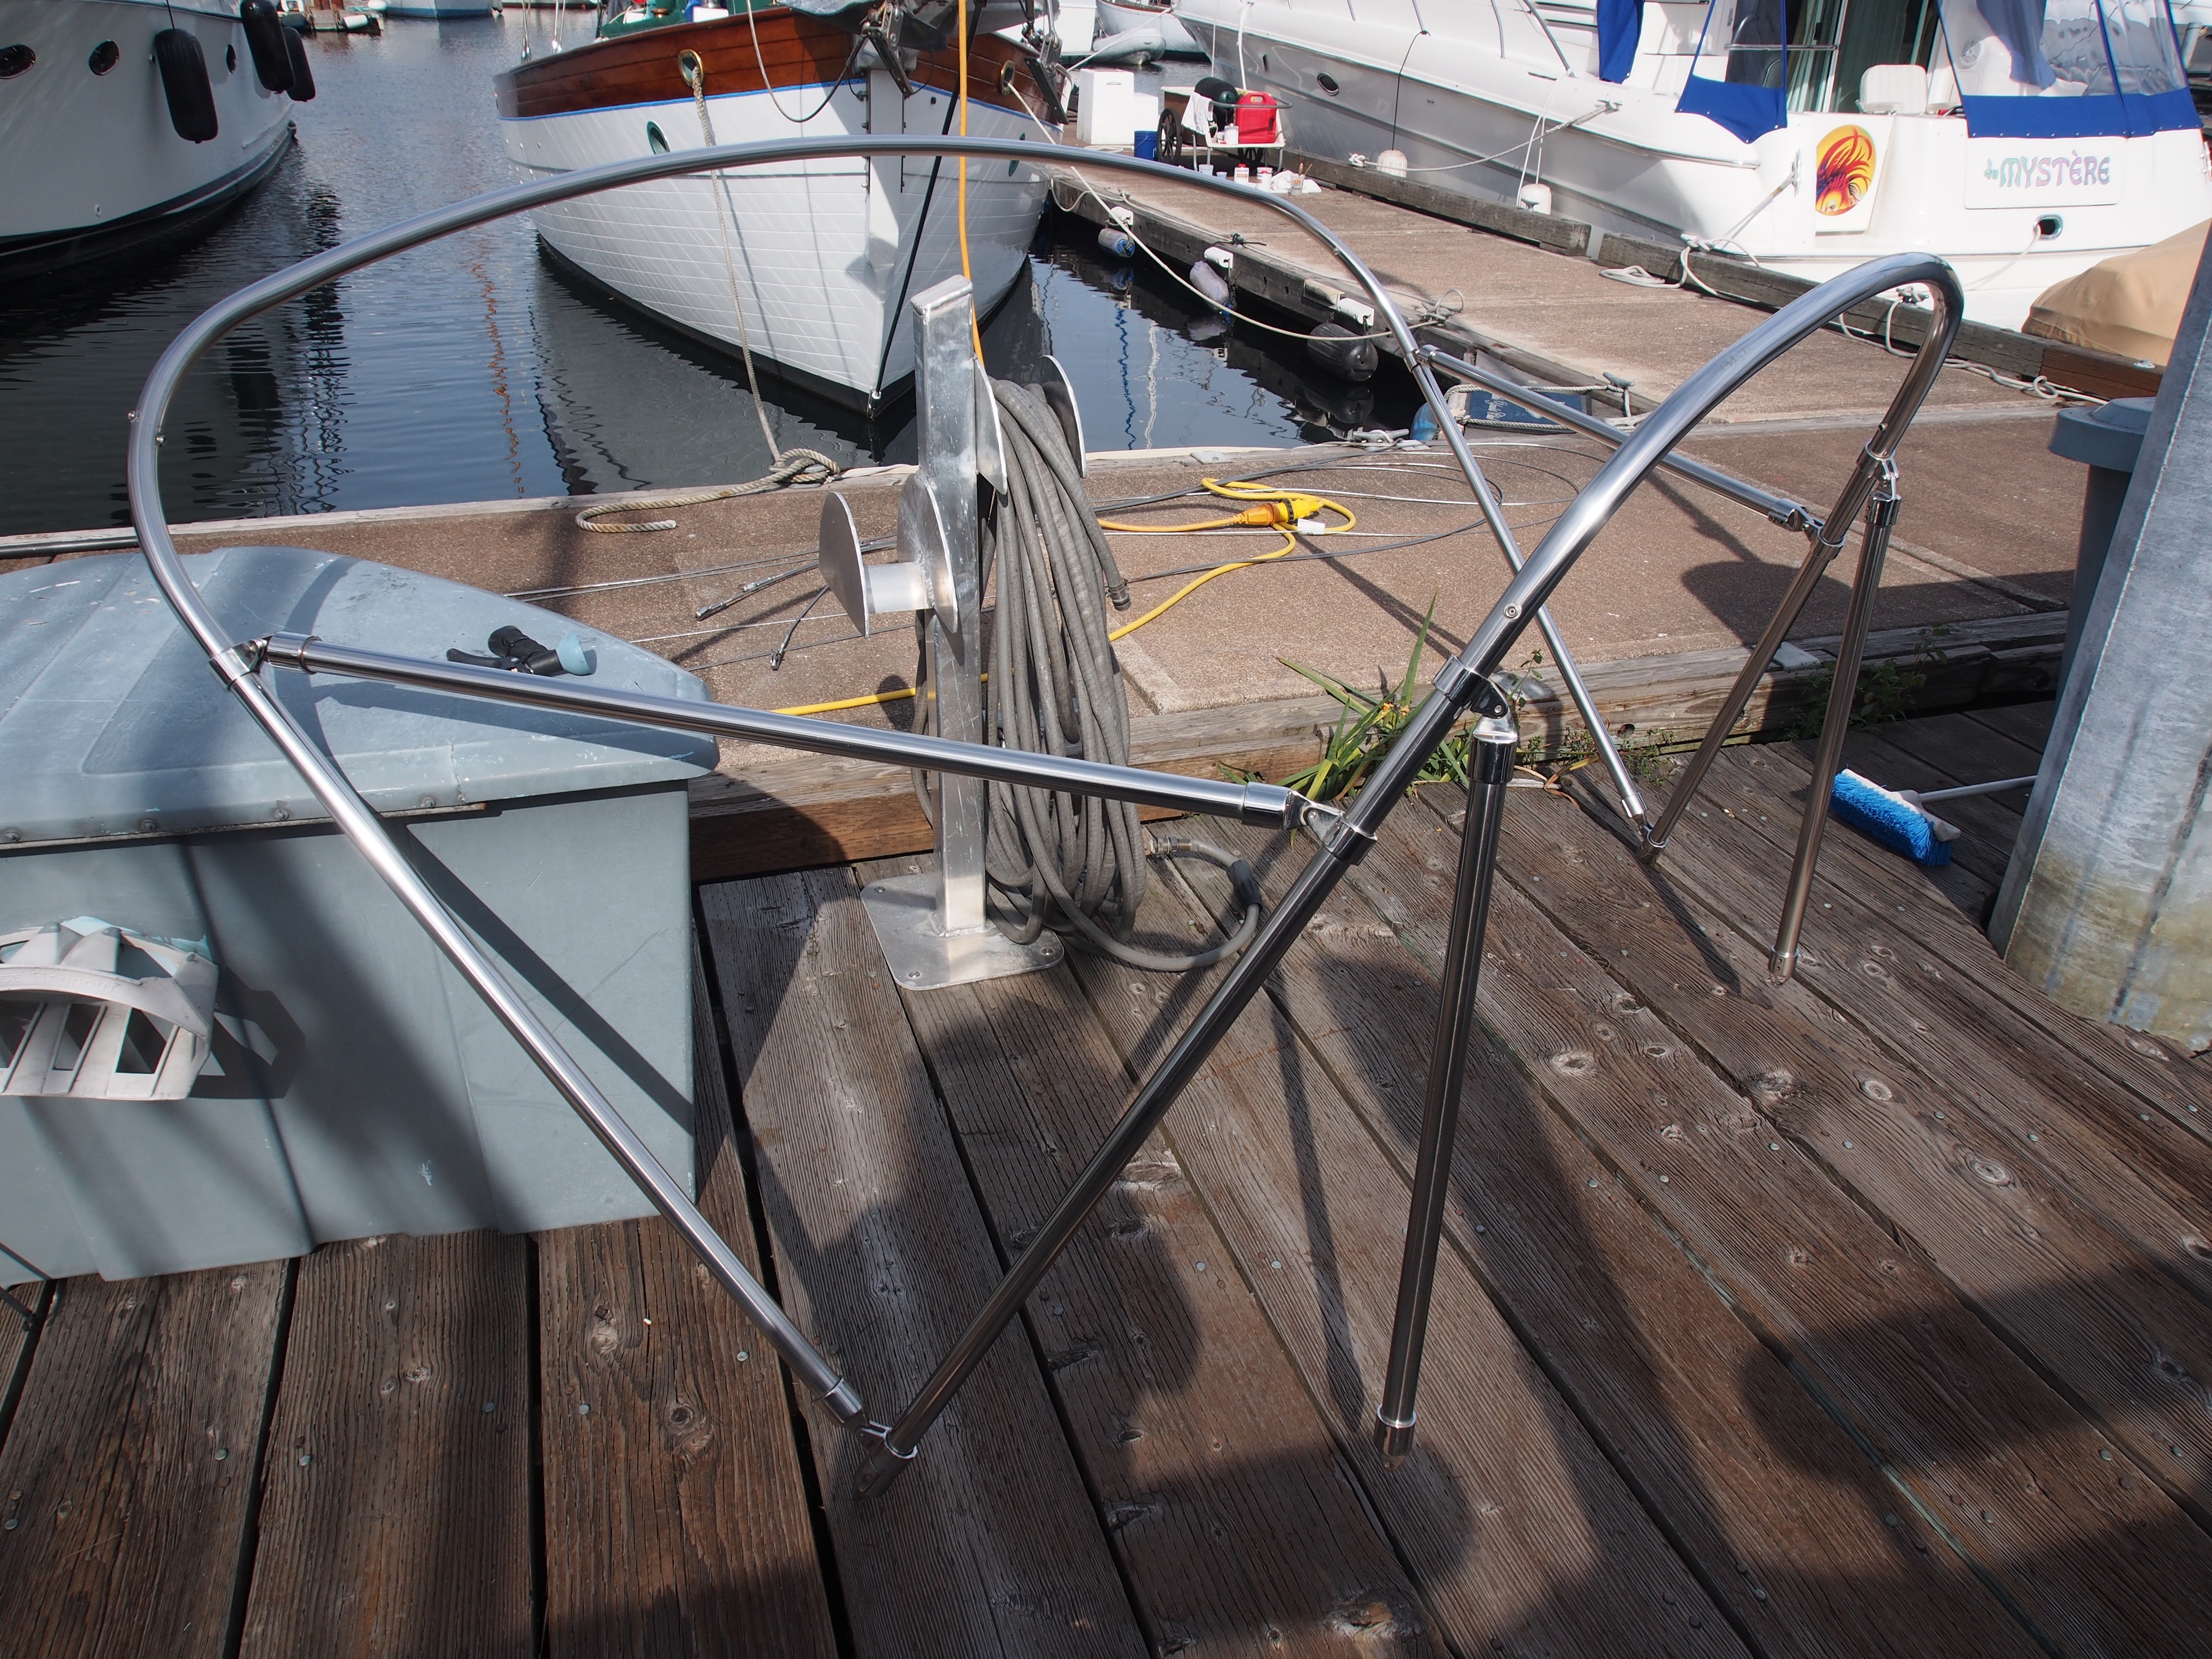
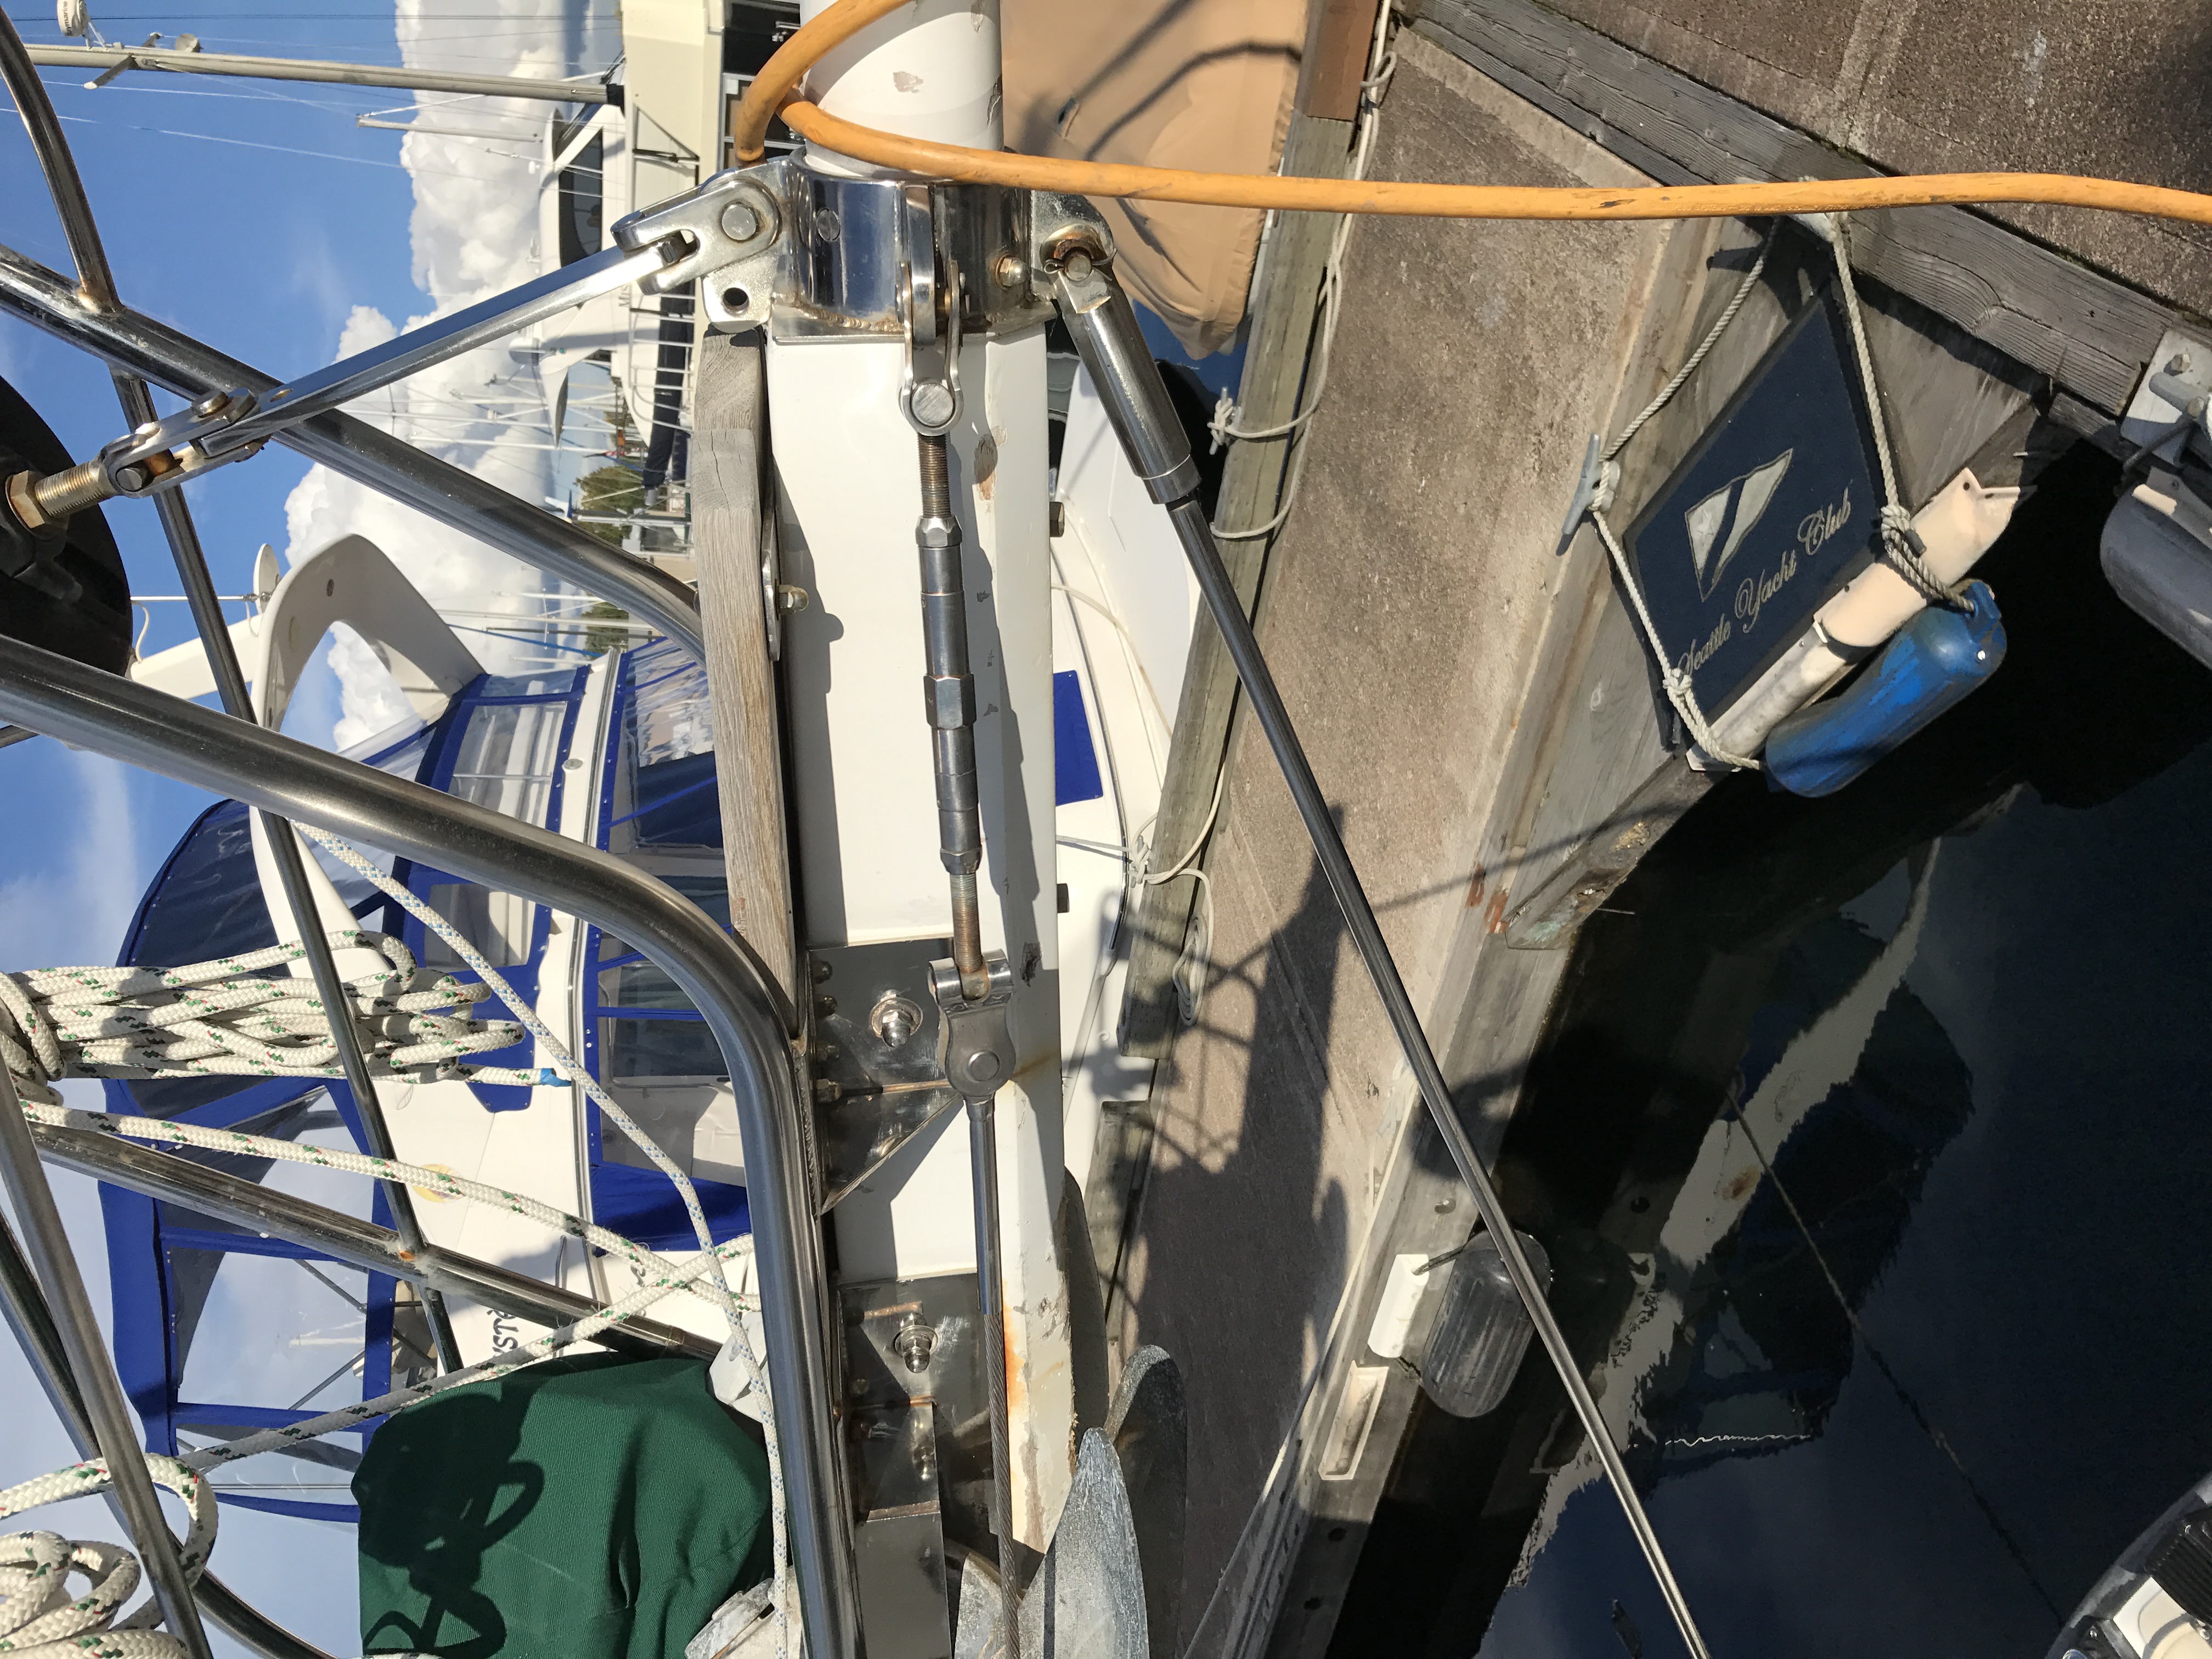
The final step was to re-bed the stanchion brackets, genoa tracks, whisker stay bases, etc. I polished all the stainless steel stanchions, push-pit, bimini, and genoa tracks using Fitz Polishing Compound prior to re-installing them.

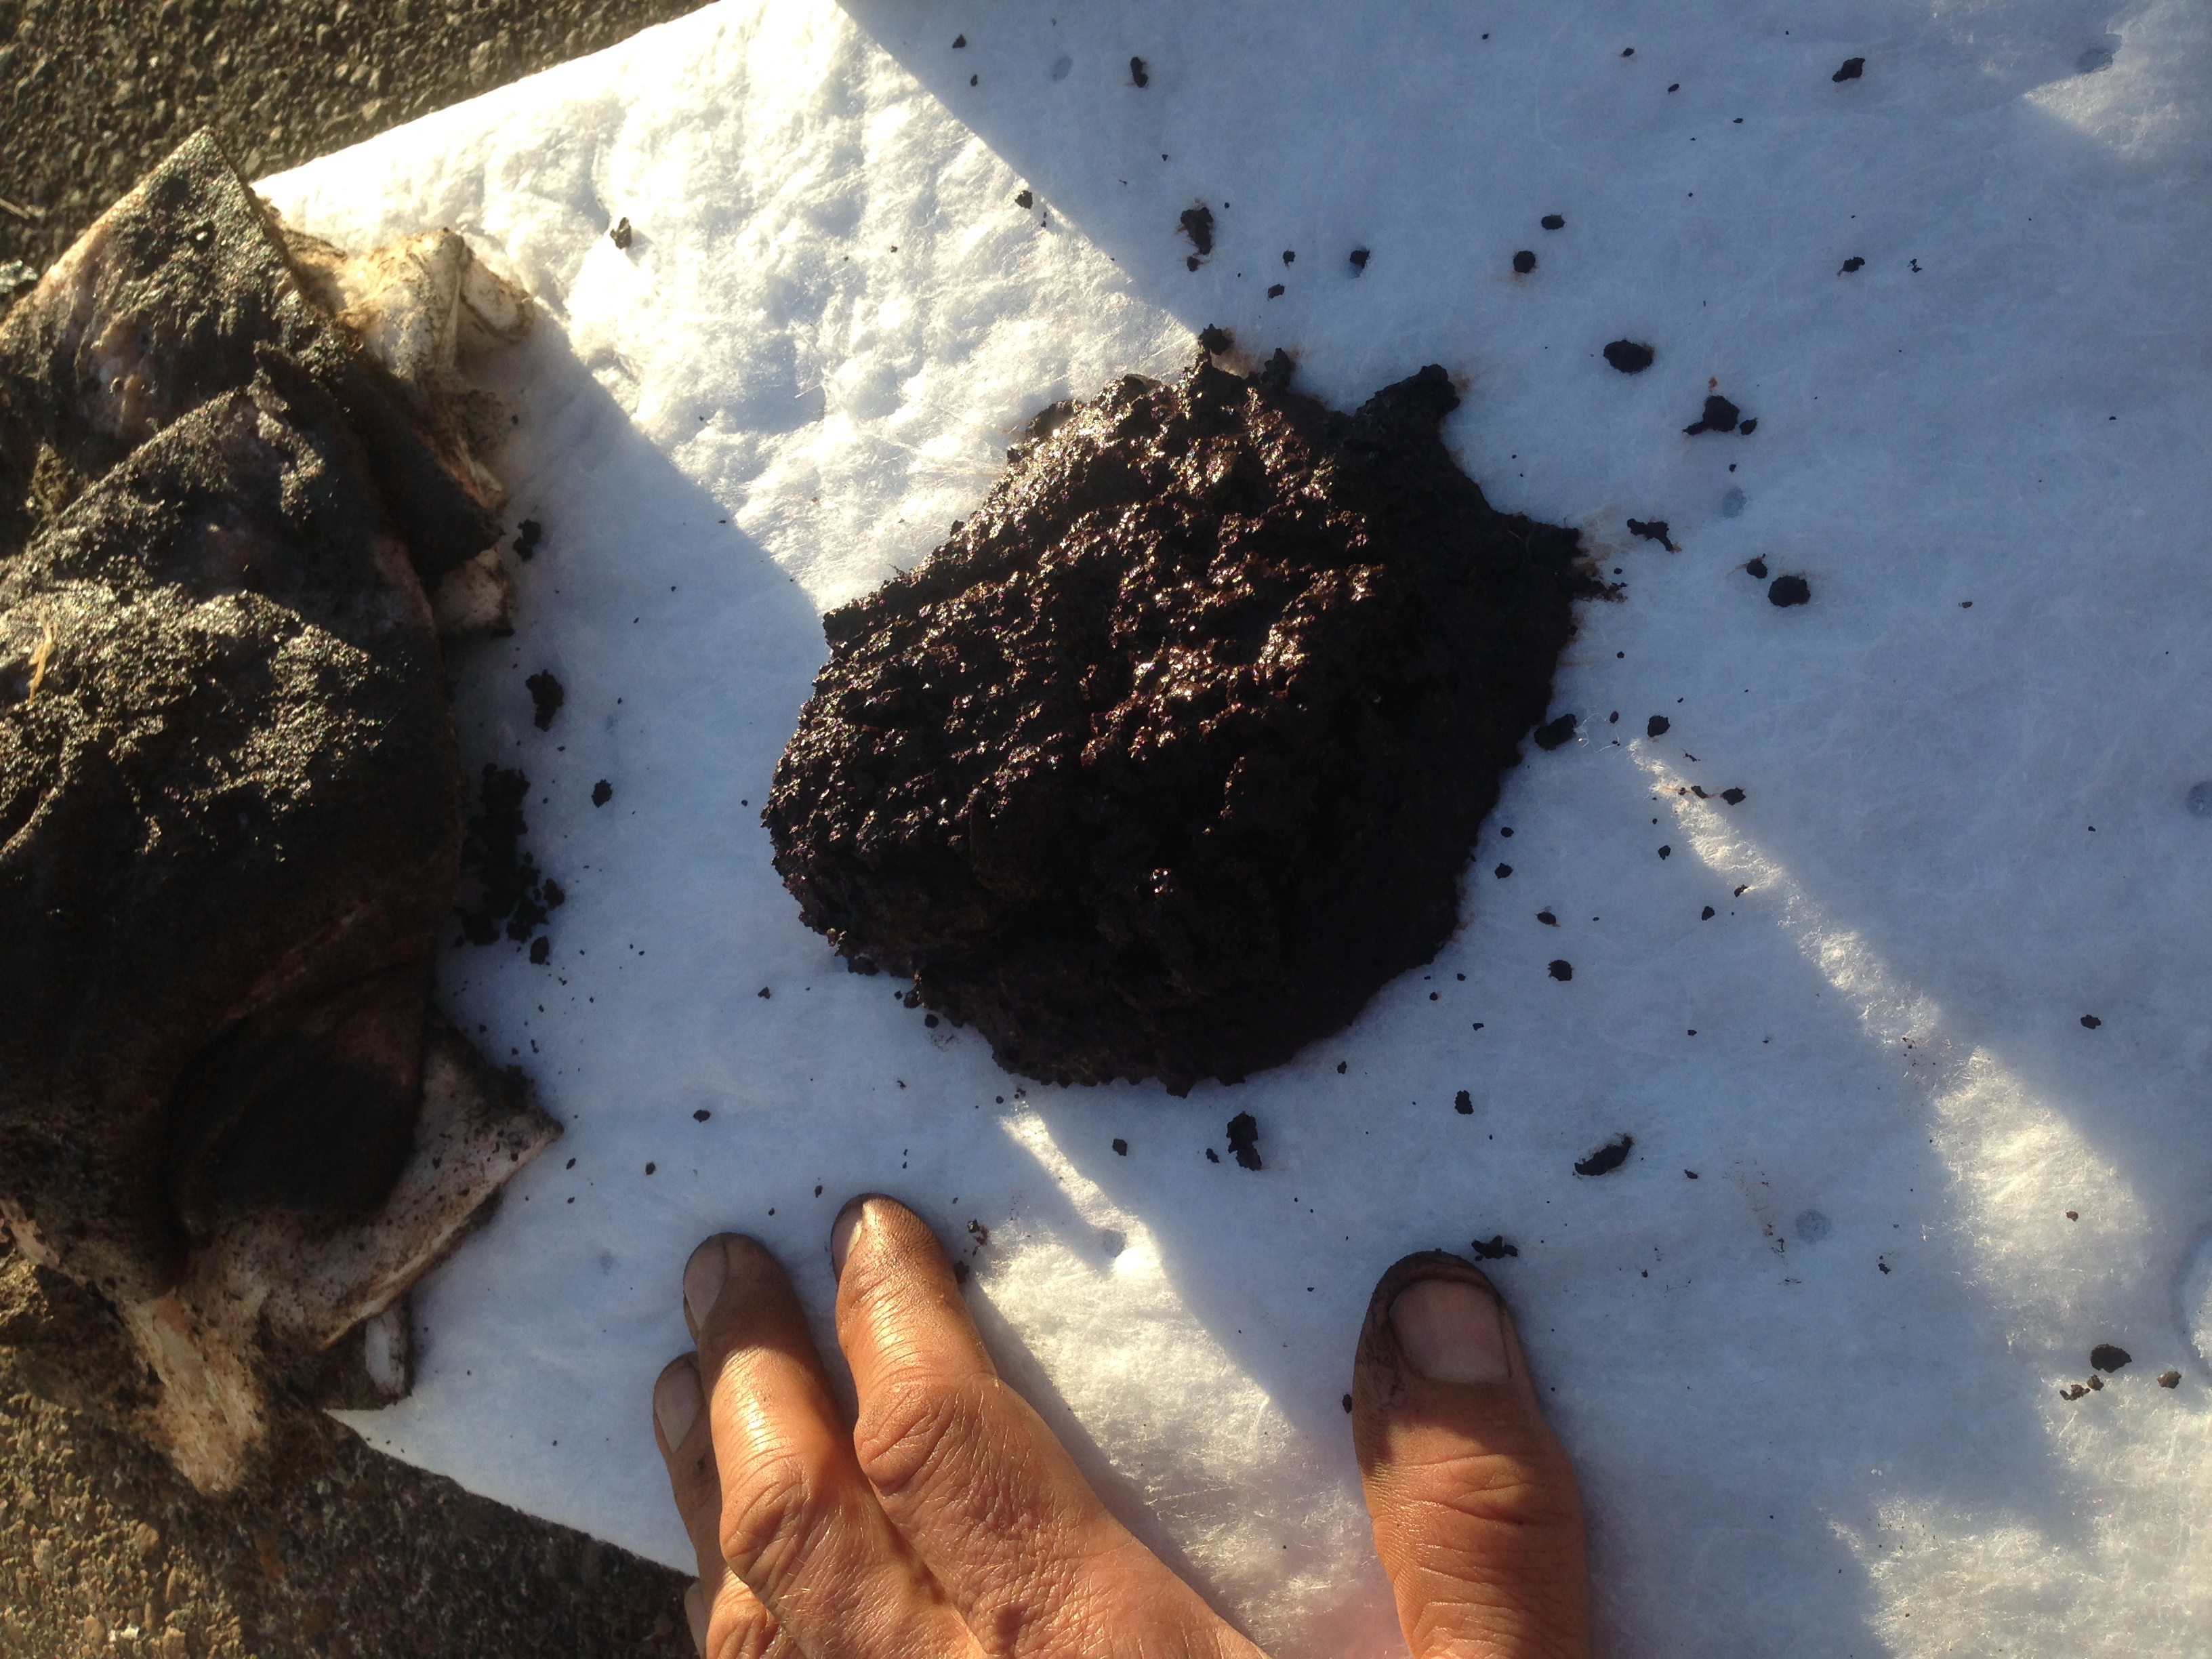
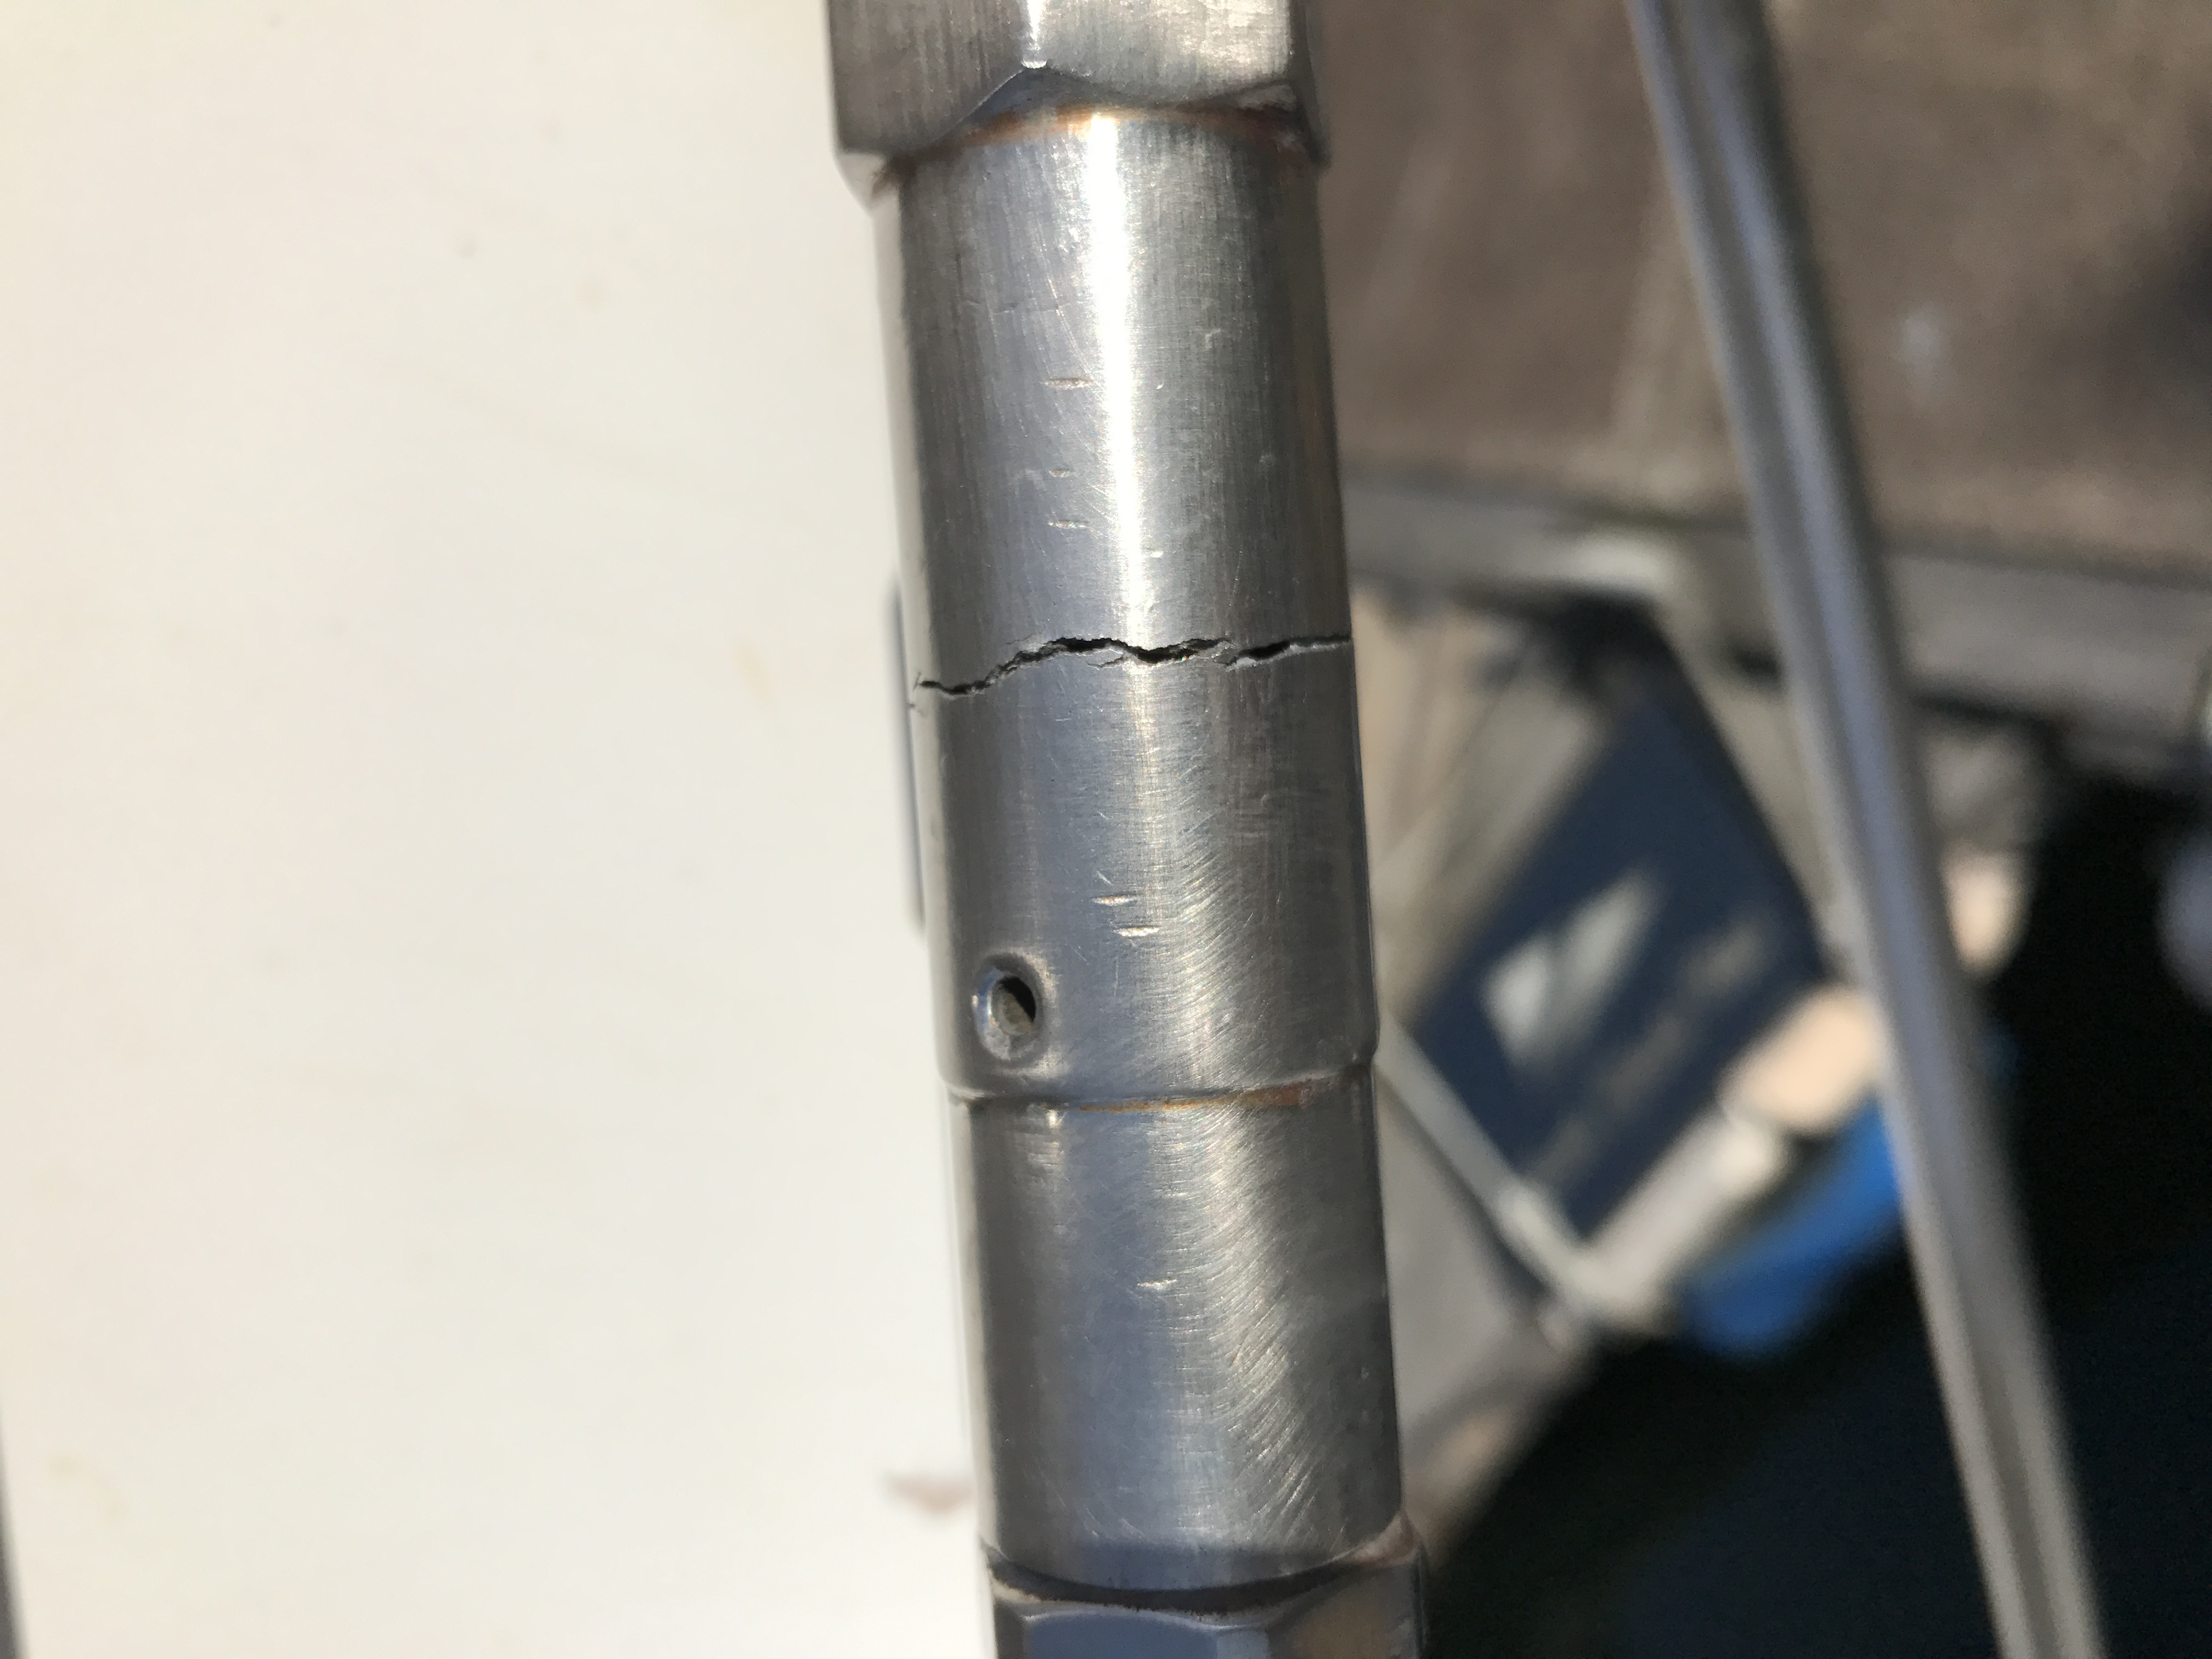
While polishing the stainless steel around the bowsprit, I noticed that one of the whisker stay stainless steel turnbuckle bodies had nearly failed. A stress crack on the starboard turnbuckle probably occurred somewhere between Fiji and Seattle on a starboard tack due to heavy shock-loads on the bowsprit when beating upwind with the genoa. A complete failure of the turnbuckle could have overloaded the bowsprit and, in a worst case scenario, brought down the rig!
The entire job took about a month of full-time work and covered the largest area of brightwork on Apropos. But there is still lots to do–cockpit, deck boxes, butterfly hatch, grab rails, helm seat, instrument turtle box, winch bases, cabin doors, companion way hatch, wheel, boom crutch, and several small pieces of teak. These will have to wait until next spring when the weather is drier–phase 2.