Adding a wireless remote to the windlass has 2 benefits–it gives redundancy to the foot switches (we recently discovered the “down” switch worked intermittently due to corrosion on the terminals), and it also allows controlling the windlass from different locations on the boat (the foot switches are right next to the windlass). Adding wireless control to the bow thruster was an added bonus since the controller I ordered had 4 relay outputs for Up, Down (windlass) and Left, Right (bow thruster). I can see where the wireless bow thruster control will come in handy when the person controlling the windlass from the bow may need to align the boat to the anchor rode by using the thruster (the main bow thruster control is located at the helm).
I found a rugged (non-marine) wireless controller that was advertised as an industrial crane hoist controller. And it was only $55, compared to $300 or more for ones built specifically for a windlass, so I thought I’d give it a try. The model I bought was made by a Chinese company and came with a wireless remote that has 4 control buttons (Up, Down, Left, Right) and a Power On and Power Off. The instructions were all in Chinese but I was able to figure out the connections from the schematic printed on the controller box. The controller has 4 outputs, so I will also try to connect it to the bow thruster using the Left/Right controls. Aside from the wireless radio circuitry, the controller is basically a bunch of relays that perform the same function as the windlass foot switches–providing a 12V control signal when a button on the remote is pressed. My Lofrans windlass uses a controller made by Imtra. My bow thruster has a built-in controller. Both of these controllers use low-current 12V signals to activate relays that switch the high-currents to the windlass and thruster motors.
The installation was very easy since everything is located under the v-berth (windlass control, windlass and bow thruster batteries, bow thruster controller). This area is a dry locker and is separated by a bulkhead from the anchor locker as shown below. I powered the wireless controller with a switched 12V that turns on when the Windlass is activated at the DC panel. I used inline fuses for both the controller power and the controller output source power.
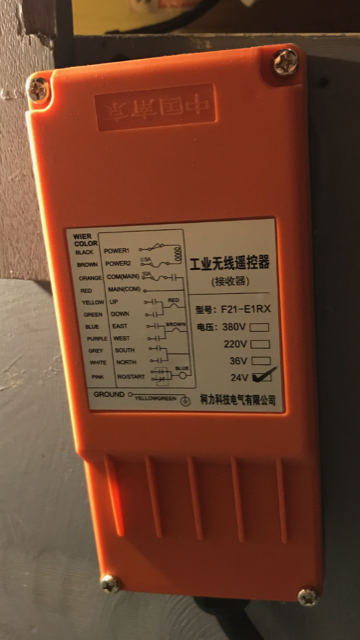 Wireless Controller (says 24V but also works with 12V)
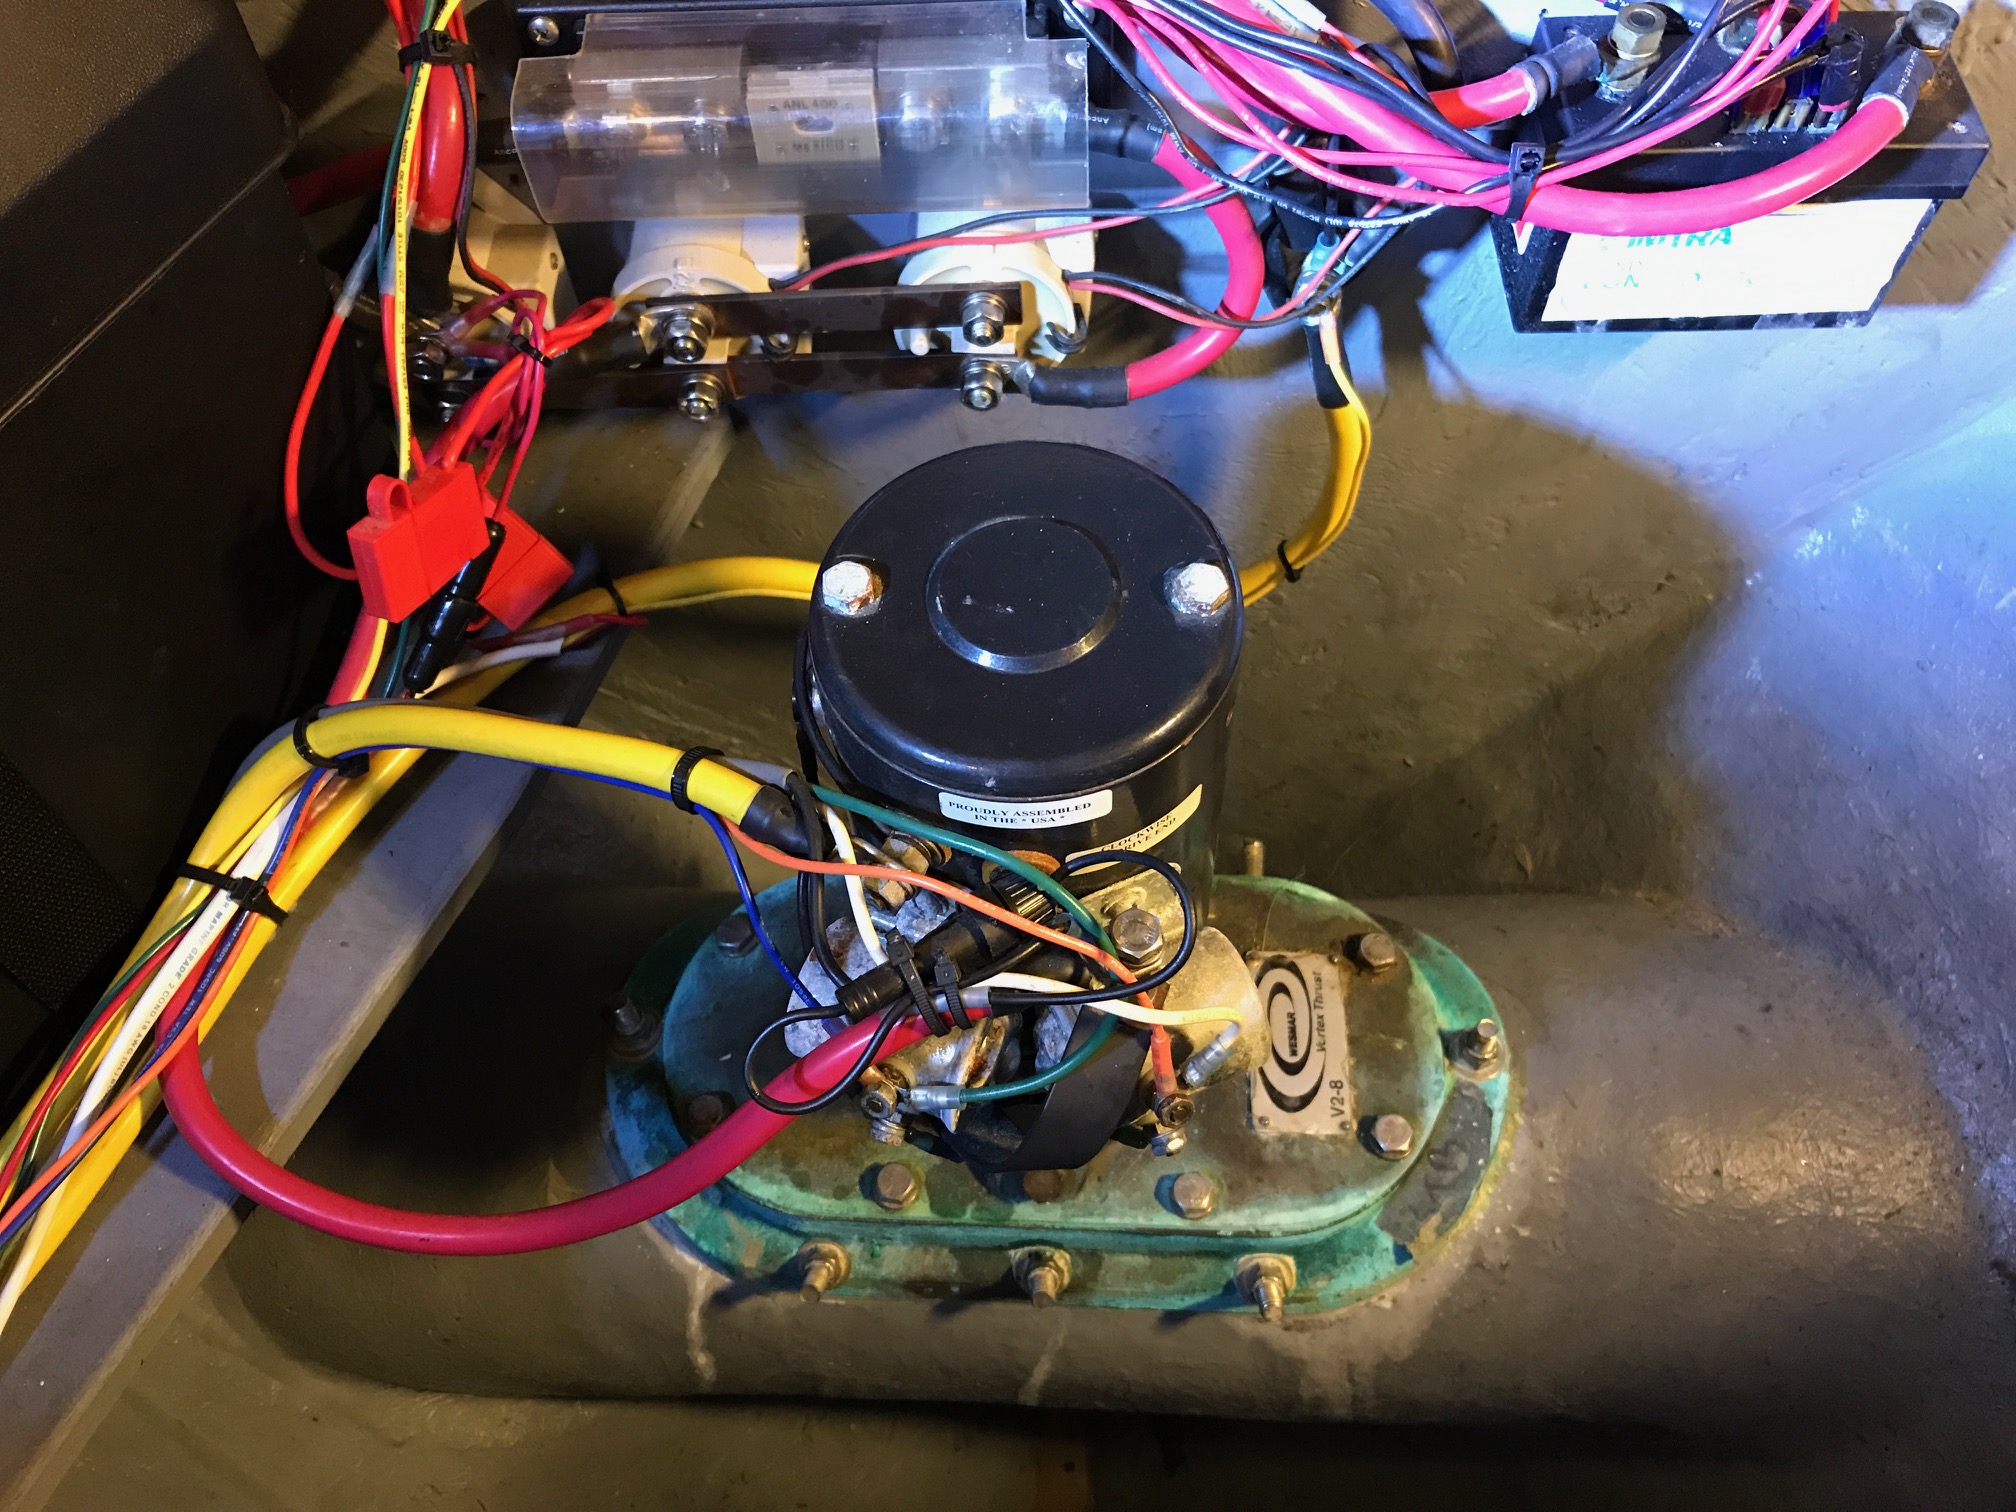 Wiring completed to Bow Thruster (bottom) and Windlass Control (top)
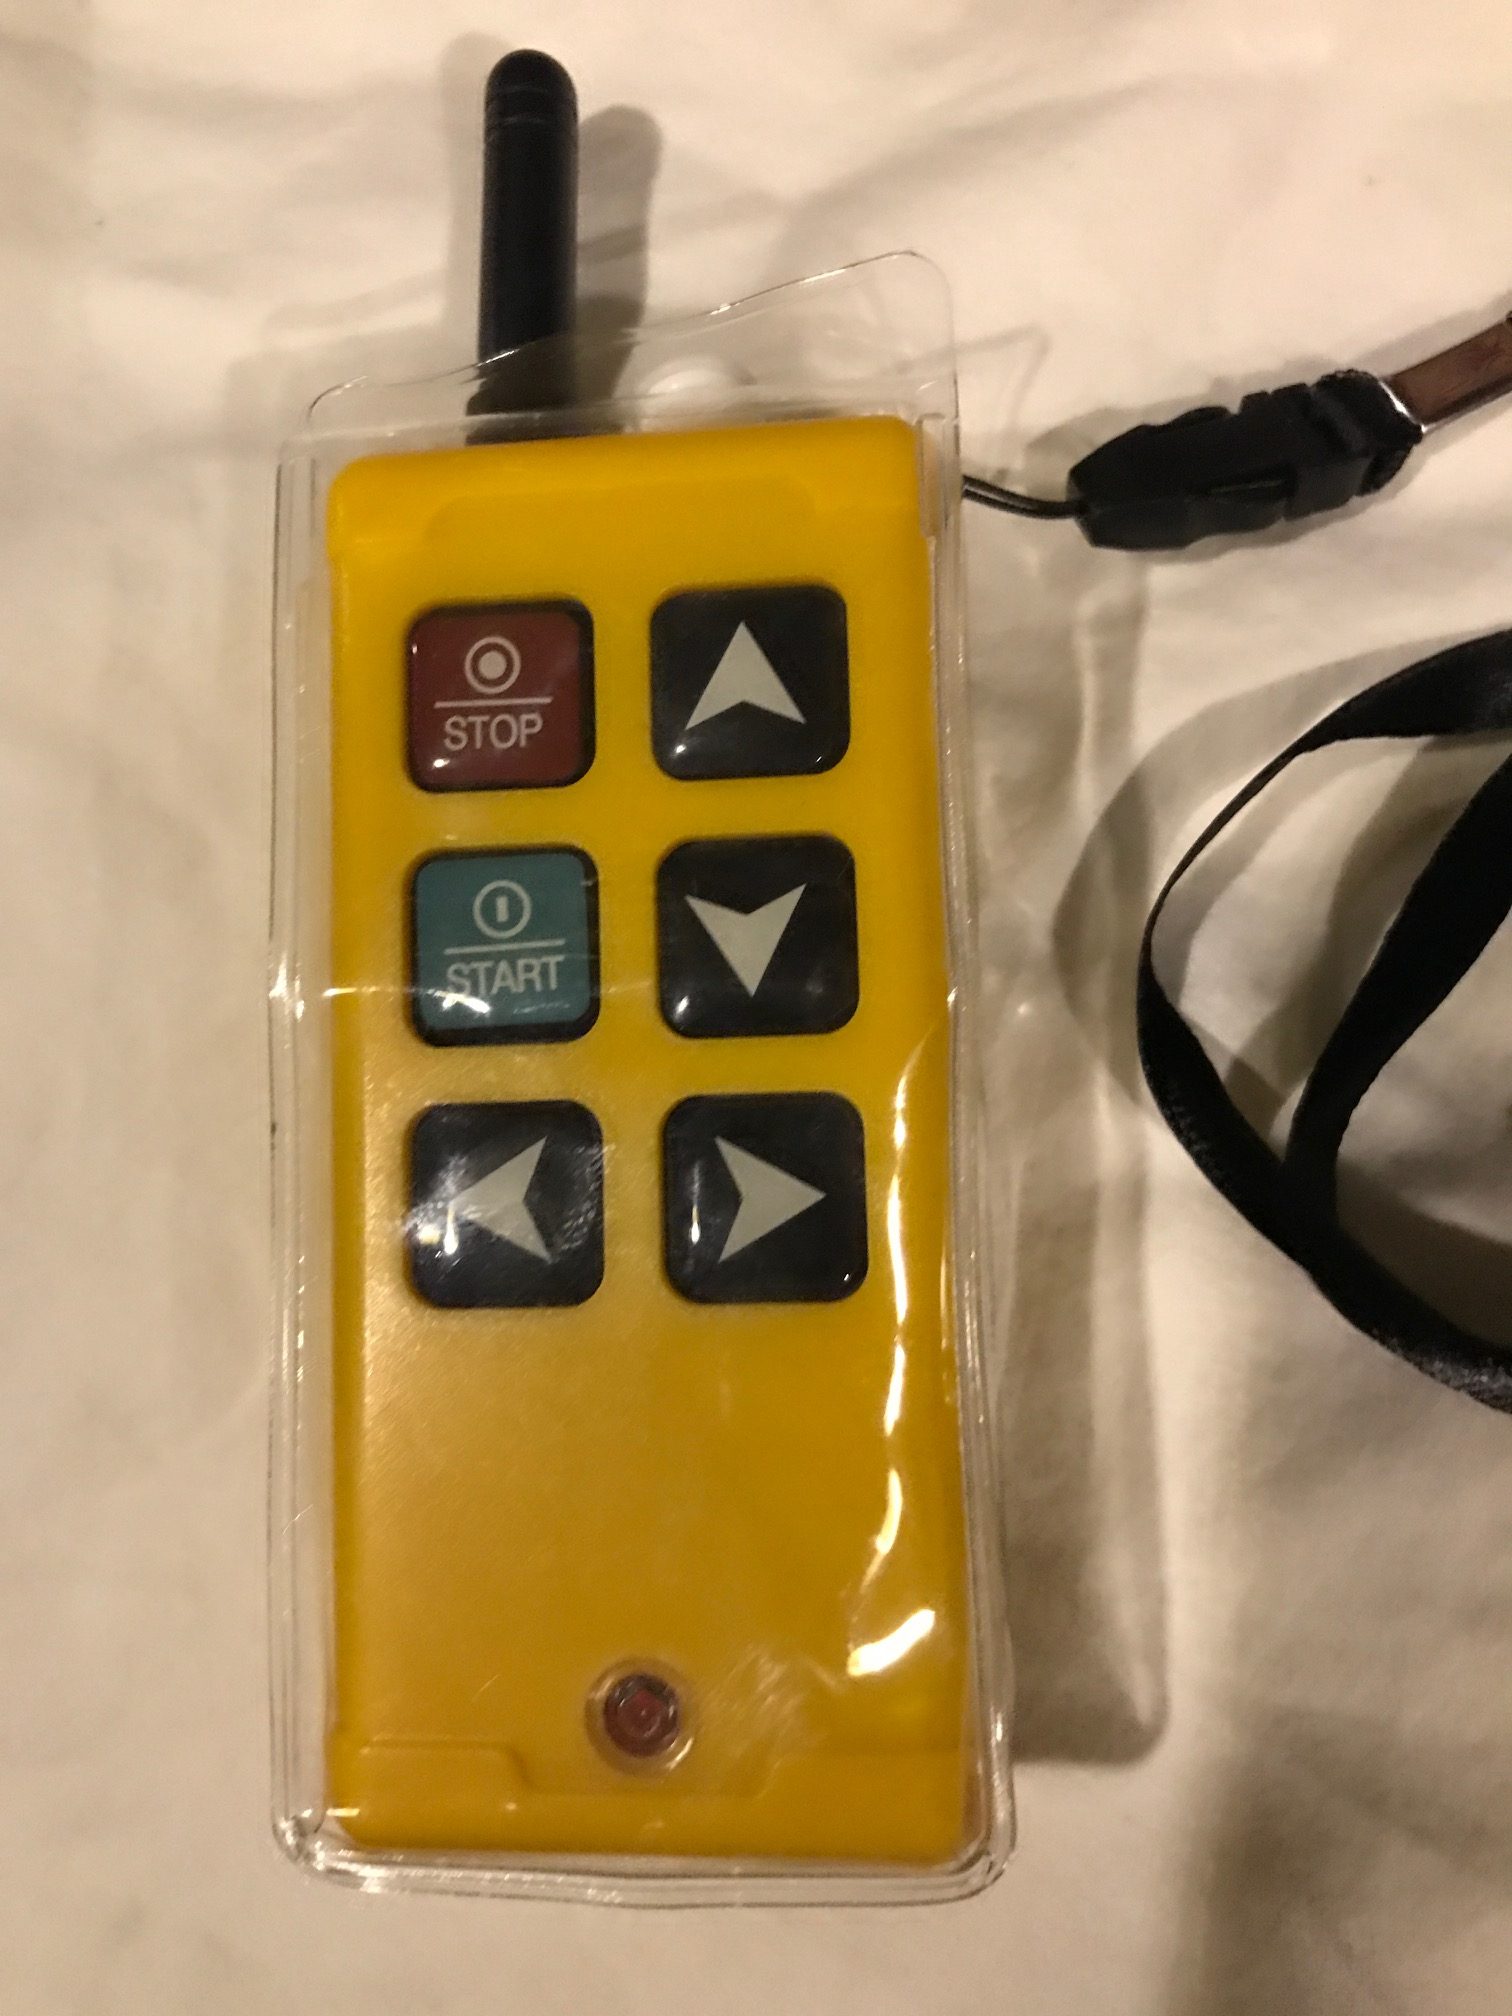 Remote controller for wireless Windlass/Thruster
Total time to install and test was about 6 hours, total cost was $55 for the wireless system and $20 for wire, terminal connectors, and fuse holders.
