Another one of my winter projects was to refinish the steering quadrant, which was starting to show signs of rust from years of exposure to the marine environment. Even though the lazarette is a relatively dry space, the effects of humidity and wet ocean passages takes its toll on all metal parts. The 2 halves of the quadrant were easily removed in less than an hour. I decided to have them powder coated by Seattle Powder Coating–they are only 2 miles from the marina and I was pleased with their service and quality of work when I had 4 wheels powder coated there recently. While the parts were off the boat, I took some time to tidy up the lazarette by vacuuming and cleaning it with a bilge cleaner then spraying it down with a hose. I also stripped the worn paint from the metal quadrant base and re-painted it with a primer and 2 coats of enamel paint. I replaced all 4 stainless steel clamps on the rubber lip (where the rudder post exits the hull) since the old ones were also showing signs of rust. I used the heavier duty ss clamps that have a bolt and locknut for tightening. In the process, I discovered a zerc fitting, so I shot some grease into it and will be interesting to see if the steering becomes any easier. Finally, I inspected the wire cable and fittings and all looked good. When re-assembling, I shortened both ends of the wire cable to get a bigger adjustment range with the ring bolt and with proper tensioning, it removed the small amount of play that used to be in the steering system. These parts (cable, chain, quadrant, fittings) are some of the most critical on a sailboat, but often don’t get much attention because they are out of sight. I’ve been guilty of not inspecting them often enough so will try to start doing so at least once a year.
Here are some pictures of the project….
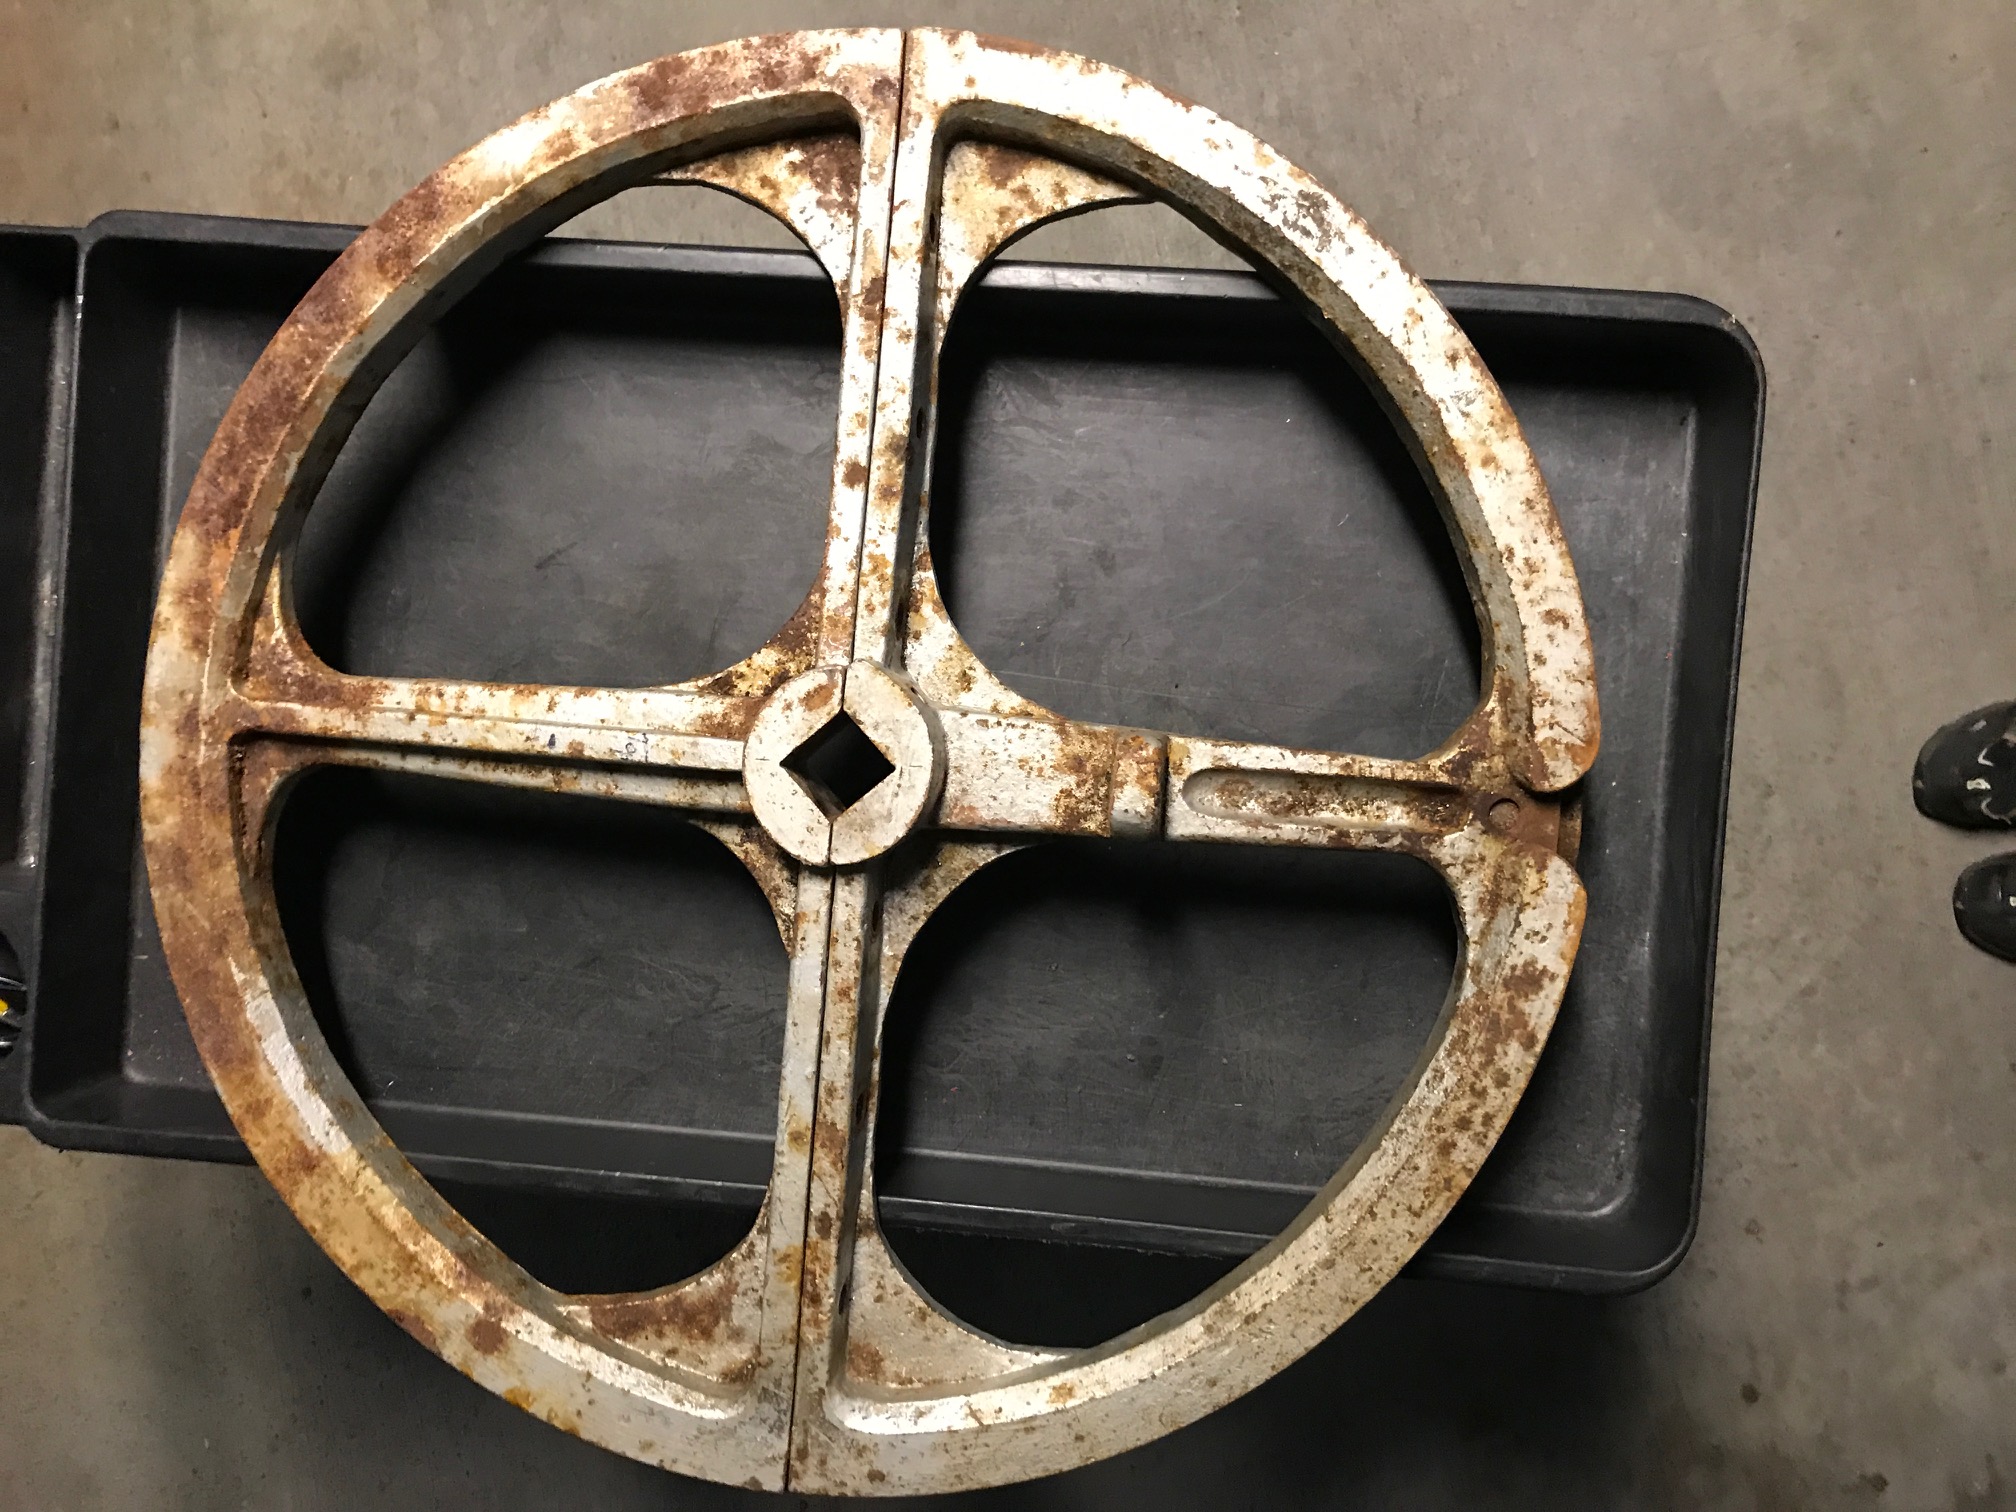
Quadrant installed after powder coat: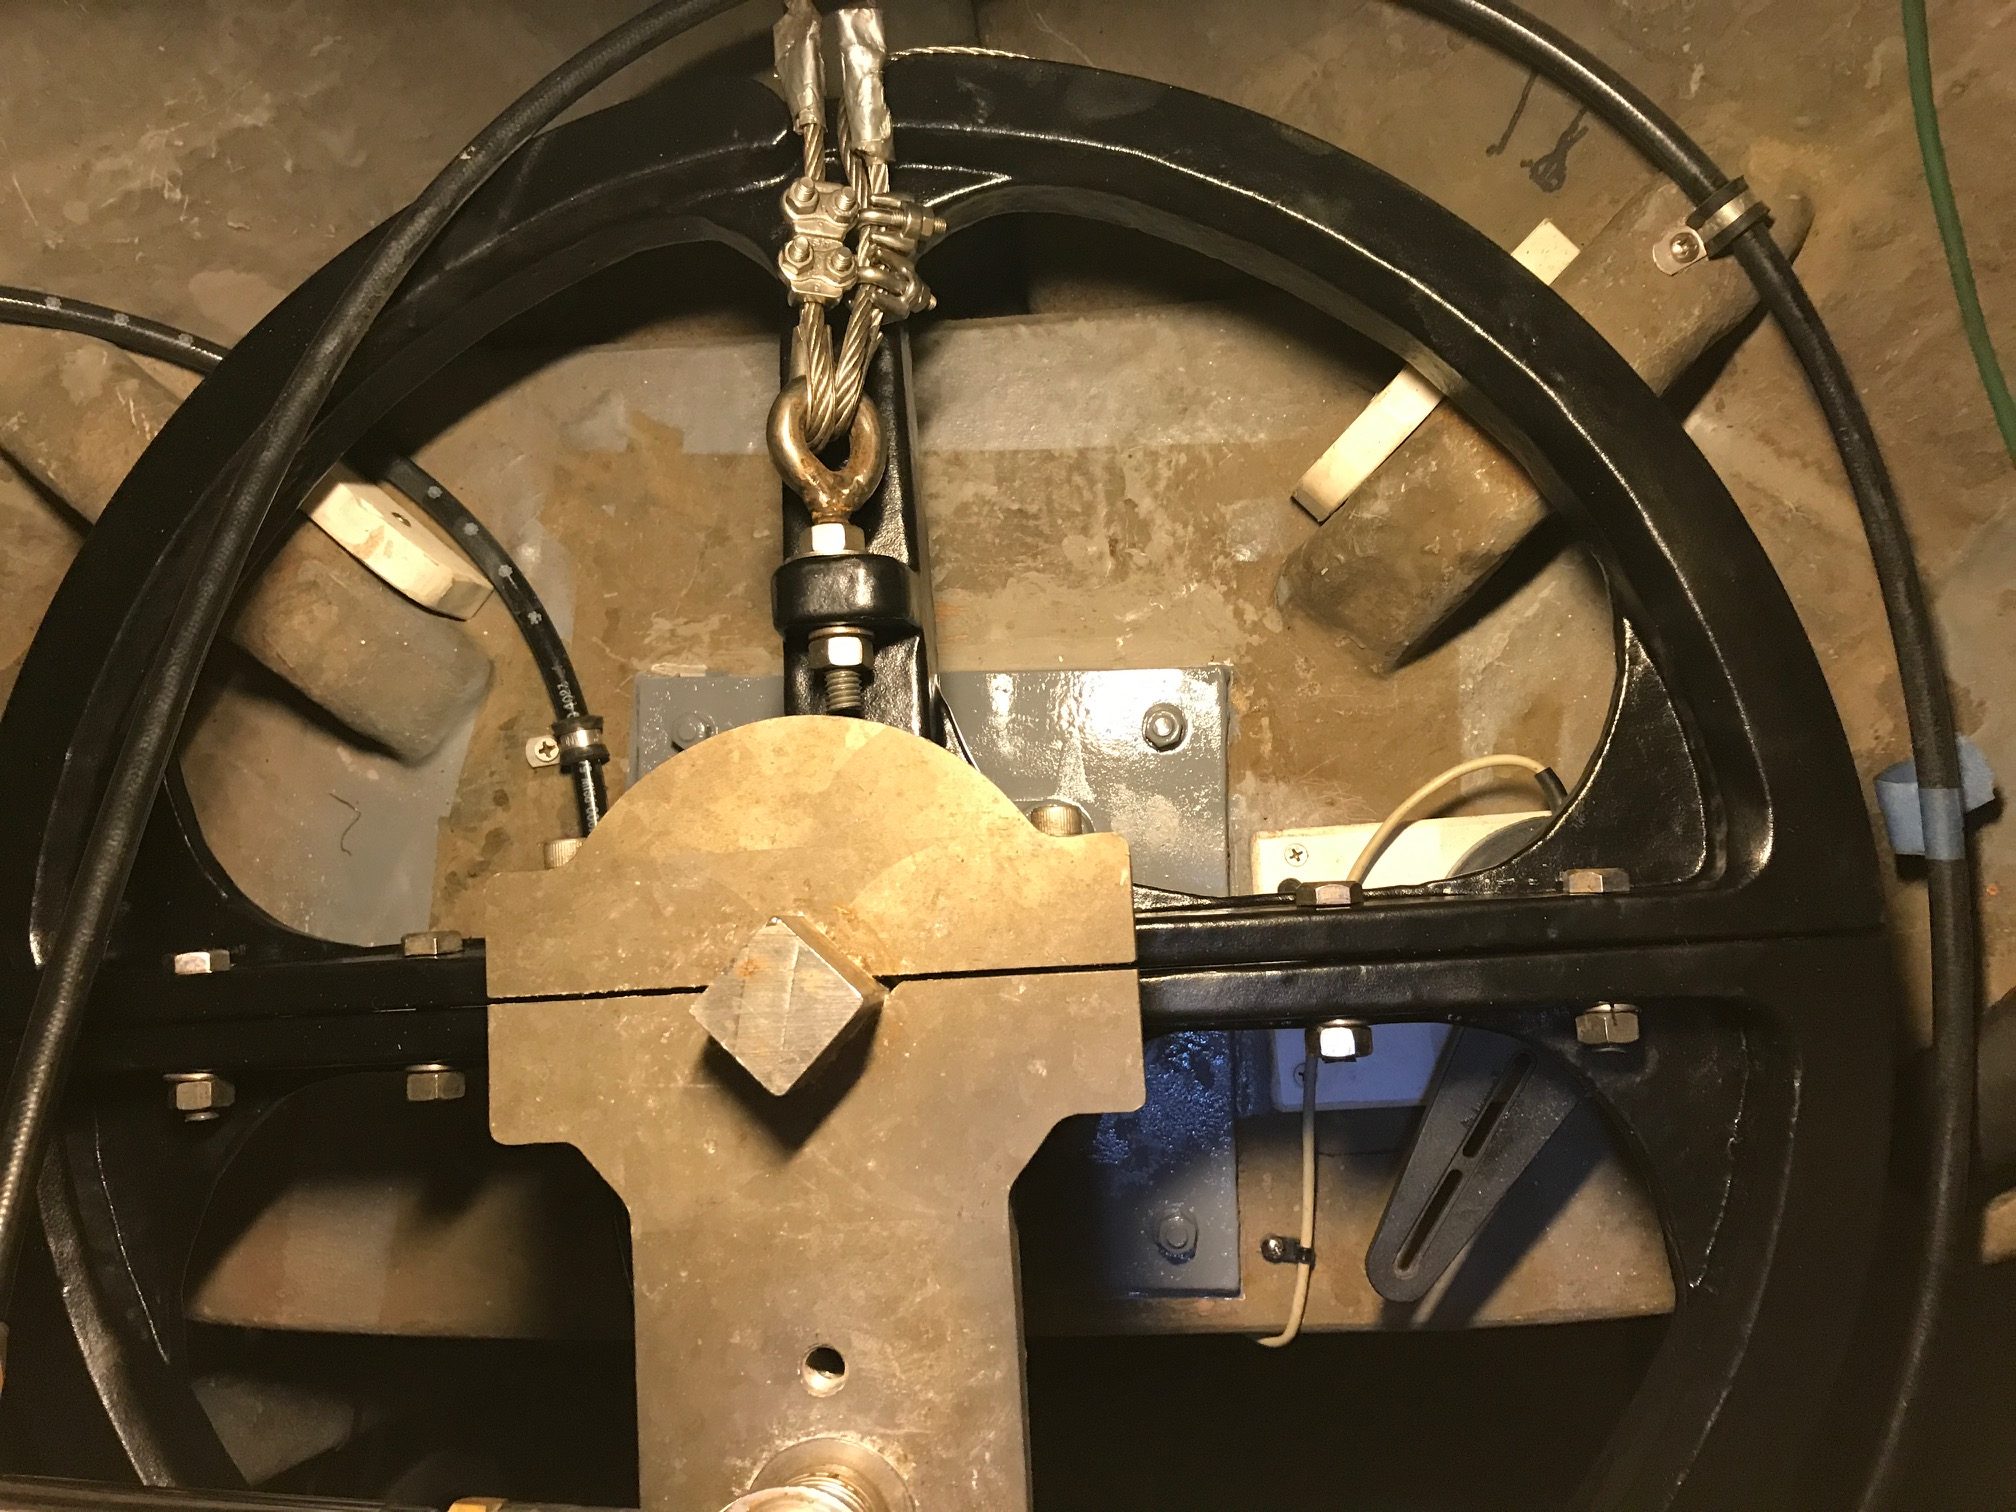

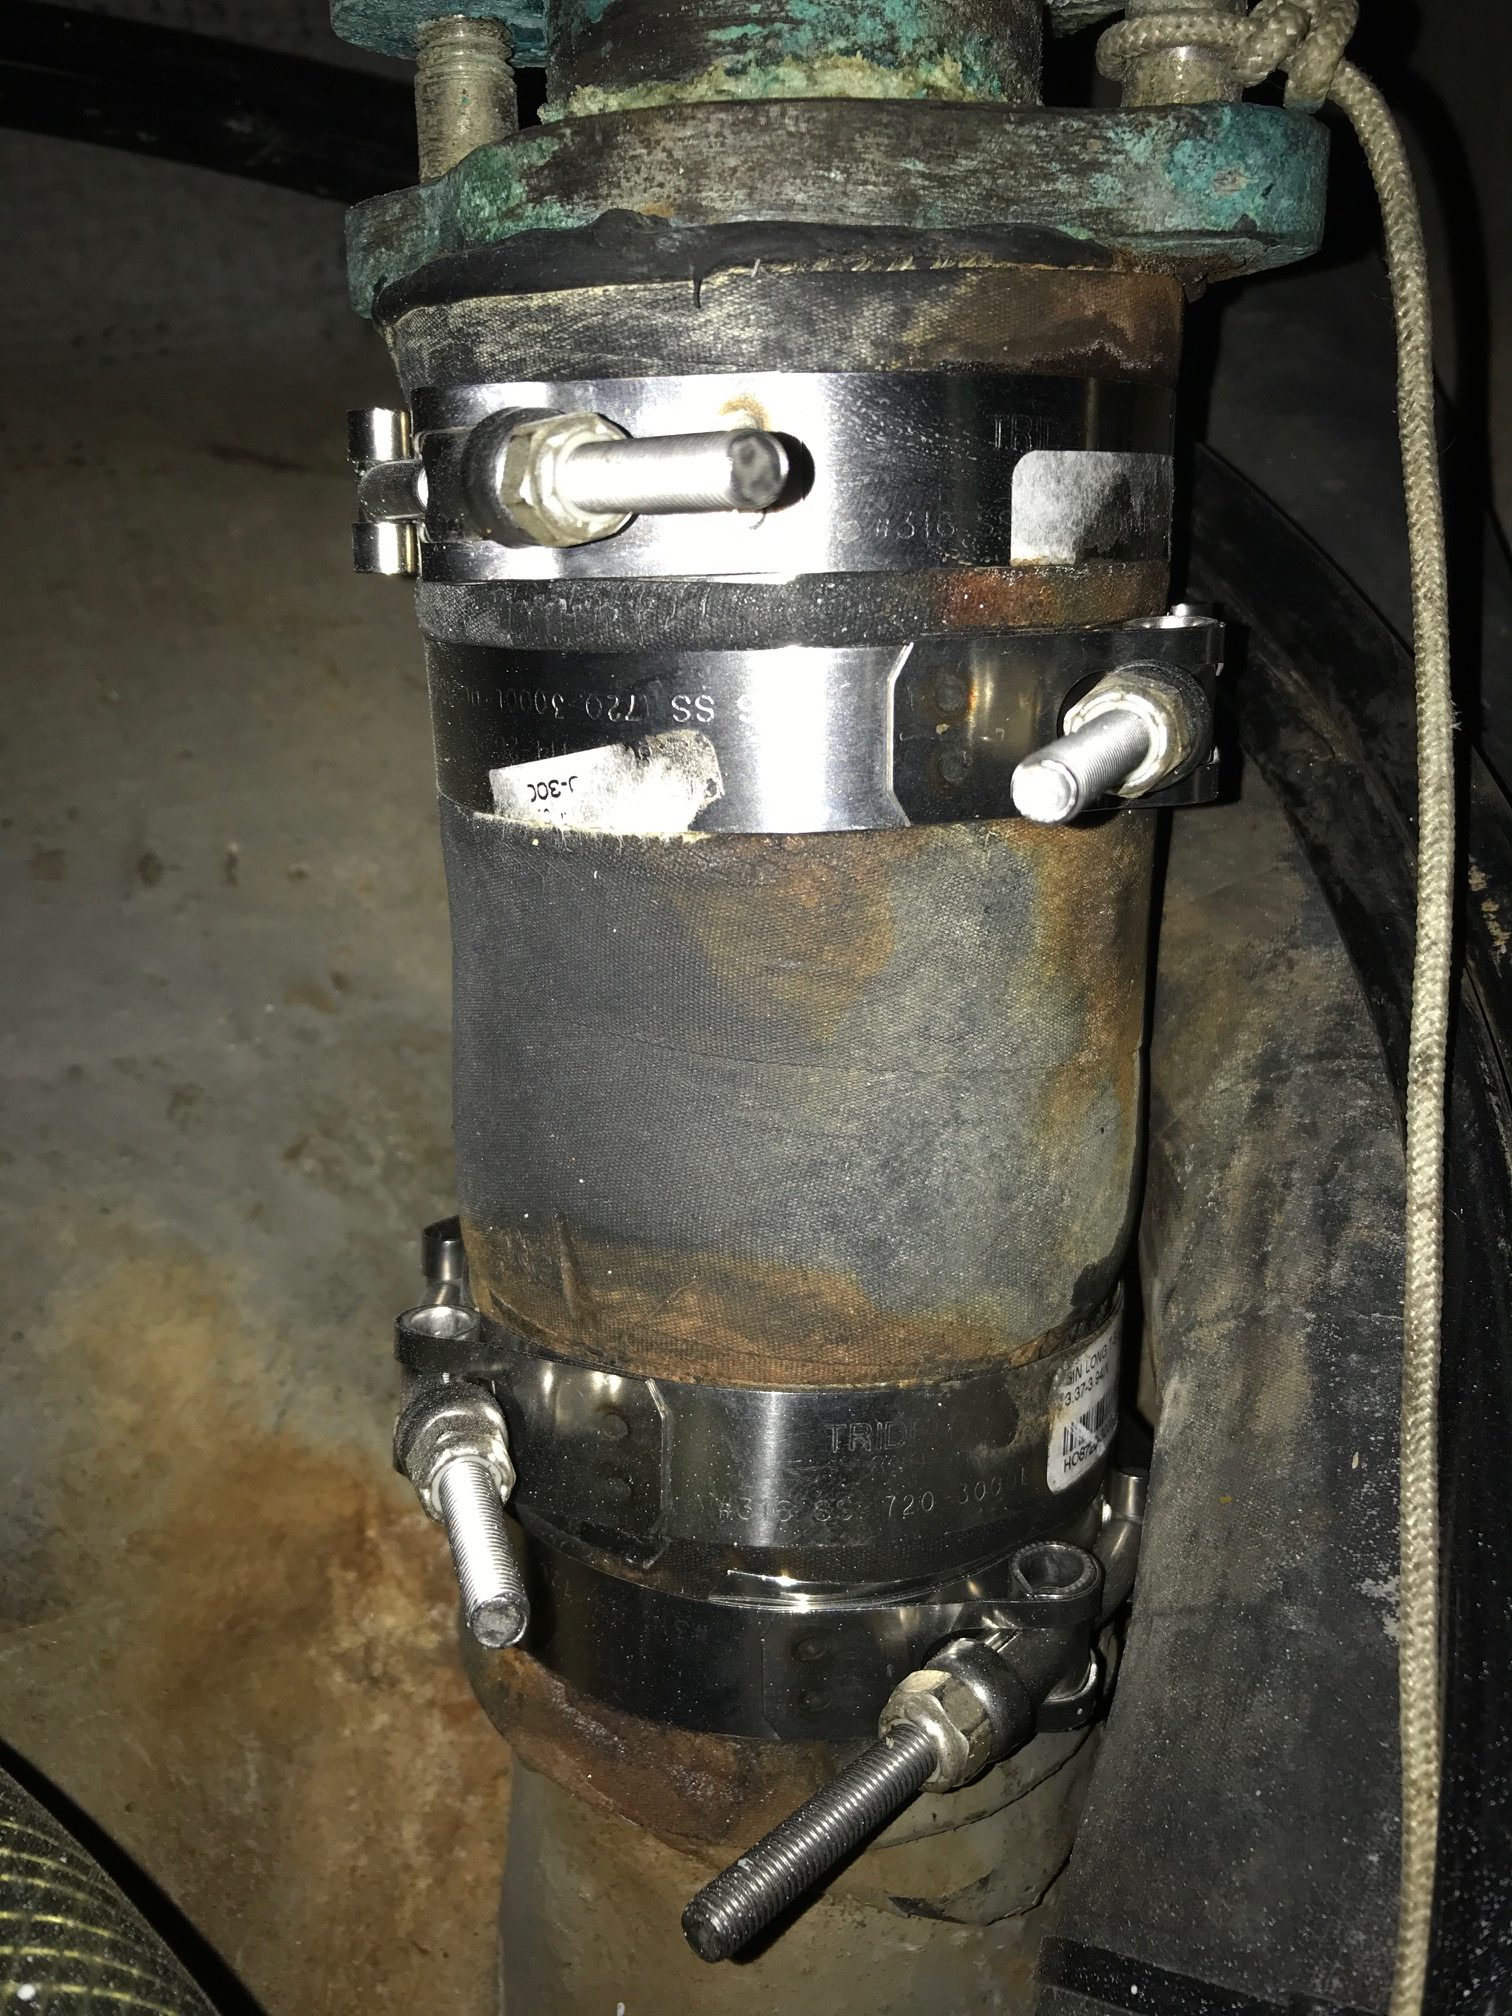
Rudder post base after painting: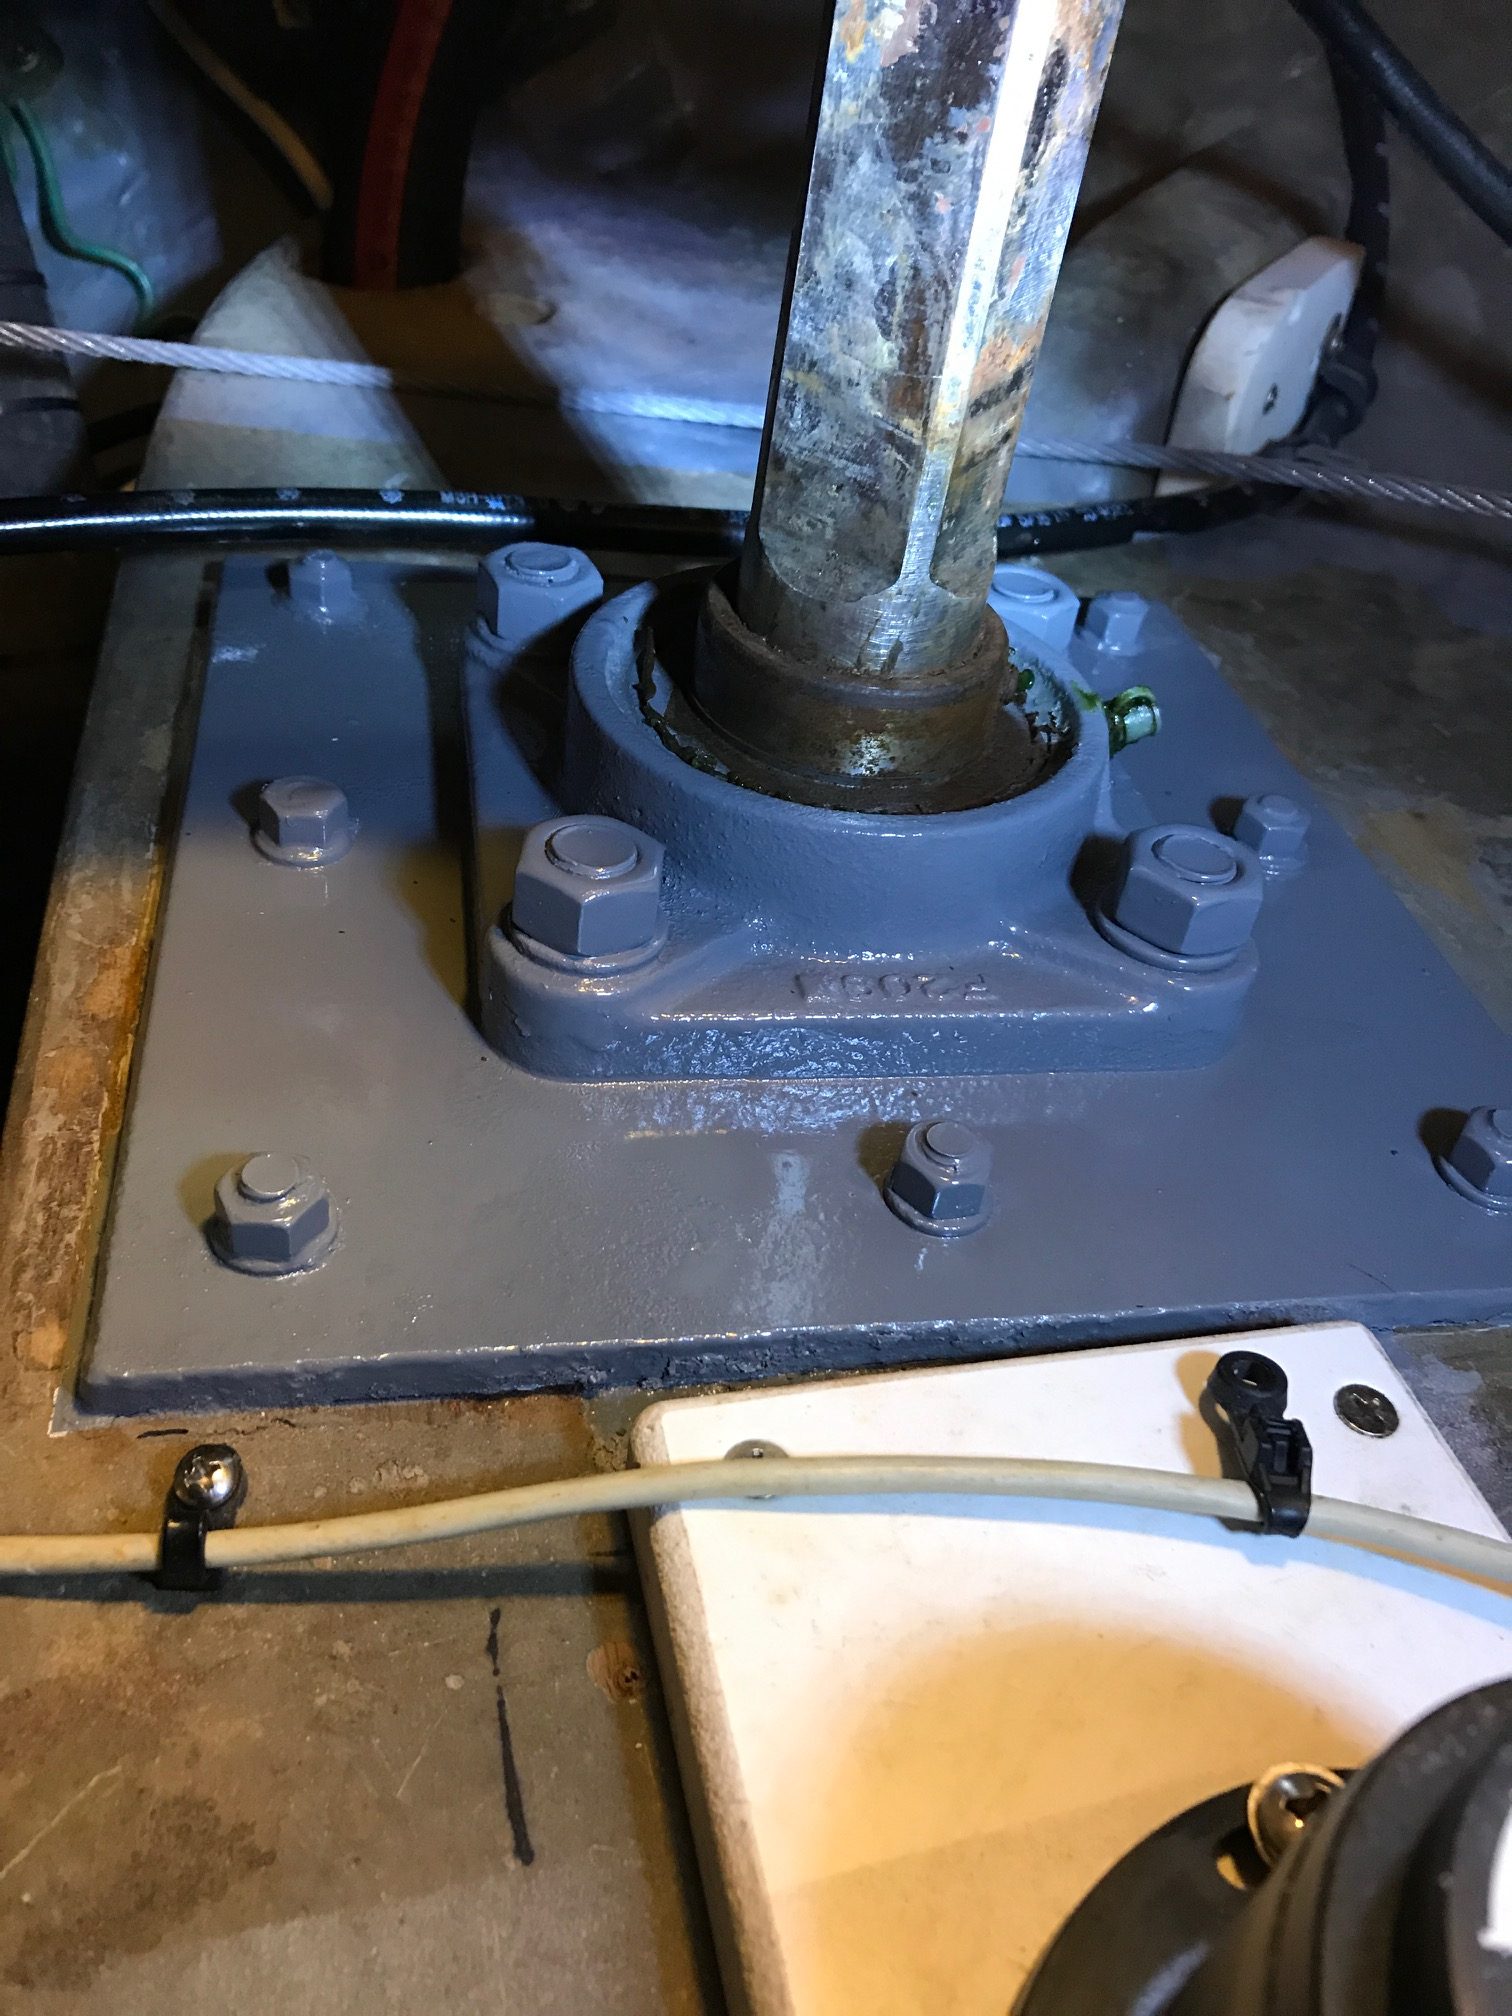
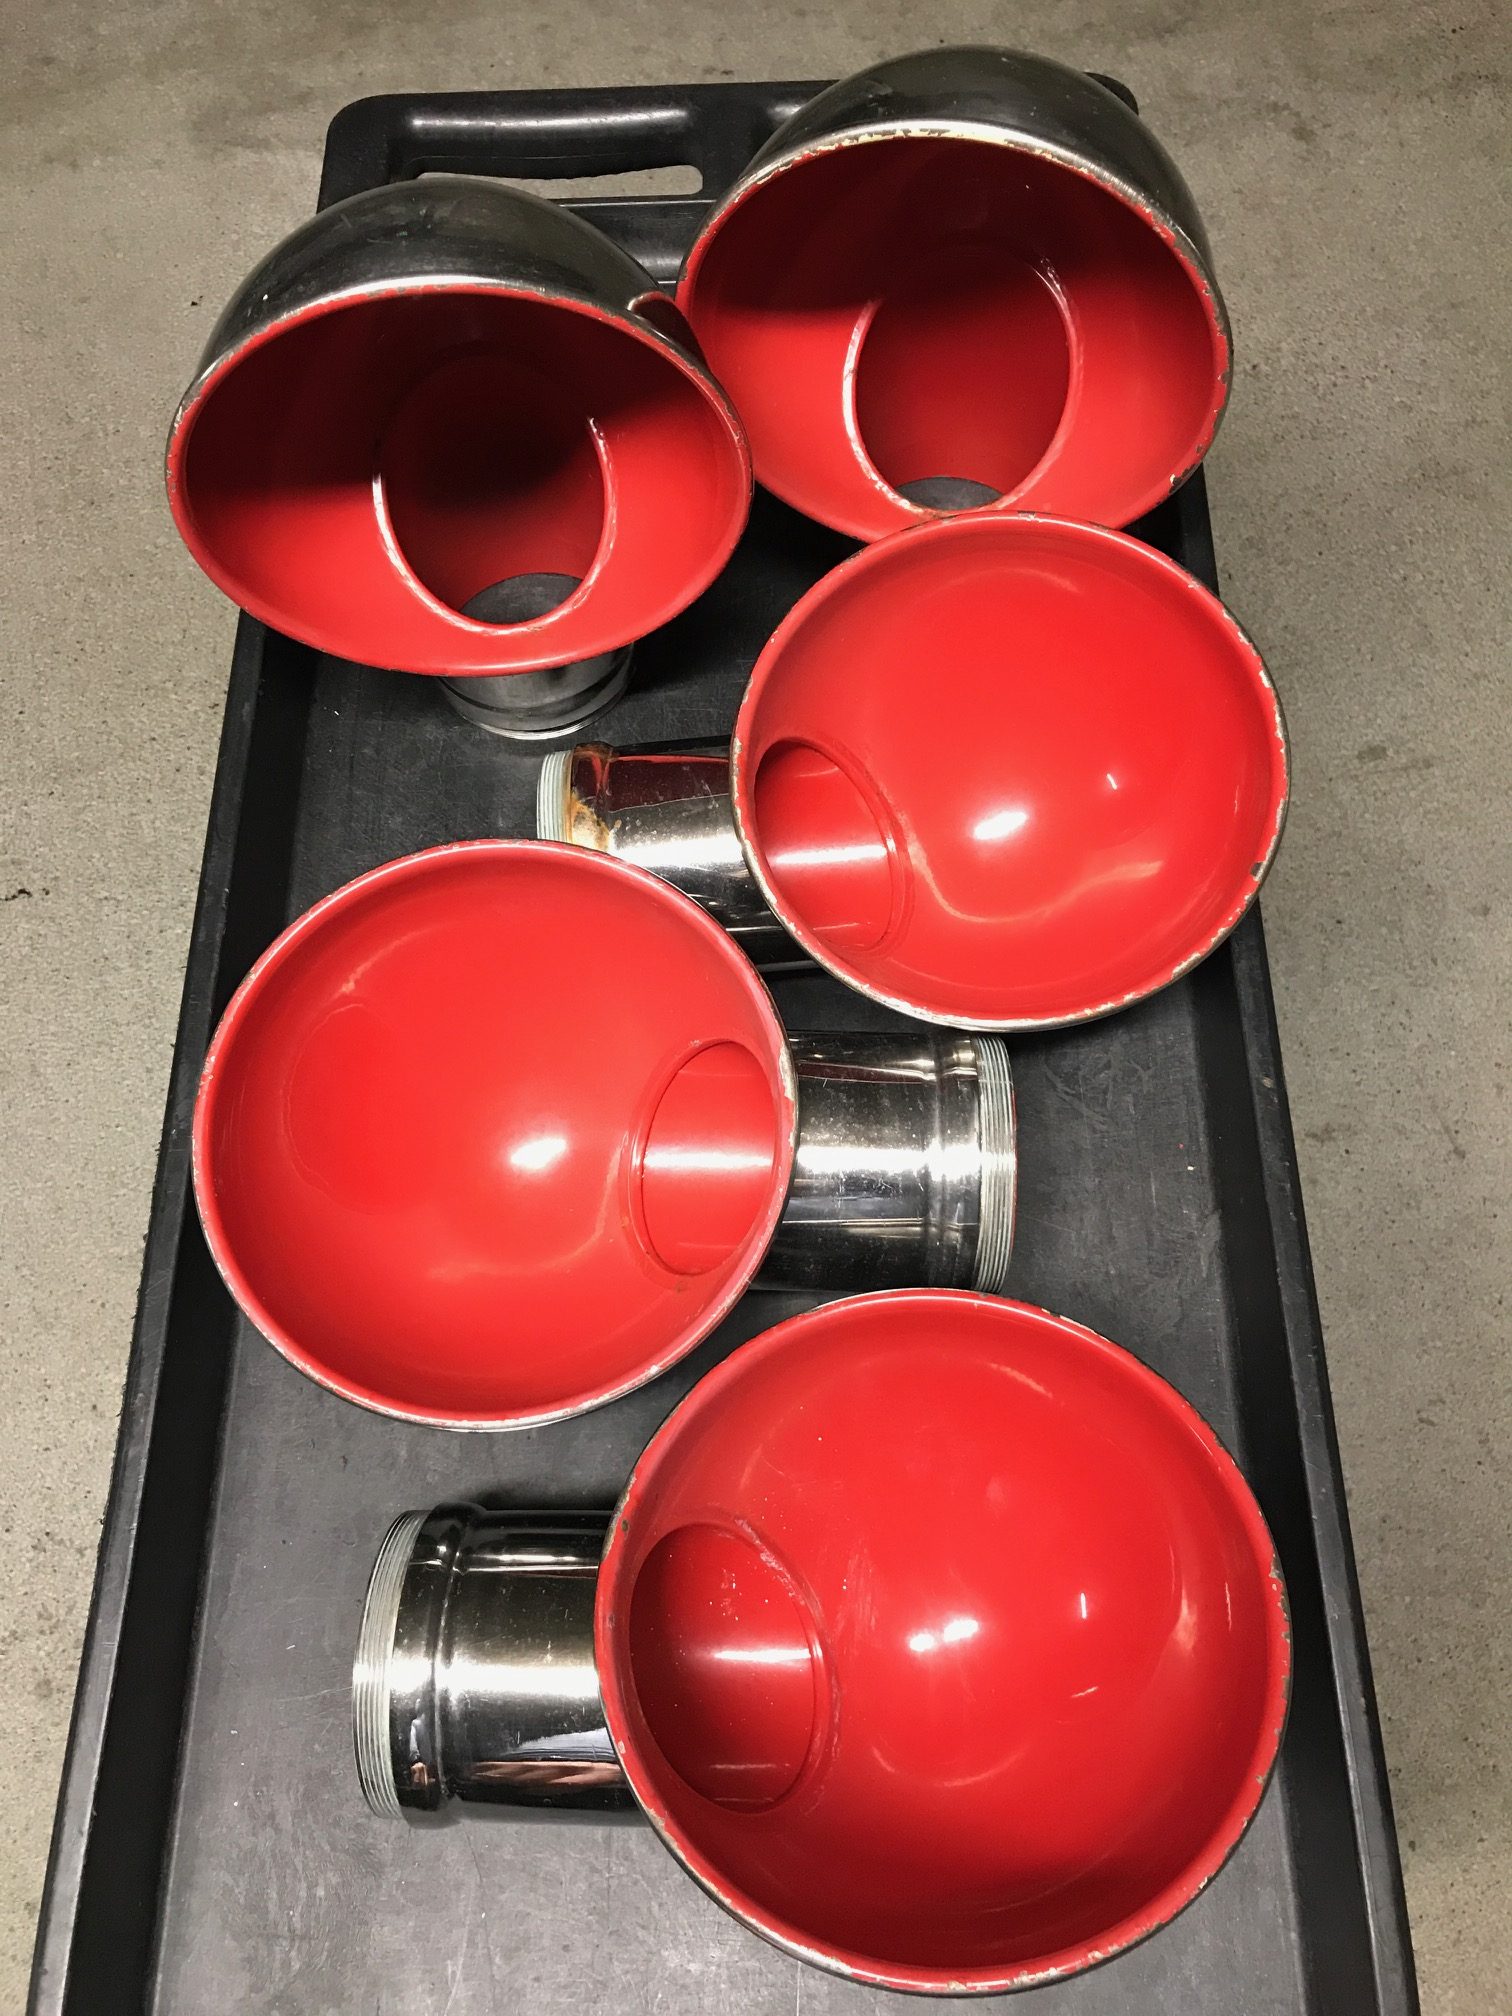
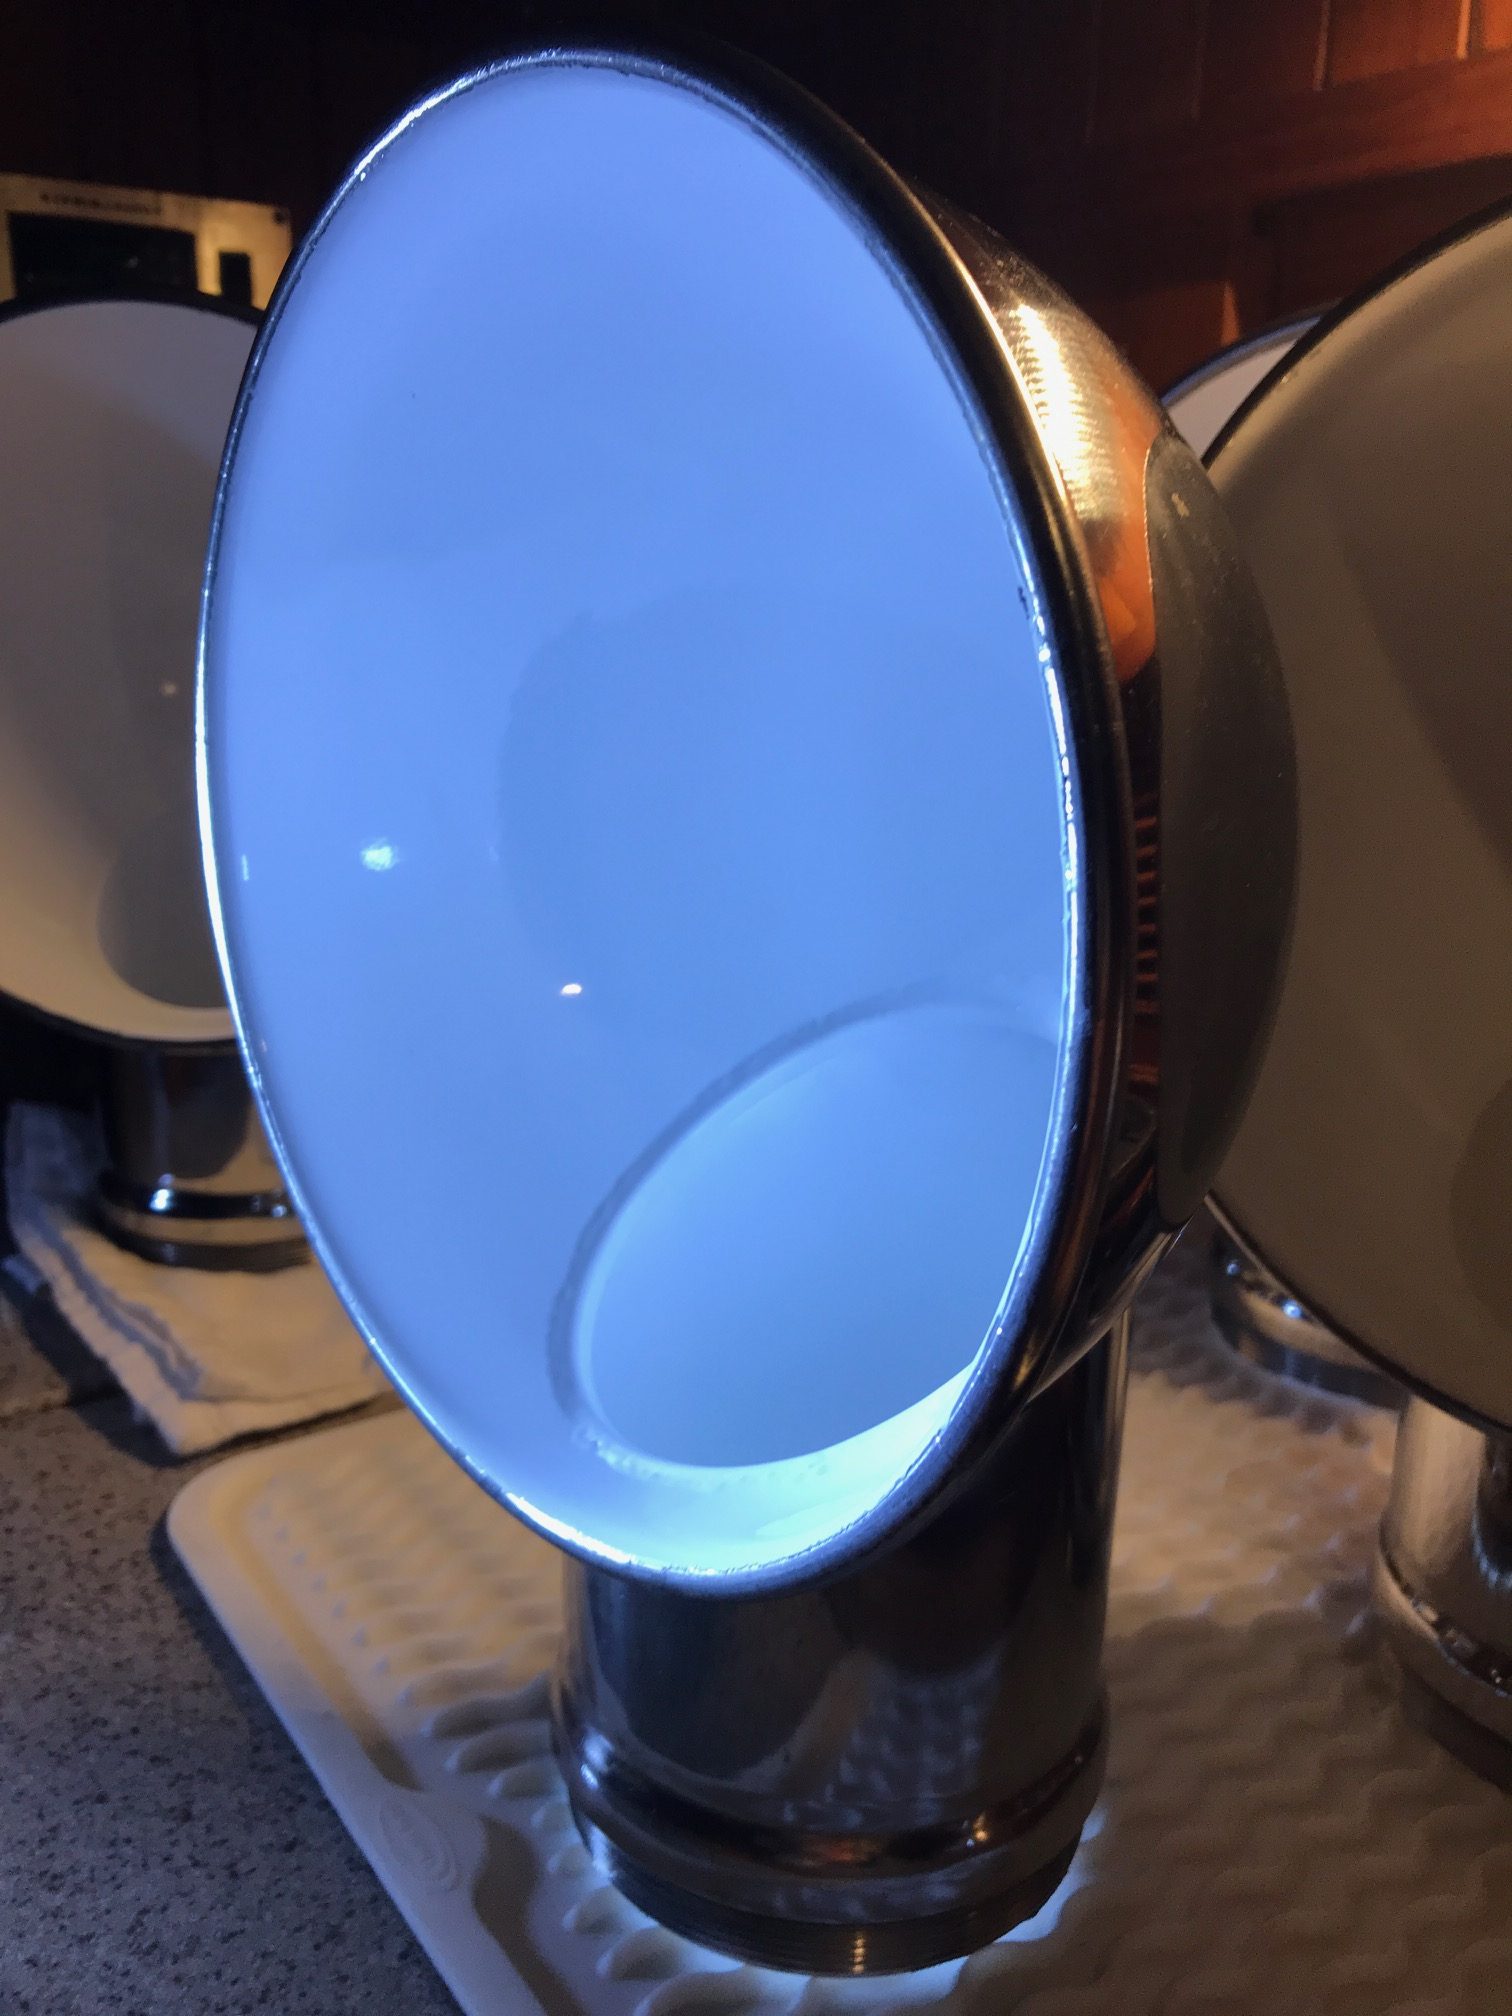
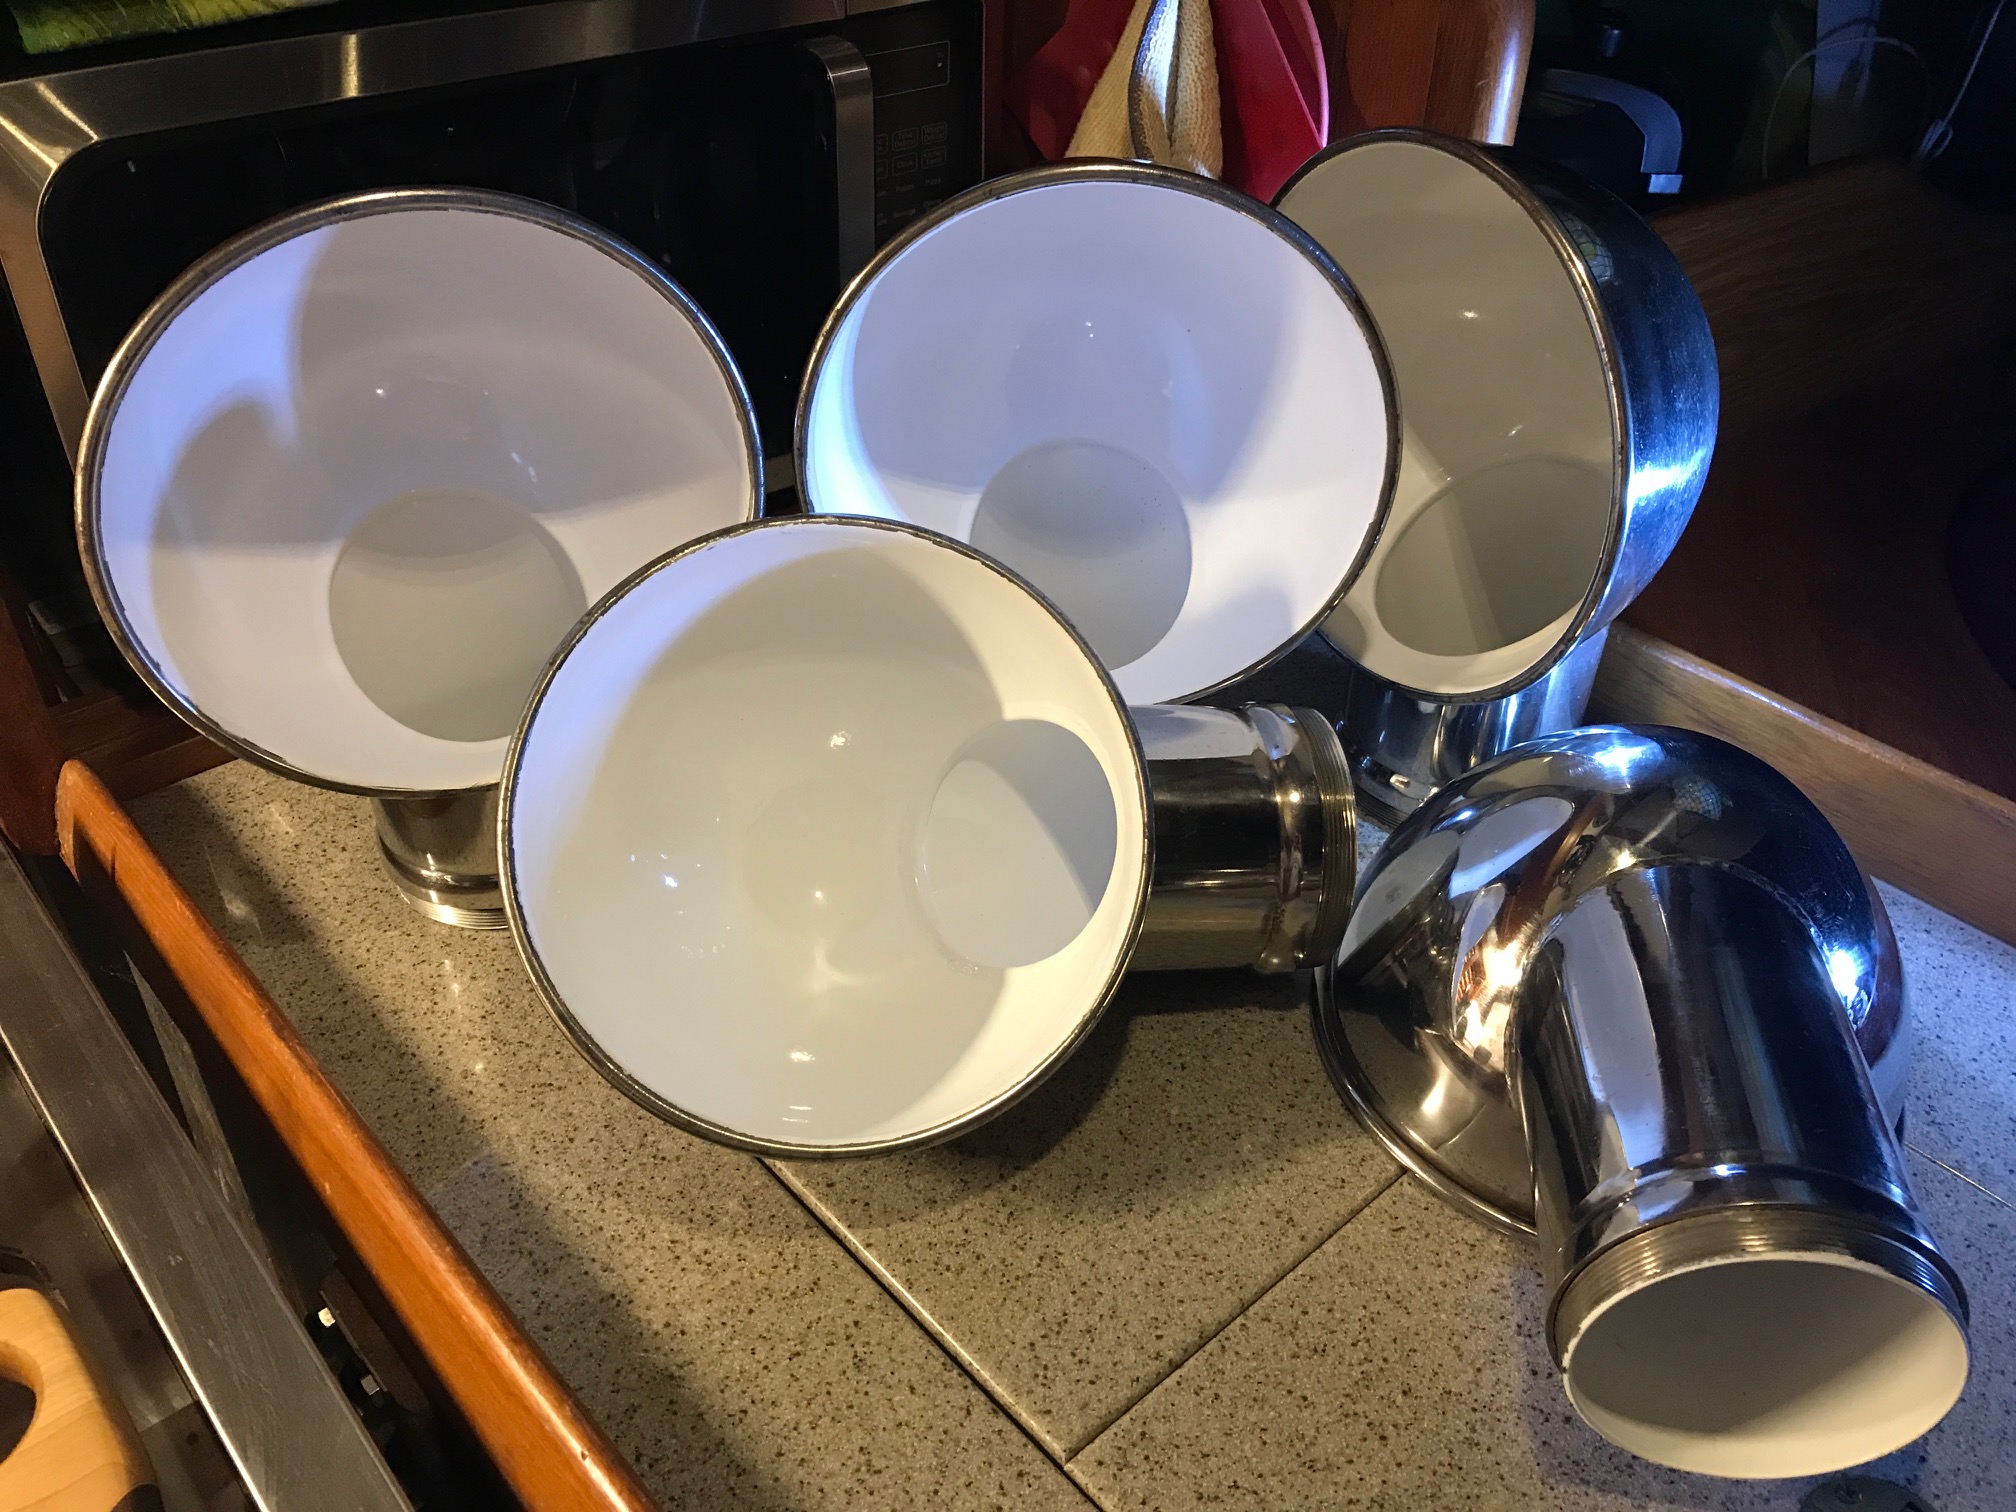
I also had the 5 dorades powder coated white on the insides (they were previously painted red). Then I polished the outside stainless steel, so they came out pretty nice.
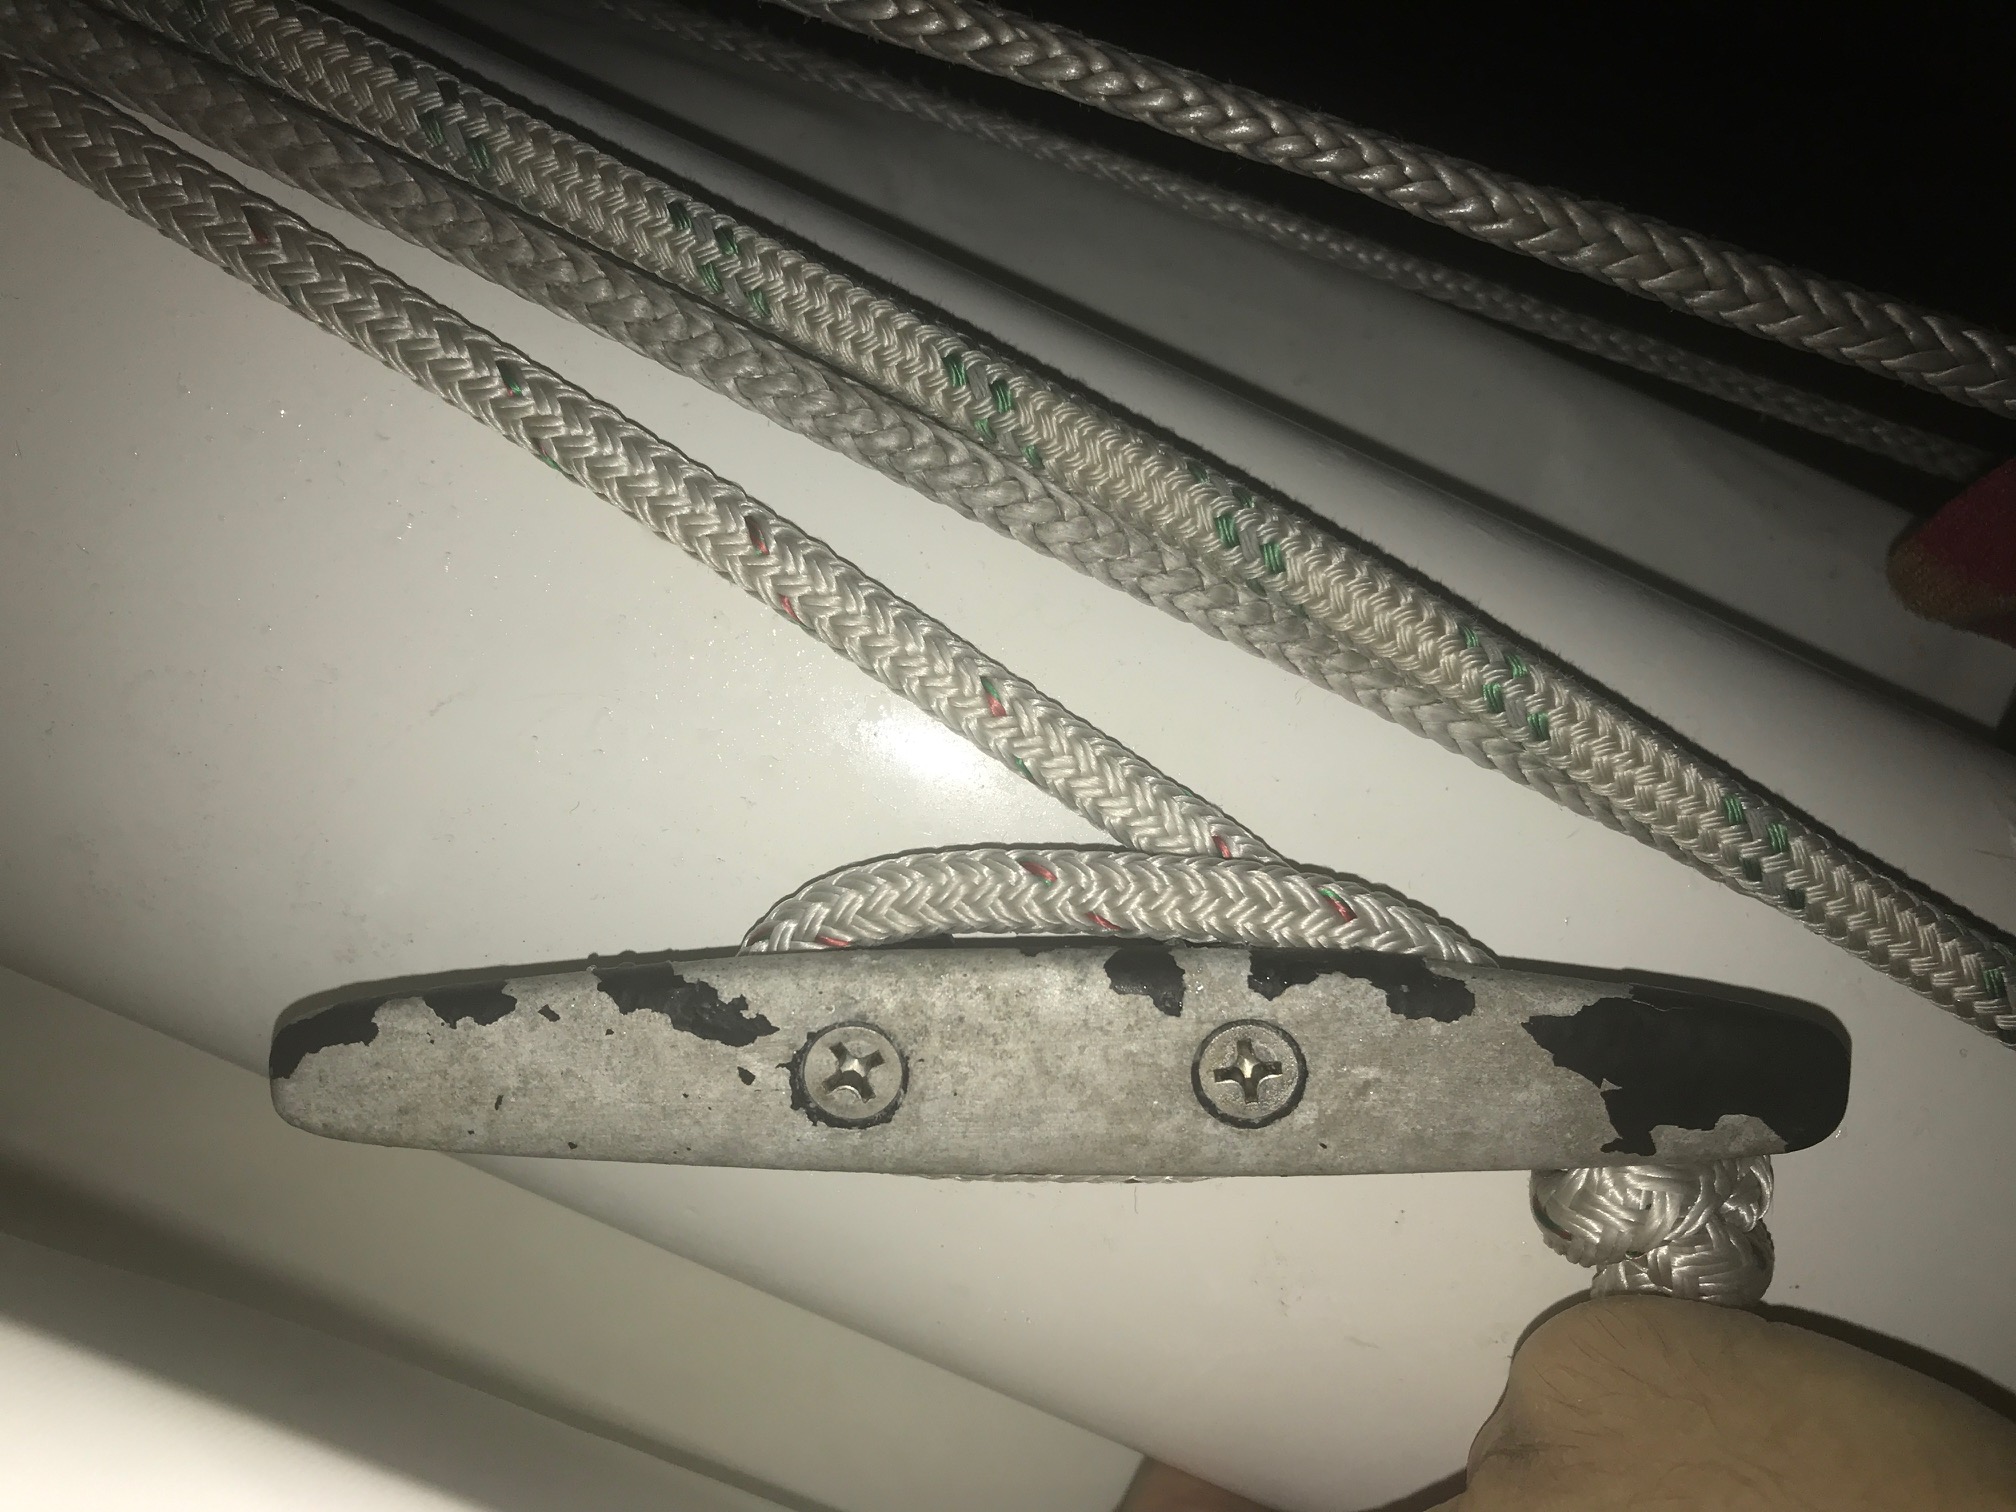
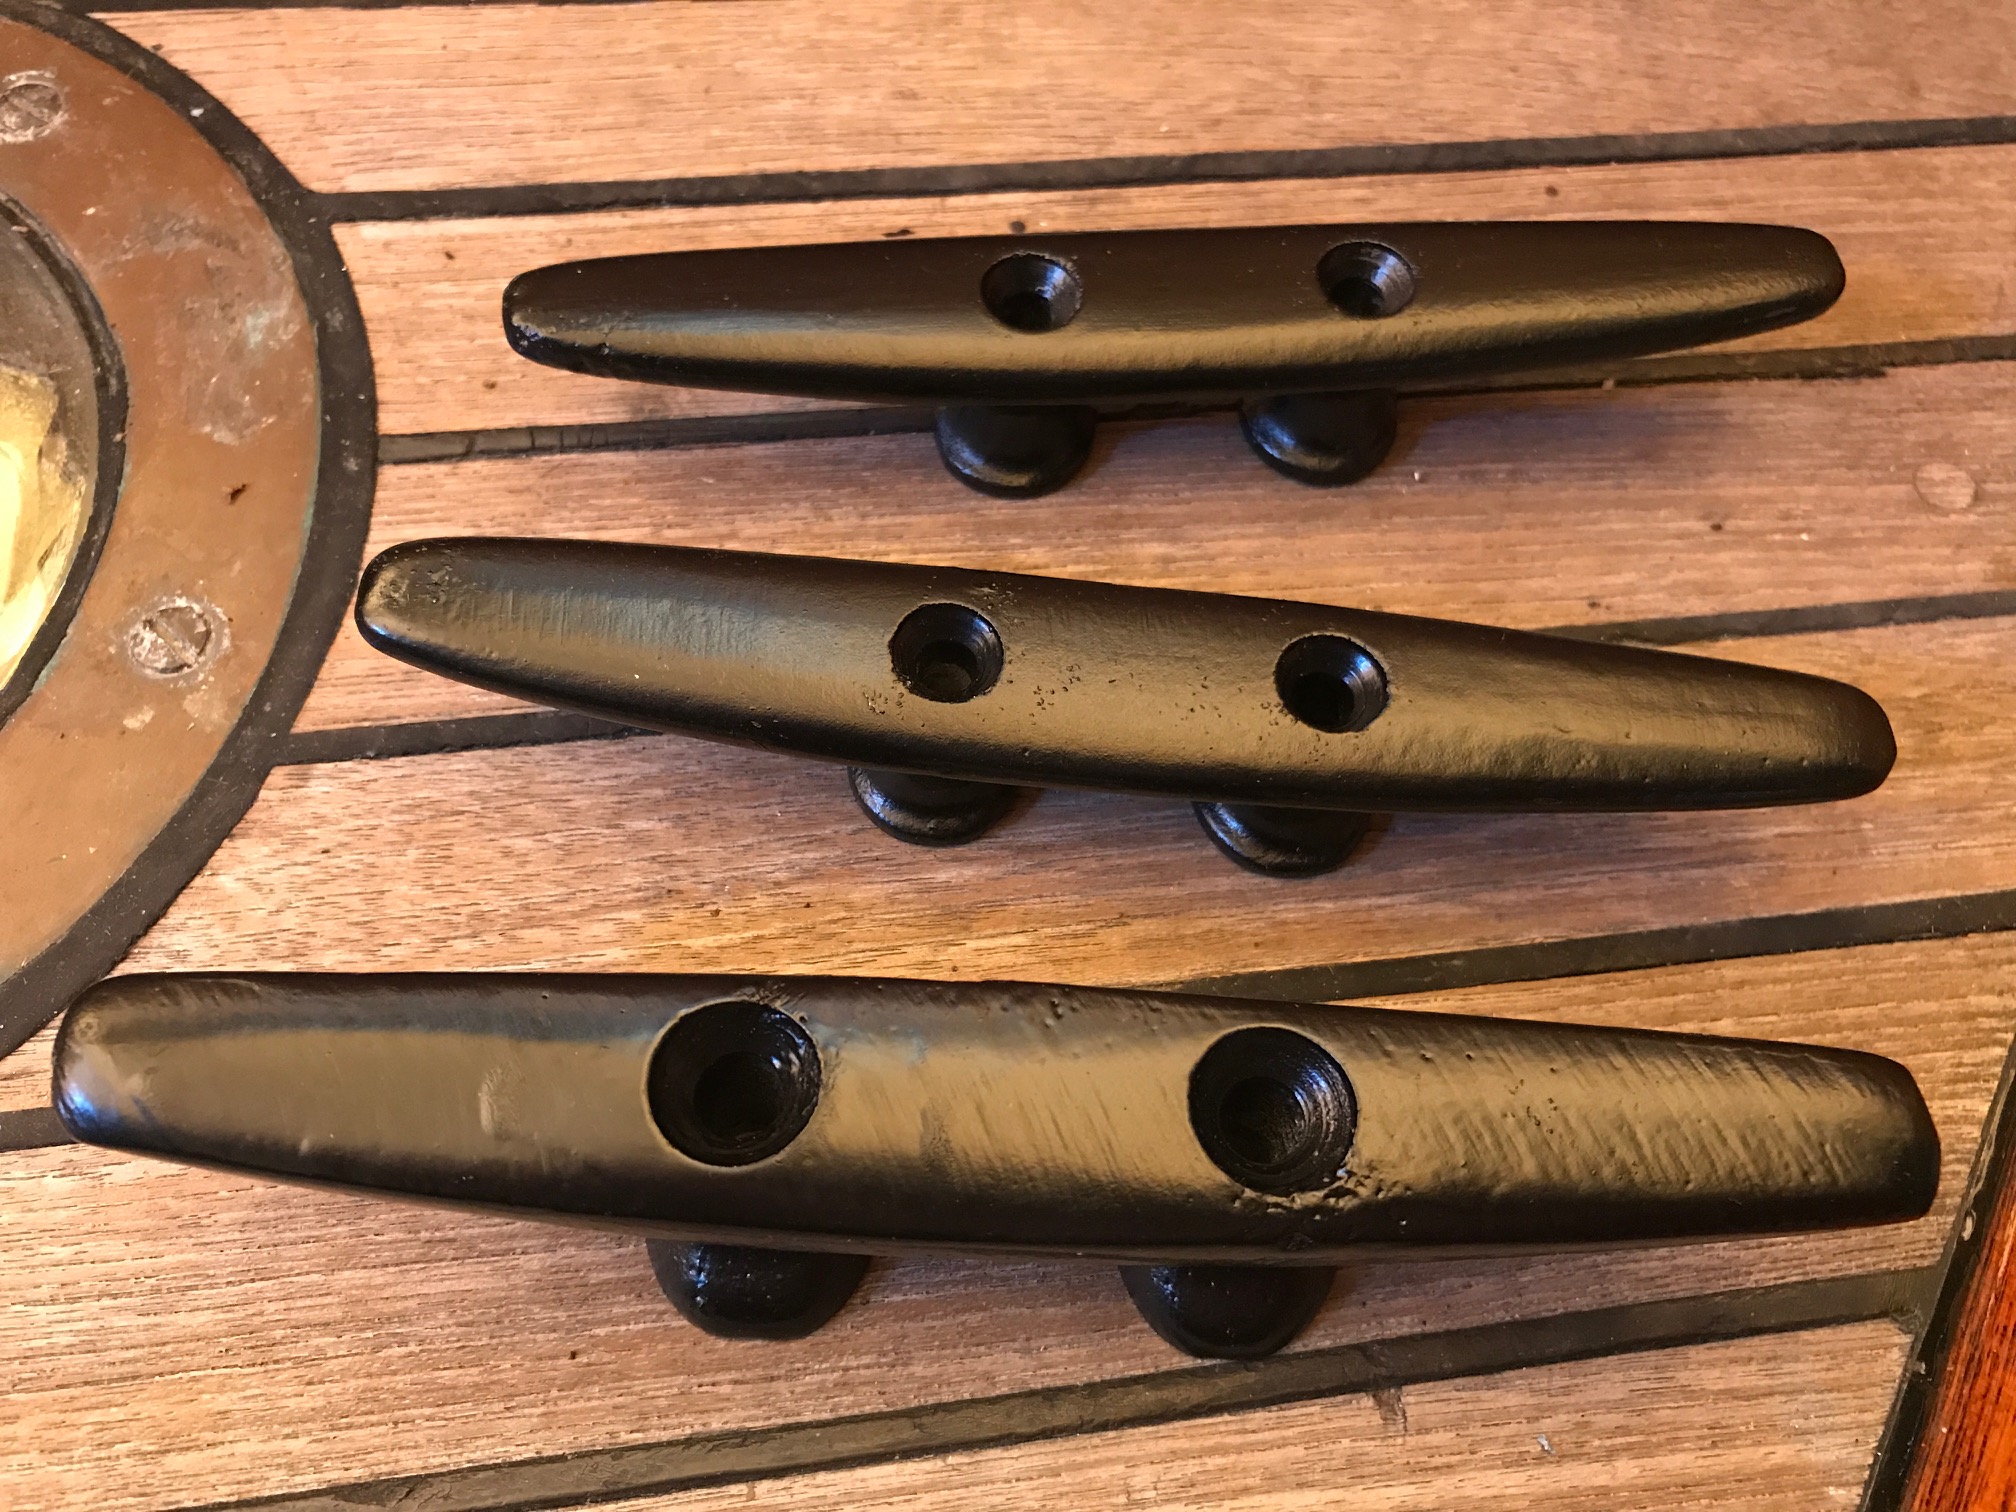
While I was in the painting mood, I removed 3 aluminum cleats from the boom that needed some attention. I had them sandblasted then I sprayed them with 3 coats of satin enamel. At first I was going to just buy new cleats, but couldn’t find any the same size with the exact hole spacing. Ones that were close in size were selling for around $75 each, making $10 in paint to restore 3 of them a bargain!