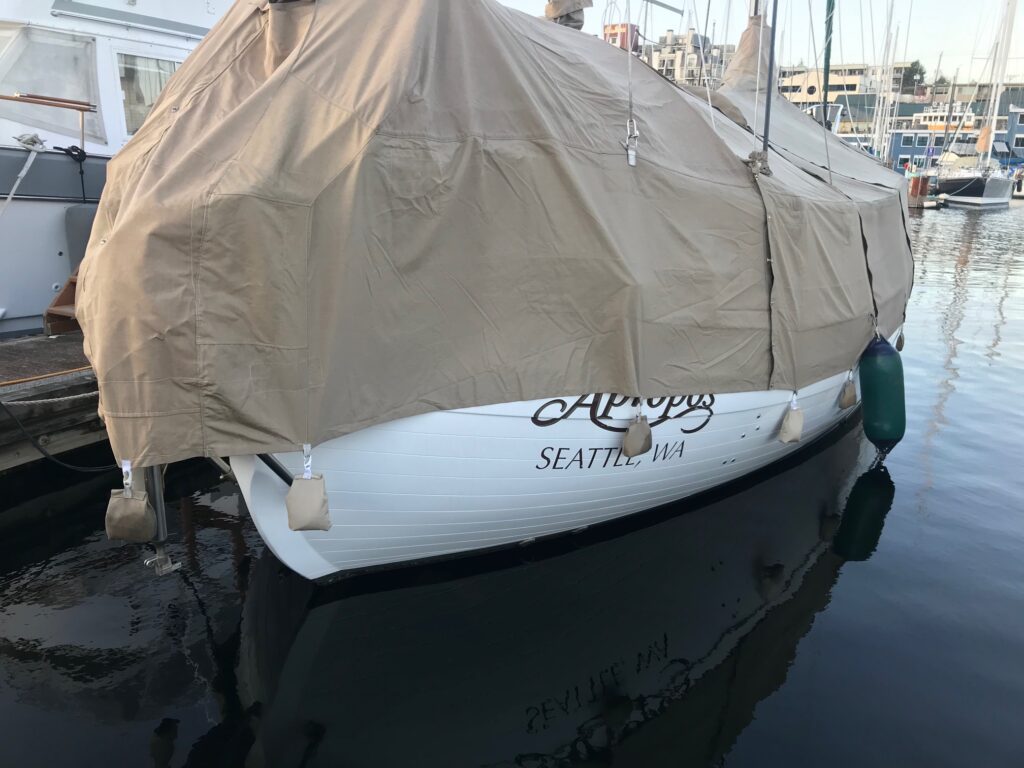
With the full cover on that protects Apropos from the winter wet season, I make progress on my long list of projects.
Boat cover sand bags
There are 19 canvas sandbags used to add weight along the bottom of the boat cover and over the 15 years since the cover was made, a few were accidentally dropped overboard. So during a rainy Seattle weekend, we set about making 5 new ones. We already had all the canvas and webbing, so this project just involved designing the pattern, sewing, and buying a 50 lb bag of sand and plastic clips. Now there are 19 sand bags again plus 1 spare.
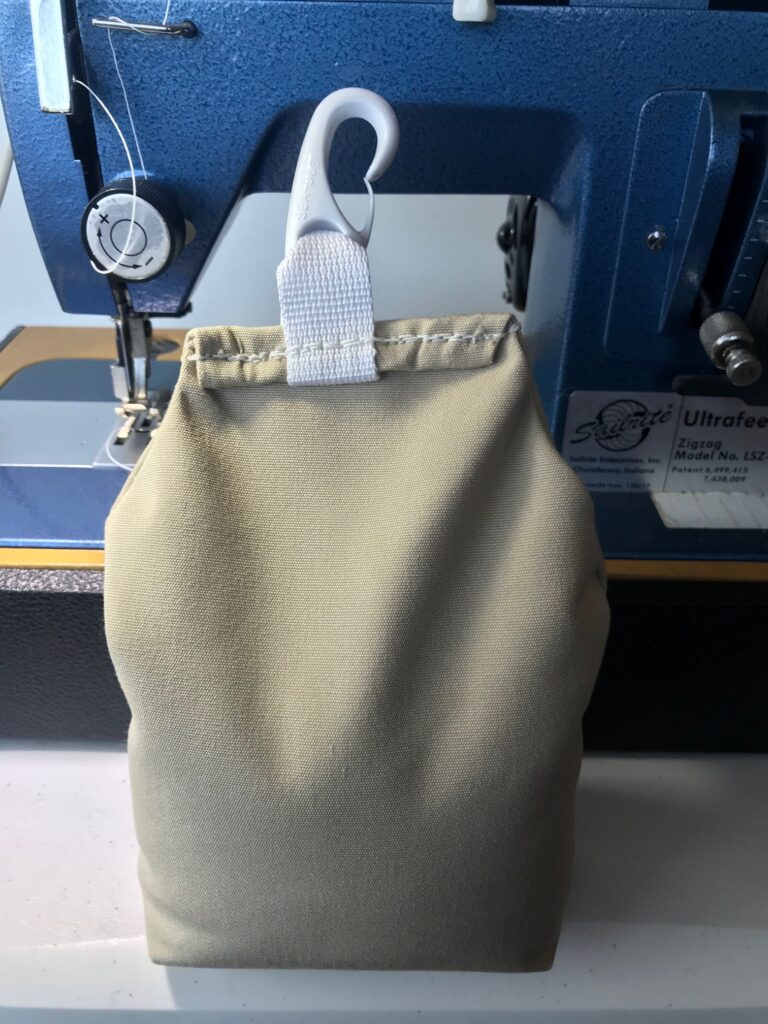
completed sand-filled bag 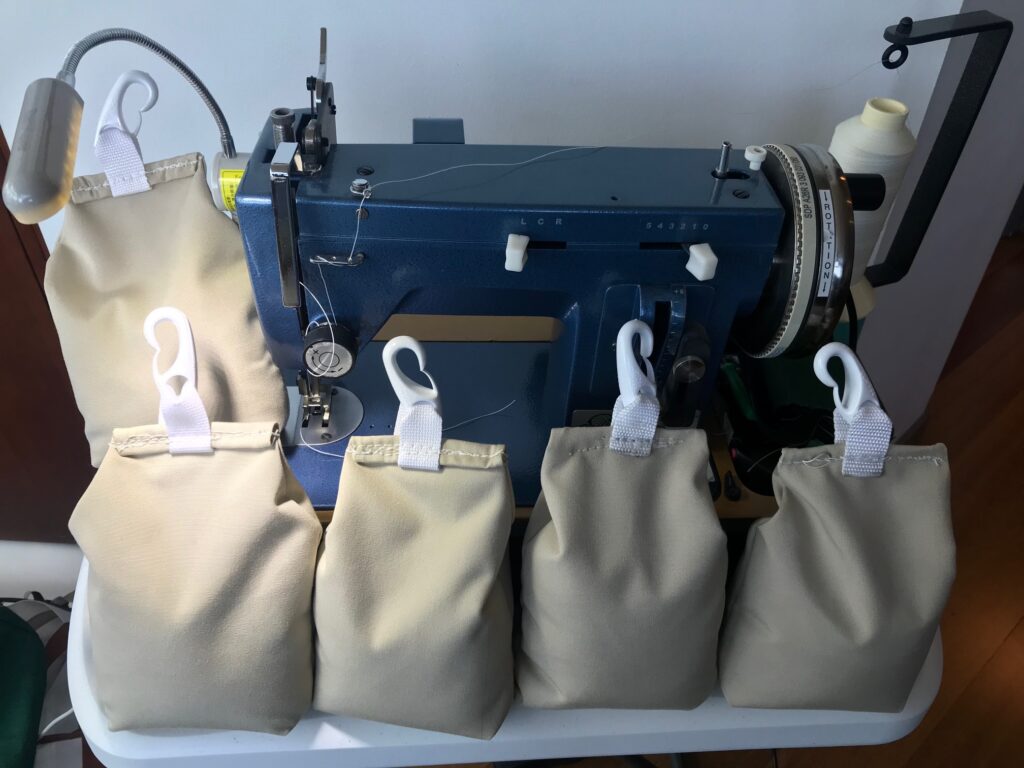
finished making 5 bags
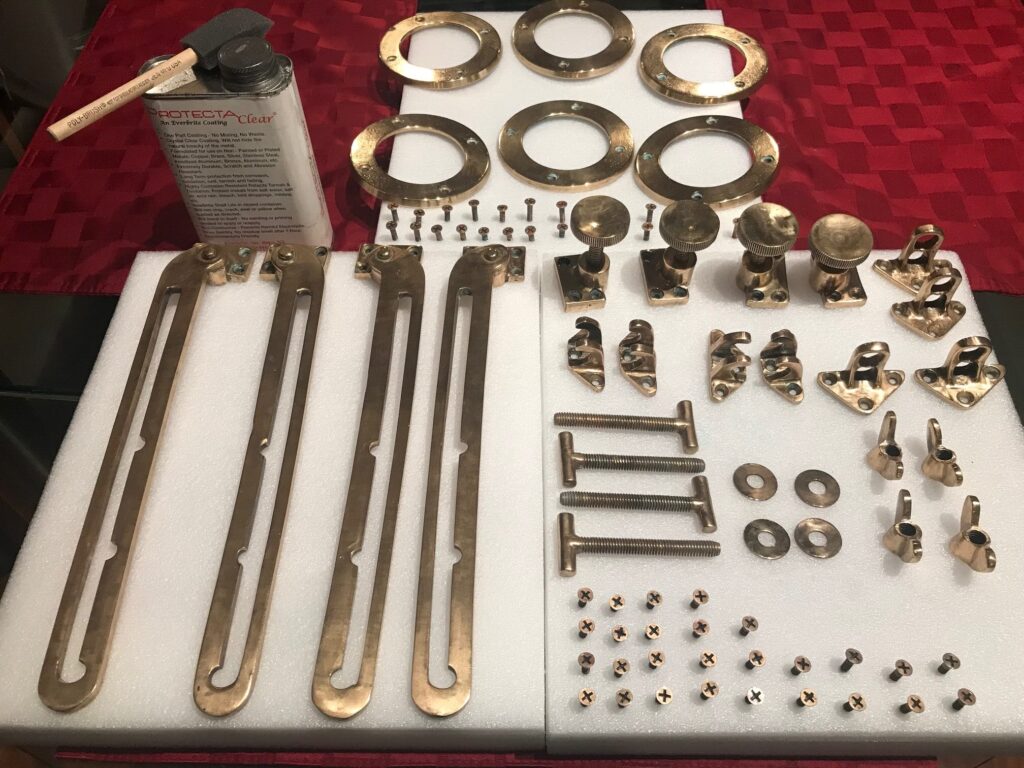
Butterfly Hatch Bronze Polishing
I removed, polished, and applied 5 coats of Everbrite ProtectaClear to the cast bronze butterfly hatch fittings and the 6 bronze rings for the courtesy lights. This adds to my list of interior bronze and brass parts that should never need polishing again, as the ProtectaClear provides a barrier to oxidation. Parts that I finished a year ago are still looking bright and shiny. The key is to do a good job in the polishing step and I use a Dremel tool and a good polishing compound for that.
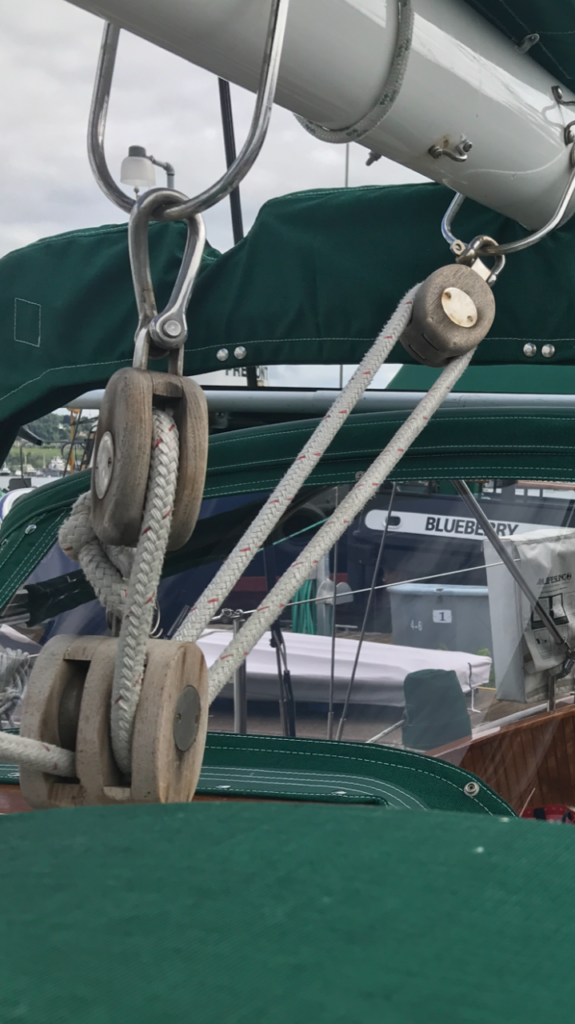
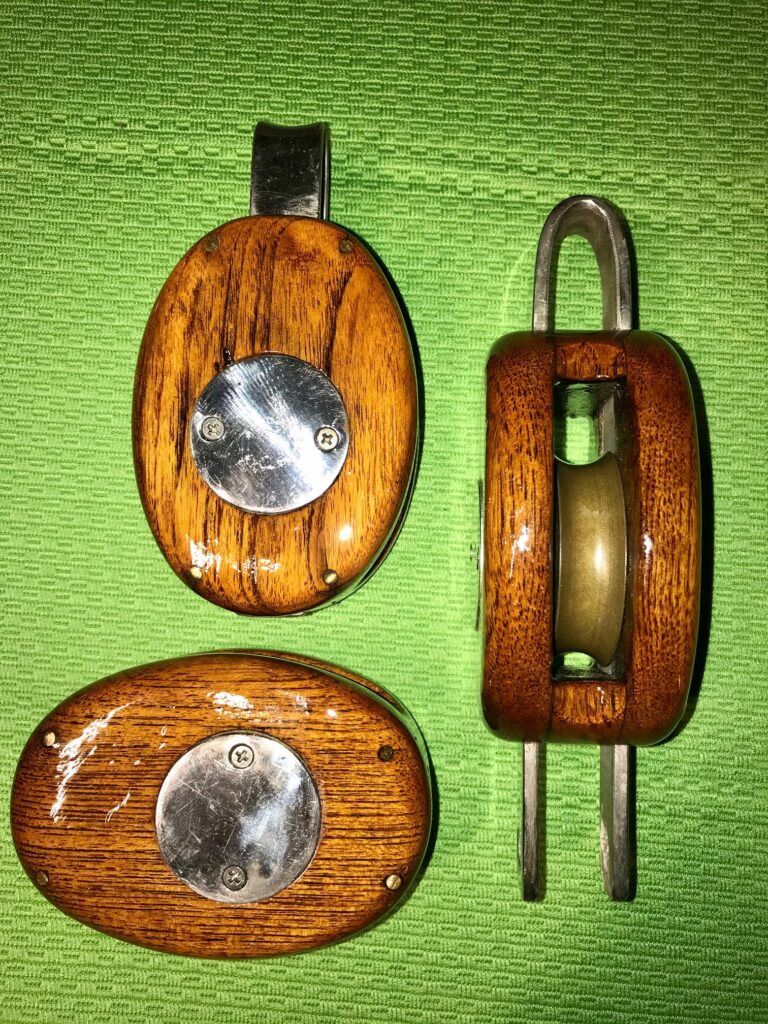
Teak Block Cleaning & Oiling
There are 8 teak blocks on Apropos–5 are used for the Main sheet and 3 for the Mizzen sheet. The 5 main sheet blocks have always remained unfinished and left to go naturally grey. I disassembled the blocks by removing the 4 small screws holding on the round stainless steel covers, then unscrewed the round covers and removed the pin and bronze sheave and ss becket. With only the teak parts remaining, I cleaned and brightened them with the same teak system I use for the decks. After lightly sanding them, I applied 5 coats of teak oil.
Before
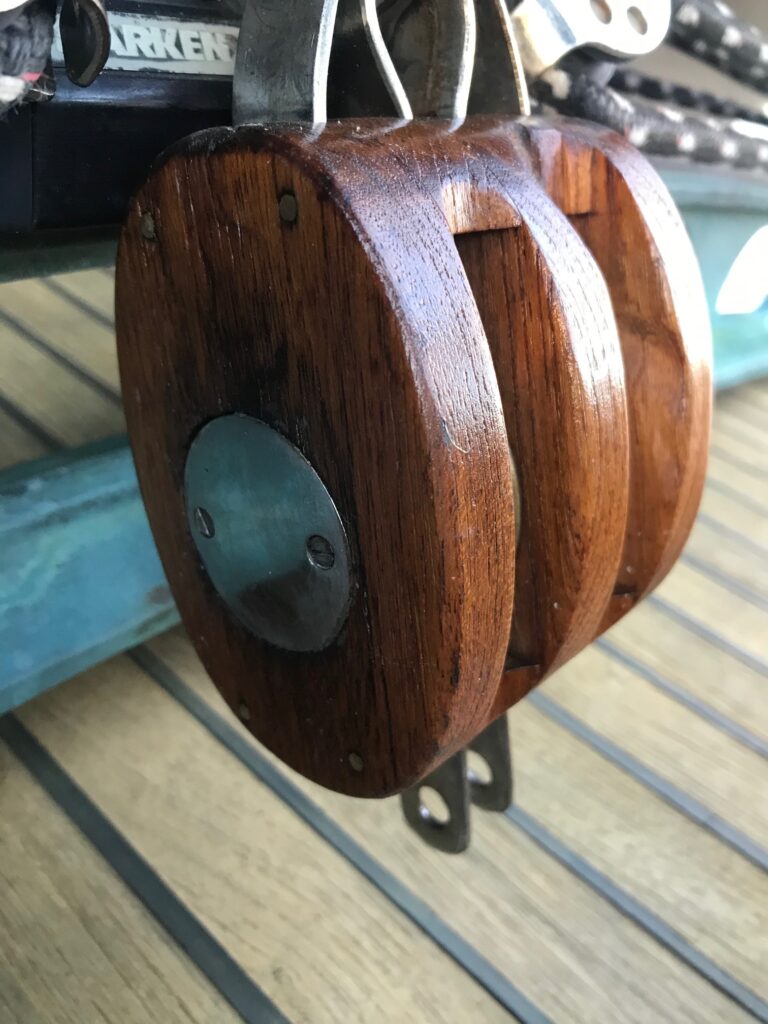
After (double block) 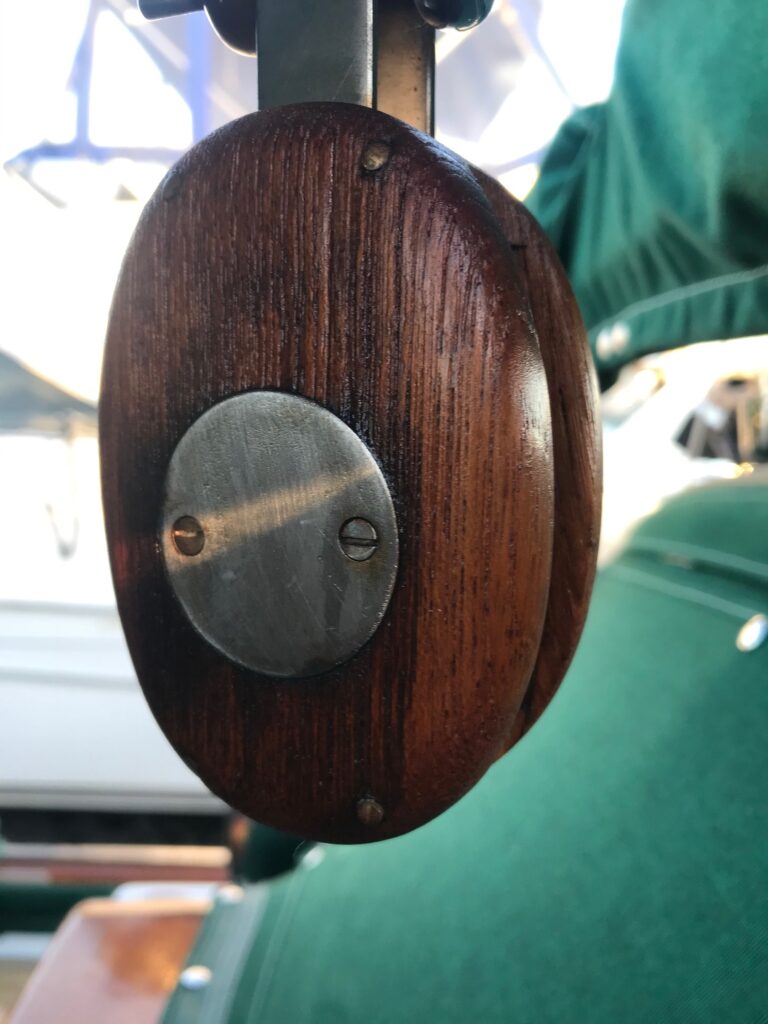
After (single block)
Teak Block Finishing with Awlwood Clear
The 3 blocks used for the Mizzen sheet have always been varnished. It had been 6 years since they were last varnished, so I removed them from the boat, disassembled them, used stripping gel and a heat gun to remove the old varnish, lightly sanded them and applied Awlwood primer then 6 coats of Awlwood MA (modified acrylic) Clear. This is the same product that I have used on the exterior of all of Apropos’ brightwork over the past 4 years. It’s more durable than varnish and doesn’t break down from UV as fast as varnish.
Finished Blocks for Mizzen Sheet
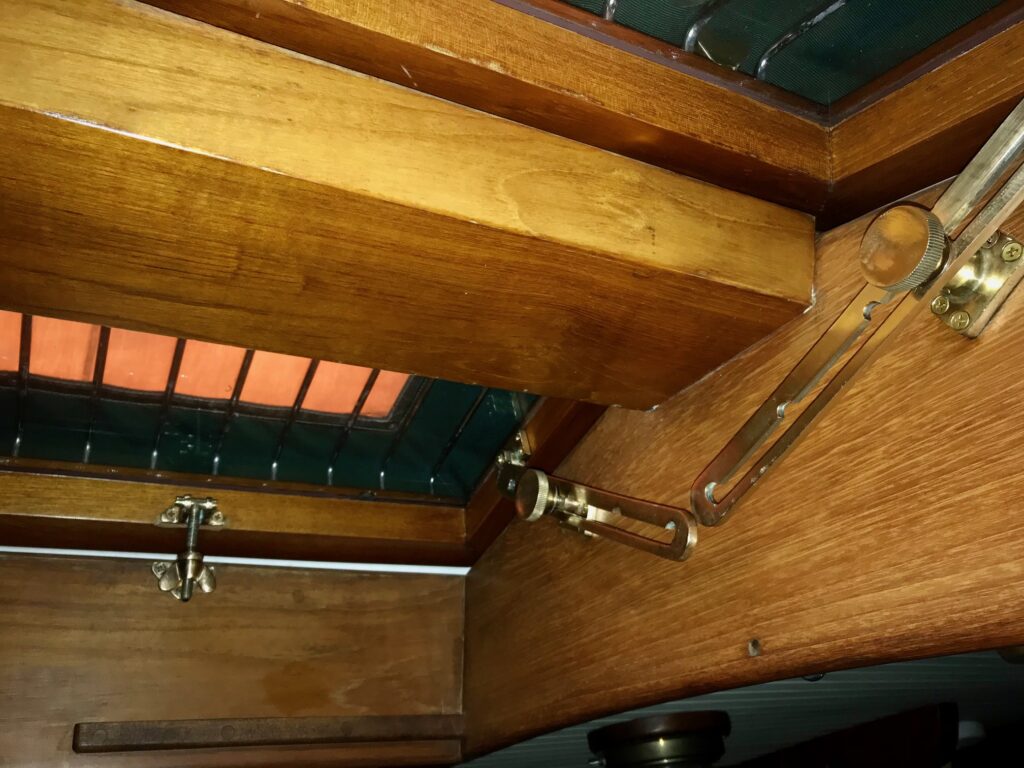
Forward Hatch Acrylic Replacement
The forward hatch acrylic was probably replaced during the refit just before I bought Apropos. Over the years, the acrylic has appeared to have crazed not on the surface, but inside. After buffing failed to make any difference, I decided to replace it. I first removed the hatch by prying off the 3 hinge pins peened-on caps. Next I removed the TDS caulking and pried the acrylic out of the bronze frame. My options for replacement were laminate glass (too heavy and breakable), poly carbonite, and acrylic. I went to Tap Plastics to compare poly carb vs acrylic, and decided to go with 1/2″ acrylic after the salesperson gave me a demo of how to remove scratches in acrylic. Also, it was available in 3 shades of tint and they had it in stock and could cut it while I waited.
Before installing the new acrylic, I cleaned up and polished the heavy duty bronze frame. I used 3M Silicone to fasten the acrylic to the 1/2″ lip along the bottom of the frame. I added about 25 lbs of weight and allowed it to dry 24 hours, then used Teak Decking Systems (TDS) black caulking along the outer edges. After curing for 48 hours, I removed the masking tape, then masked over the caulking and acrylic so I could apply 5 coats of Protecta-Clear to the bronze frame.
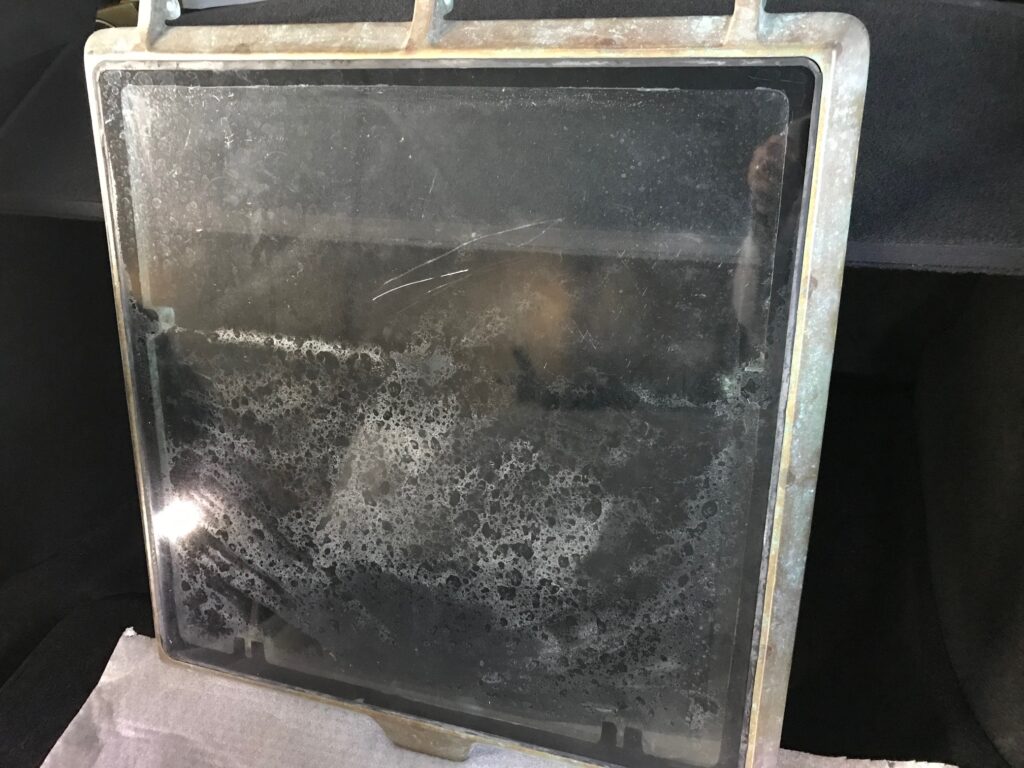
Crazed Acrylic
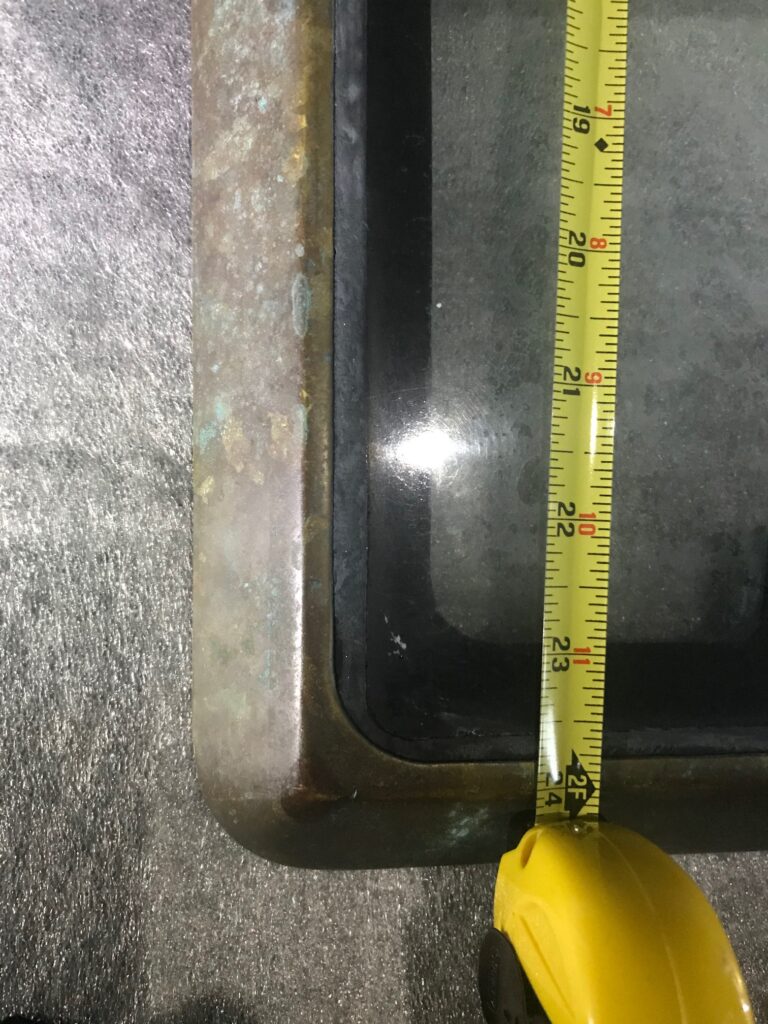
Measuring for new Acrylic 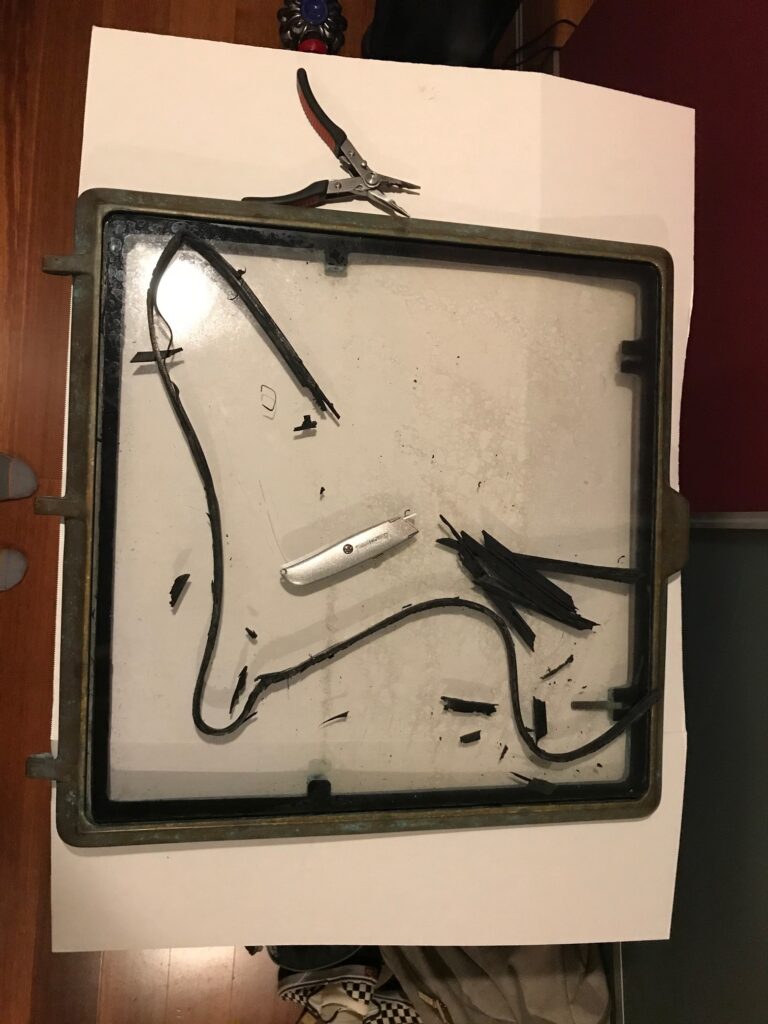
Removing Caulking

Reinstalled Hatch
