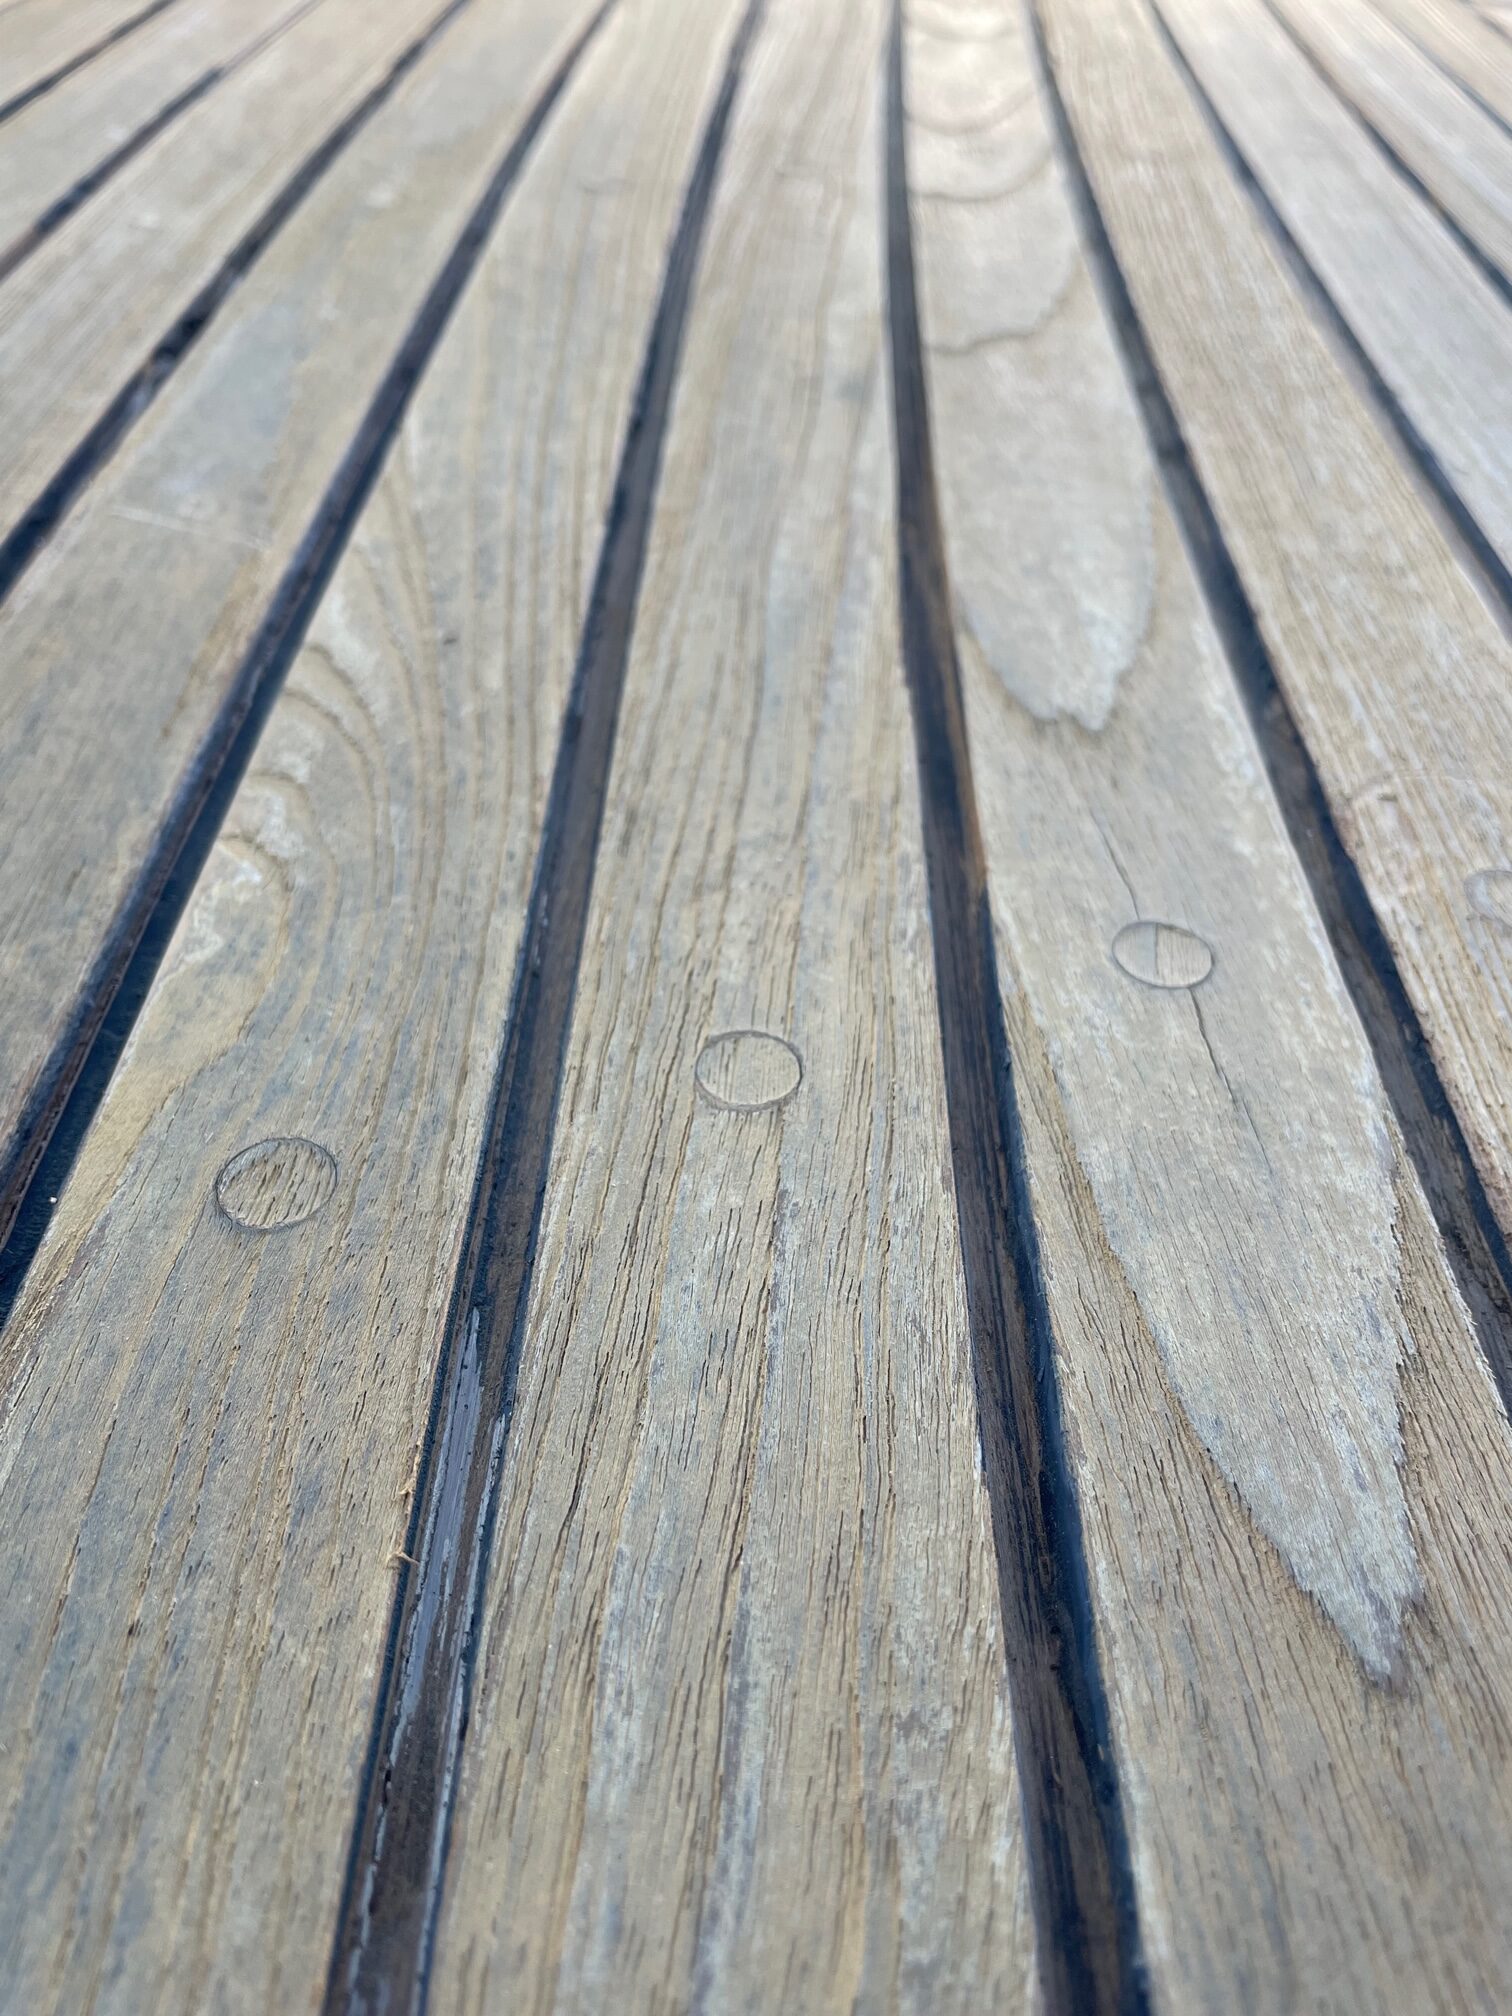
The teak decks on Apropos are 40 years old and still in pretty good shape. Much of the caulking is also in decent shape but there are places where it has separated from the teak. This allows water to sit between the teak and caulking. These areas can be seen when a wet deck is drying since they are the last to dry.

The fore-deck teak had a lot of these caulking gaps so I decided to start there. Using a utility knife to score both sides of the caulk, and a Teakdecking Systems Reefing Hook, I removed all the old caulking. Next I sanded the U-shaped channels, vacuumed, and cleaned with Acetone.
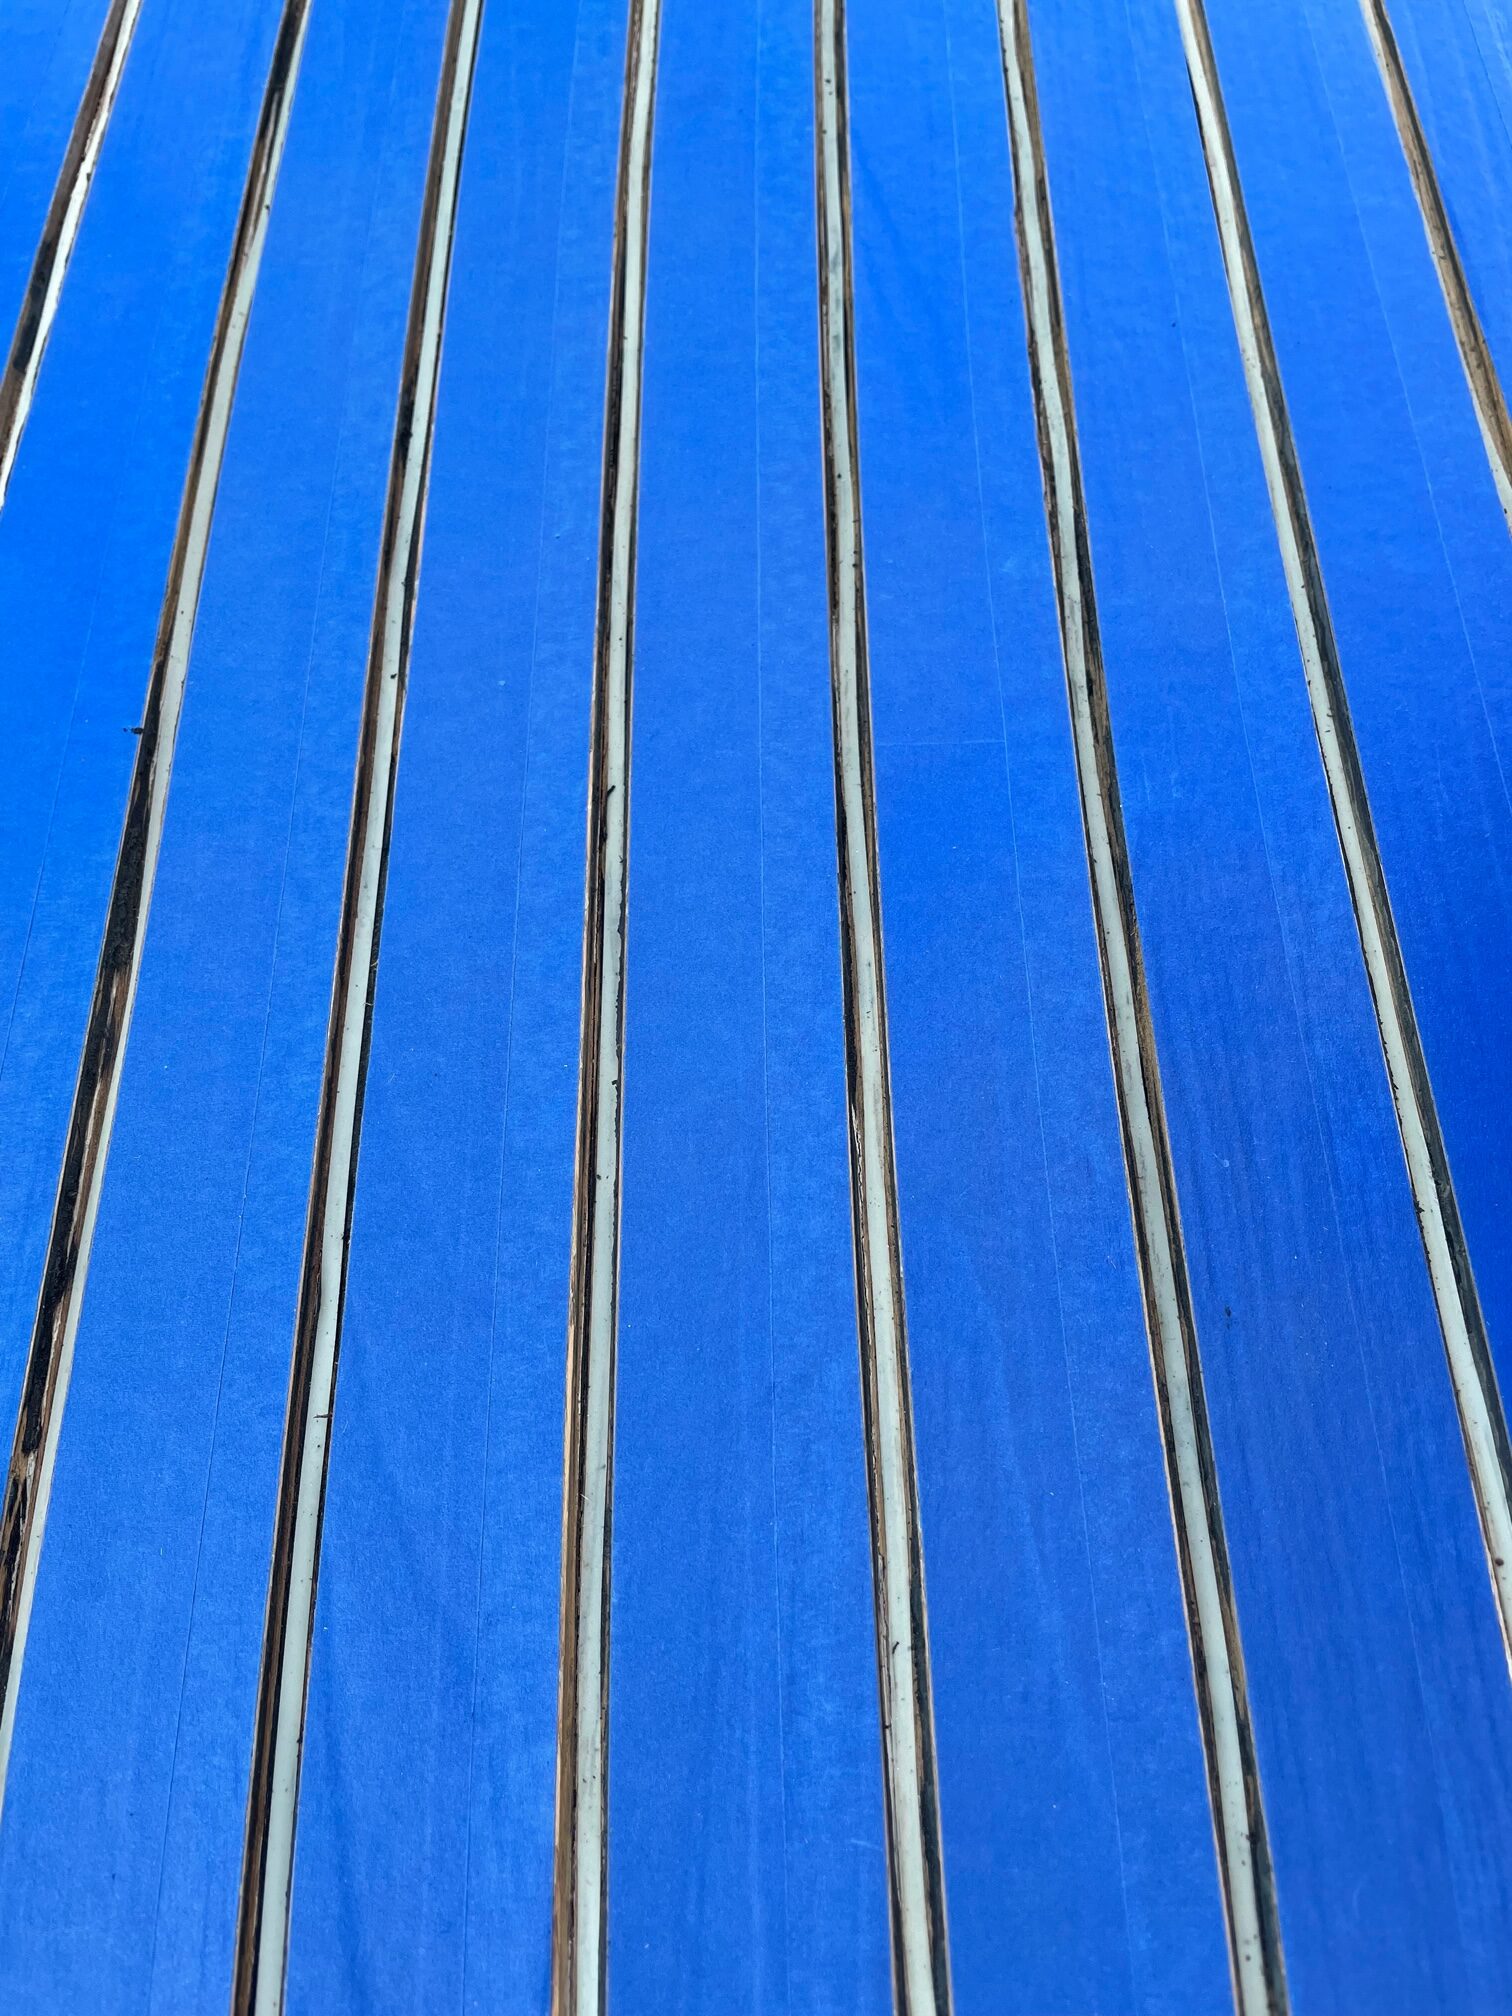
Next was the tedious job of taping the teak. I used Scotch brand blue painters tape. This method requires much less sanding which is important with 40 year old decks. I used 3/16″ fine-line tape to line the bottom of the channels, as recommended by Teakdecking Systems. This prevents the caulking from bonding to the bottom of the channel and allows it to expand and contract with the constant movement of the boat deck.
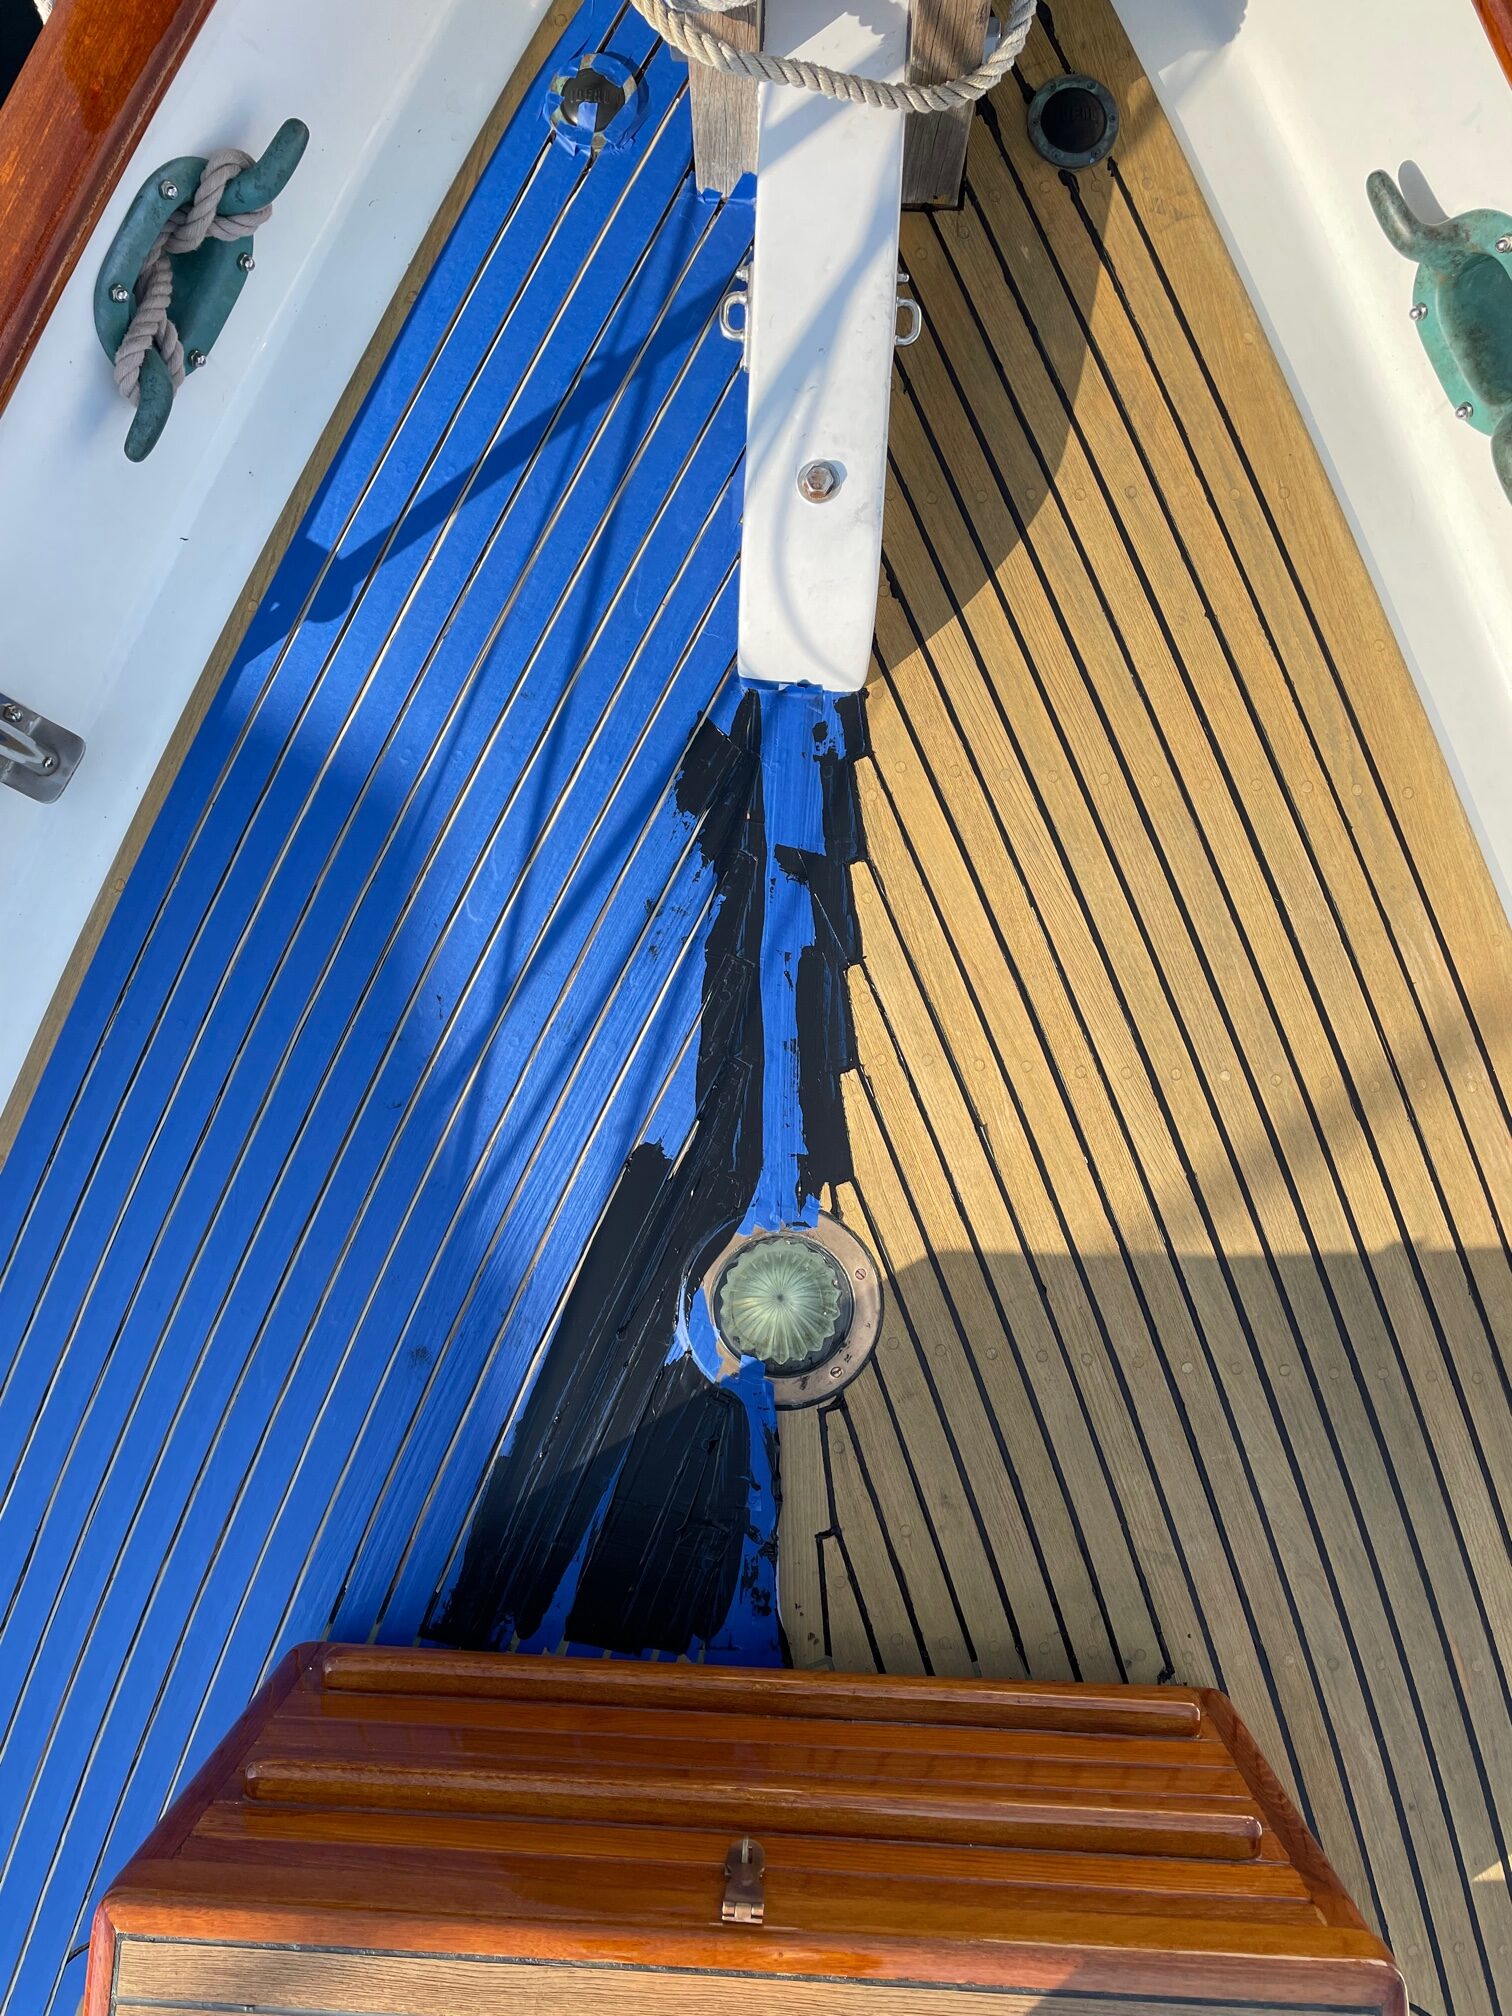
Finally, I applied the Teakdecking Systems SIS 440 caulk. The method I used was to over-fill the channel, then use a metal putty knife to apply pressure to remove any air gaps and remove excess caulk. After sitting for 5 minutes, I peeled off the blue tape. The entire fore-deck took 6-10oz tubes of caulk.
After the caulk cured for 5 days, I sanded with 80-grit paper to smooth out the caulk and make it flush with the teak. Here’s the final result.
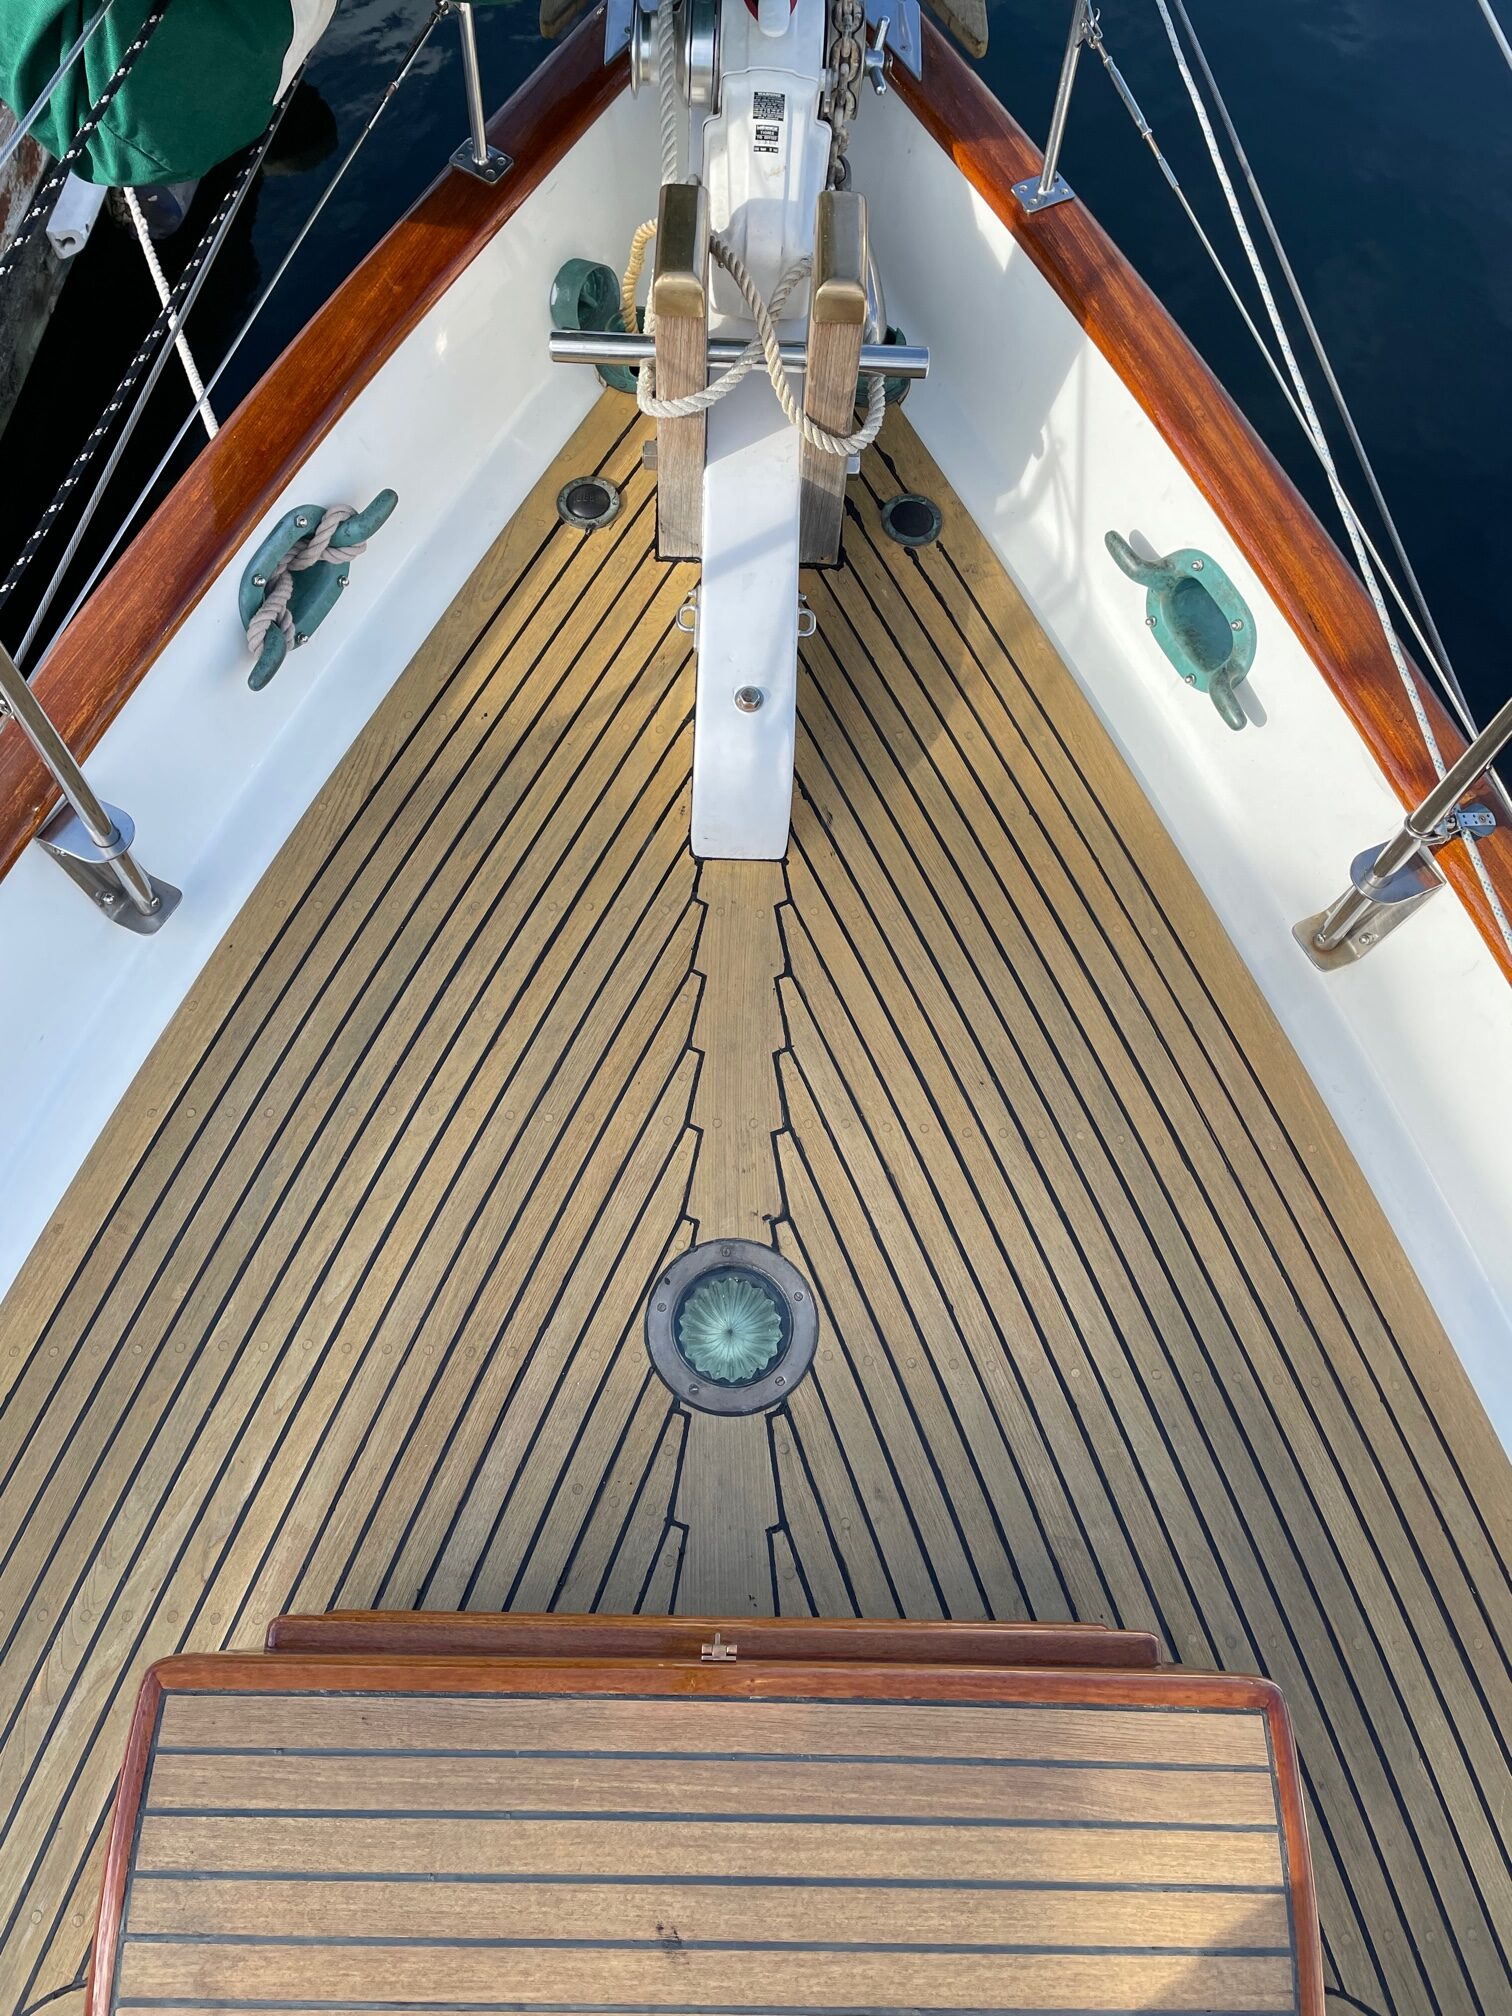
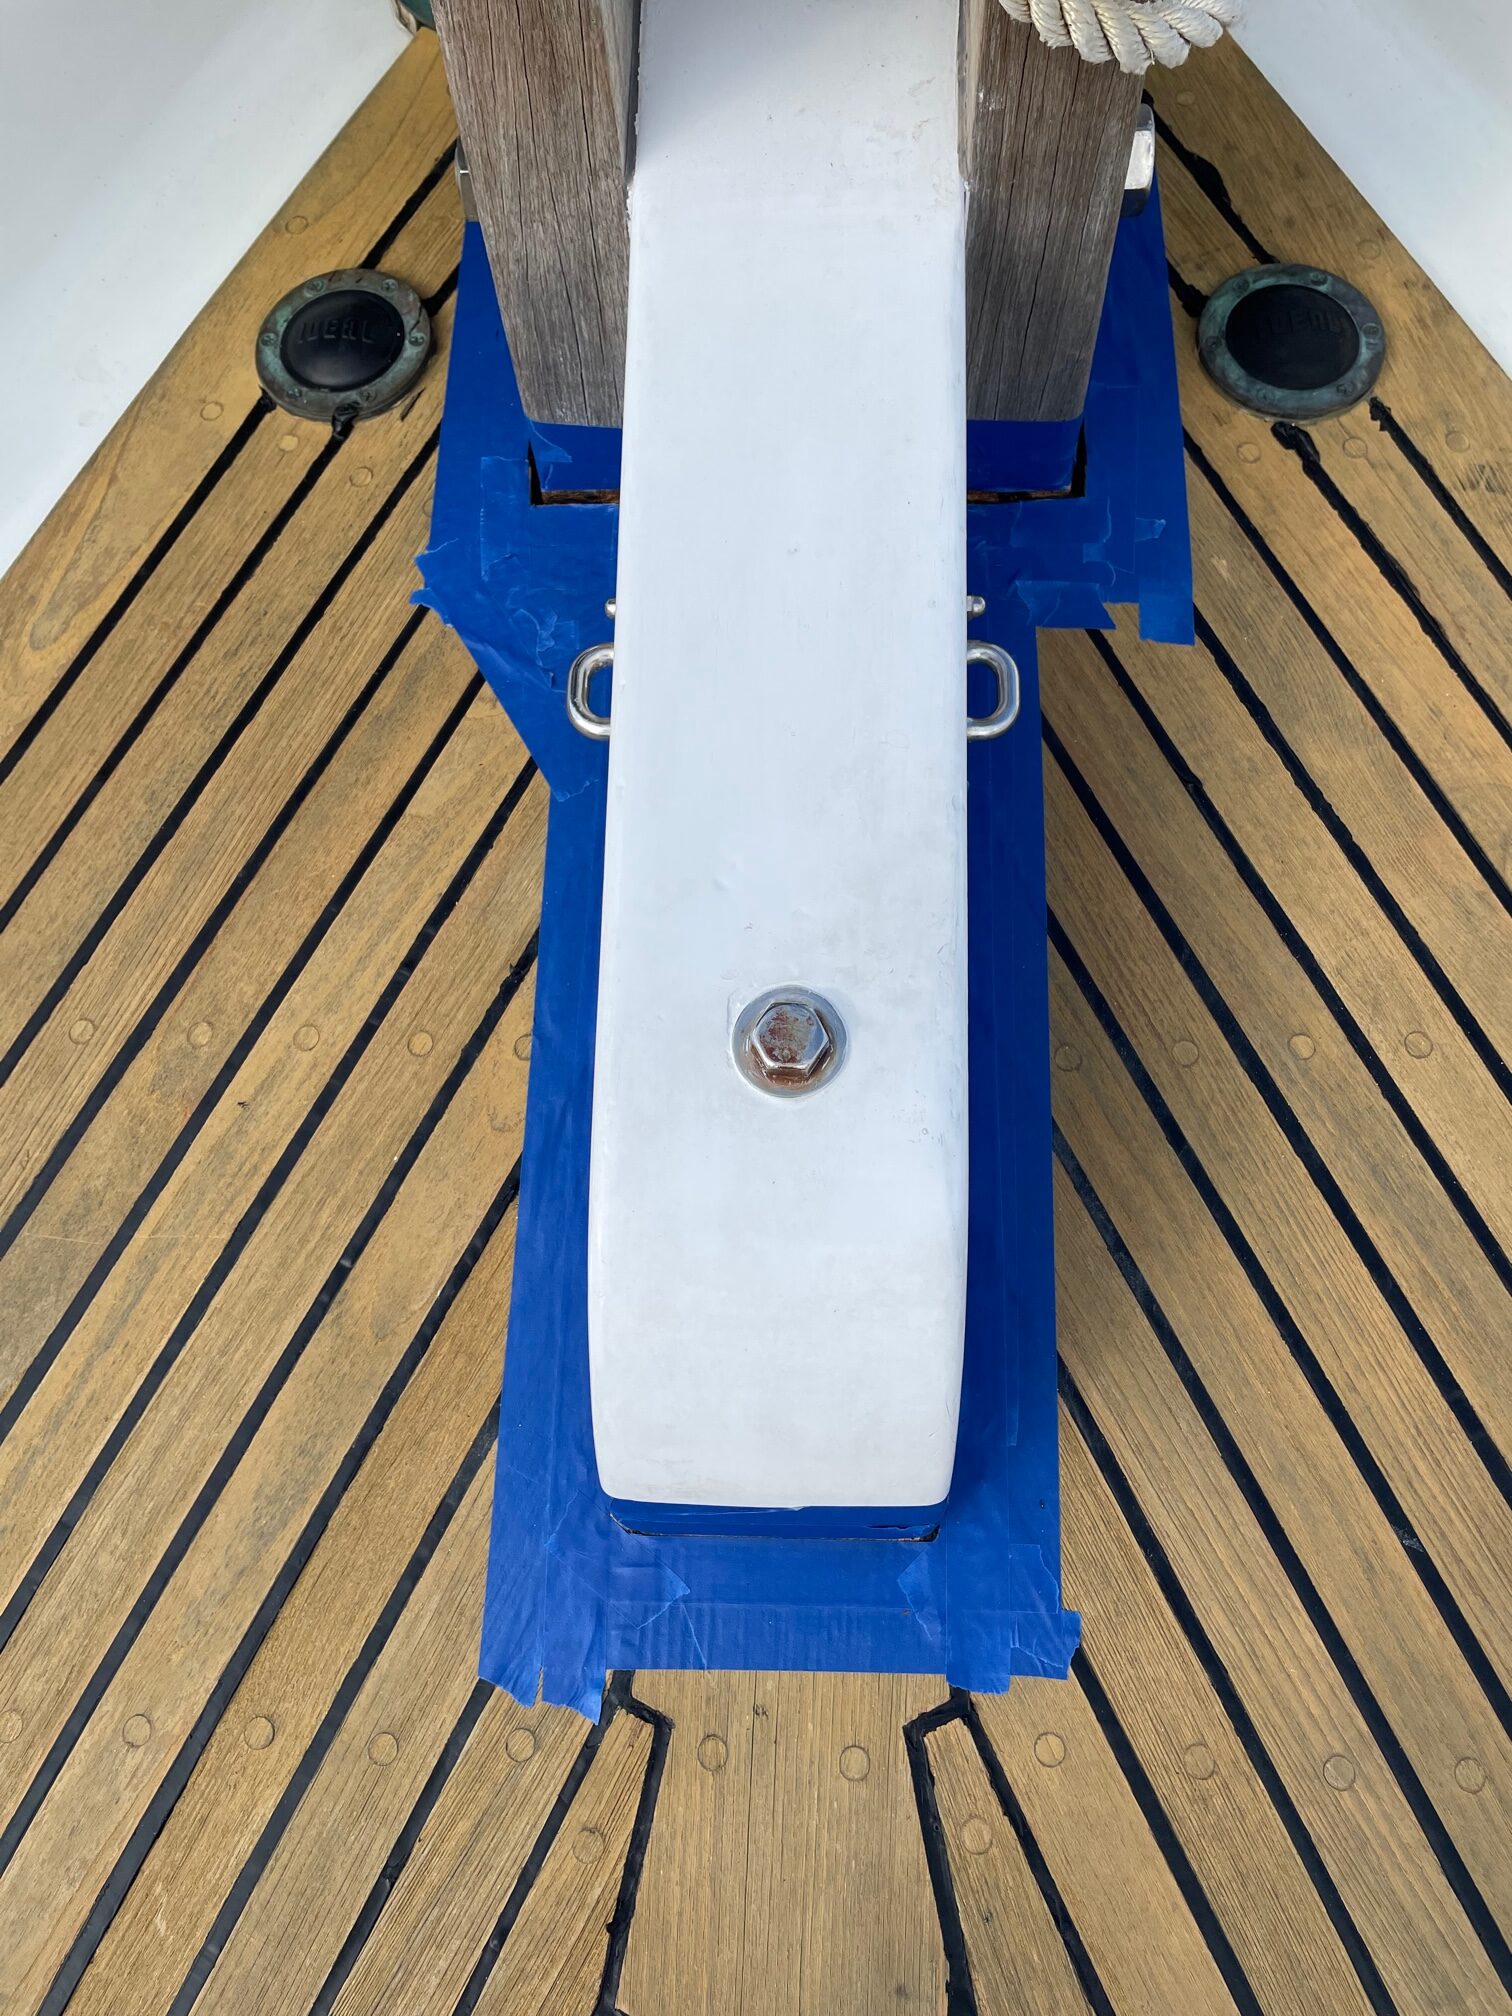
About half a tube of caulk was used to fill the deep gaps between the decking and aft bowsprit and chocks shown here. It’s important to keep water from leaking around the bowsprit and chocks.