I bought a Spectra Cape Horn watermaker at the 2014 Seattle Boat Show. I chose the Cape Horn because of its simplicity (manual control) and built-in redundancy (can run off 1 of the 2 pumps). With both pumps running, it can produce 14GPH at 18A (or 1.3 Ahrs/gal).
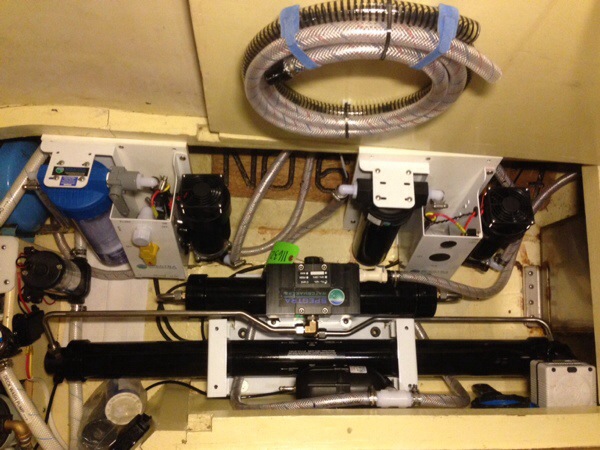
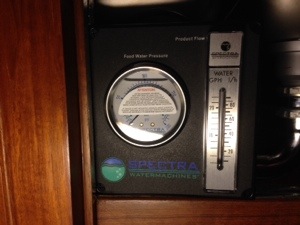
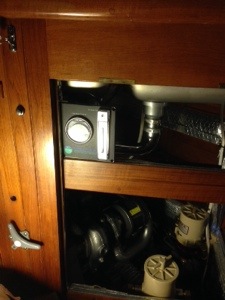
Installation–The Cape Horn is a modular system. The 3 largest components are the Clark pump/membrane, filter/pump1, and filter/pump 2. There’s also an accumulator tank, remote monitoring panel, product water valve, and test port to install. I had only a few options for the install location. Under the V-berth or under the port-side settee. Since accessibility is important for changing filters and throwing manual valves, I decided under the port-side settee would be the best location. The largest module (Clark pump) just fit after relocating a deck wash pump. The two filter/pump modules were slightly too tall so I modified a few hose fittings to allow them to fit within the available height and mounted them securely on starboard. I ran about 30′ of #4 AWG wire from the watermaker to a 30A breaker on my DC panel. I installed a brass spout at the galley sink for testing the product water and filling drinking bottles. Also in the galley is a valve for selecting the sink spout or the forward 60 gallon tank for product water. I installed a Tee in the sea water input hose for the head and piped the brine water output to the head sink drain. I also Tee’d into the pressure fresh water for the flush cleaning input. For filling the water tank, I drilled and tapped a hole in the top of the SS tank and installed a Parker fitting. The Parker fittings and 1/4″ tubing used on the product water side were easy to work with. The most difficult was running the 5/8″ tubing to the head and tying it into the 1-1/2″ sink drain. Since I couldn’t find an ideal place to mount the remote monitoring panel that didn’t require cutting into teak, I decided to mount it inside the galley engine access door. This was a convenient place since the valve was also mounted in that area. The panel has a flow rate gauge and a pressure gauge that should be monitored from time to time.
Monitor Gauge and Manual Valve
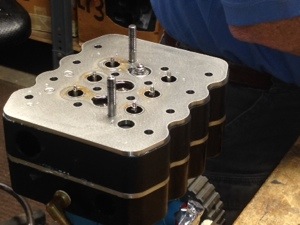
Watermaker Output to SS Water Tank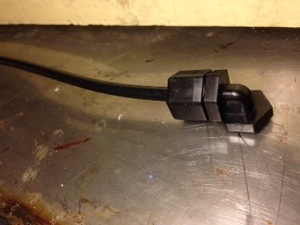
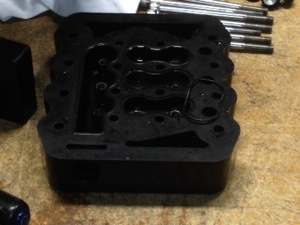
Brine Discharge to Head Sink Drain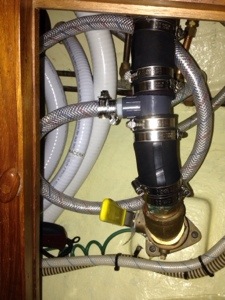
Video Showing Clark Pump Operating
