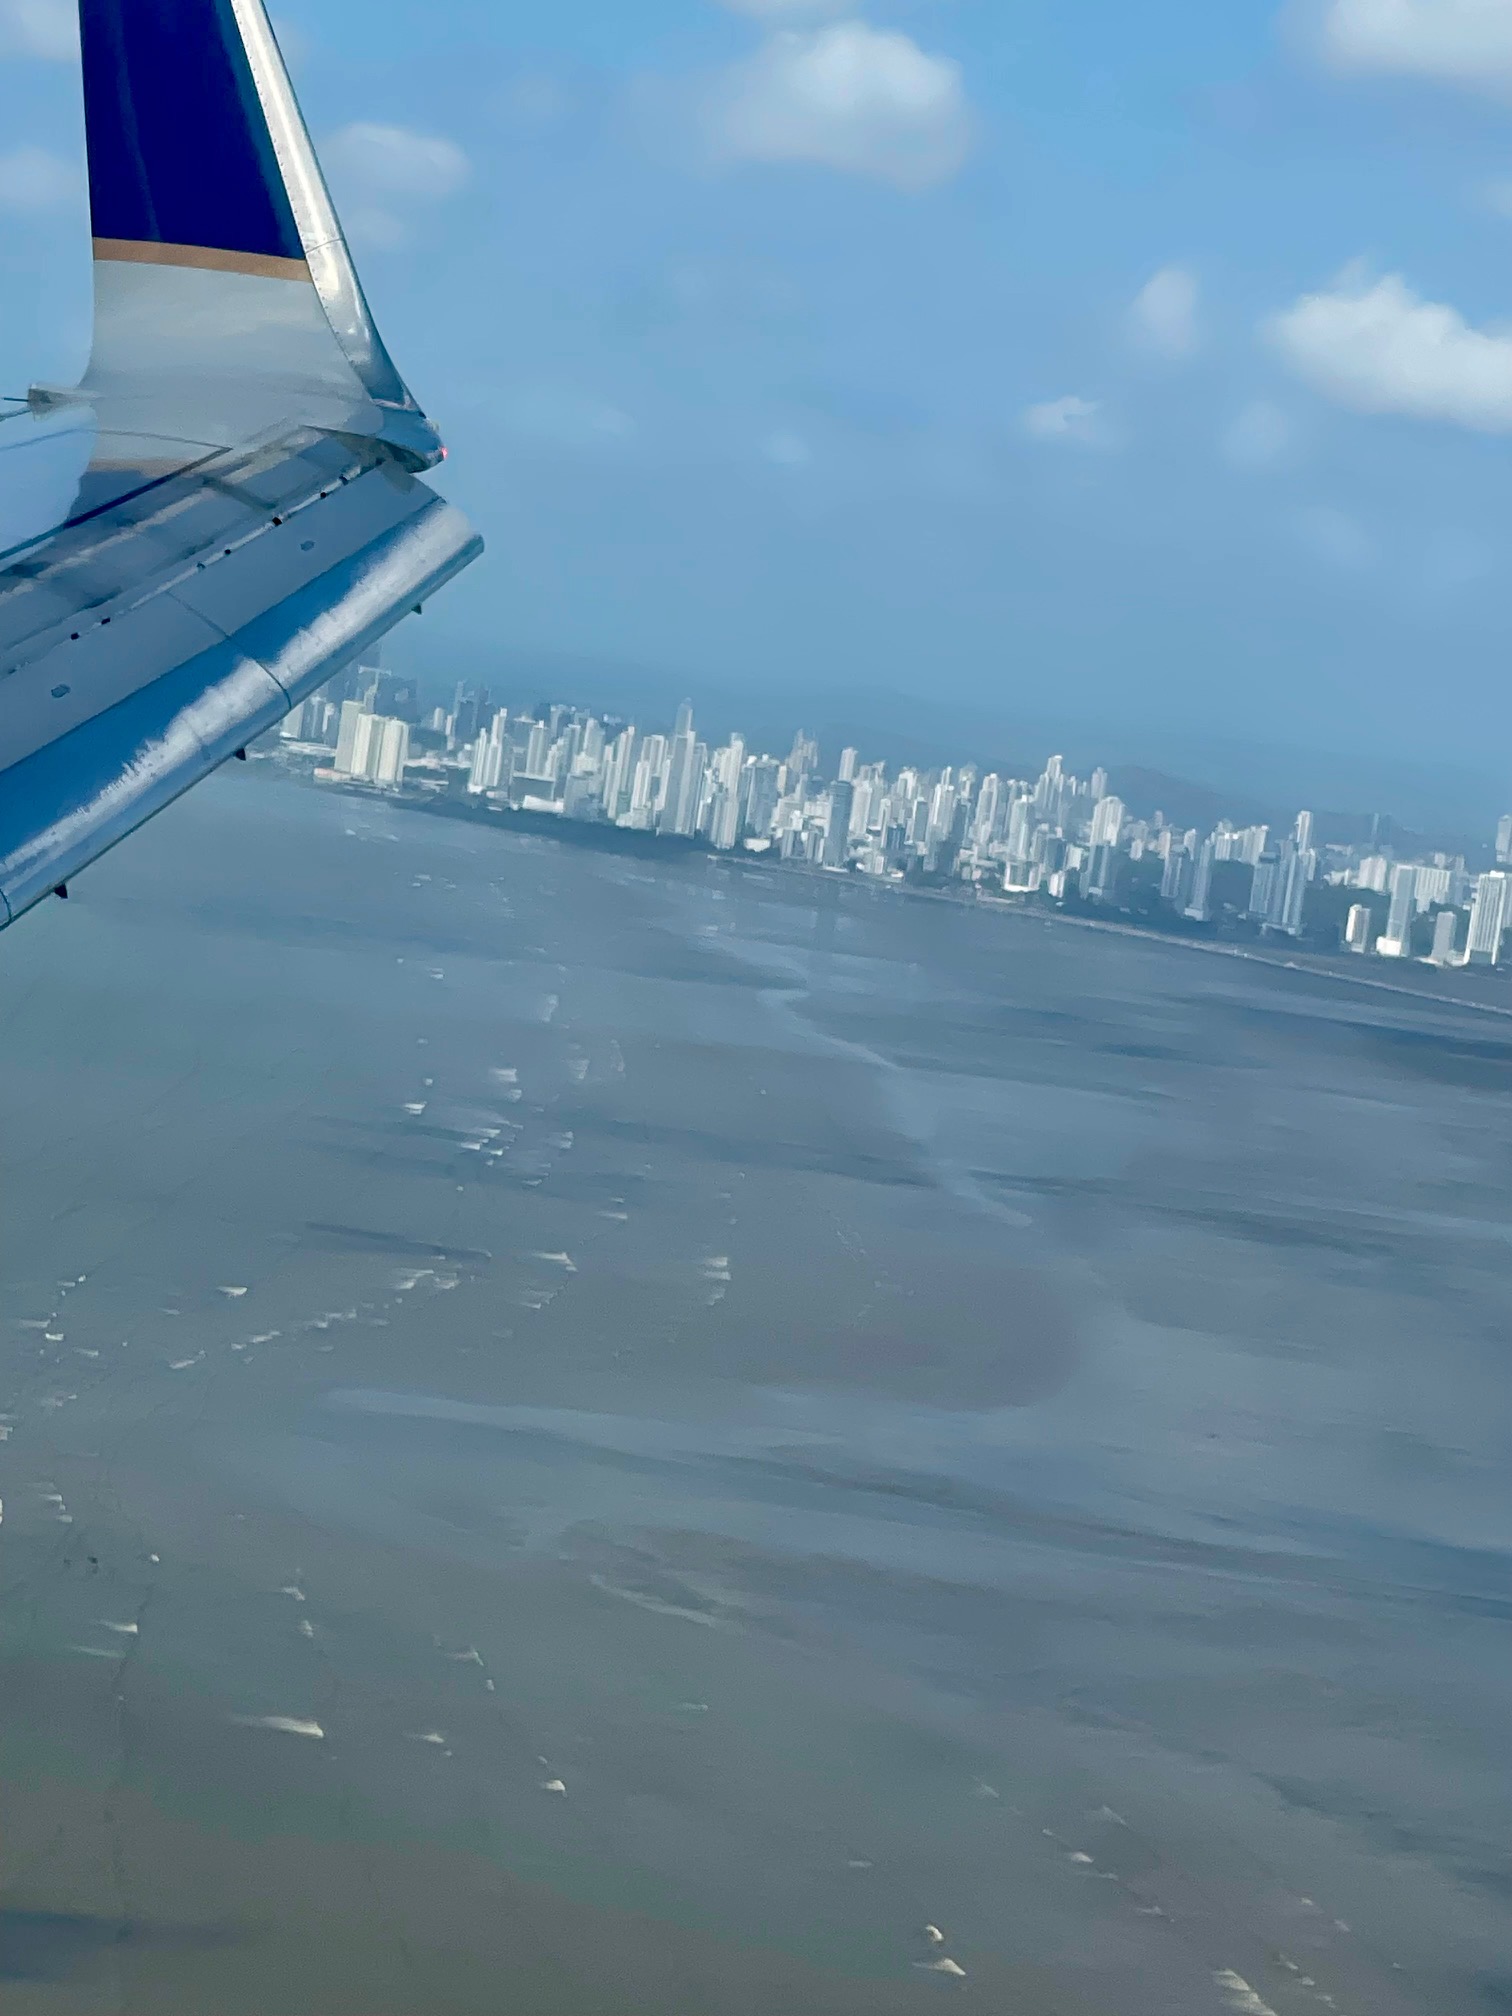
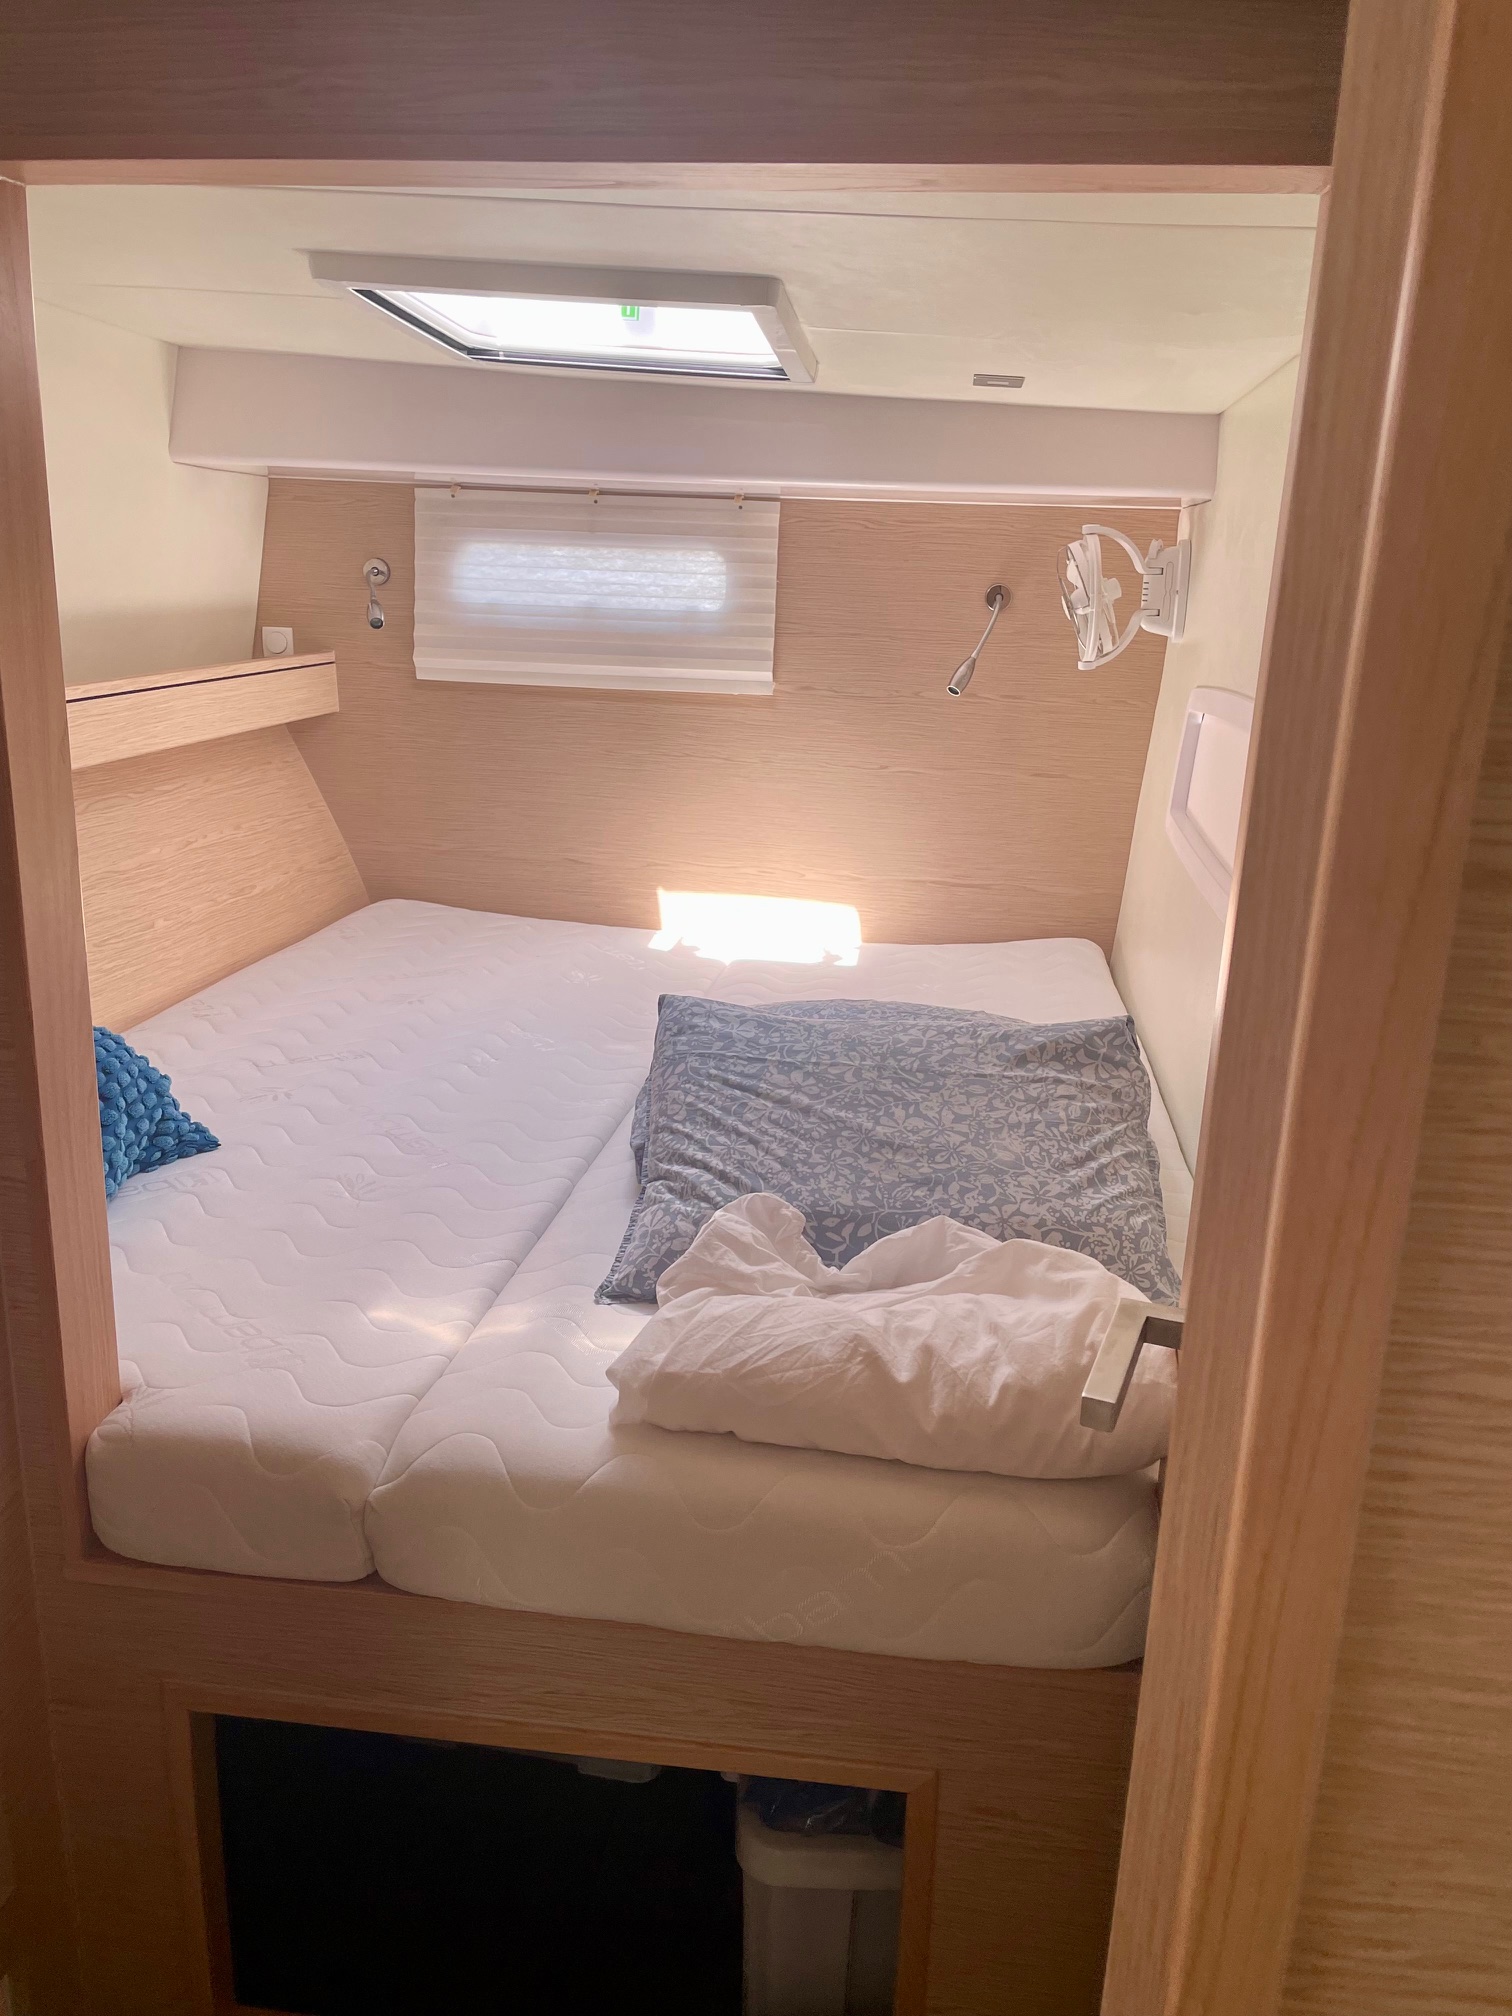
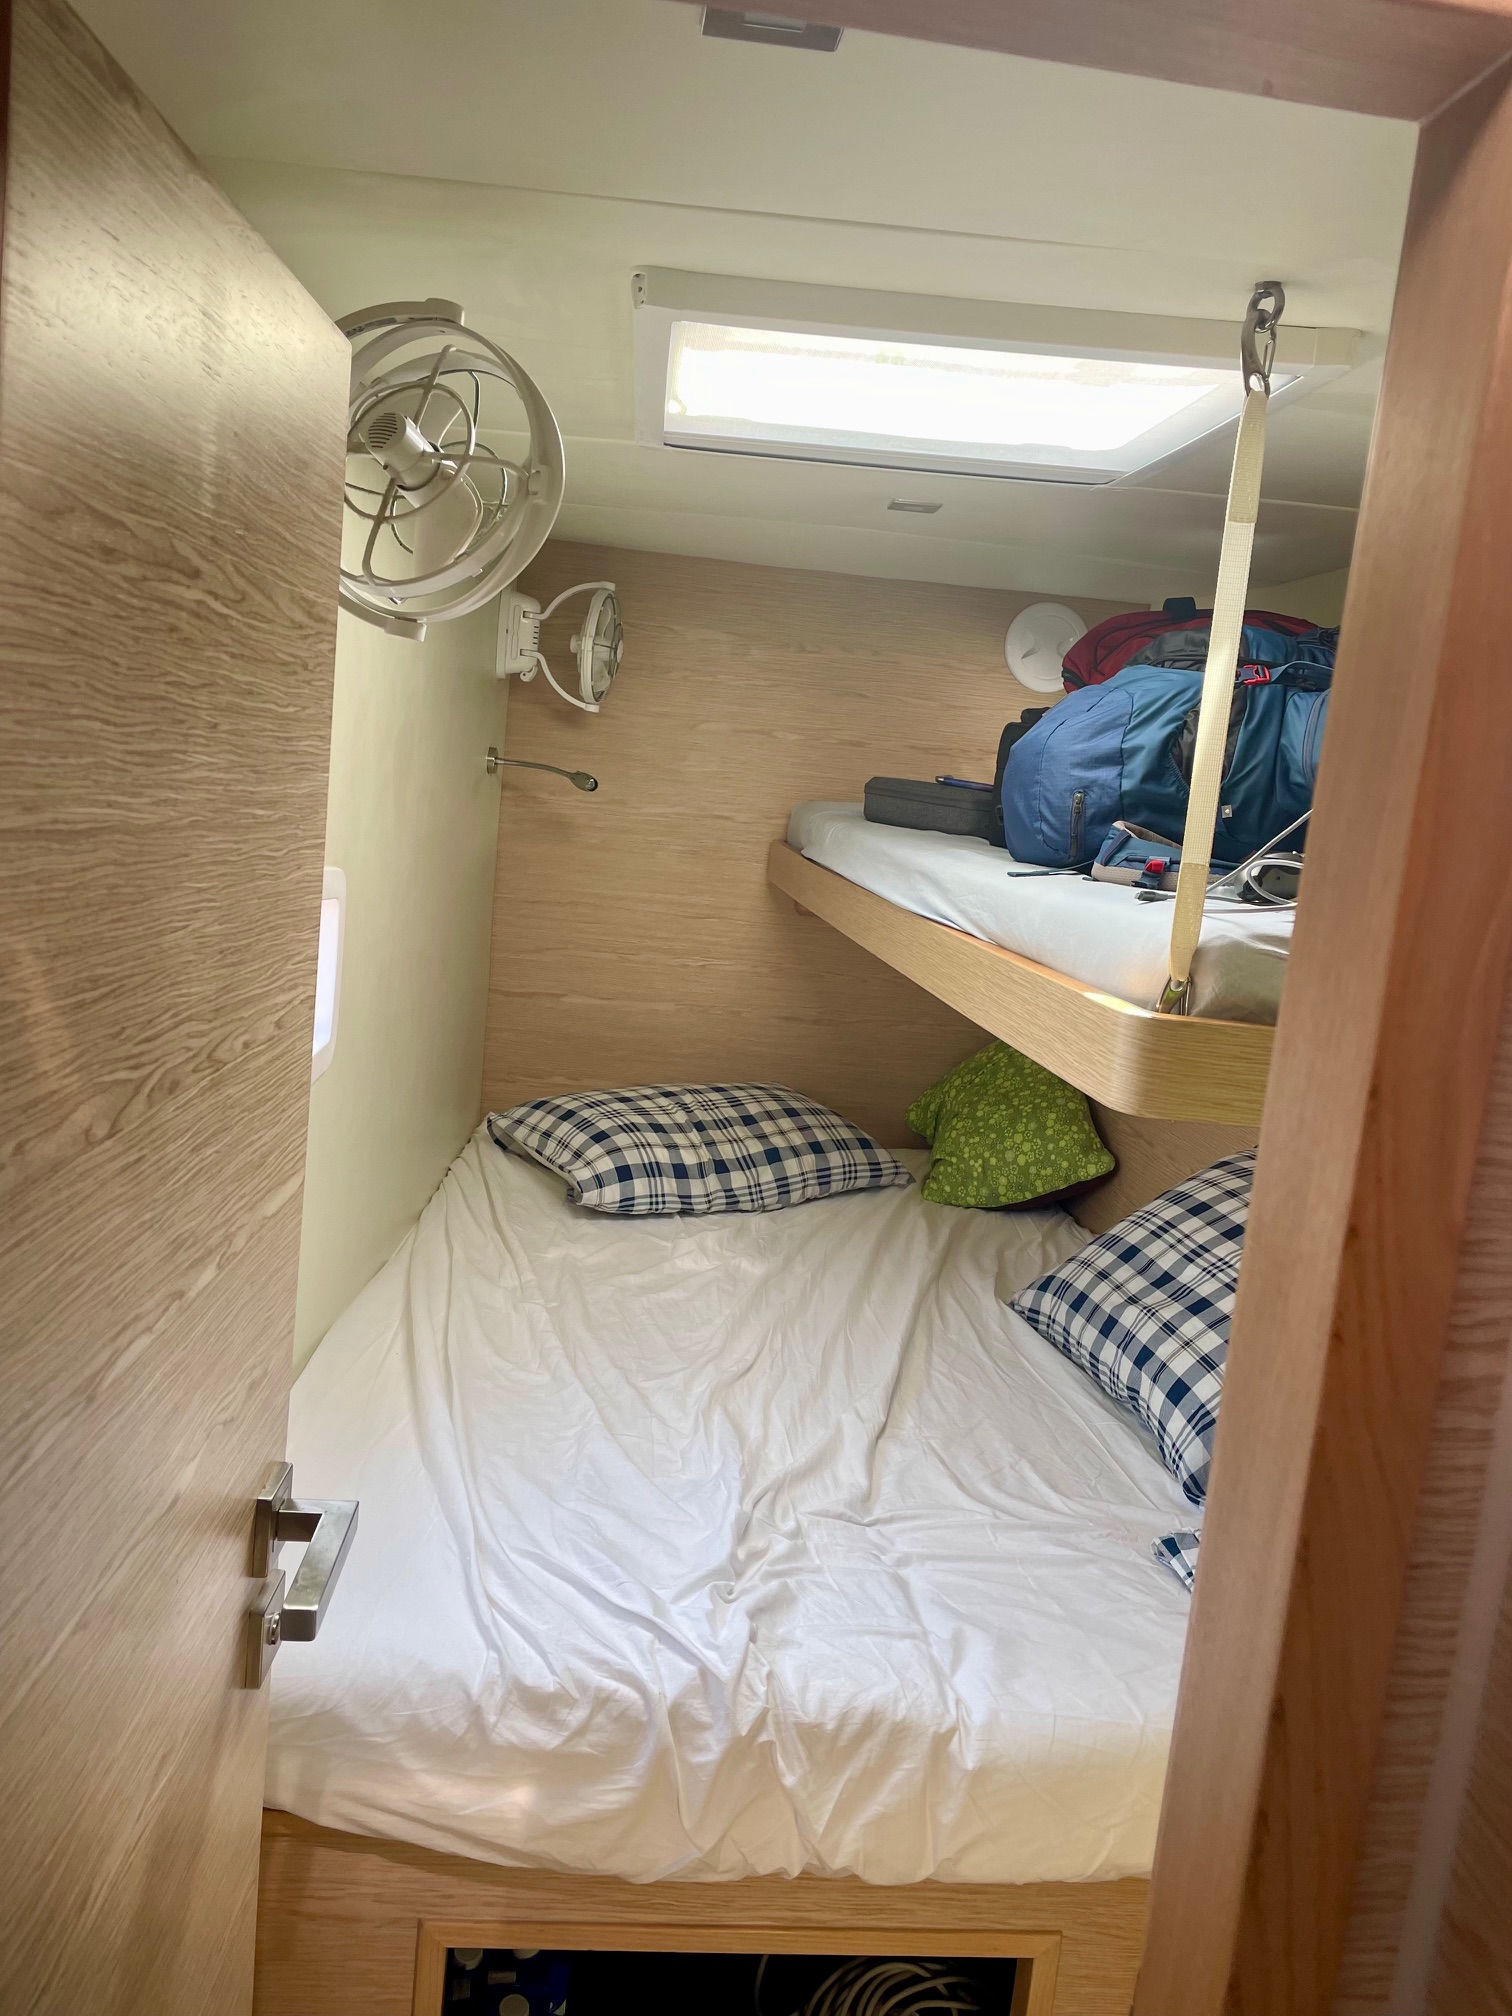
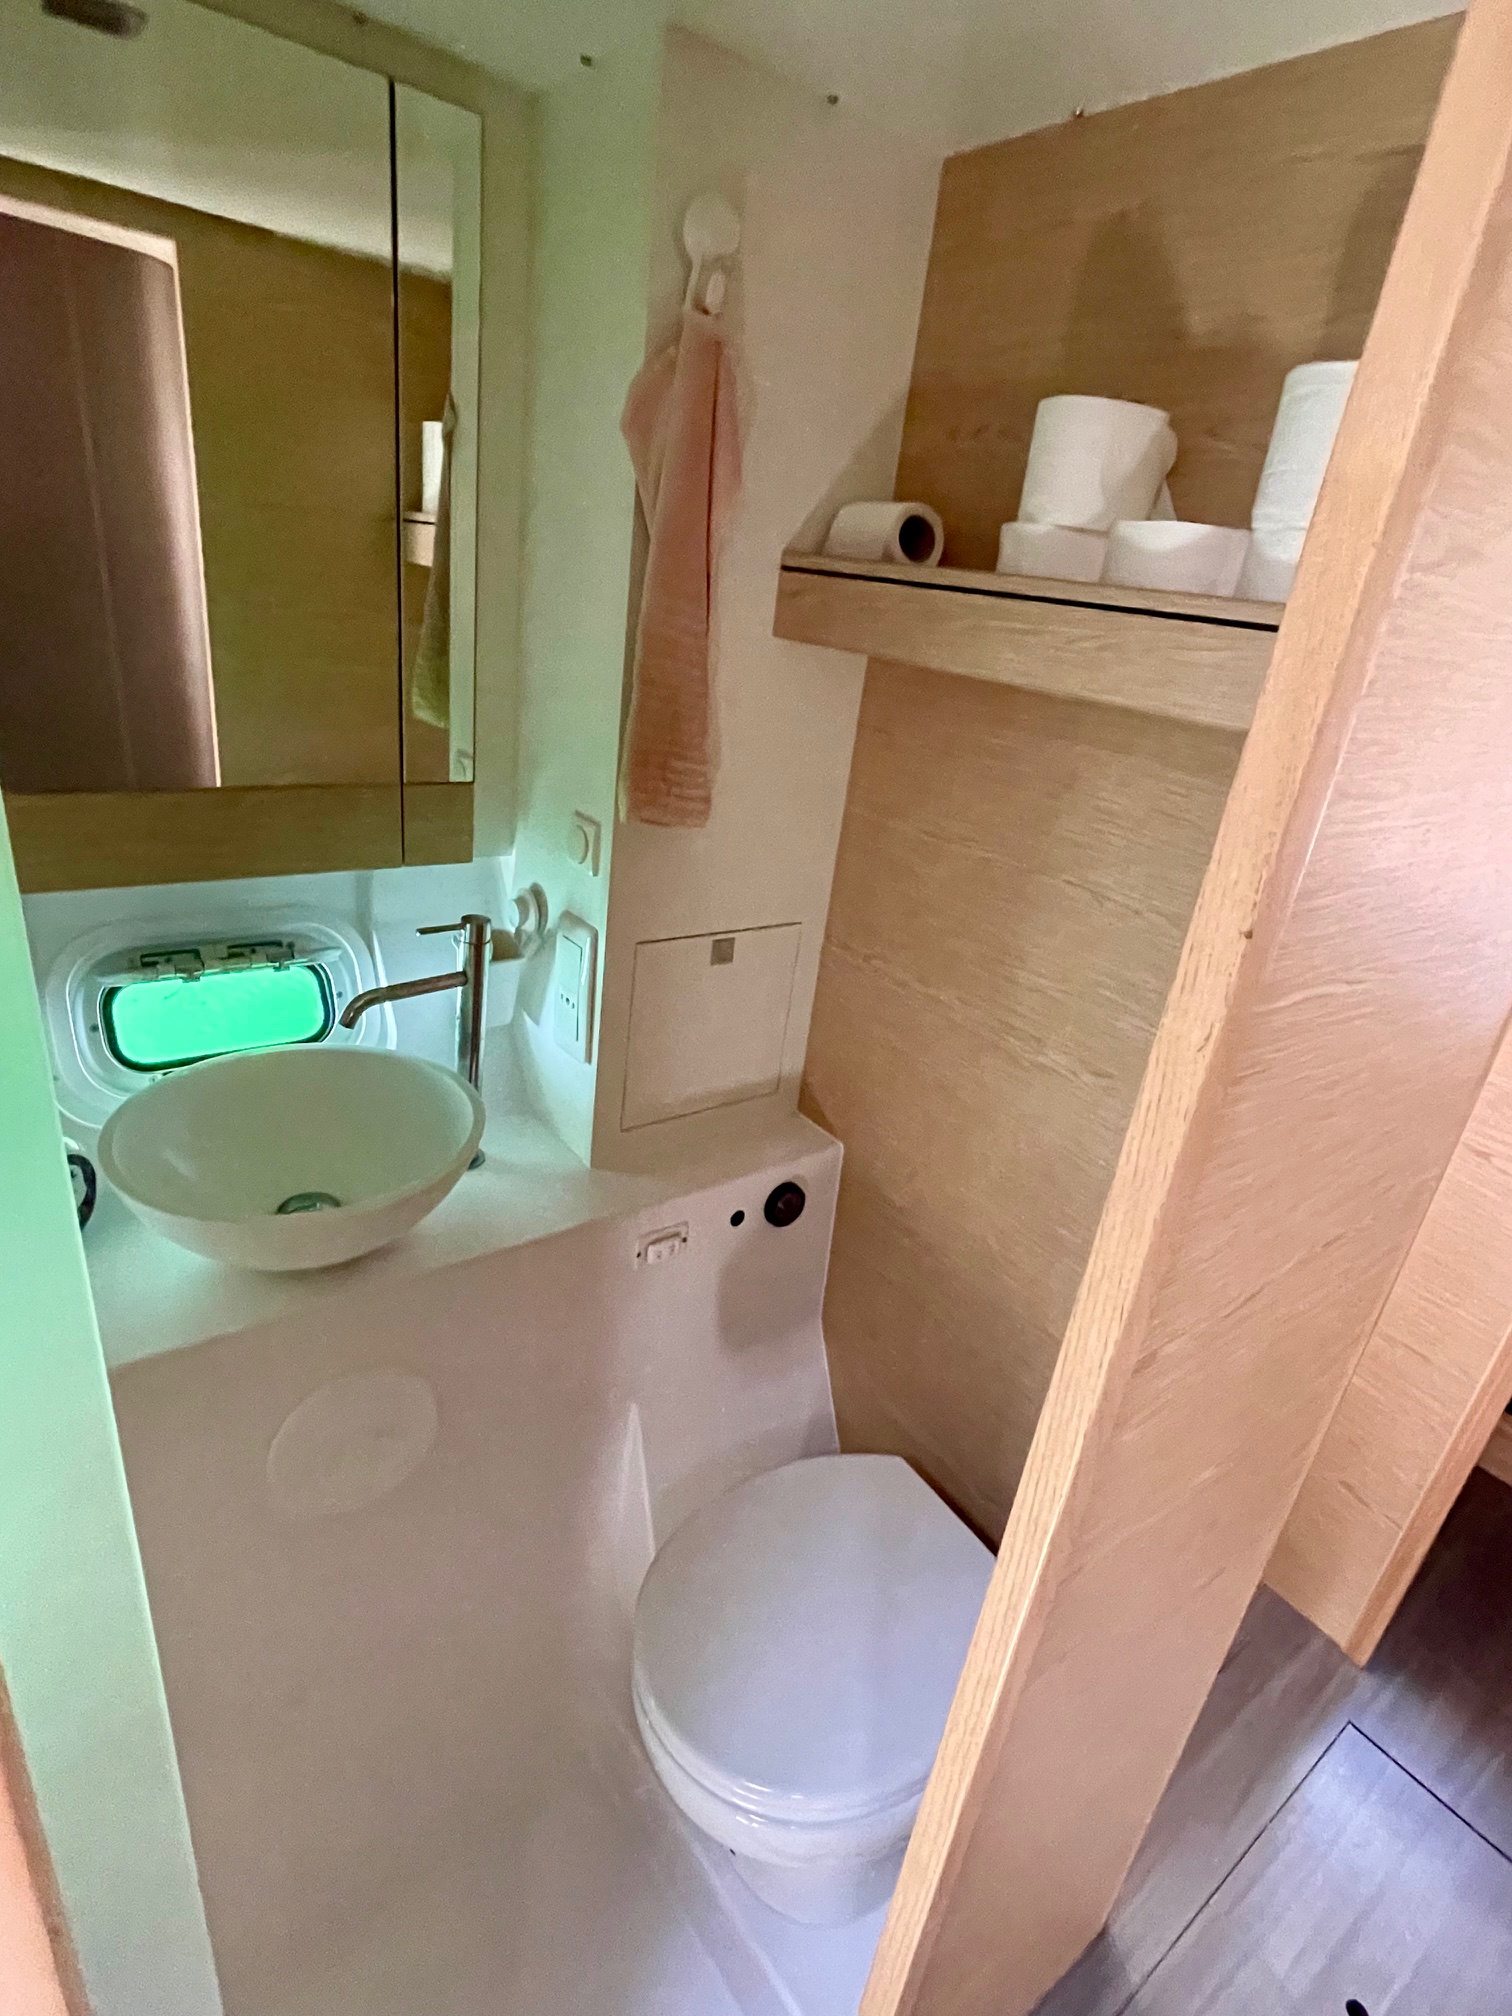
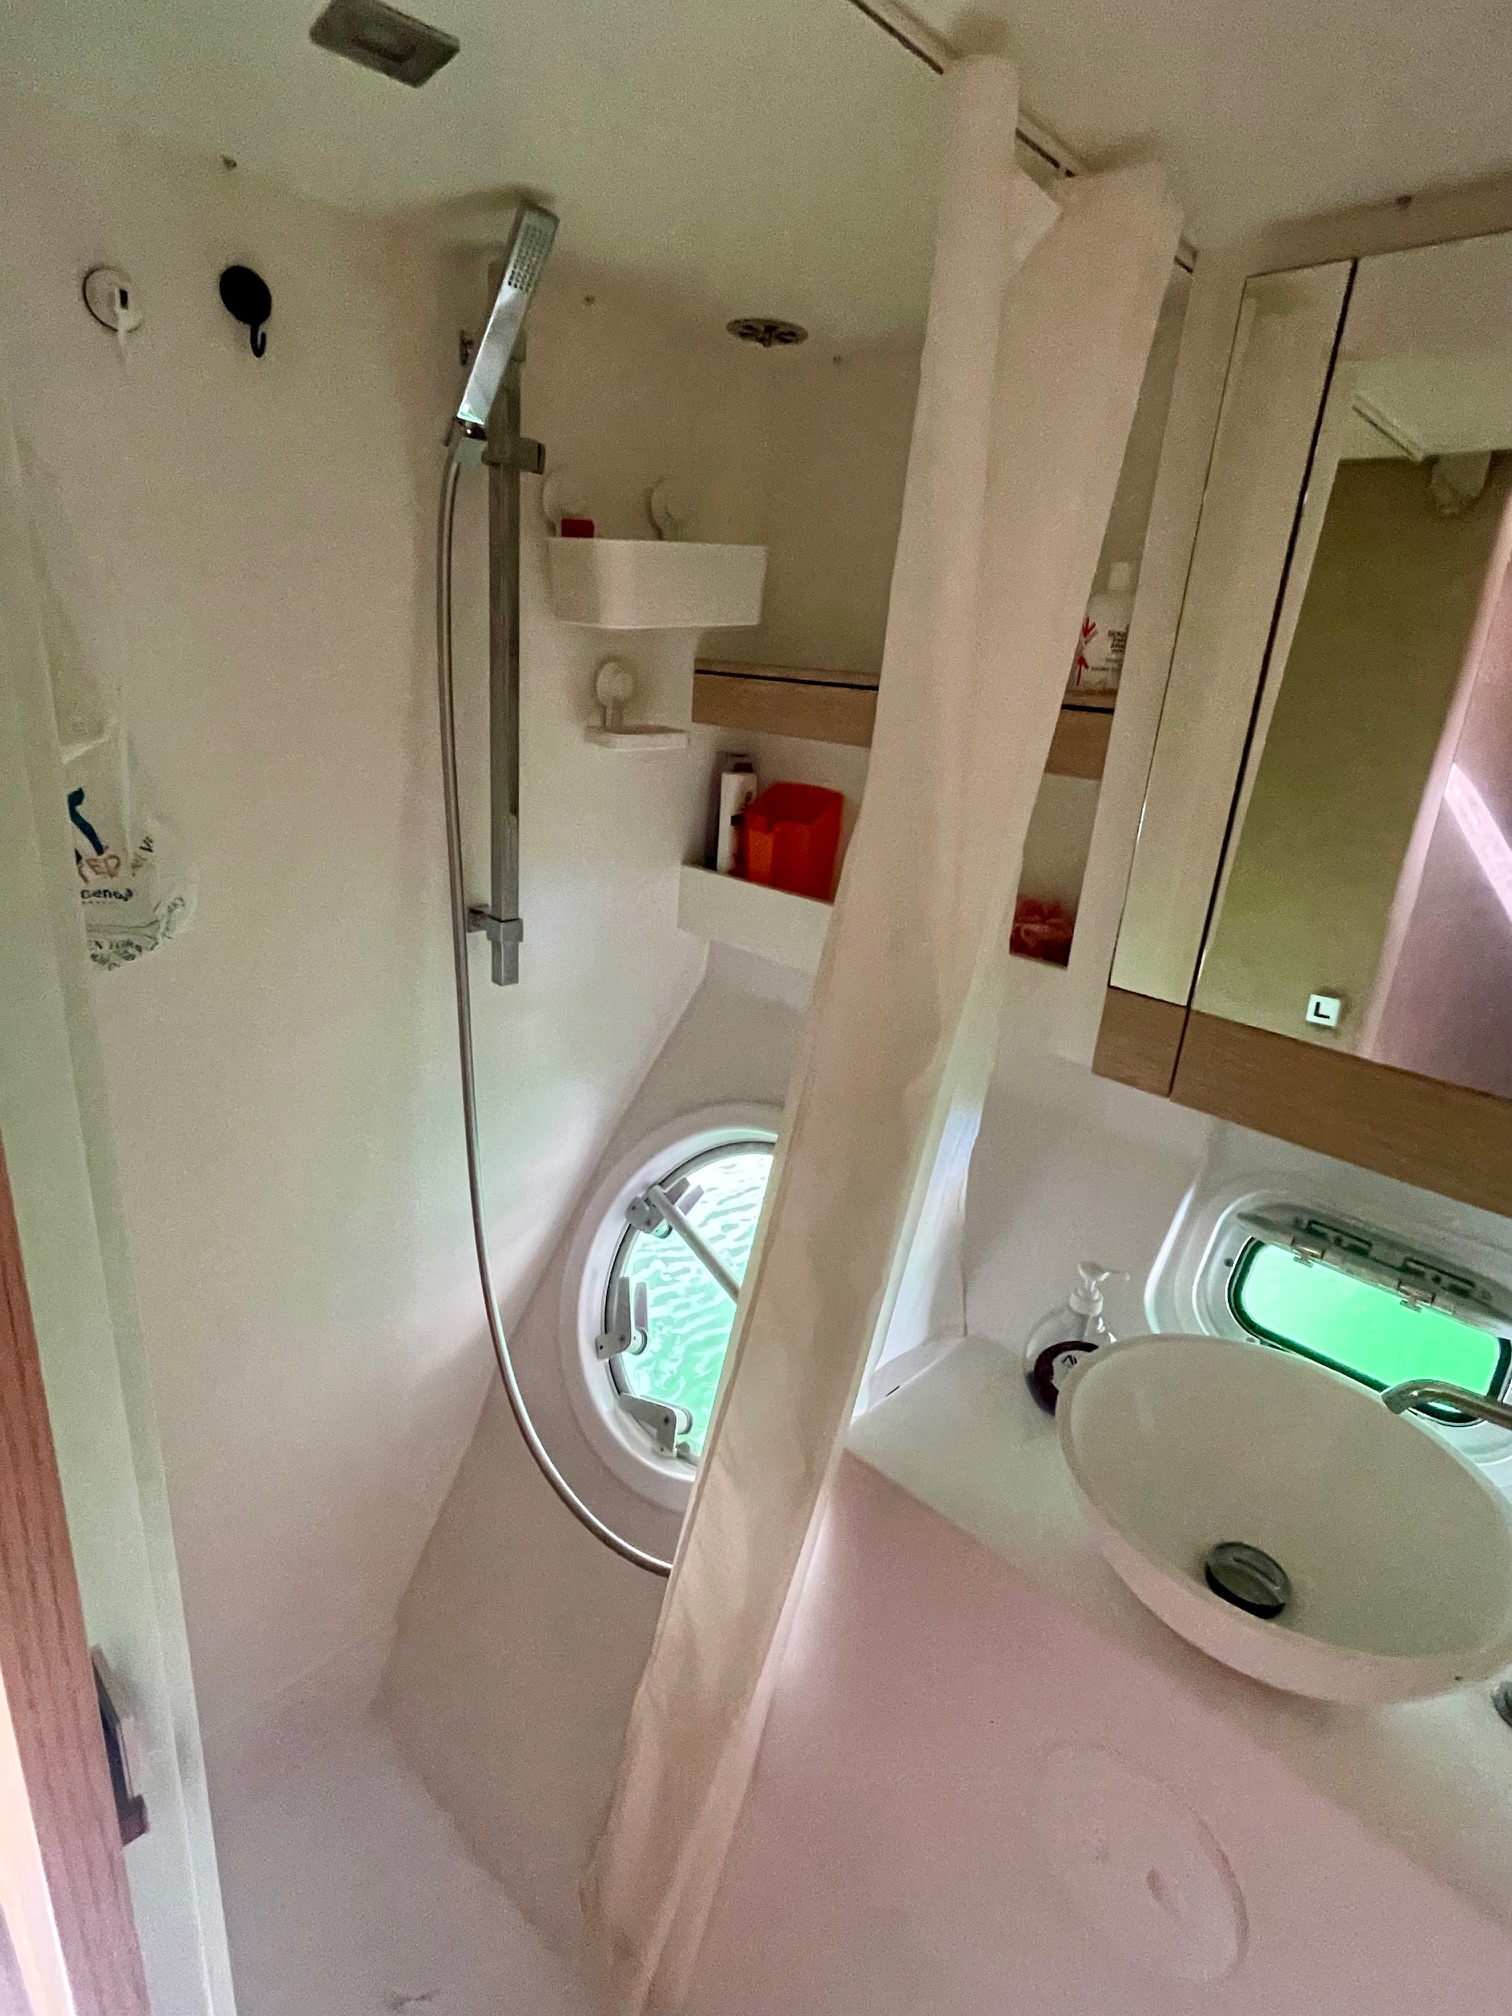
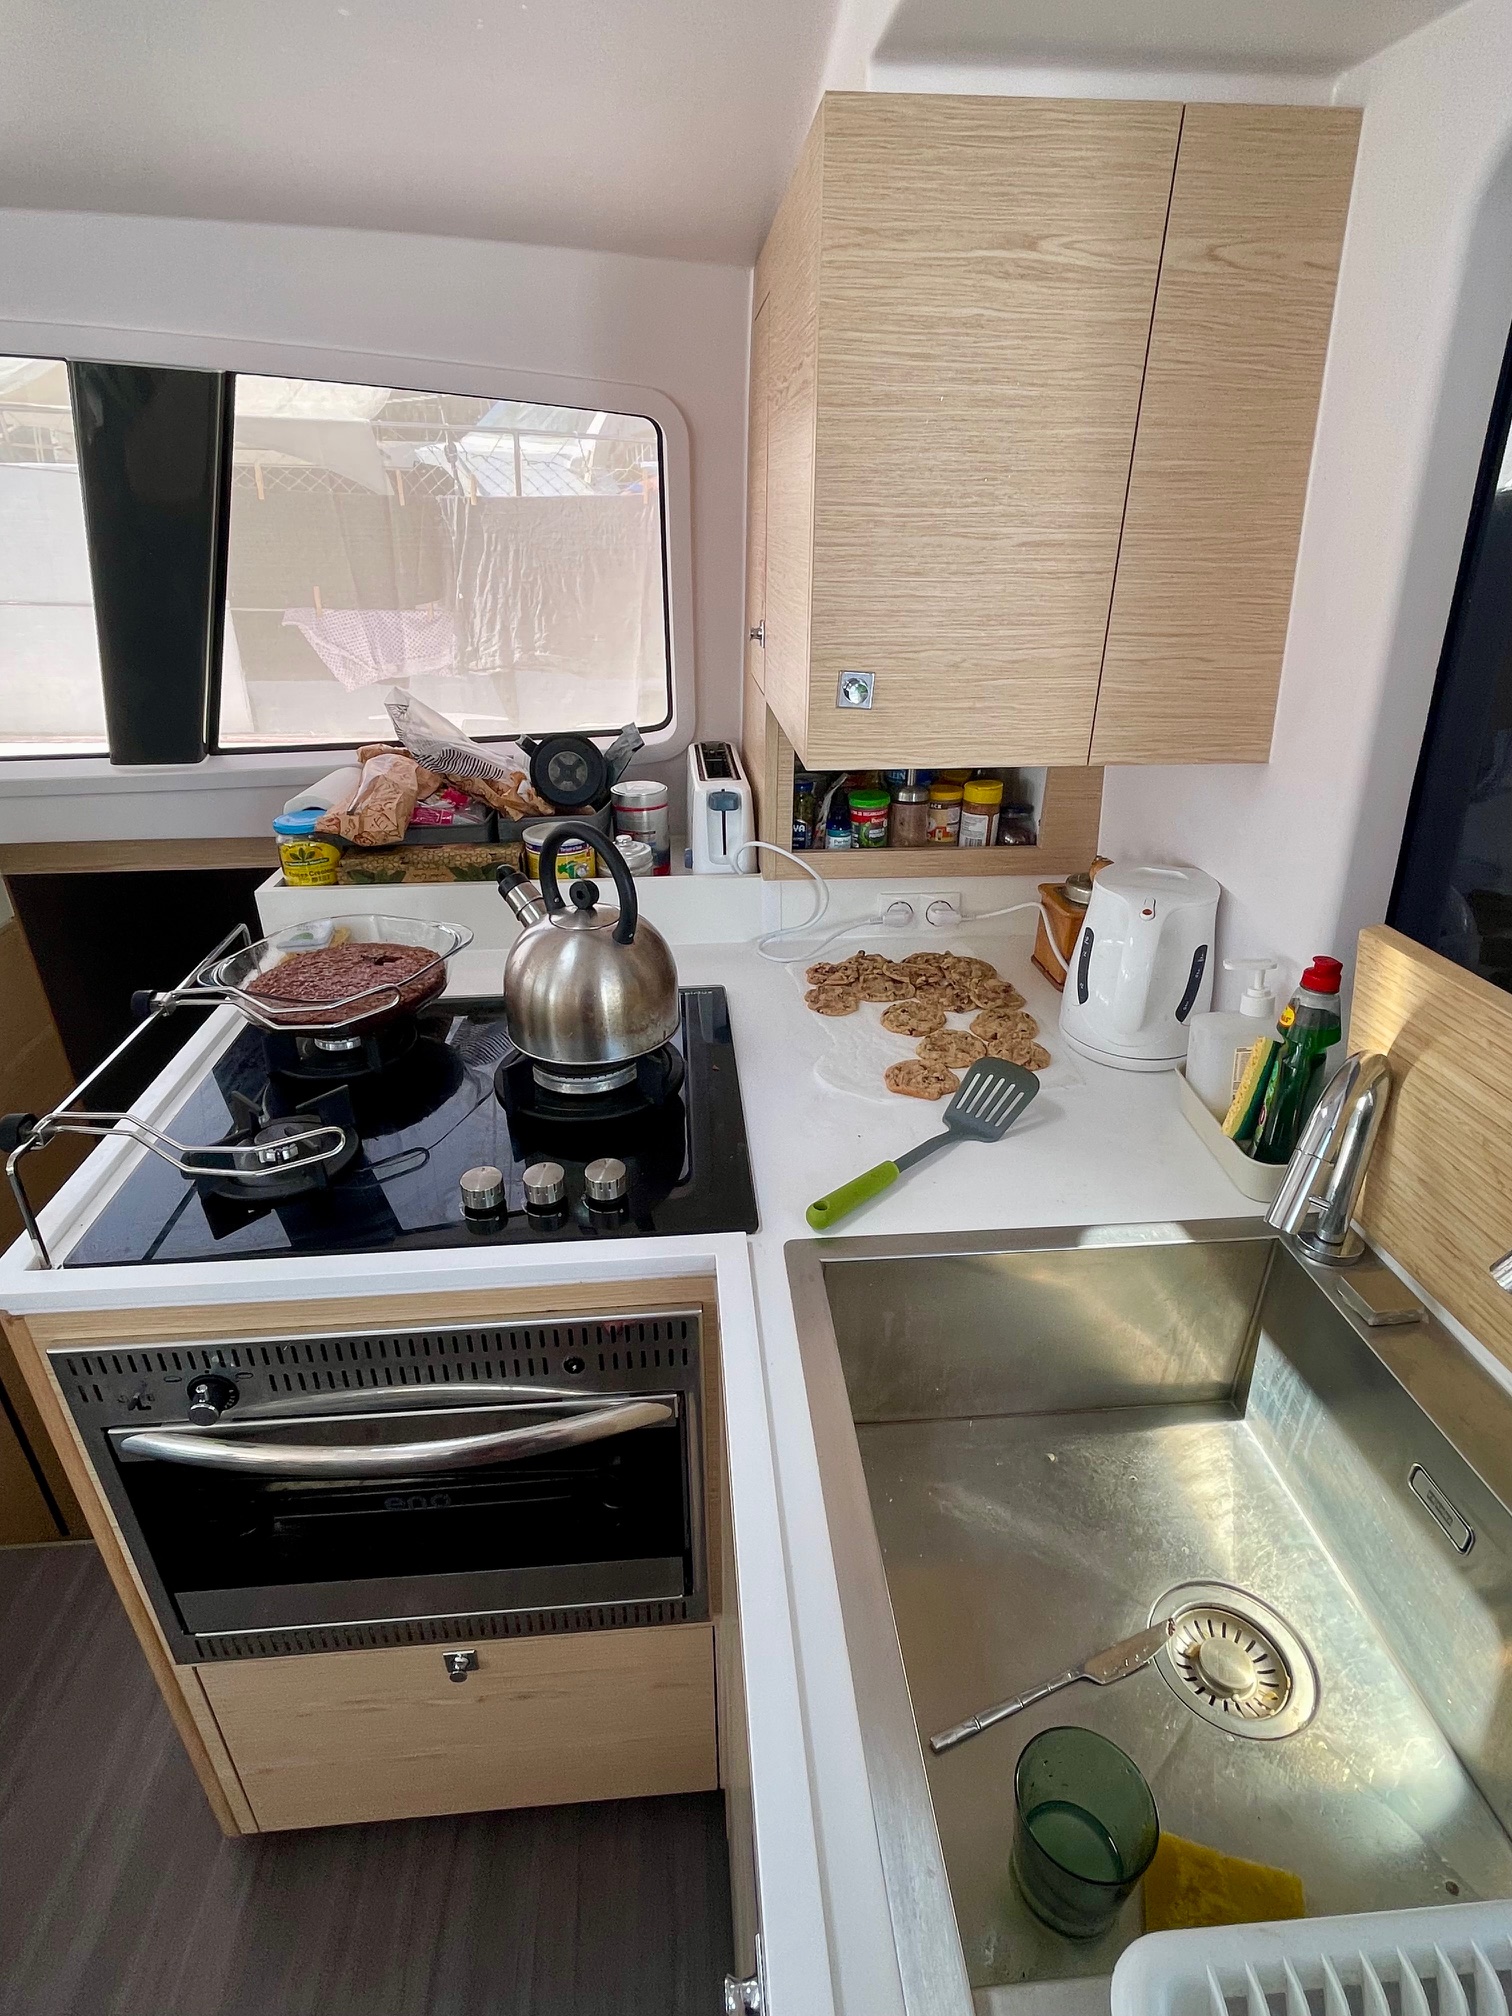
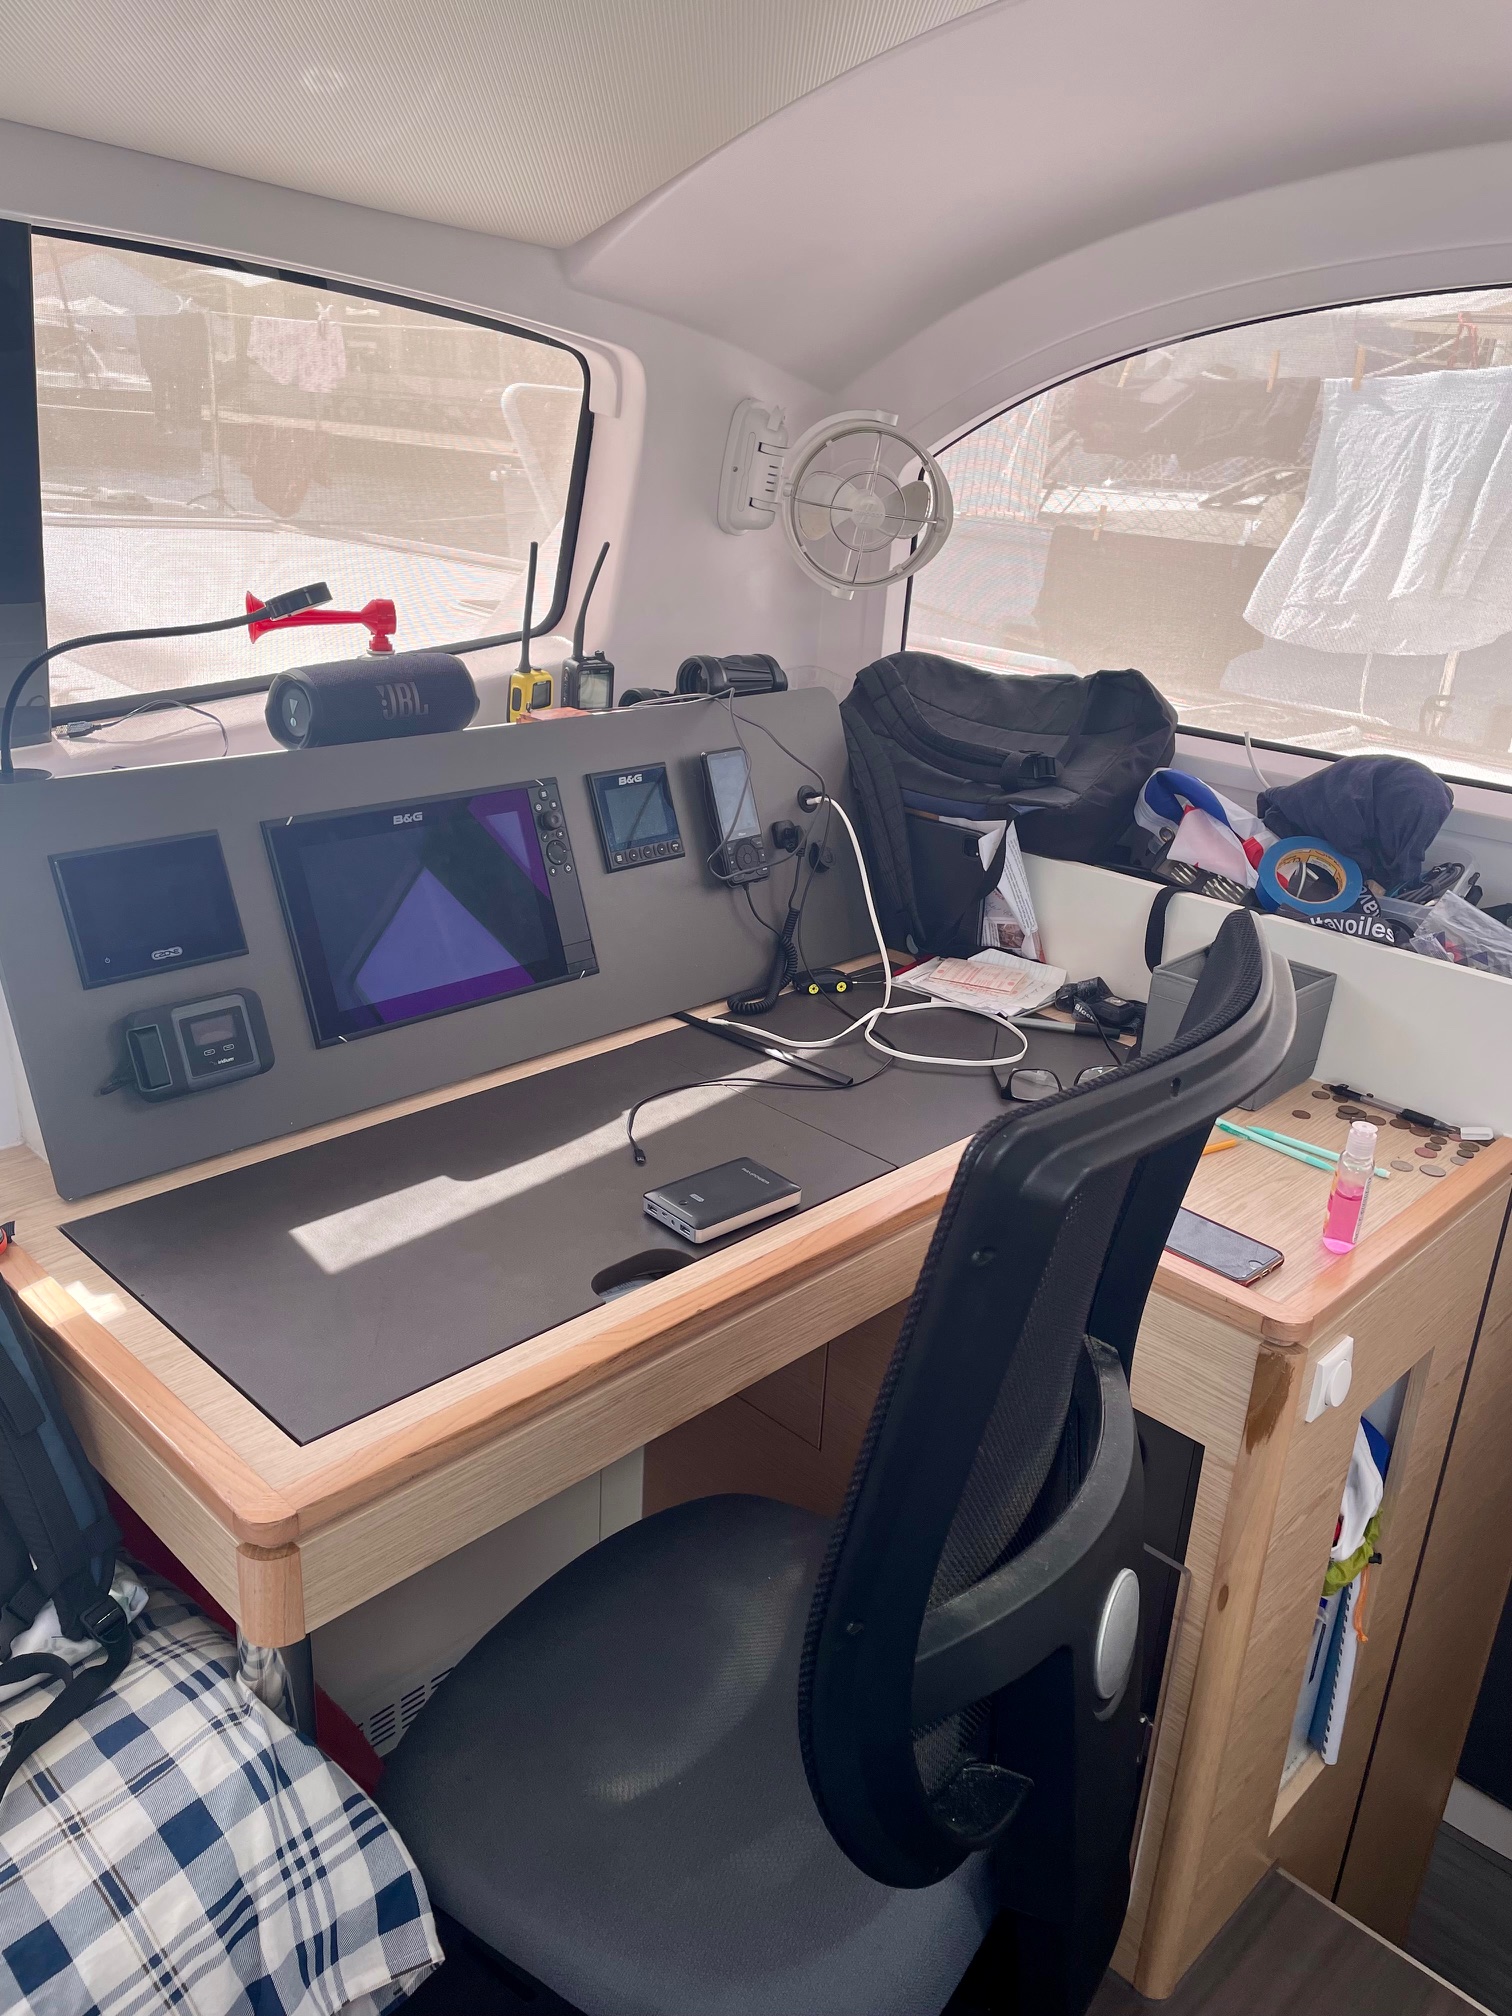
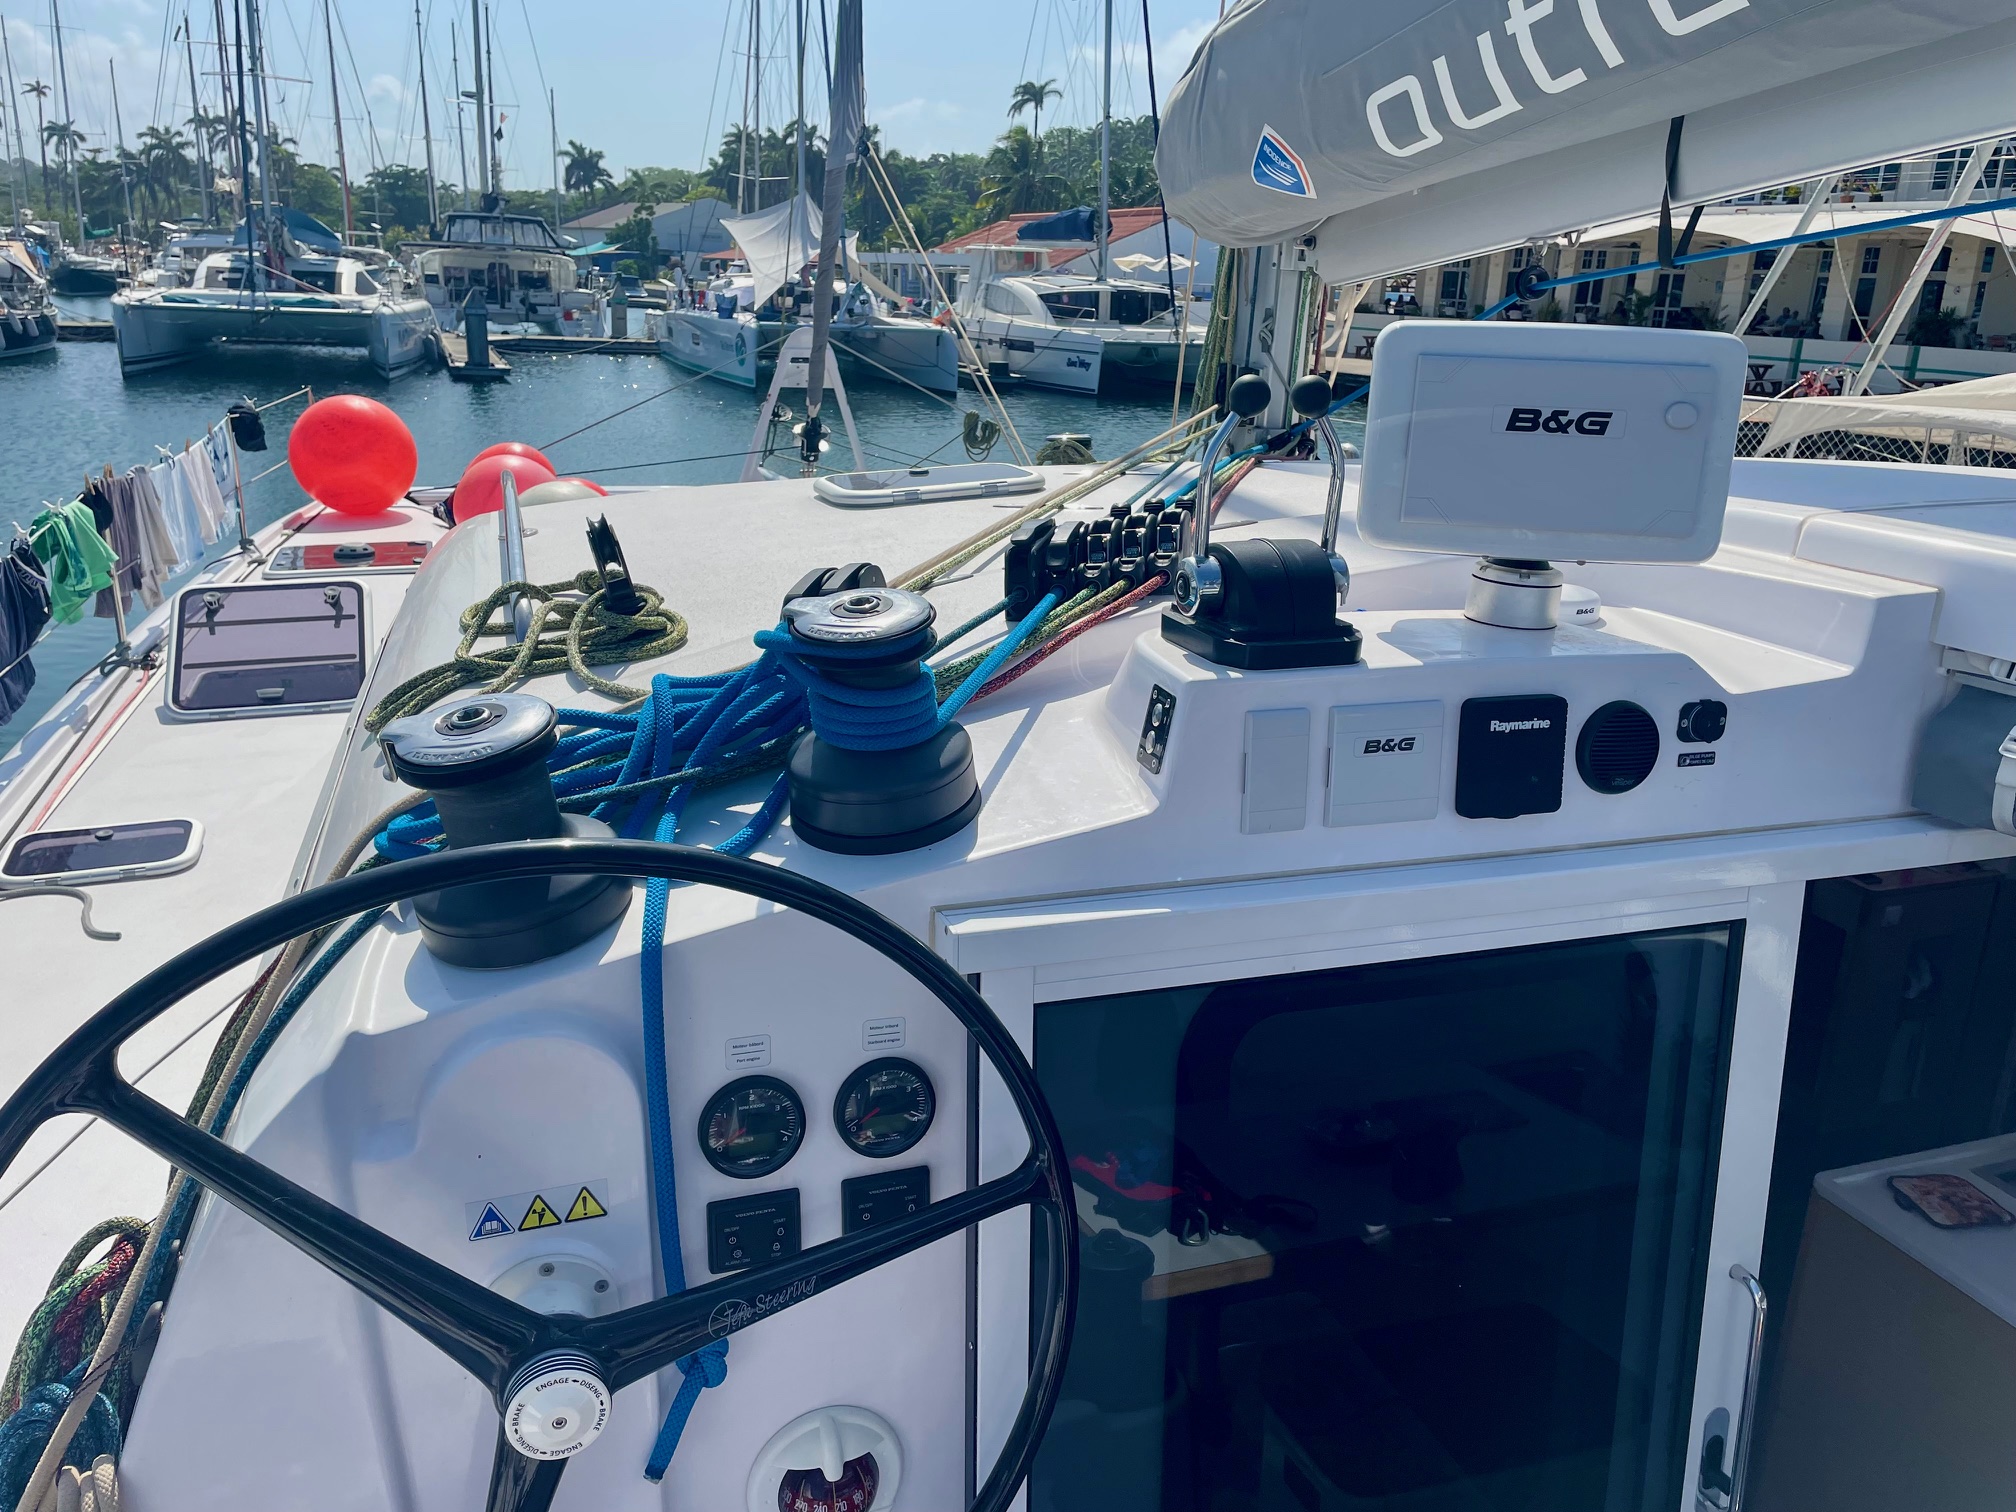
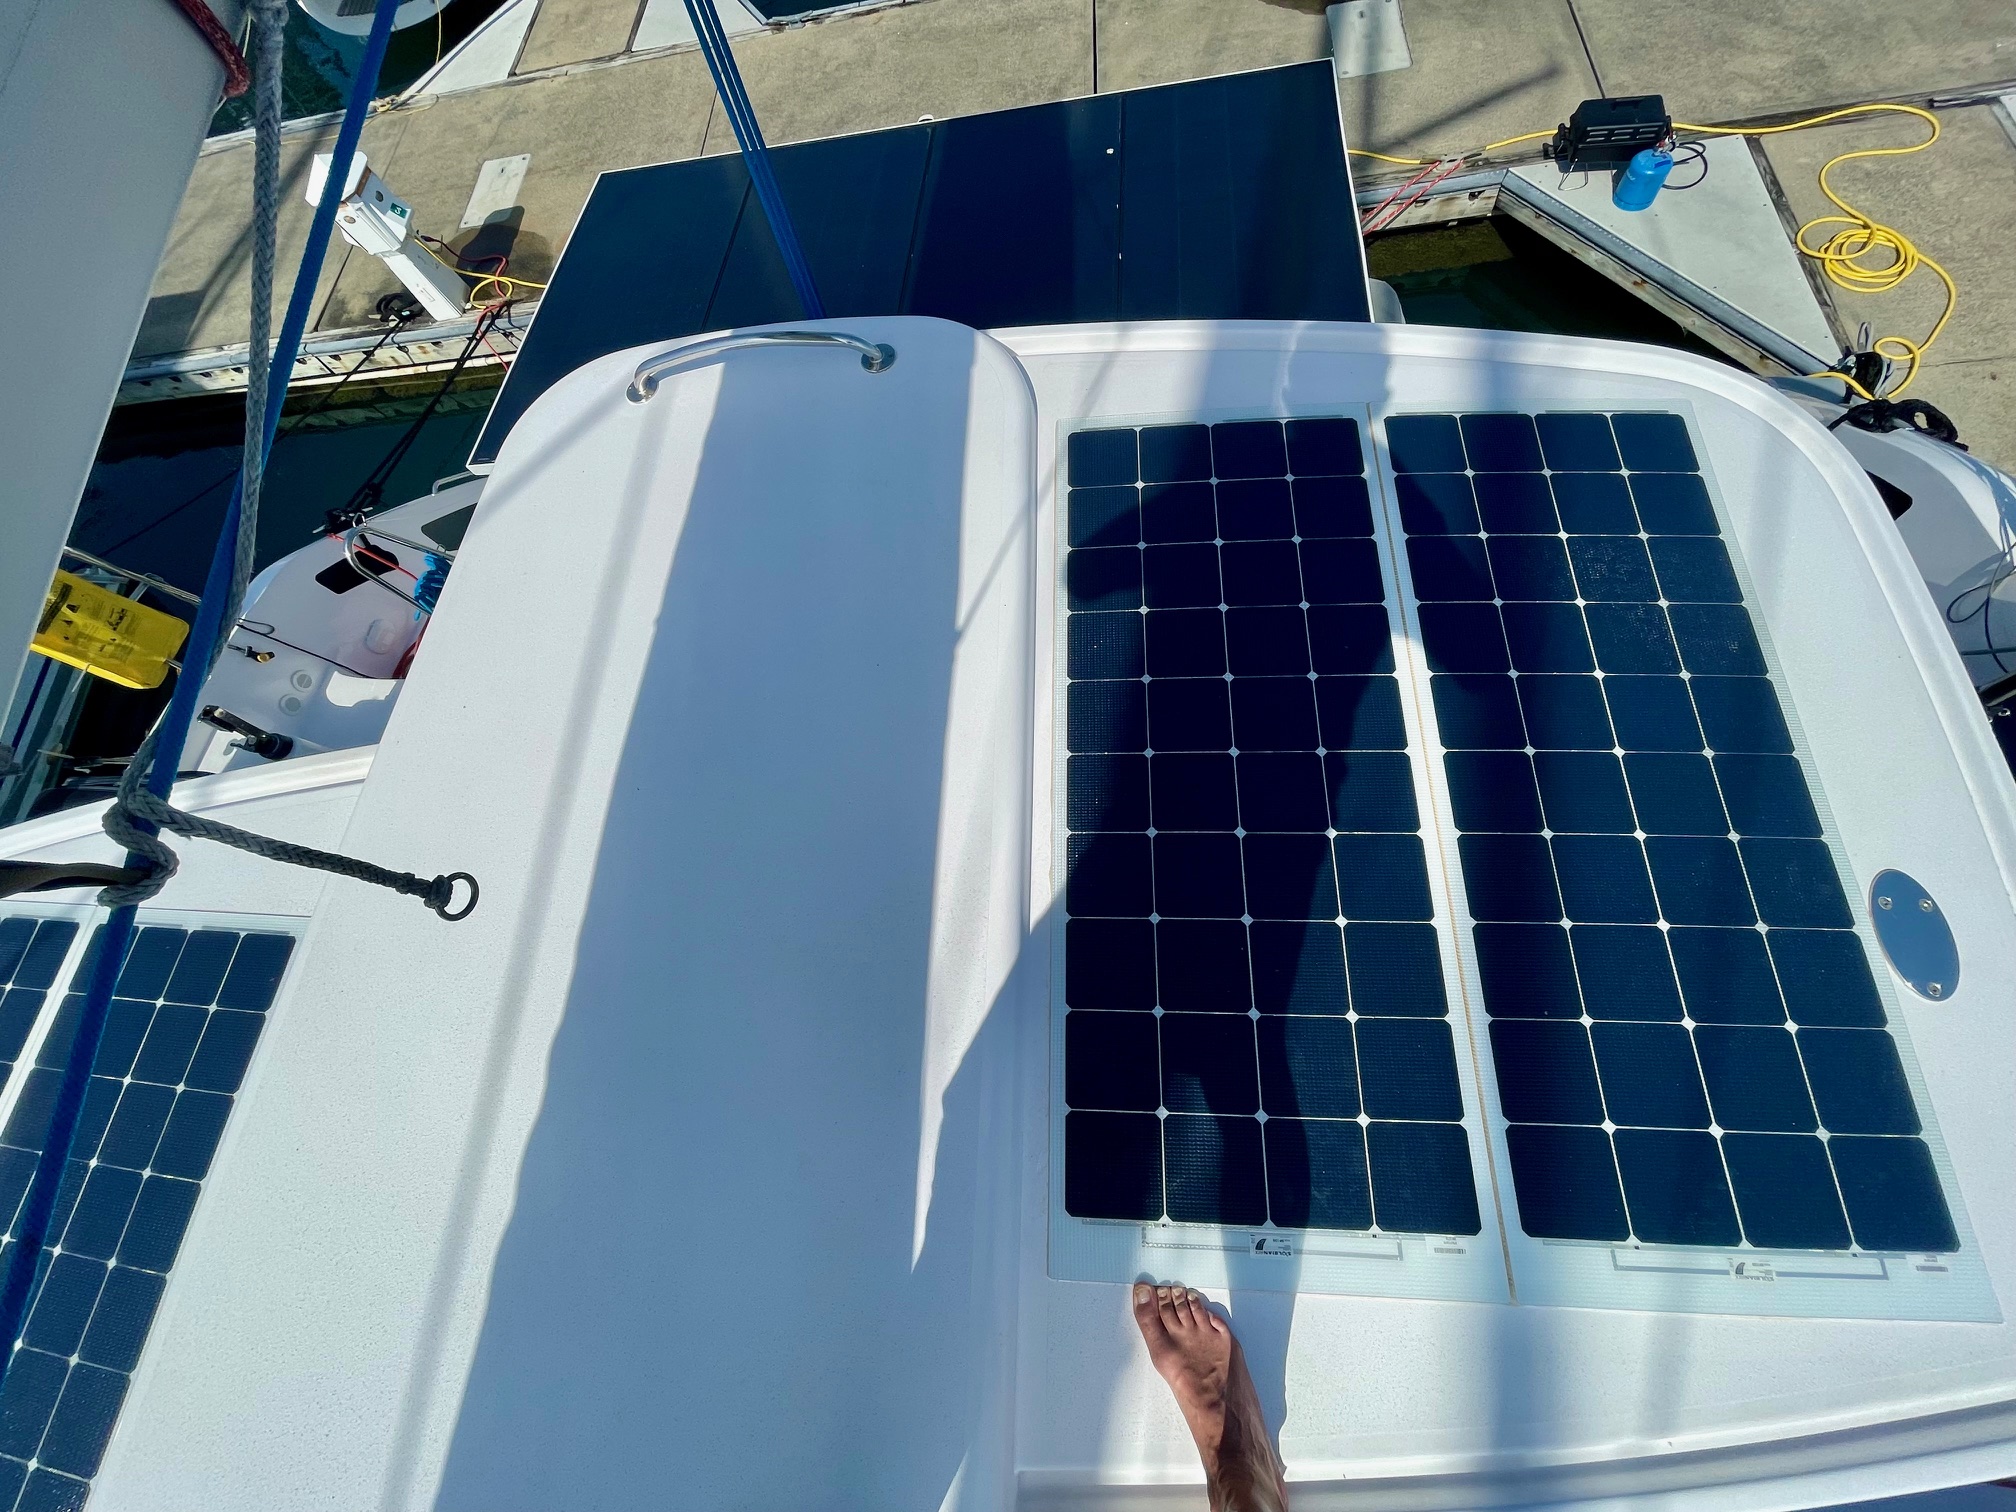
I arrived in Panama a few days before we transit the canal. We drove from Panama City (Pacific side) to Colon (Atlantic side) and moved aboard Rioleon, a beautiful Outremer 45. Mike and his family sailed her all the way from France. The route back to Oregon is through the canal, French Polynesia, and Hawaii. I’m joining for the leg from Panama to French Polynesia.
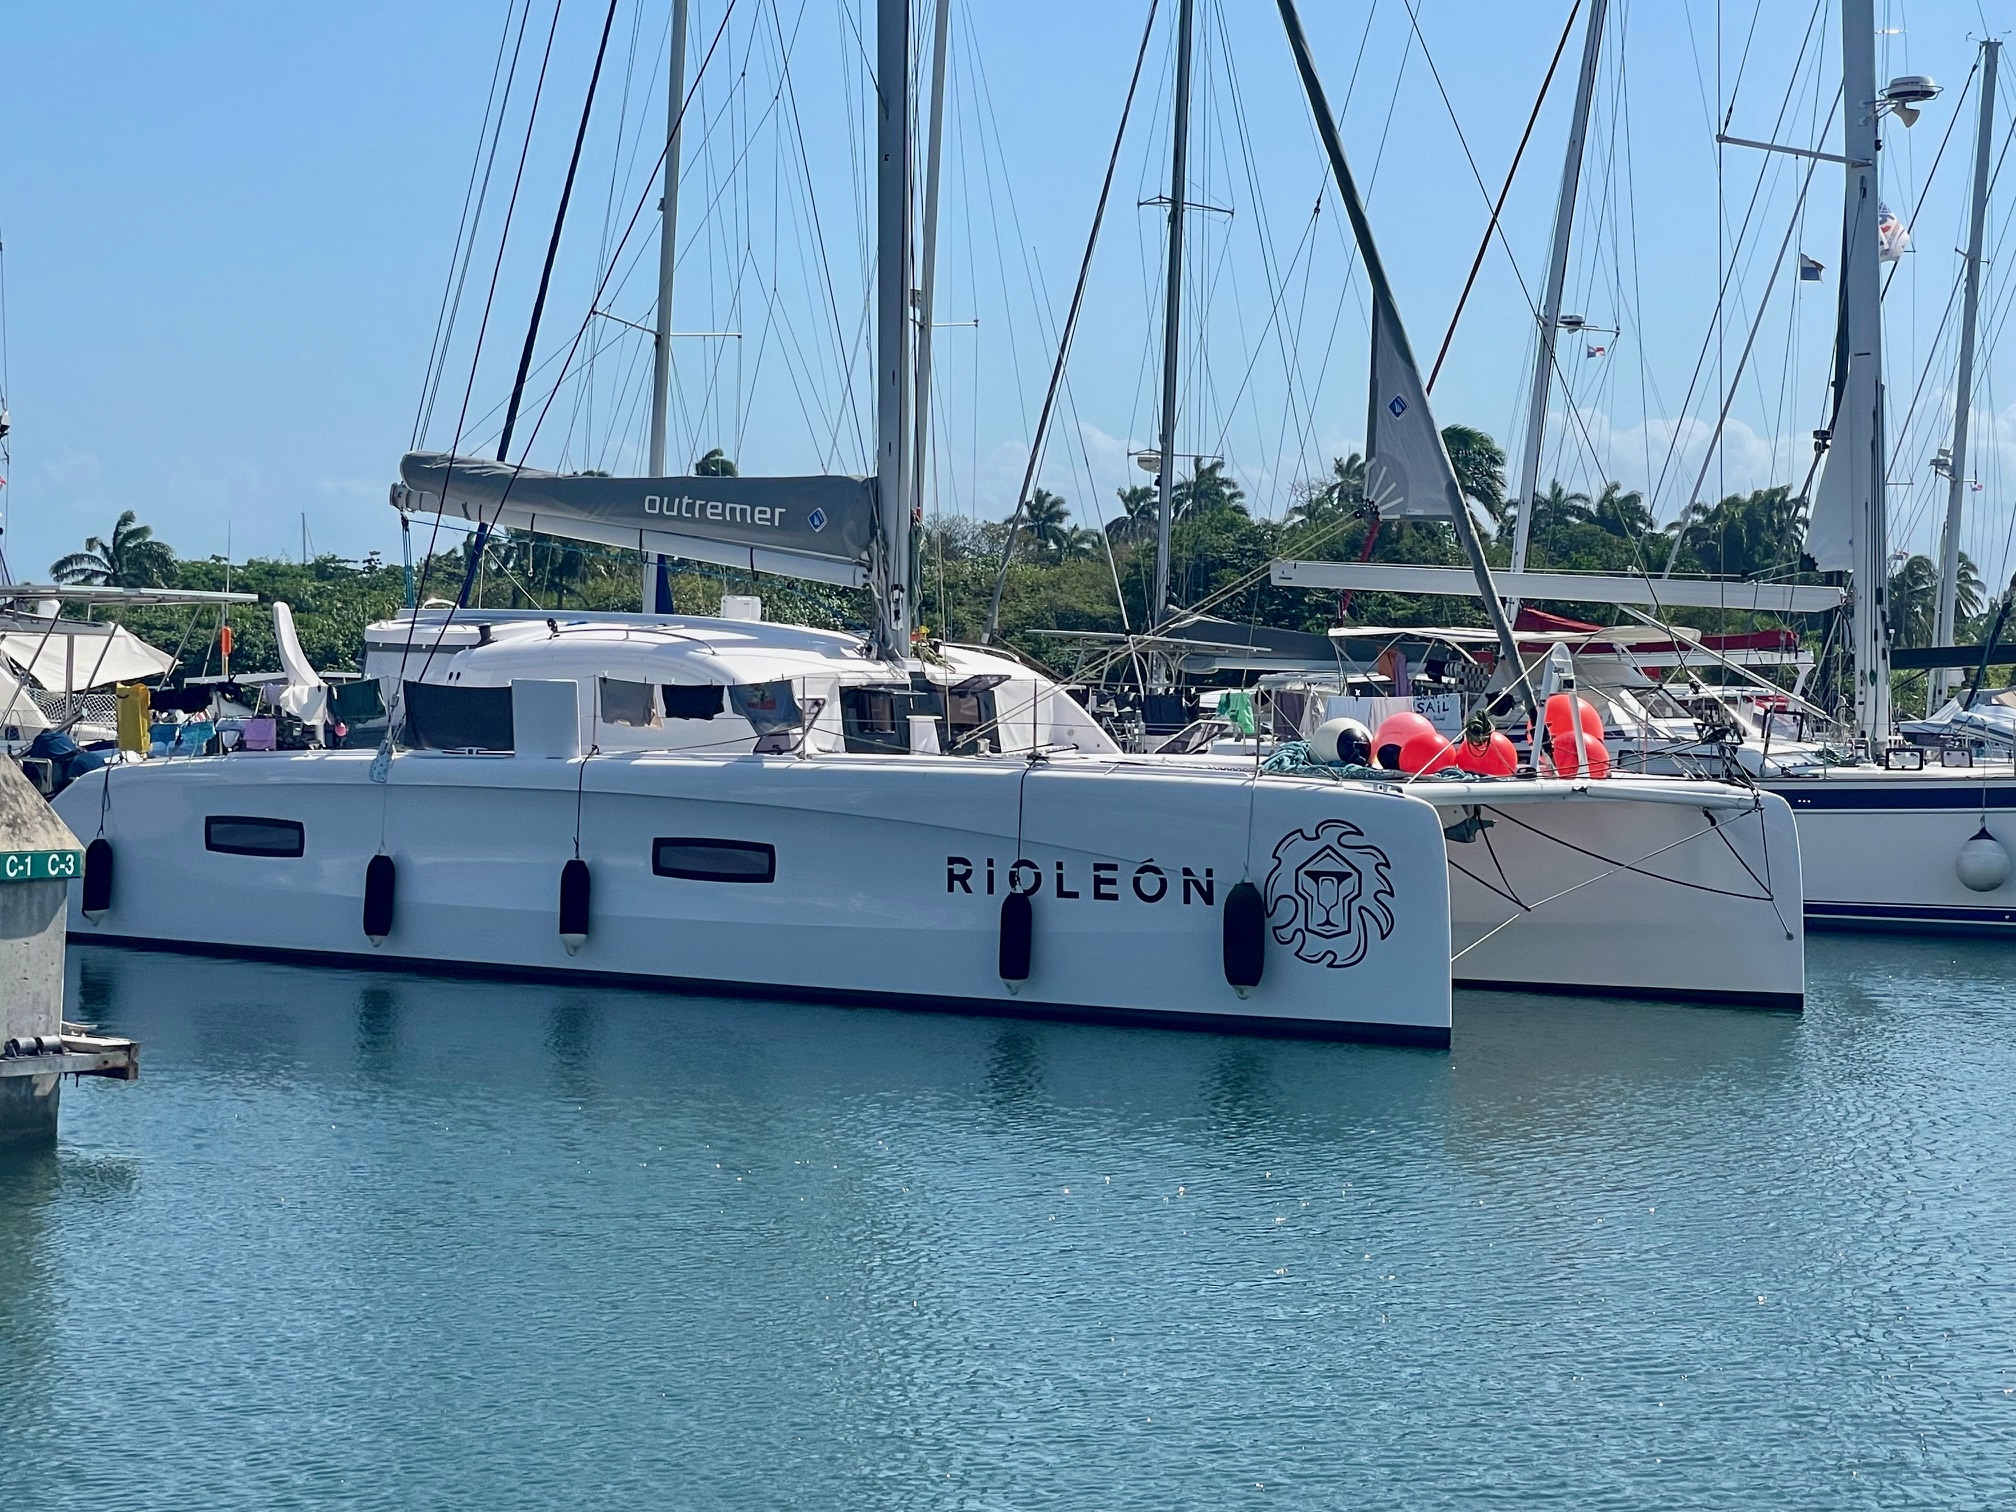
Rioleon at Shelter Bay Marina in ColonPanama City
I’ve always owned and sailed on monohulls. I’ve been on a few catamarans during our Pacific loop–that’s usually where cruisers gather at anchorages for potlucks and socializing. It’s much easier hosting a dozen people on the big covered aft deck of a cat. Moving aboard Rioleon 4 days before departure allowed me to become familiar with the boat and get acclimatized to the heat. Besides provisioning and some minor boat work, we visited a nearby old fort.
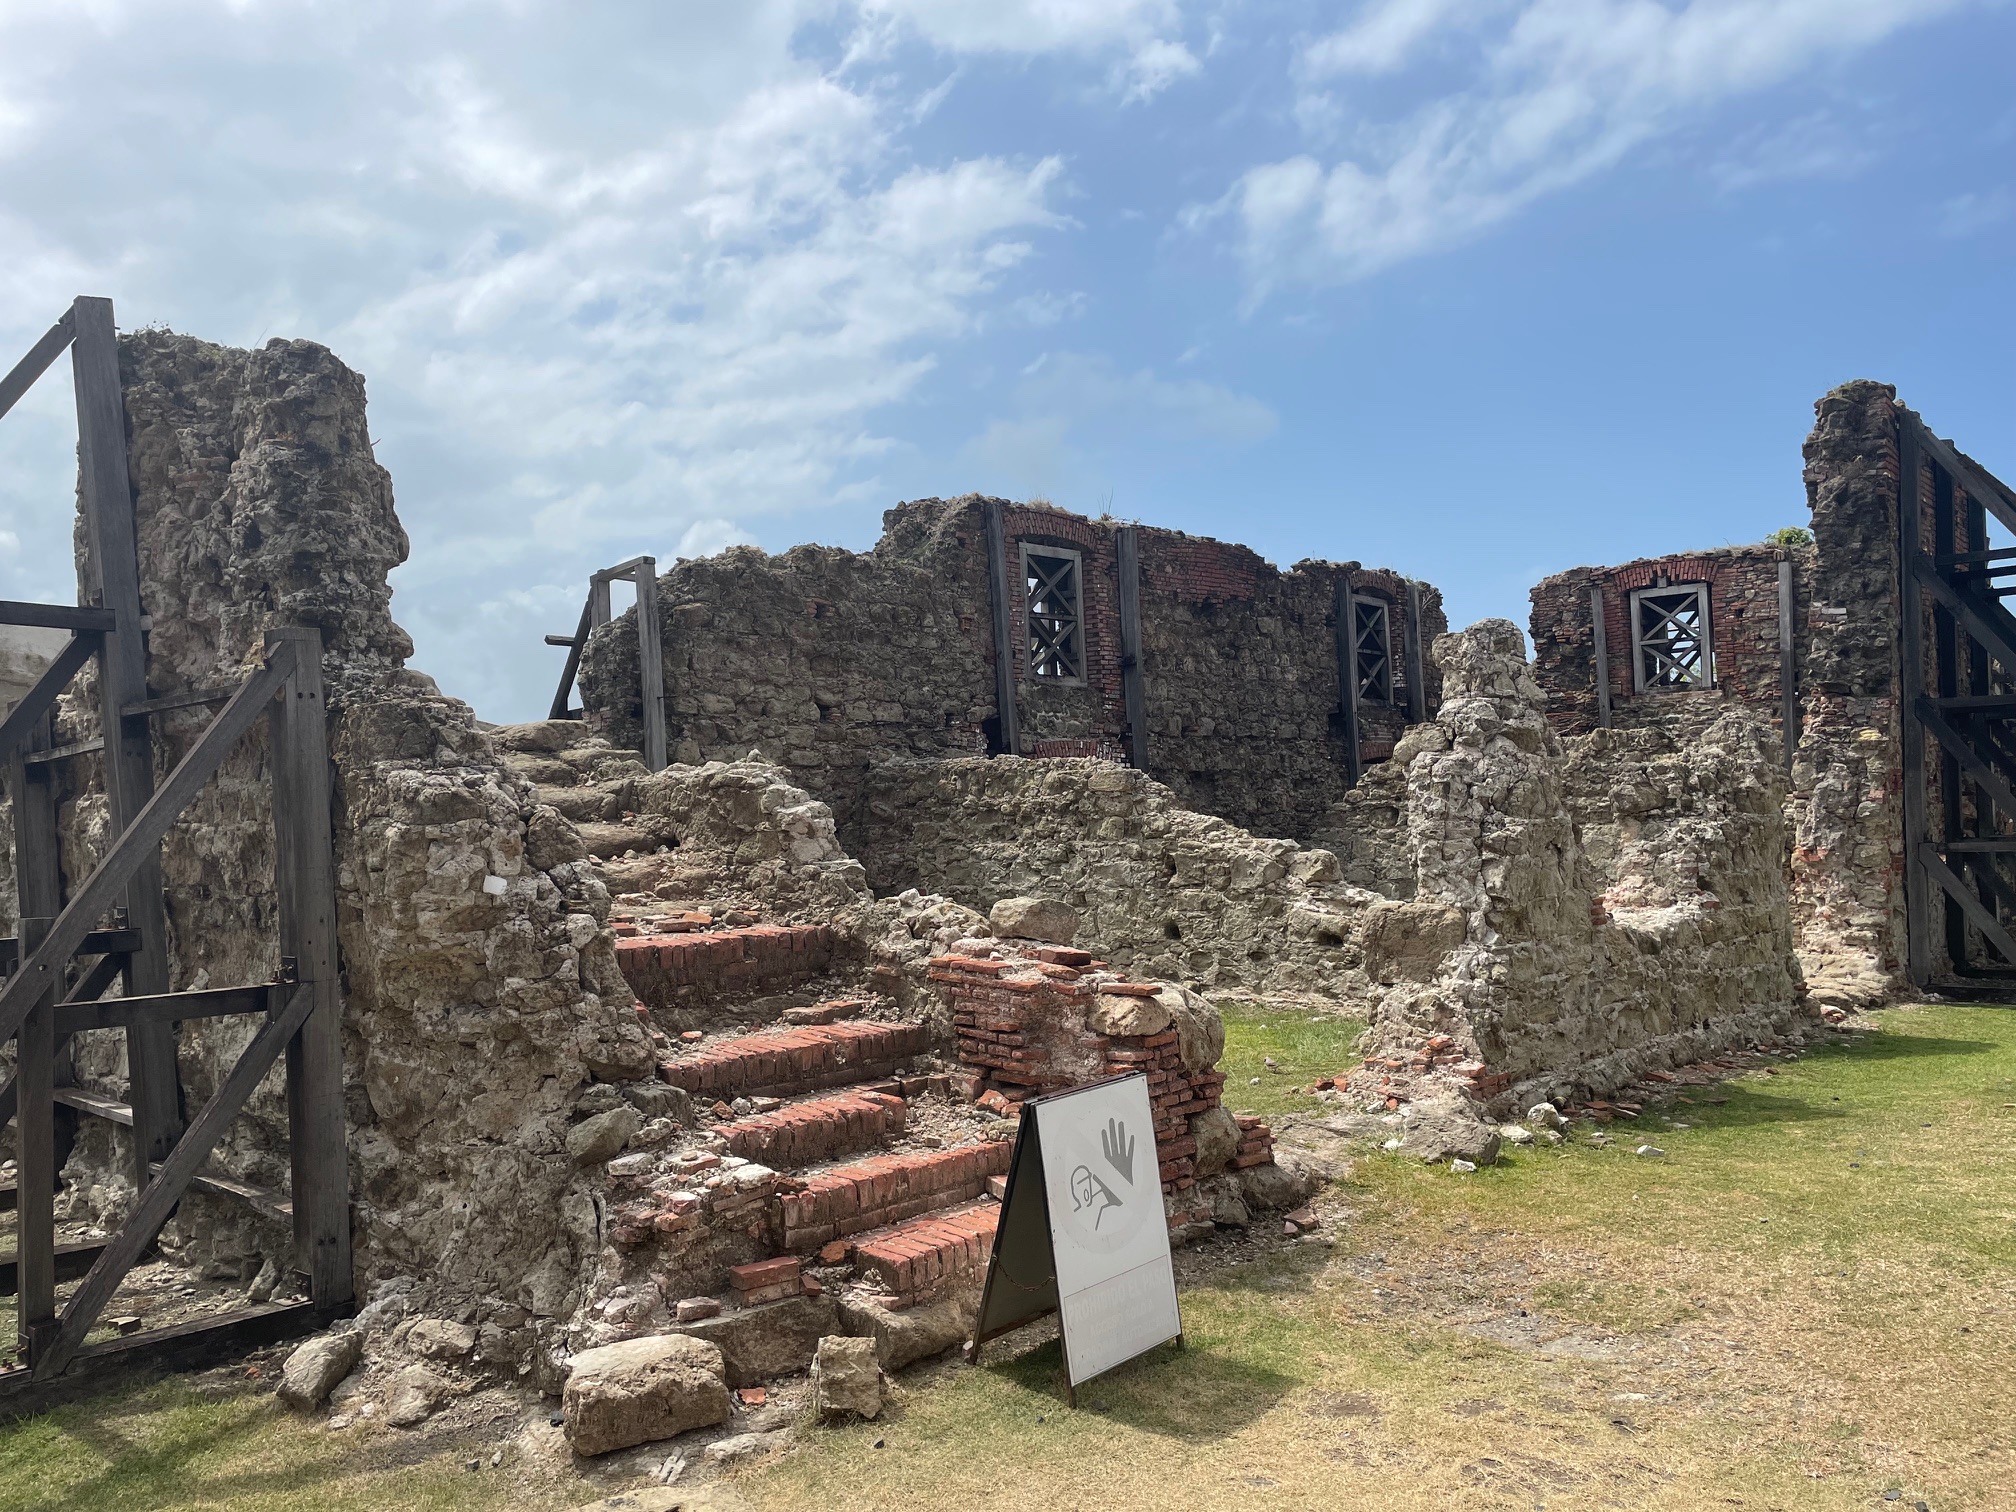
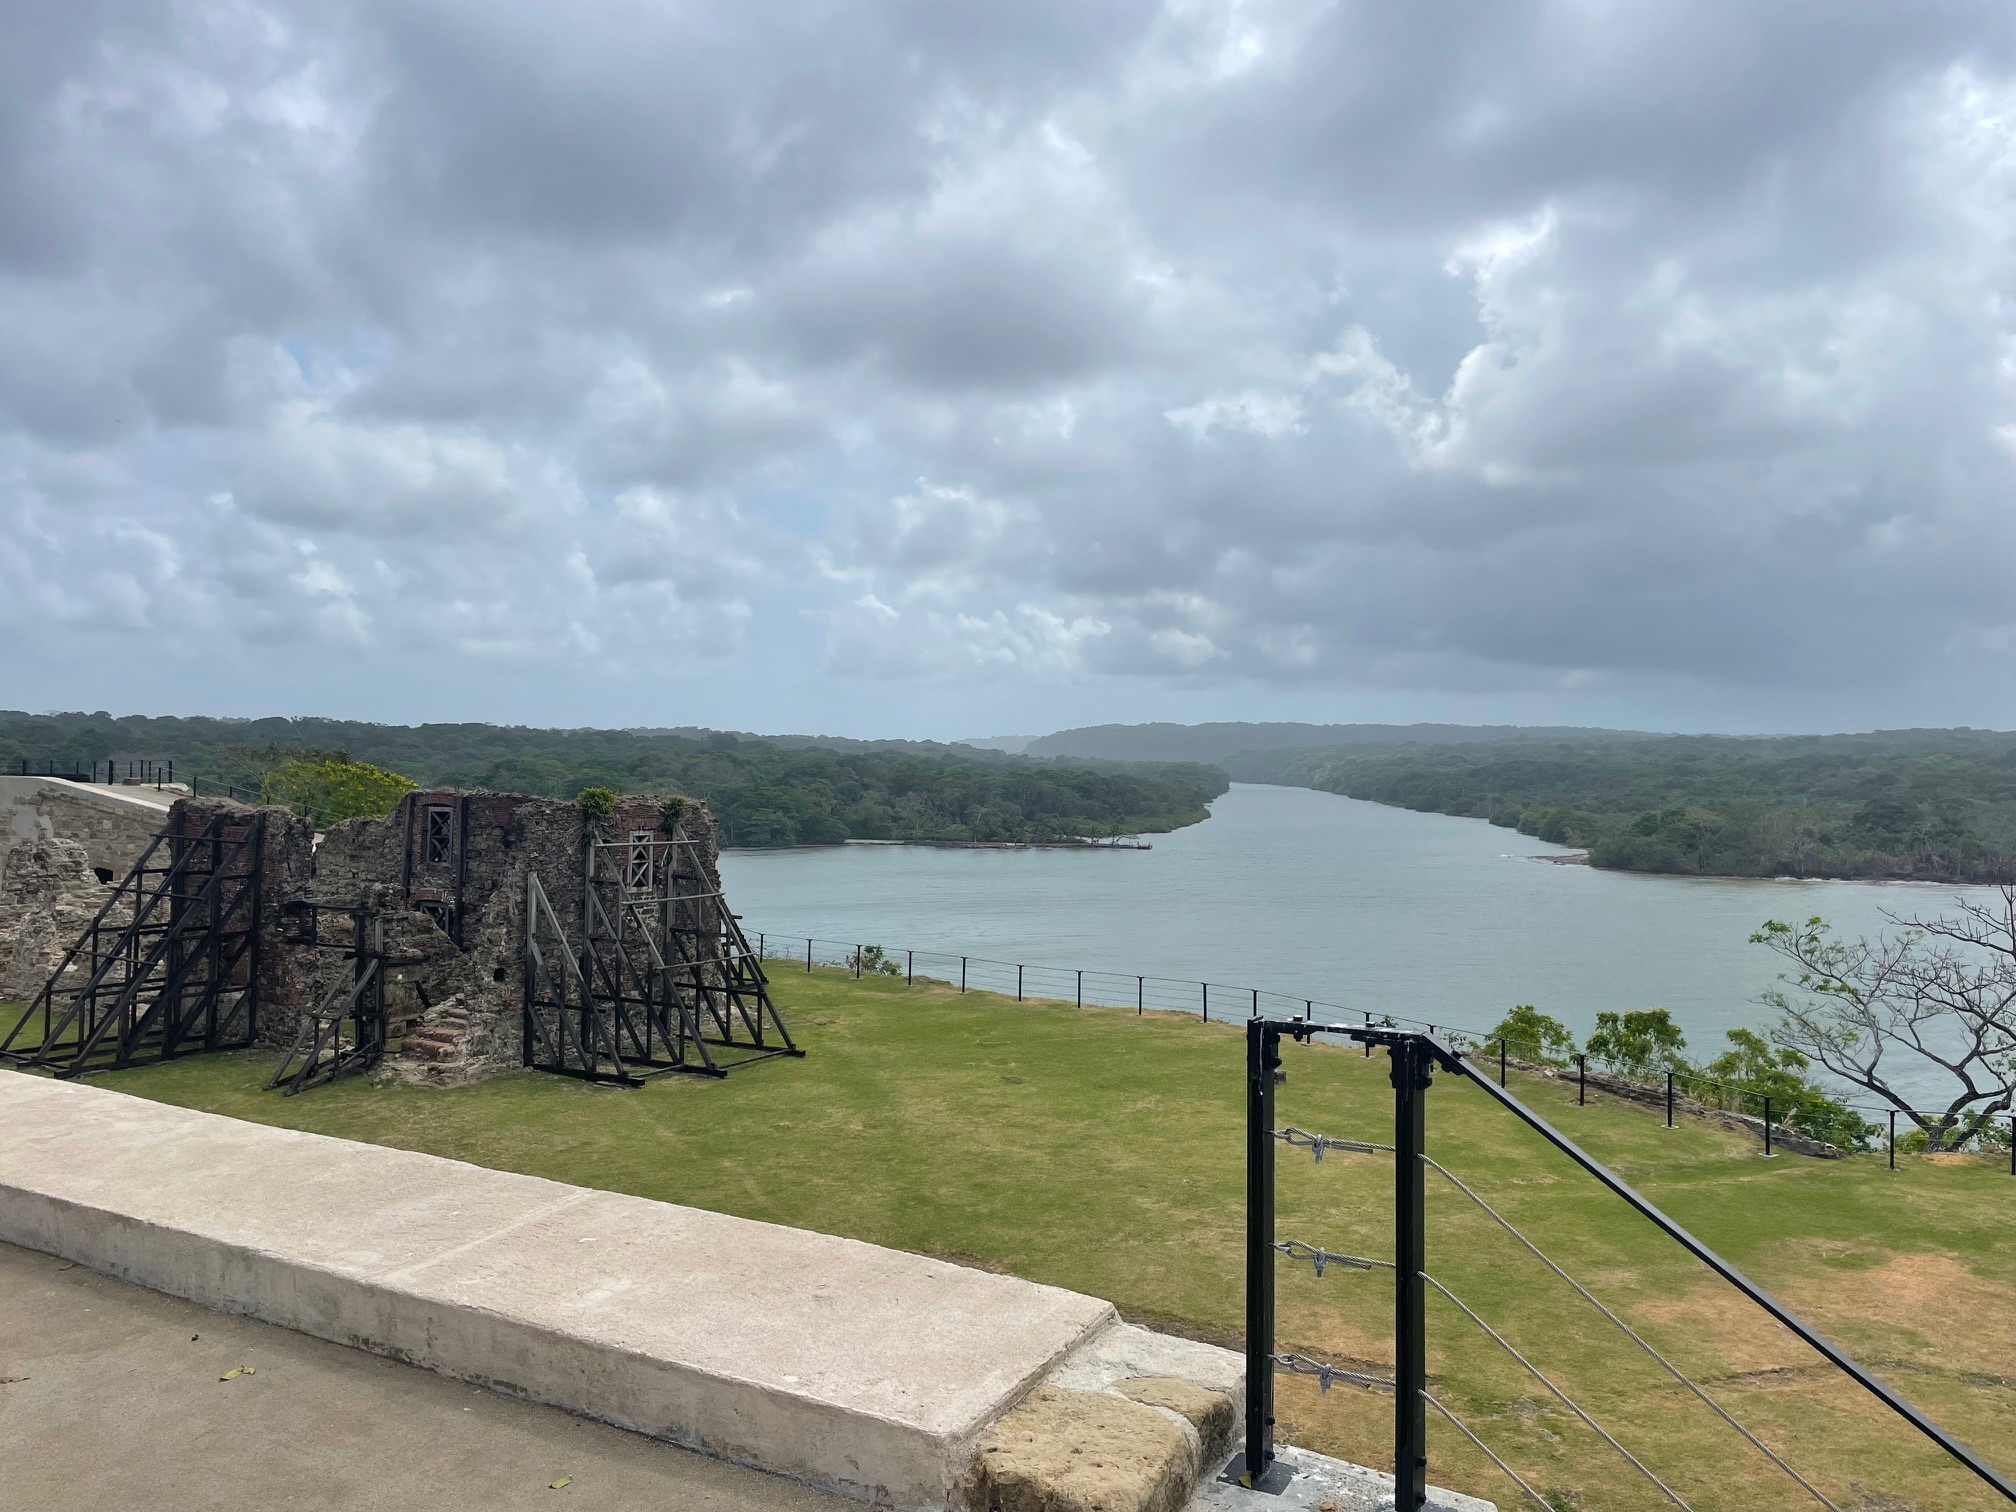
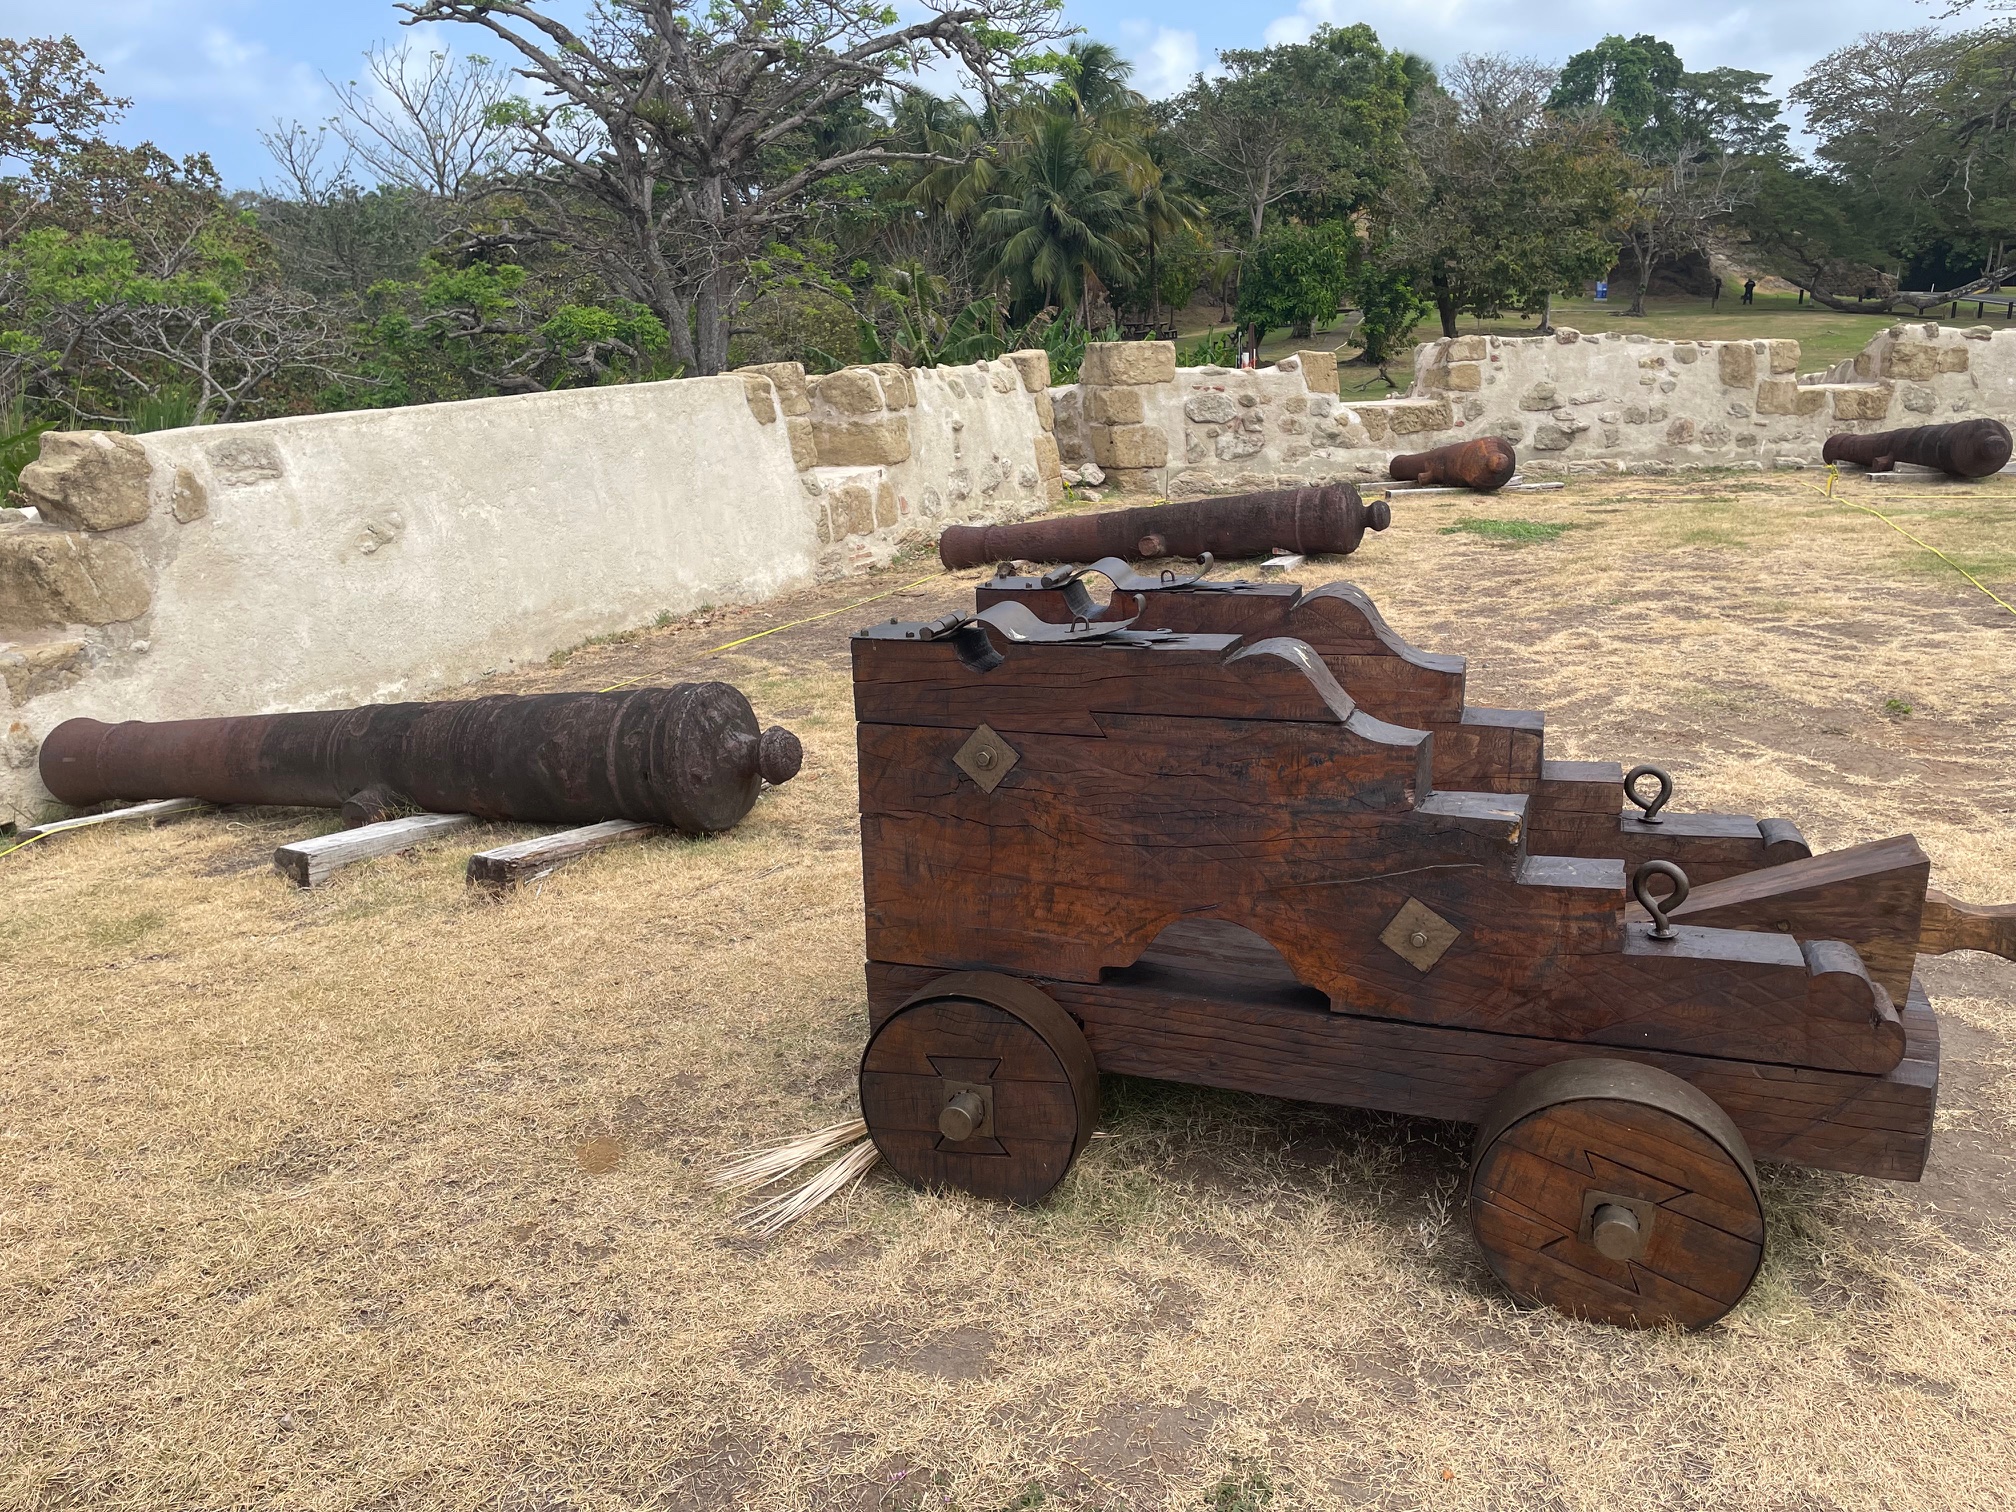
The fort, called Castillo de San Lorenzo has a rich history of war and pirates! It was built in 1595 to protect cargo that was sent overland from Panama City to Colon, destroyed by pirate Henry Morgan in 1671, rebuilt six years later and again in 1740. Then it was destroyed again by the British and rebuilt in 1768. In the 19th century after Panama’s independence from Spain, the fort was used as a barracks and a prison. What remains today is a combination of preserving parts of the 1768 version and reconstructing some of the original. It’s well-worth a visit.
Fortress Remnants Overlooking the Chagres River where it empties into the CaribbeanOriginal canons and replica carts
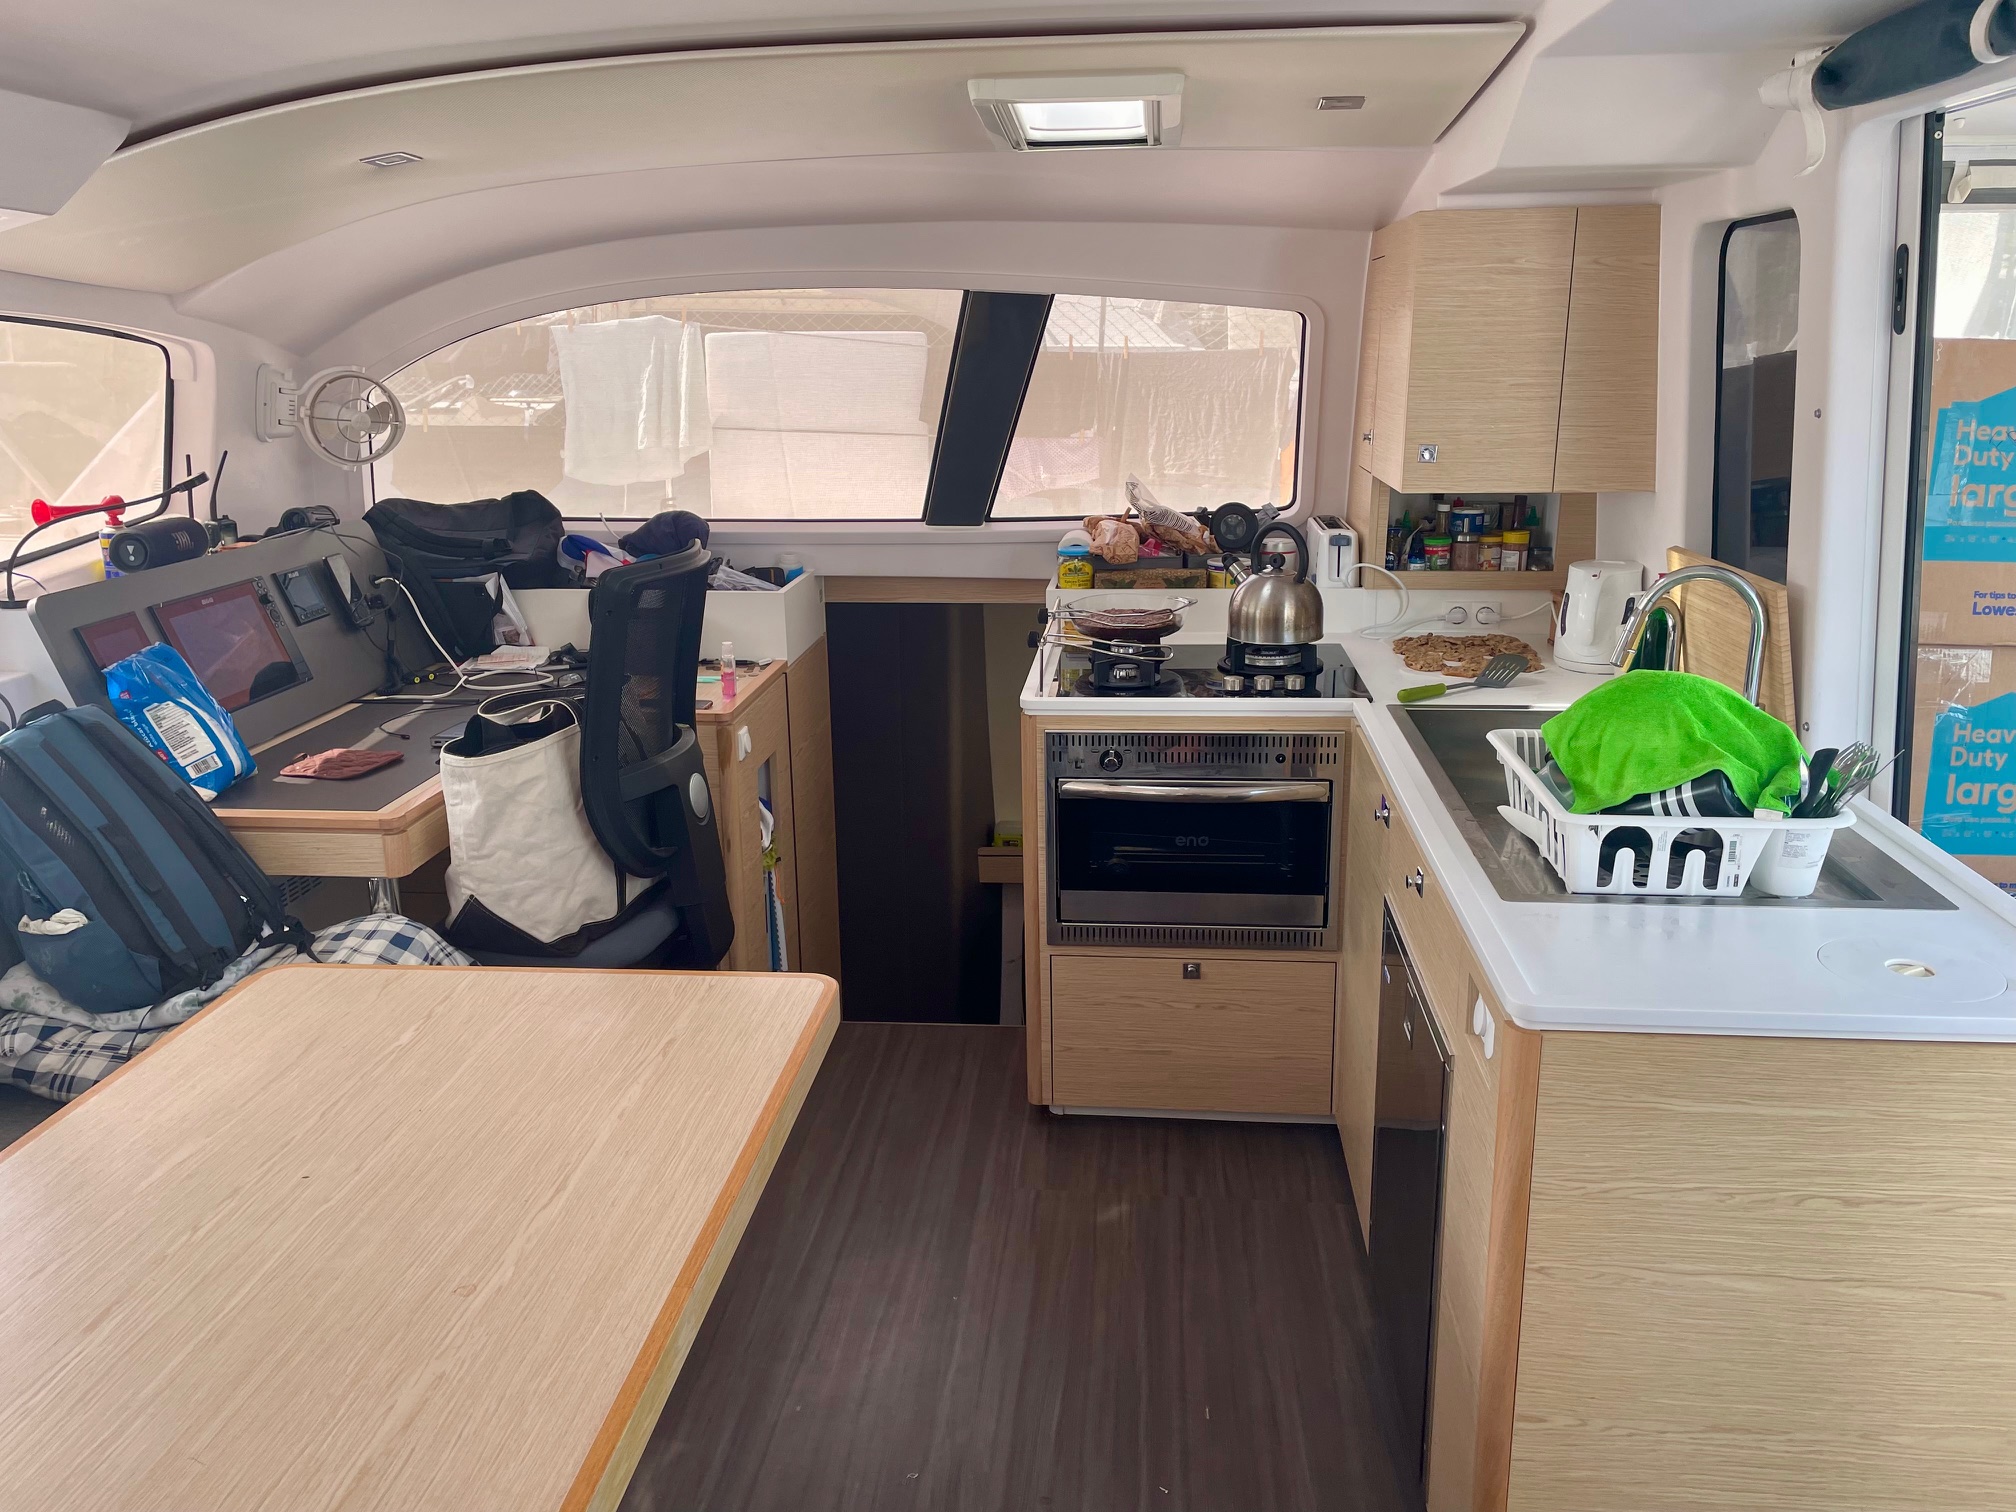
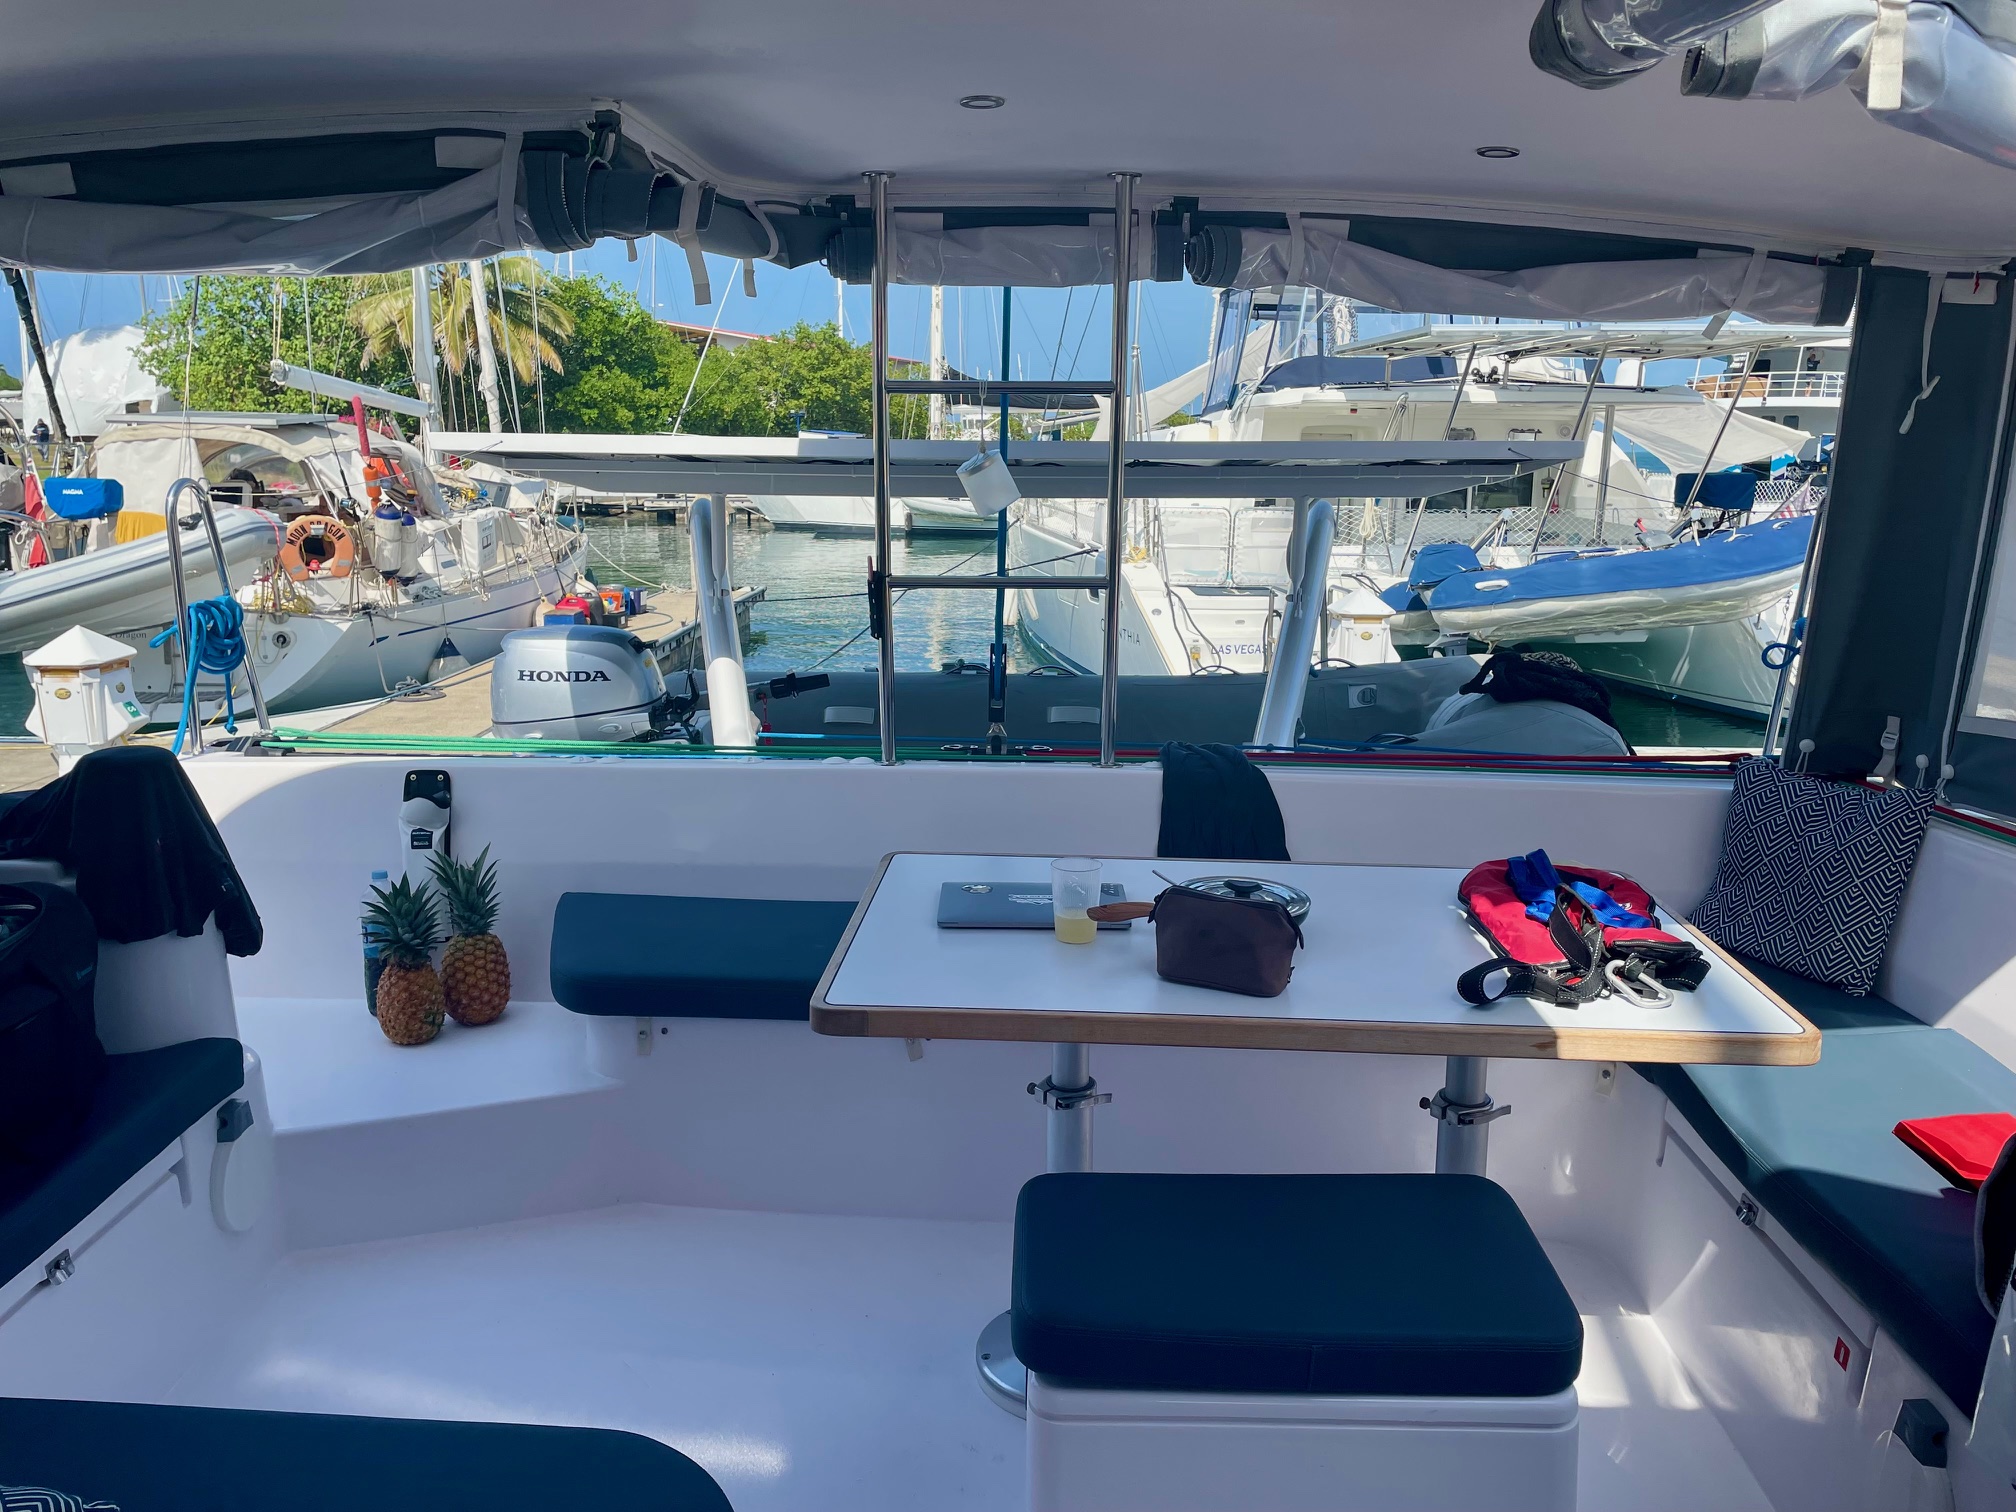
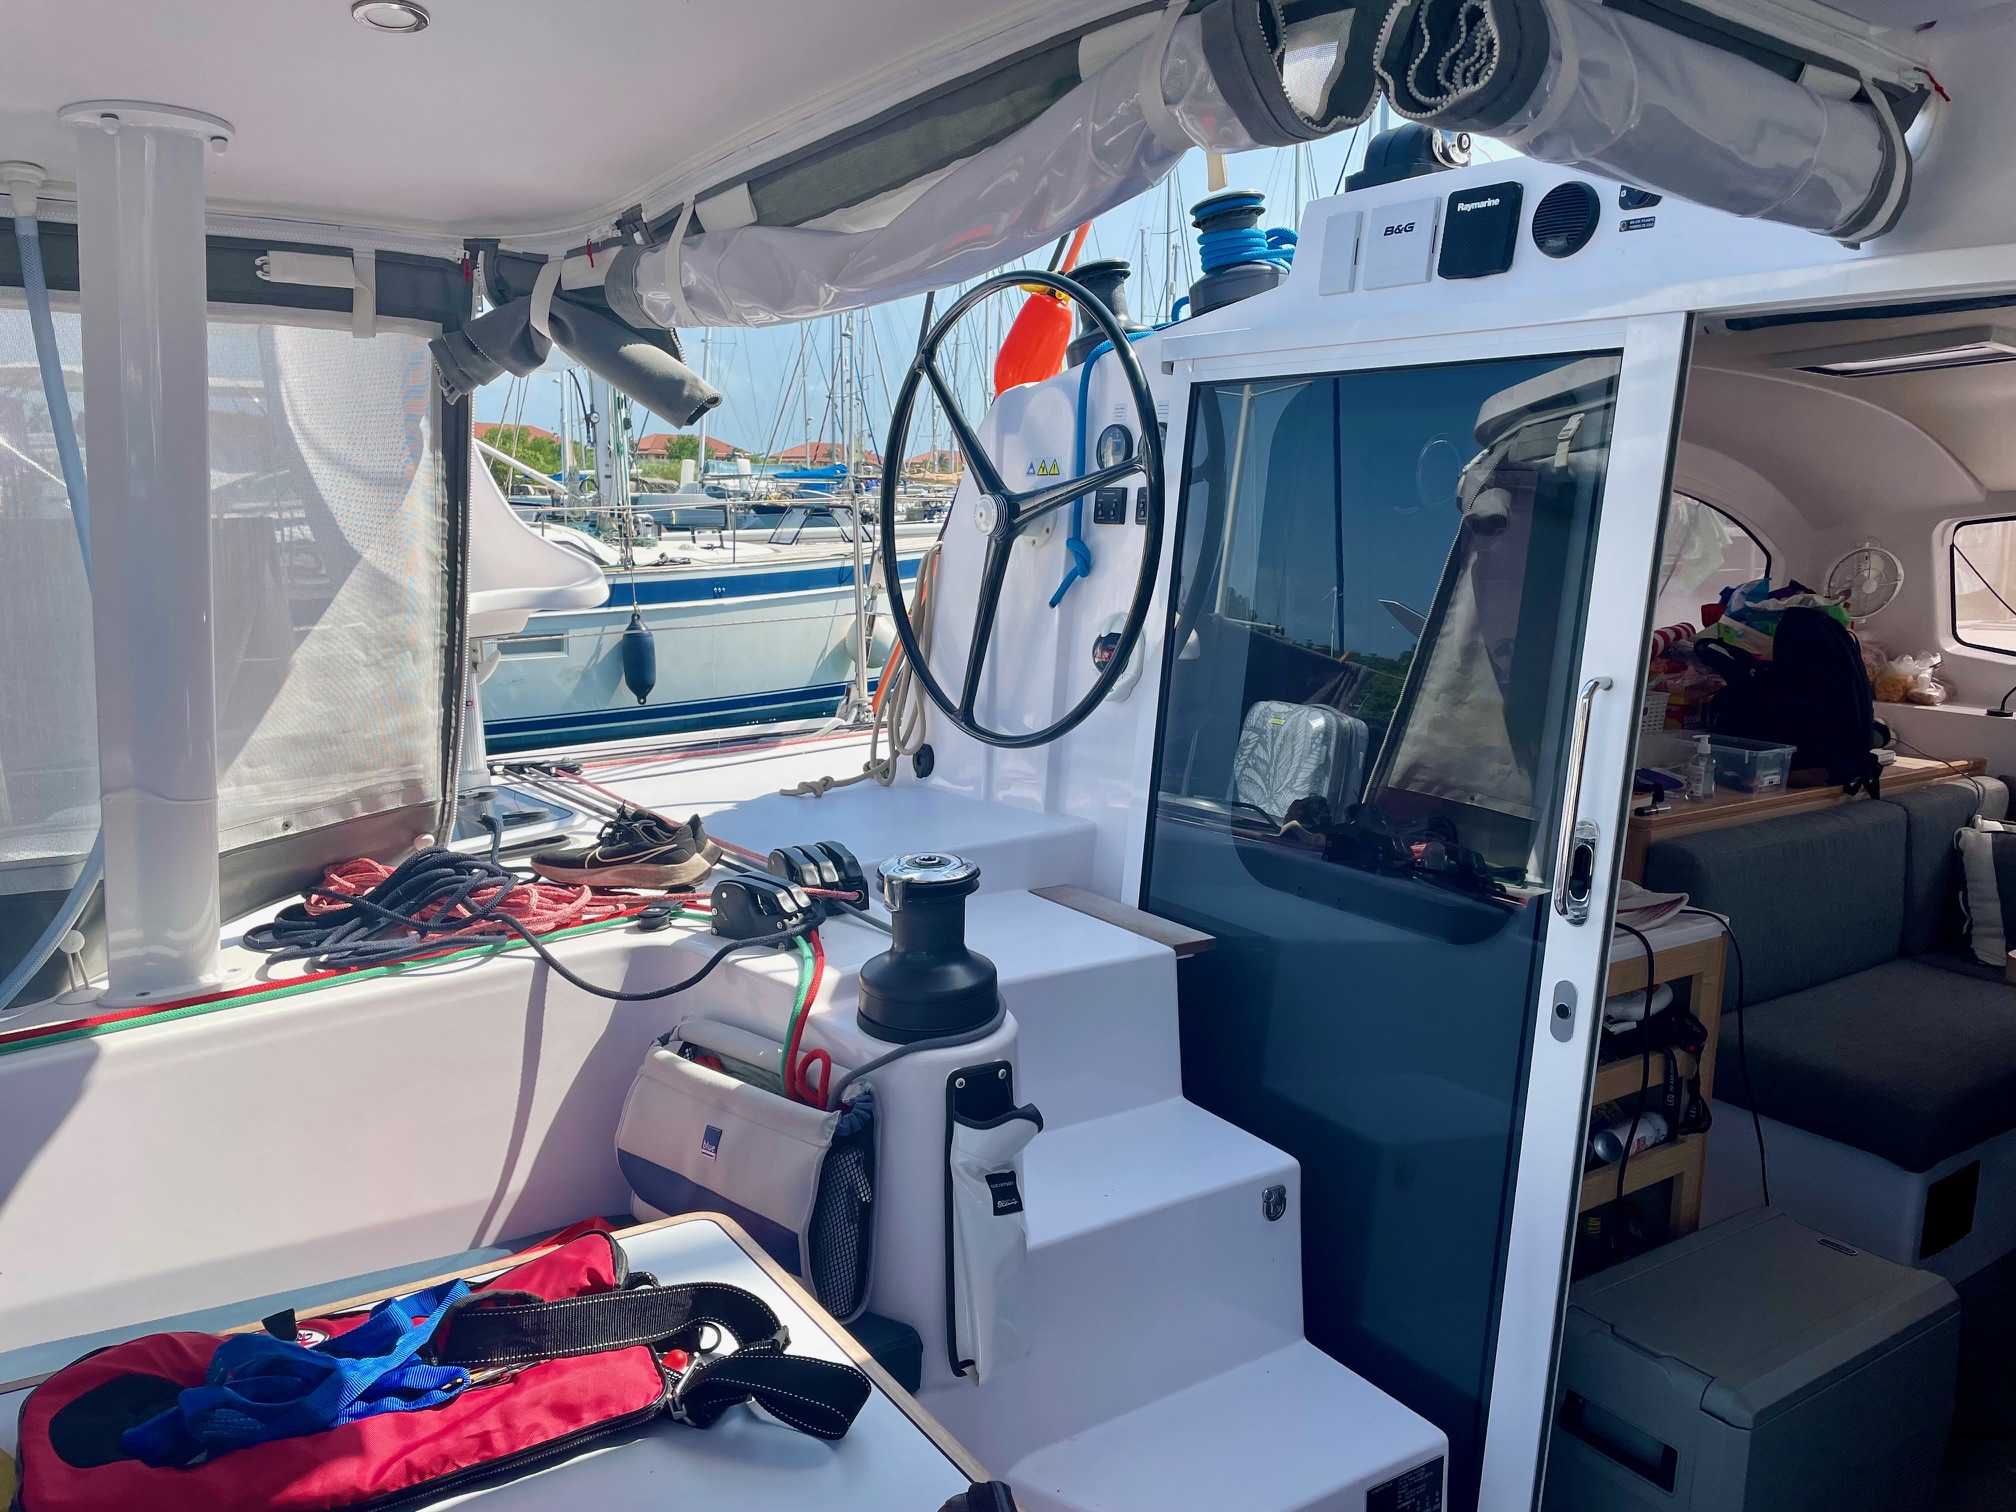
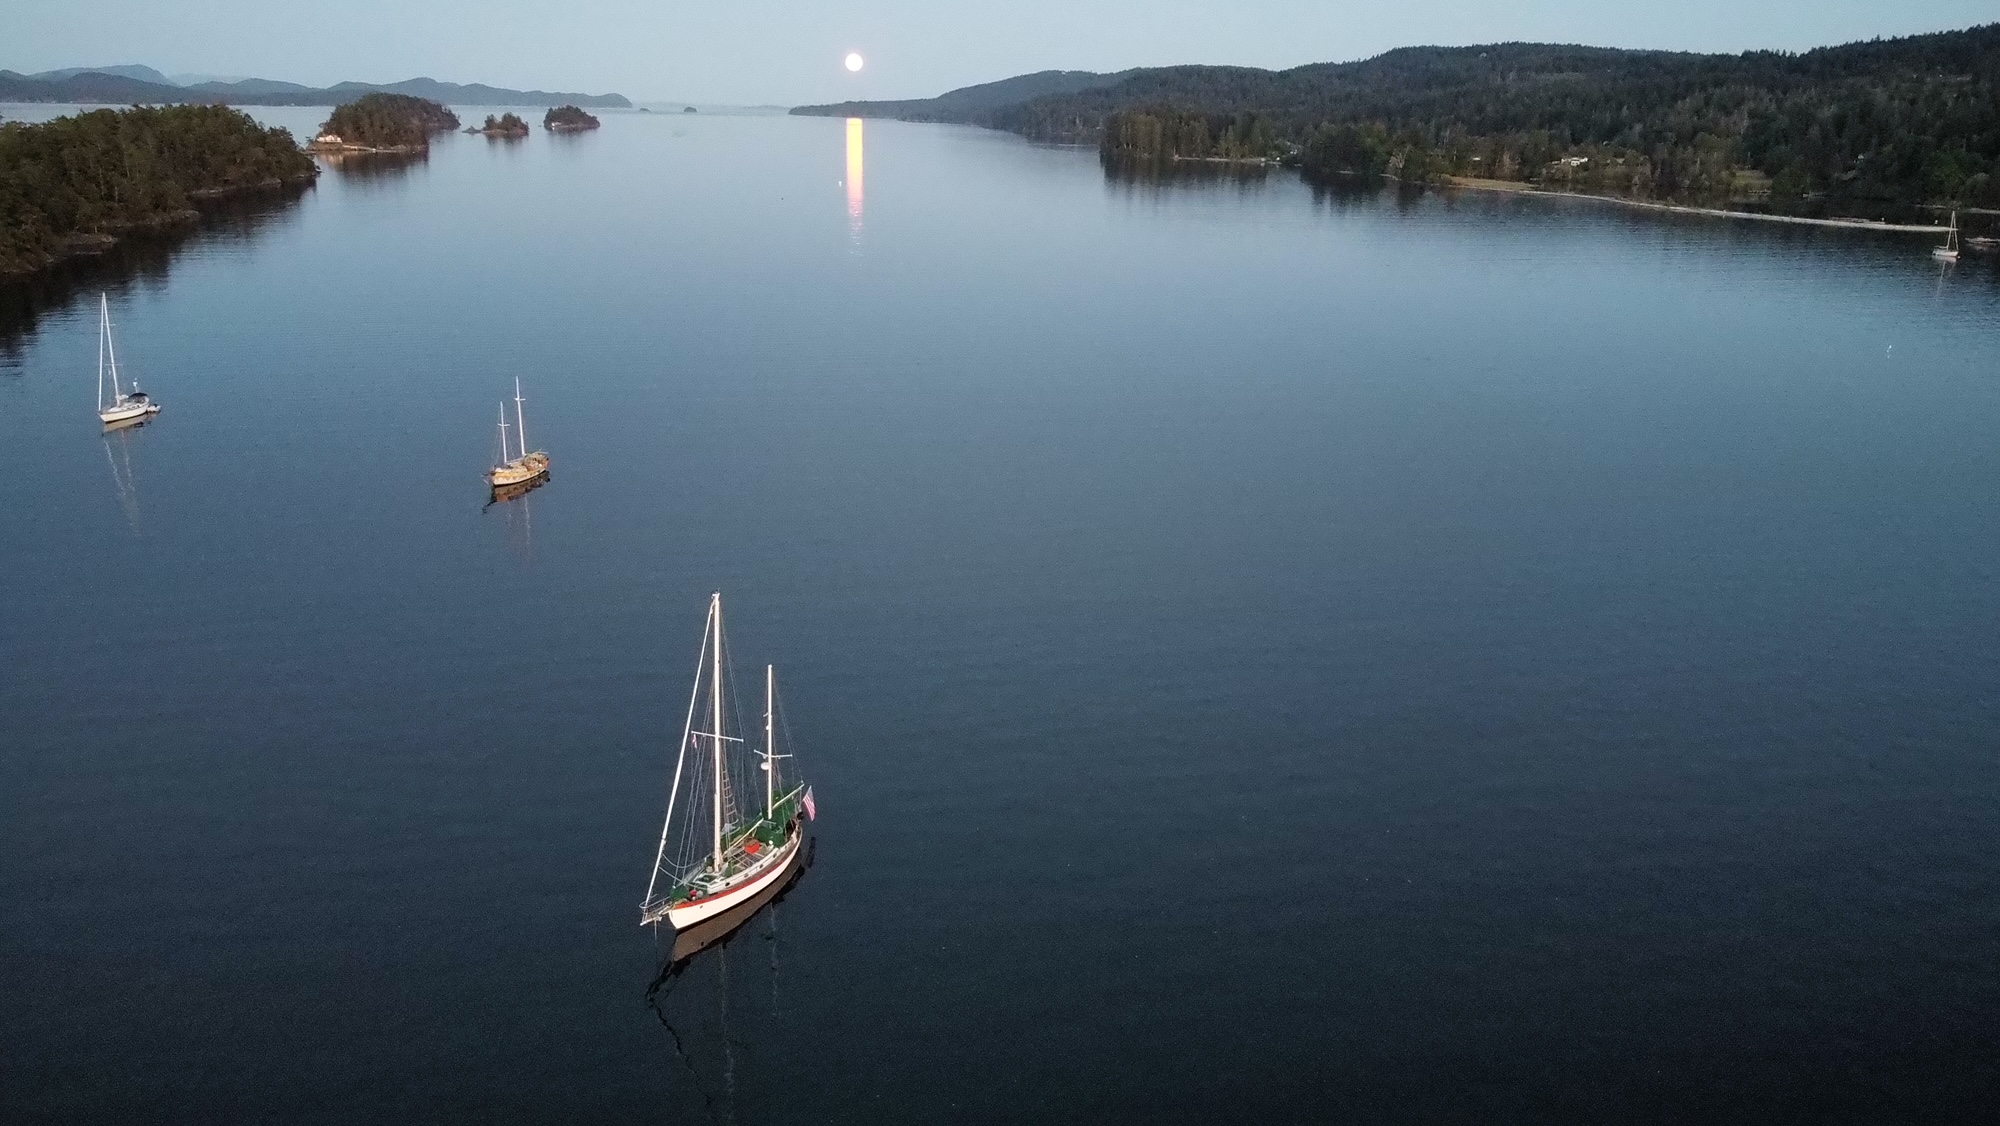
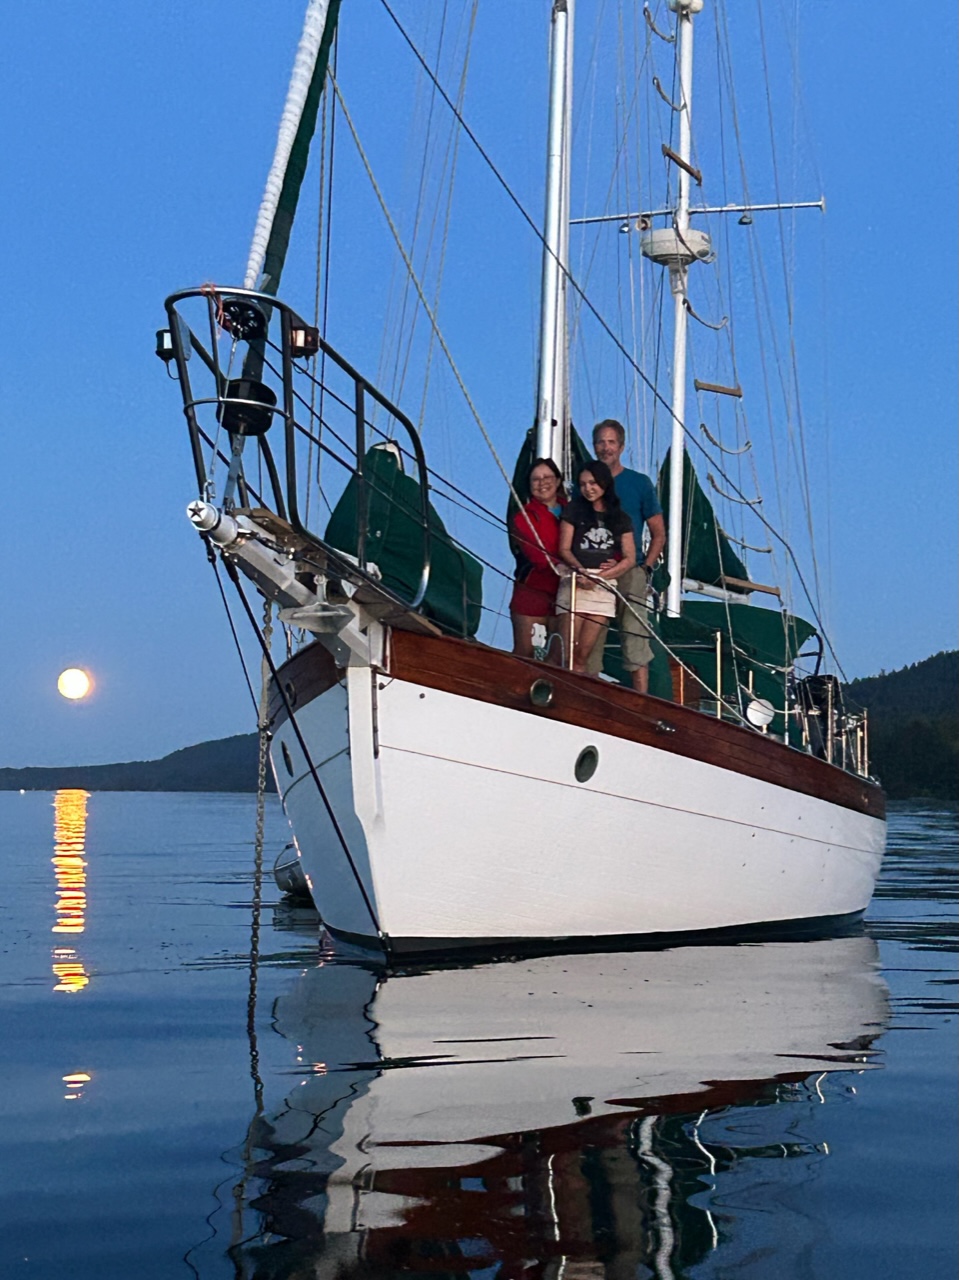
Outremer 45–Rioleon
The Outremer 45 is a 48′ performance catamaran (it was originally 45′ until they added 3′ onto the transom) capable of sailing 95% of the wind speed. Rioleon was completed in early 2023. Here are some pictures of Rioleon.
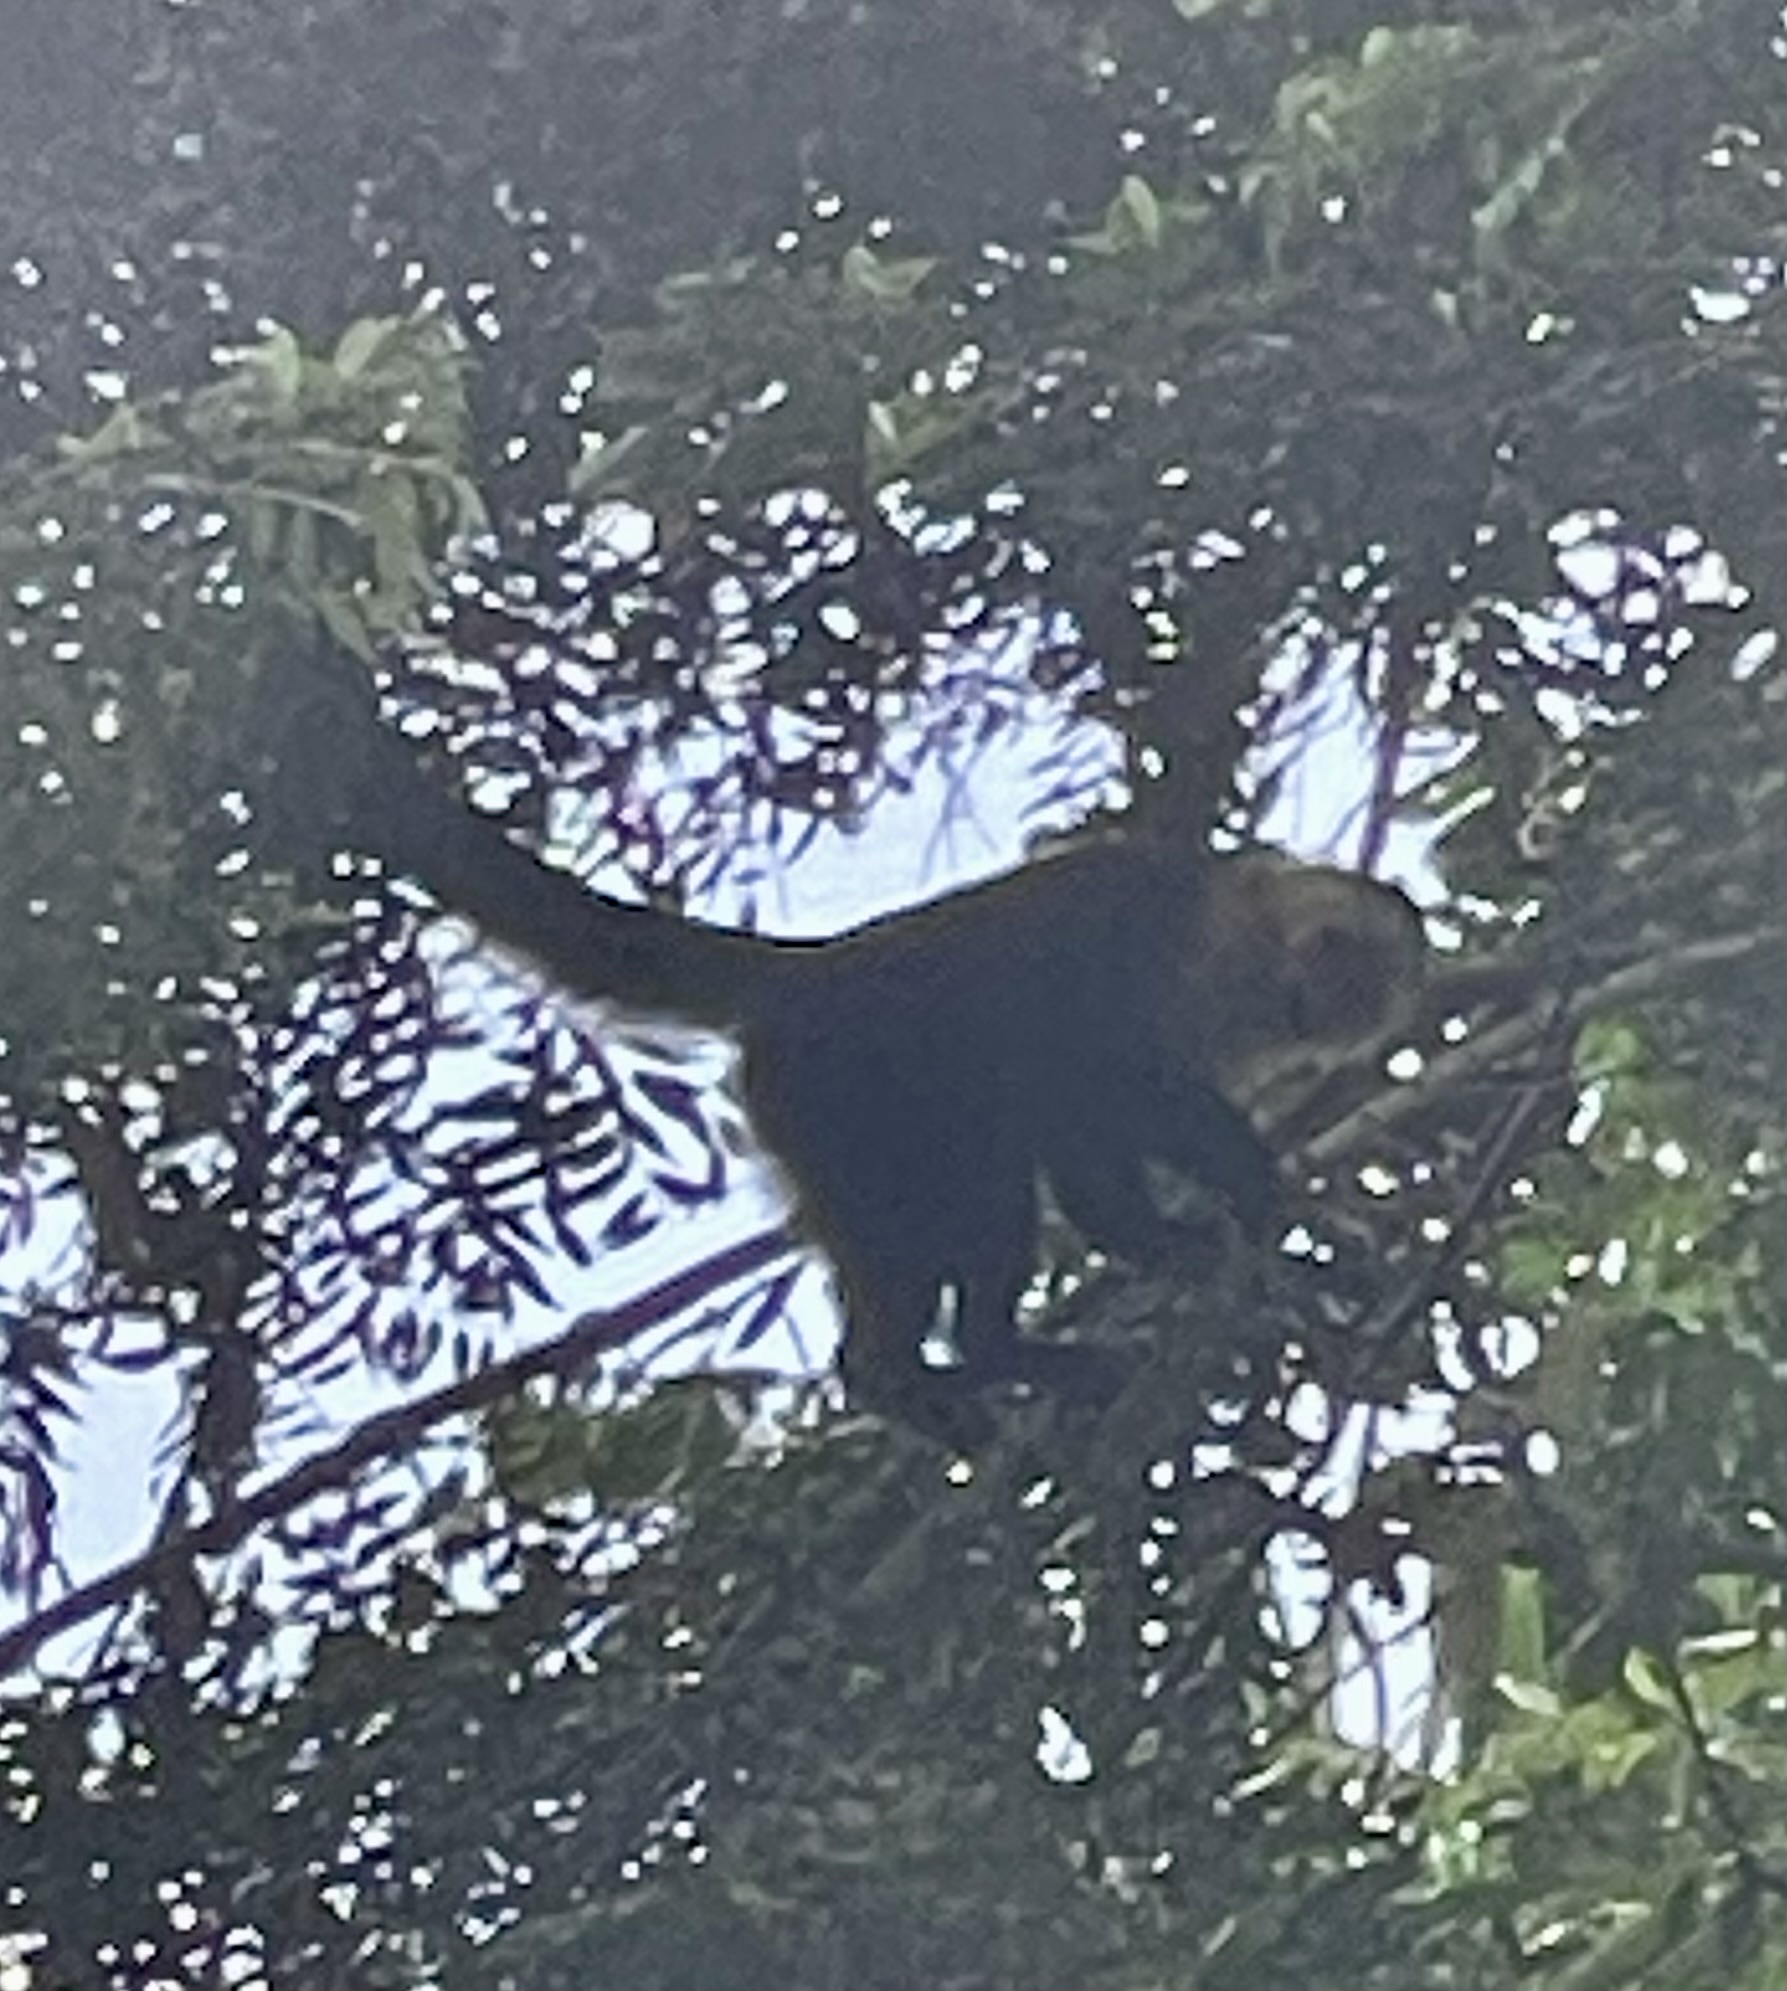
The Shelter Bay Marina is surrounded by jungle, so we took short walks to see the monkeys. We saw lots of Panamanian white-faced capuchins mostly in the high treetops. We also heard howler monkeys from the marina but didn’t see any. Their deep howls can be heard from up to 3 miles away in dense jungles.
It’s been 10 years since I embarked on an offshore sailing trip with my wife and daughter. From August 2014 through July 2016 we sailed Apropos nearly 20,000 nm on a Pacific Ocean loop. Since then, it’s been fun sailing the waters of the Salish Sea–typically 1-2 week long trips in the summertime up north to the San Juan and Gulf Islands. But I miss the adventure of sailing offshore and traveling to exotic locations.
So when a friend offered me a crew position aboard his new Catamaran, I jumped at the opportunity.
That friend, Mike, did pretty much the same exact thing 3 years ago–he crewed on a boat from Panama to the Marquesan Islands aboard a new Outremer performance catamaran. Then he decided to order one for himself. Getting a new Outremer is no fast & easy task. The French-built vessels are in high demand and there is a waiting list just to get started. Fast forward to today, and Mike has taken delivery of his Outremer 45 in La Grande-Motte, France, sailed her for a few months in the Med, crossed the Atlantic, sailed through the Caribbean, and (as I write this) is currently on a passage between Bonaire and Colon, Panama. In 5 days, I fly to Panama to join him.
Our plan is to transit the canal, then sail to the Marquesas with a stop along the way in the Galapagos Islands.
Pictures from our 20-day trip to the San Juan and Gulf Islands.
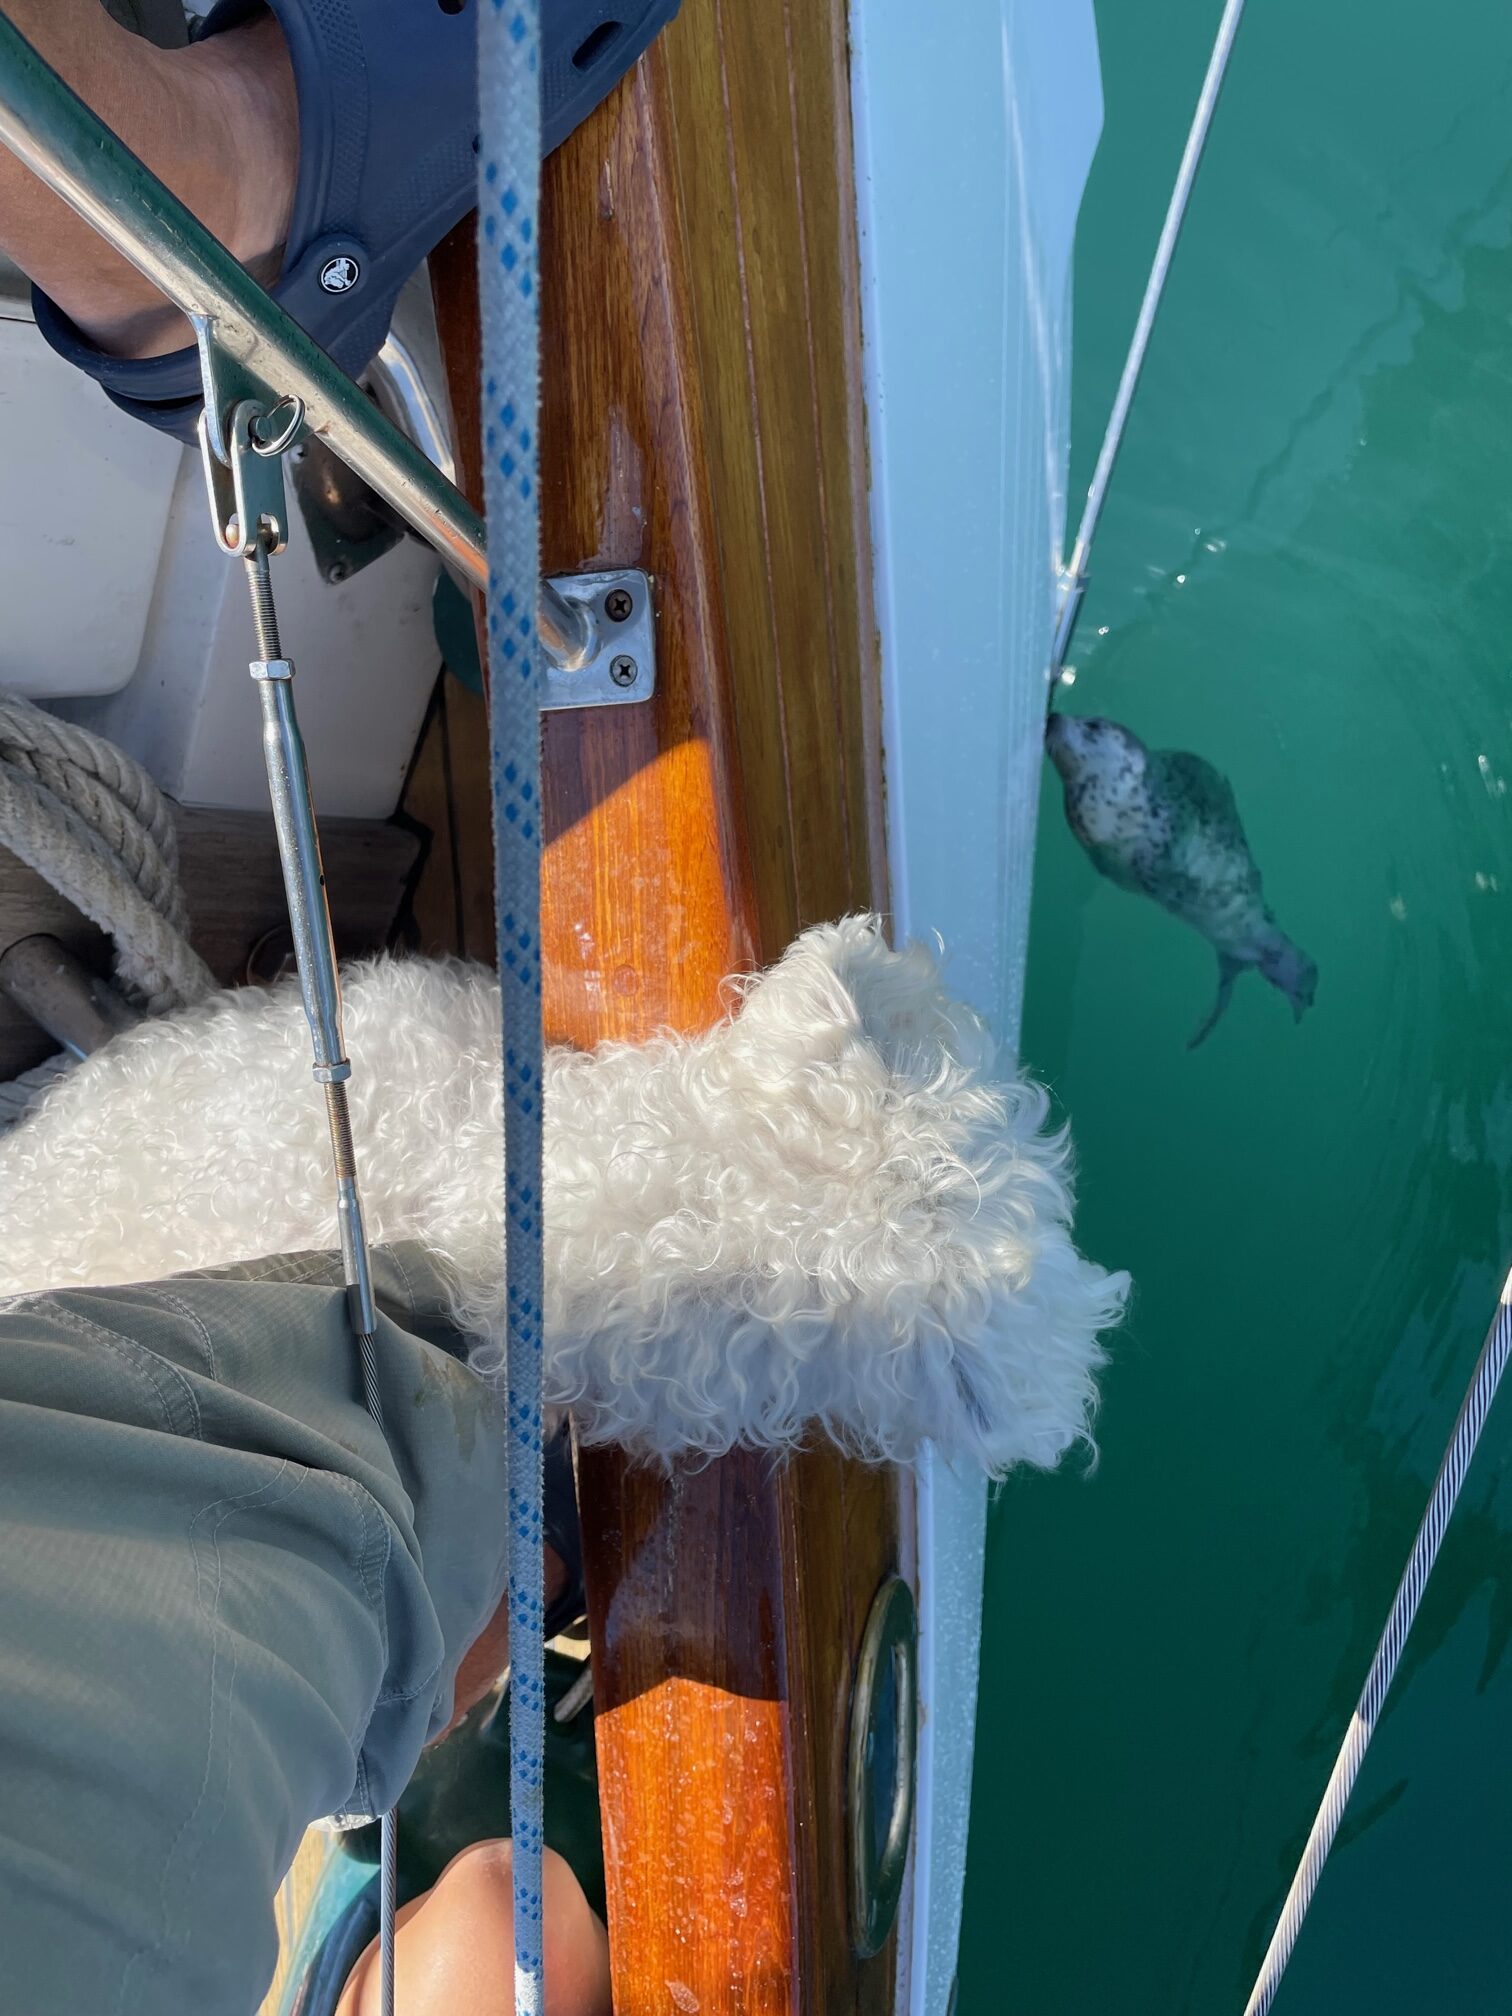
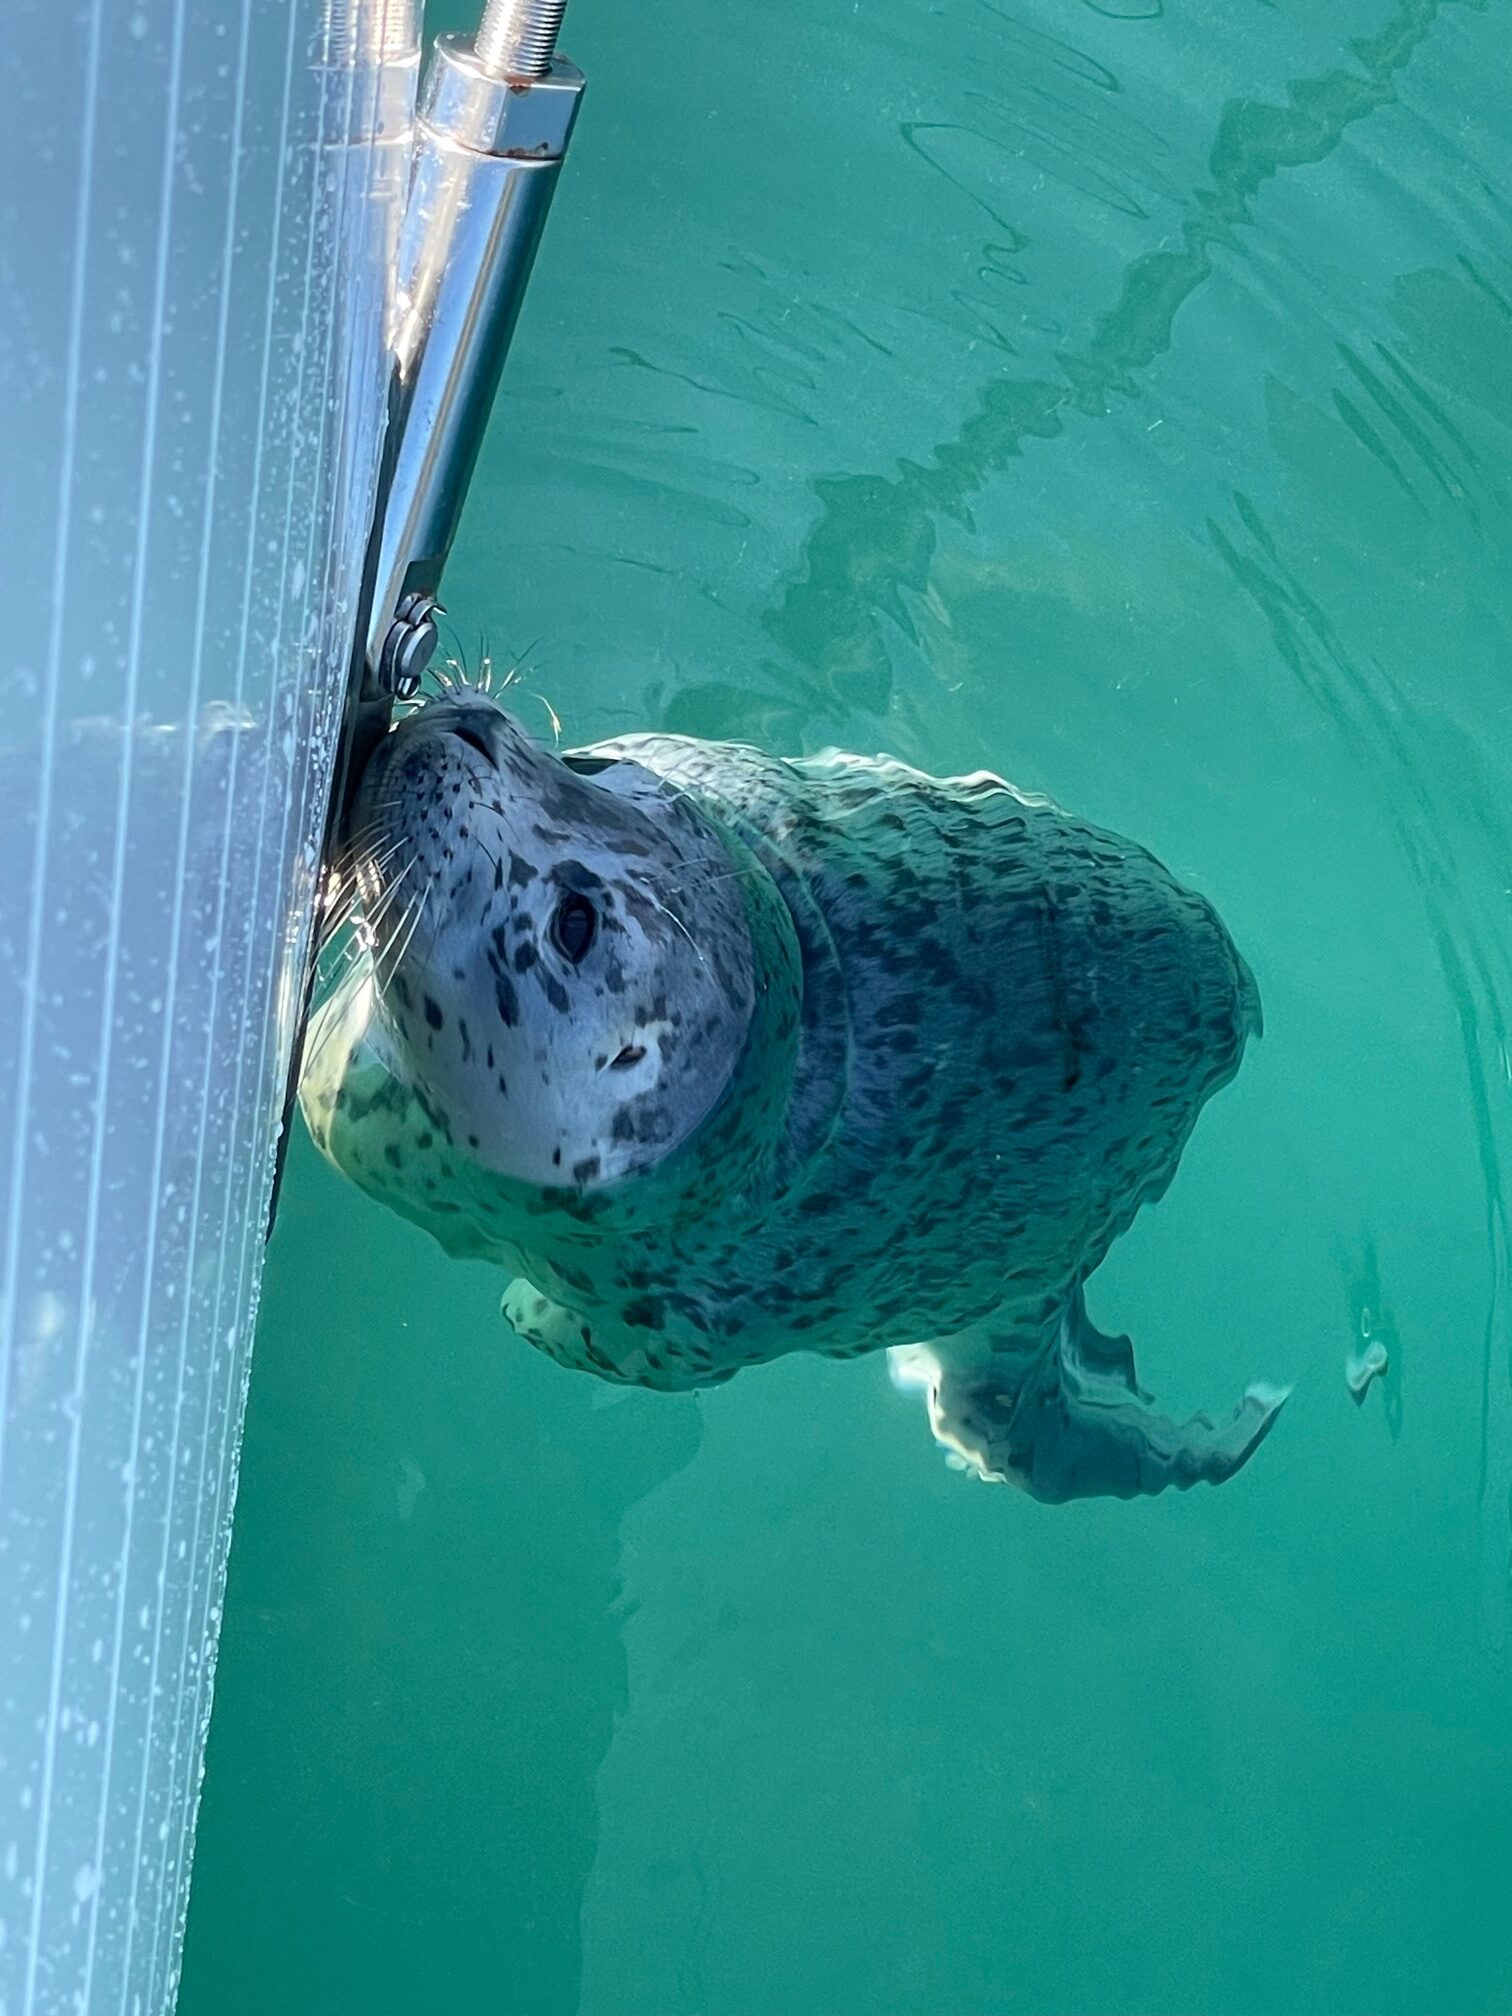
Ganges Harbor on Salt Spring IslandFull Moon at AnchorageChamp RelaxingNorth Pender Island AnchorageSailing Down Salish SeaSculptor Park near Roche HarborRelaxing at Westcott Bay, San Juan IslandButchart Gardens, Vancouver IslandButchart GardensChemainus Wall Mural on Vancouver IslandBus to Hummingbird Cafe on Galiano IslandStuart Island AnchorageCurious Seal in Prevost Harbor AnchorageChamp
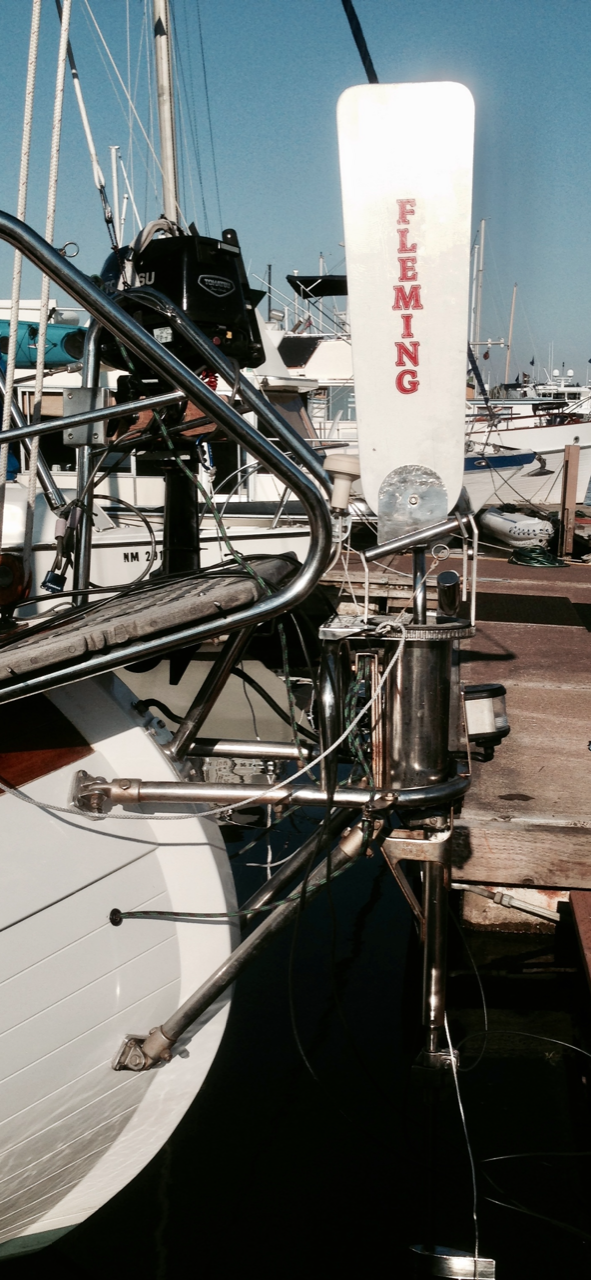
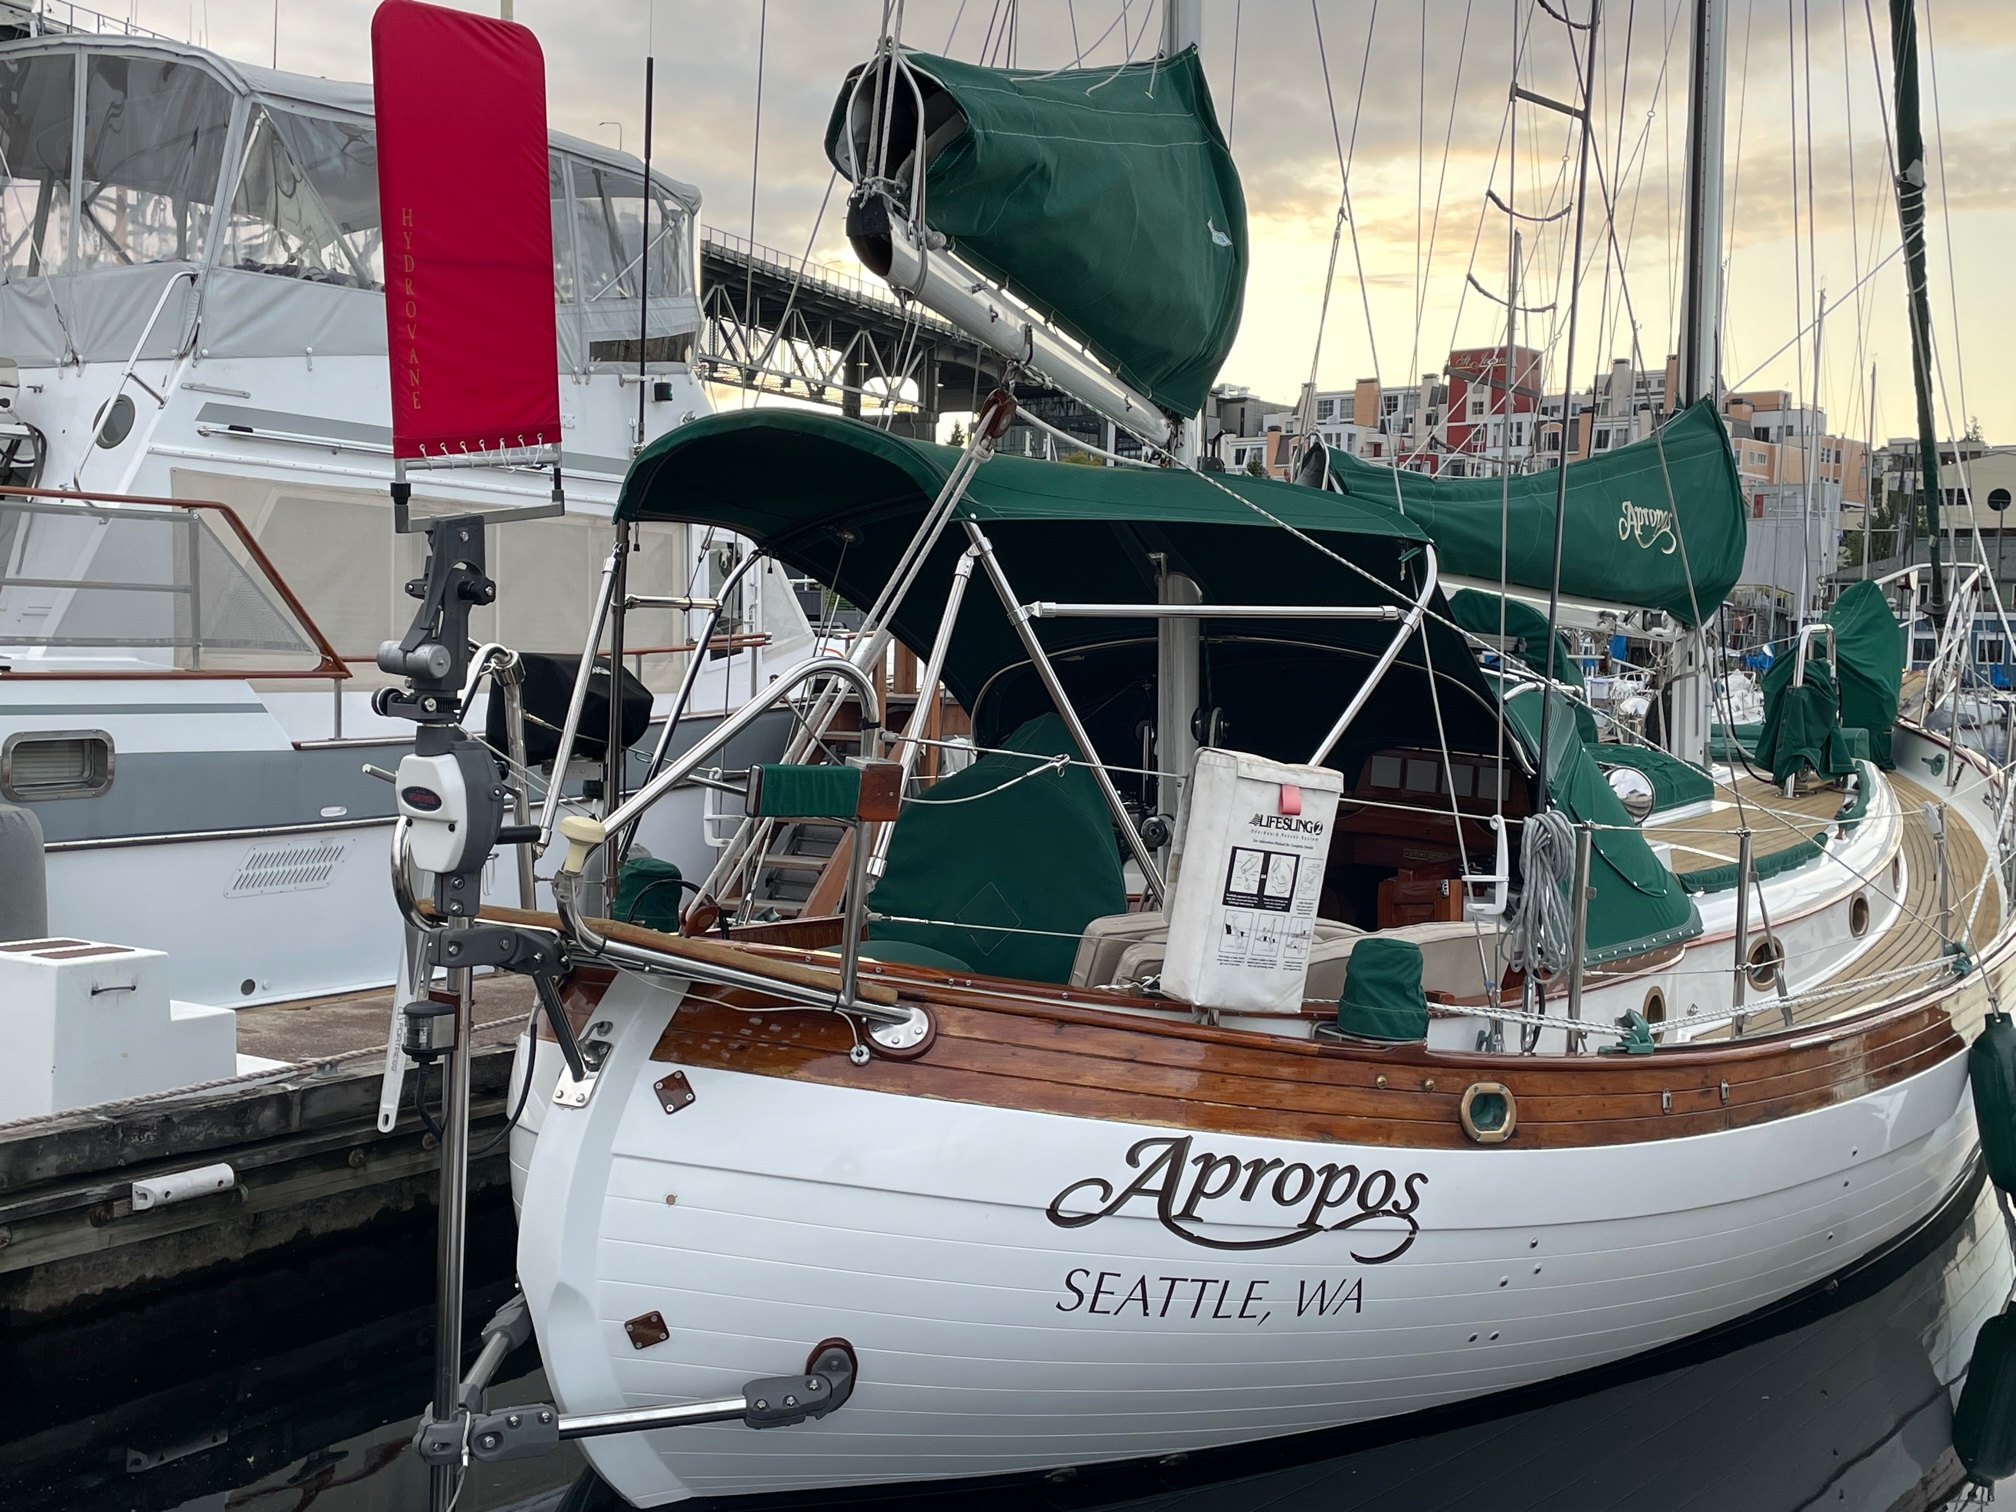
Apropos came with a Fleming Servo-Pendulum windvane. It was an older version (1980’s) and heavily built of stainless steel. I mounted it on the stern with existing hardware and eventually learned how to use it. A servo-pendulum system steers the boat relative to the wind by deflecting a vane that pivots a paddle in the water. As it pivots, the water pressure swings the paddle in a pendulum motion, moving lines running from the windvane to a drum attached to the wheel. This turns the wheel and hence the boat rudder. We sailed thousands of ocean miles with “Ian” doing the majority of the steering. As with any windvane, having a balanced boat is the most important thing.
Here are some of the problems we encountered with Ian.
The path the control lines take from the windvane to the wheel are through the hull into the lazerette, into the cockpit, and to a drum attached to the wheel. Three sets of blocks were used along the way but there was still a lot of friction. Enough apparent wind was needed to overcome the friction to make it work. On long ocean passages, this wasn’t too much of an issue. But chafing of the control lines and getting the proper tension on the lines were constant struggles.
Wear and tear on the boat’s steering system was another concern. In action, a servo pendulum system is constantly turning the wheel back and forth by small amounts for course correction. Even though the rudder is only moving by small amounts and the boat is sailing relatively straight, there’s constant movement of the steering system.
An unexpected mishap occurred during an offshore passage from Kiribati to Hawaii, when a weld joint on the paddle failed and the paddle sunk to the bottom of the ocean. We were 8 days into a 10 day passage, so we hand-steered the rest of the way. Even though Fleming is no longer making windvanes, they still had parts and I was able to have a new paddle shipped to Hawaii and had it welded back onto the shaft. It worked on a windy 20 day passage from Hawaii to Seattle. But the point is, 35-year old equipment is bound to have problems and I didn’t trust it anymore.
The vane adjustment was difficult to use. It has a ratcheting 360 degree vane with 120 teeth to provide 3 deg adjustment. I extended 2 lines as toggles so you didn’t have to reach all the way back to the windvane to adjust it, but it was still a bit clunky to use.
Old Fleming Windvane (“Ian”)
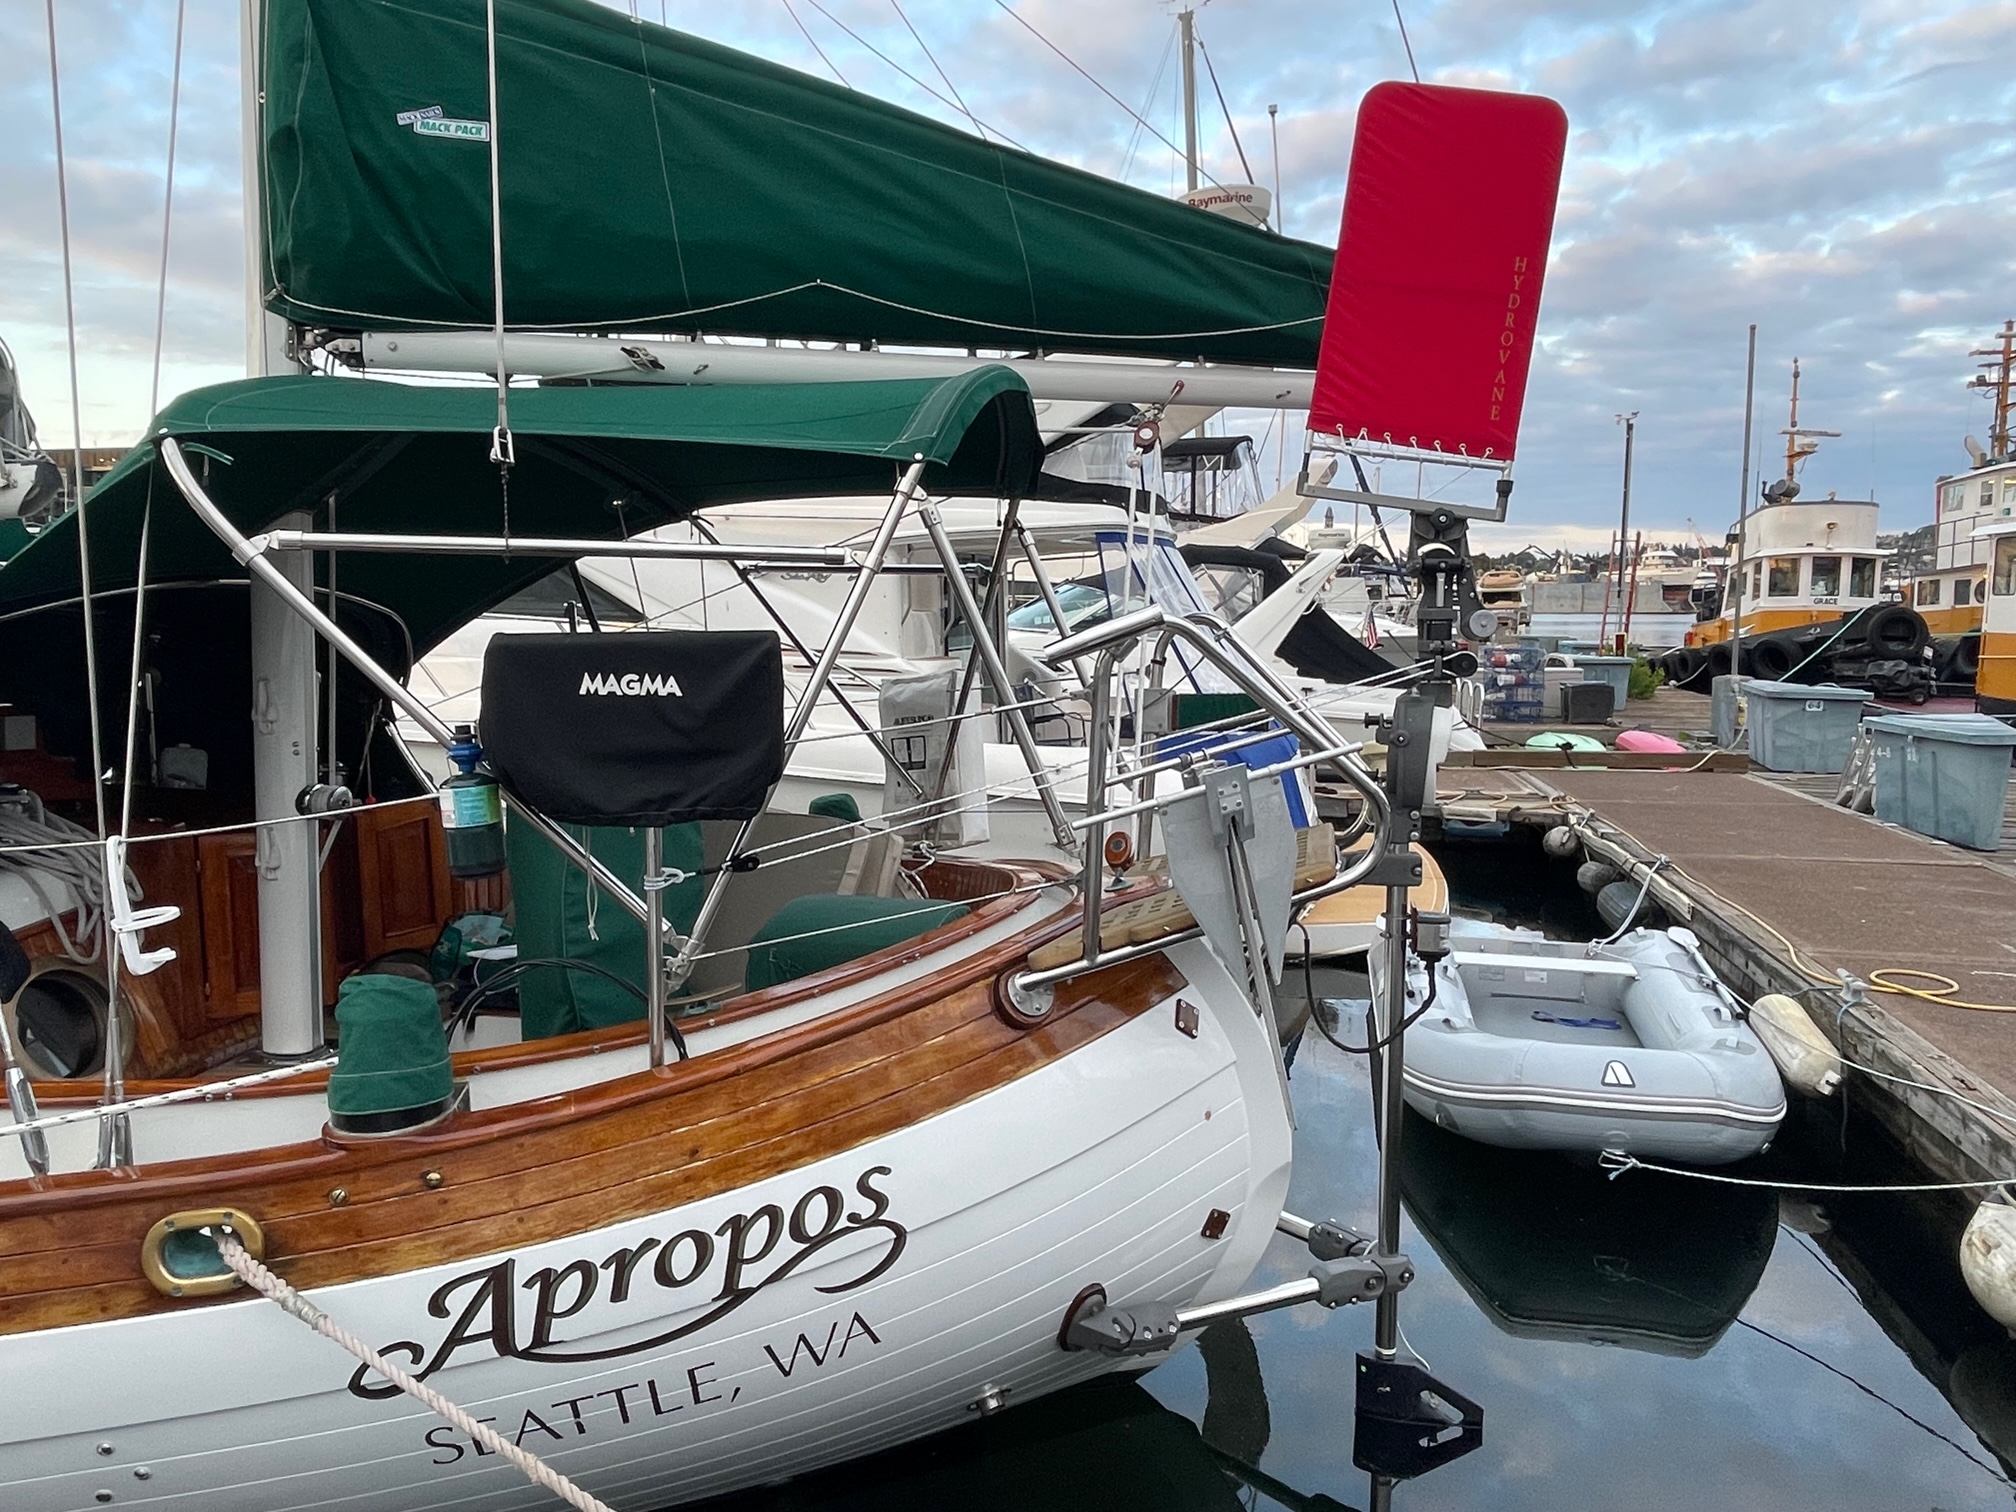
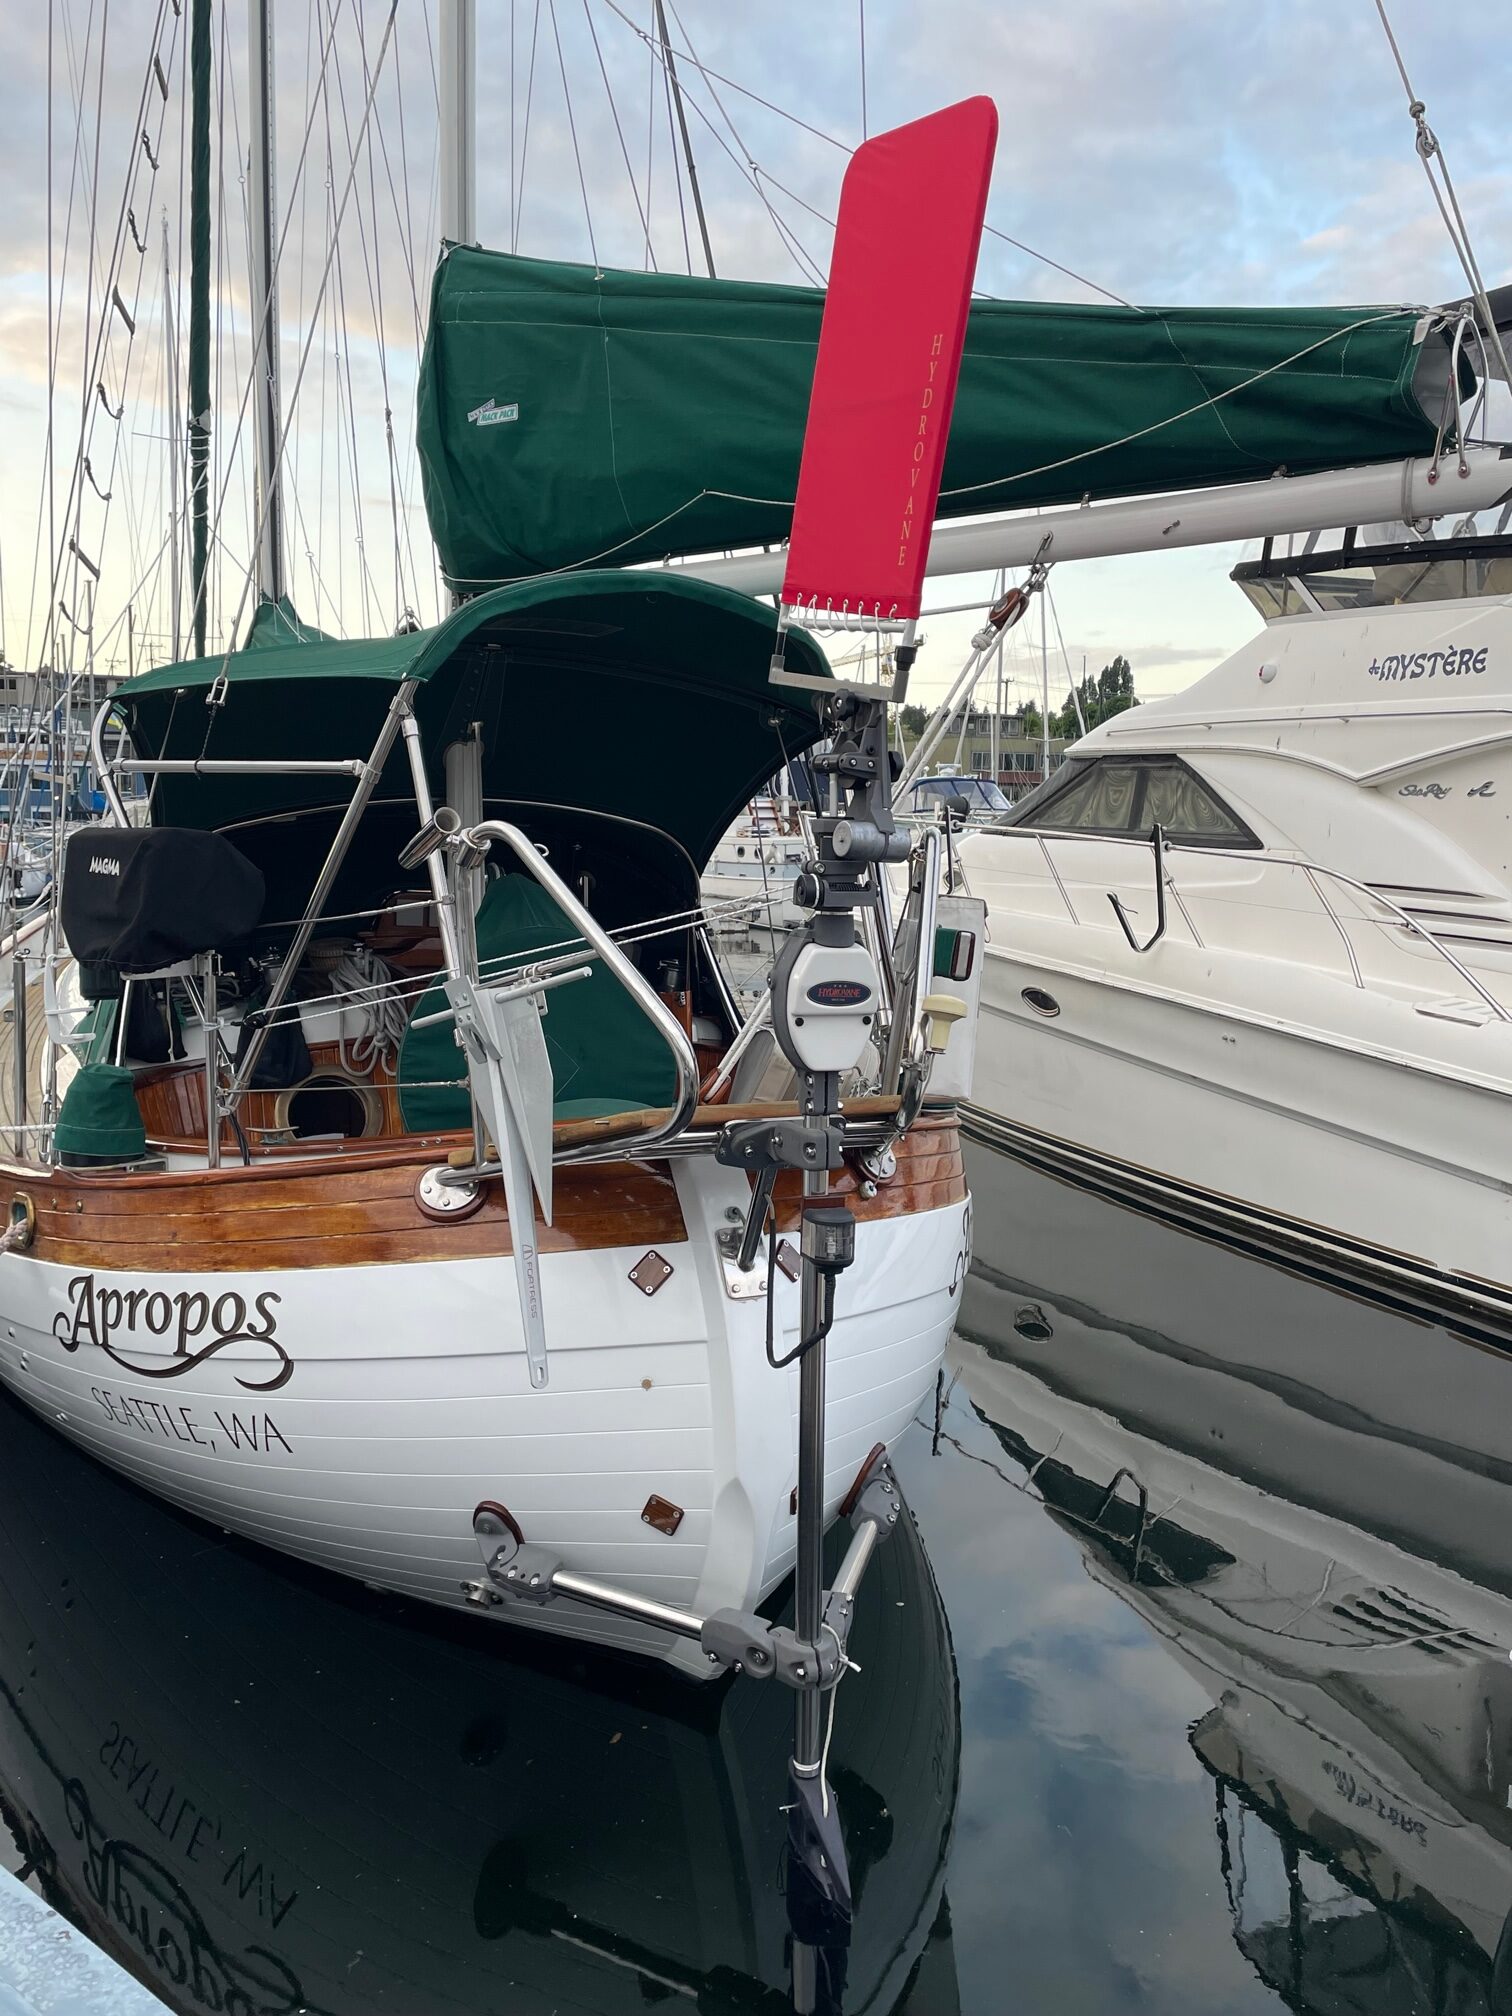
New Hydrovane Windvane
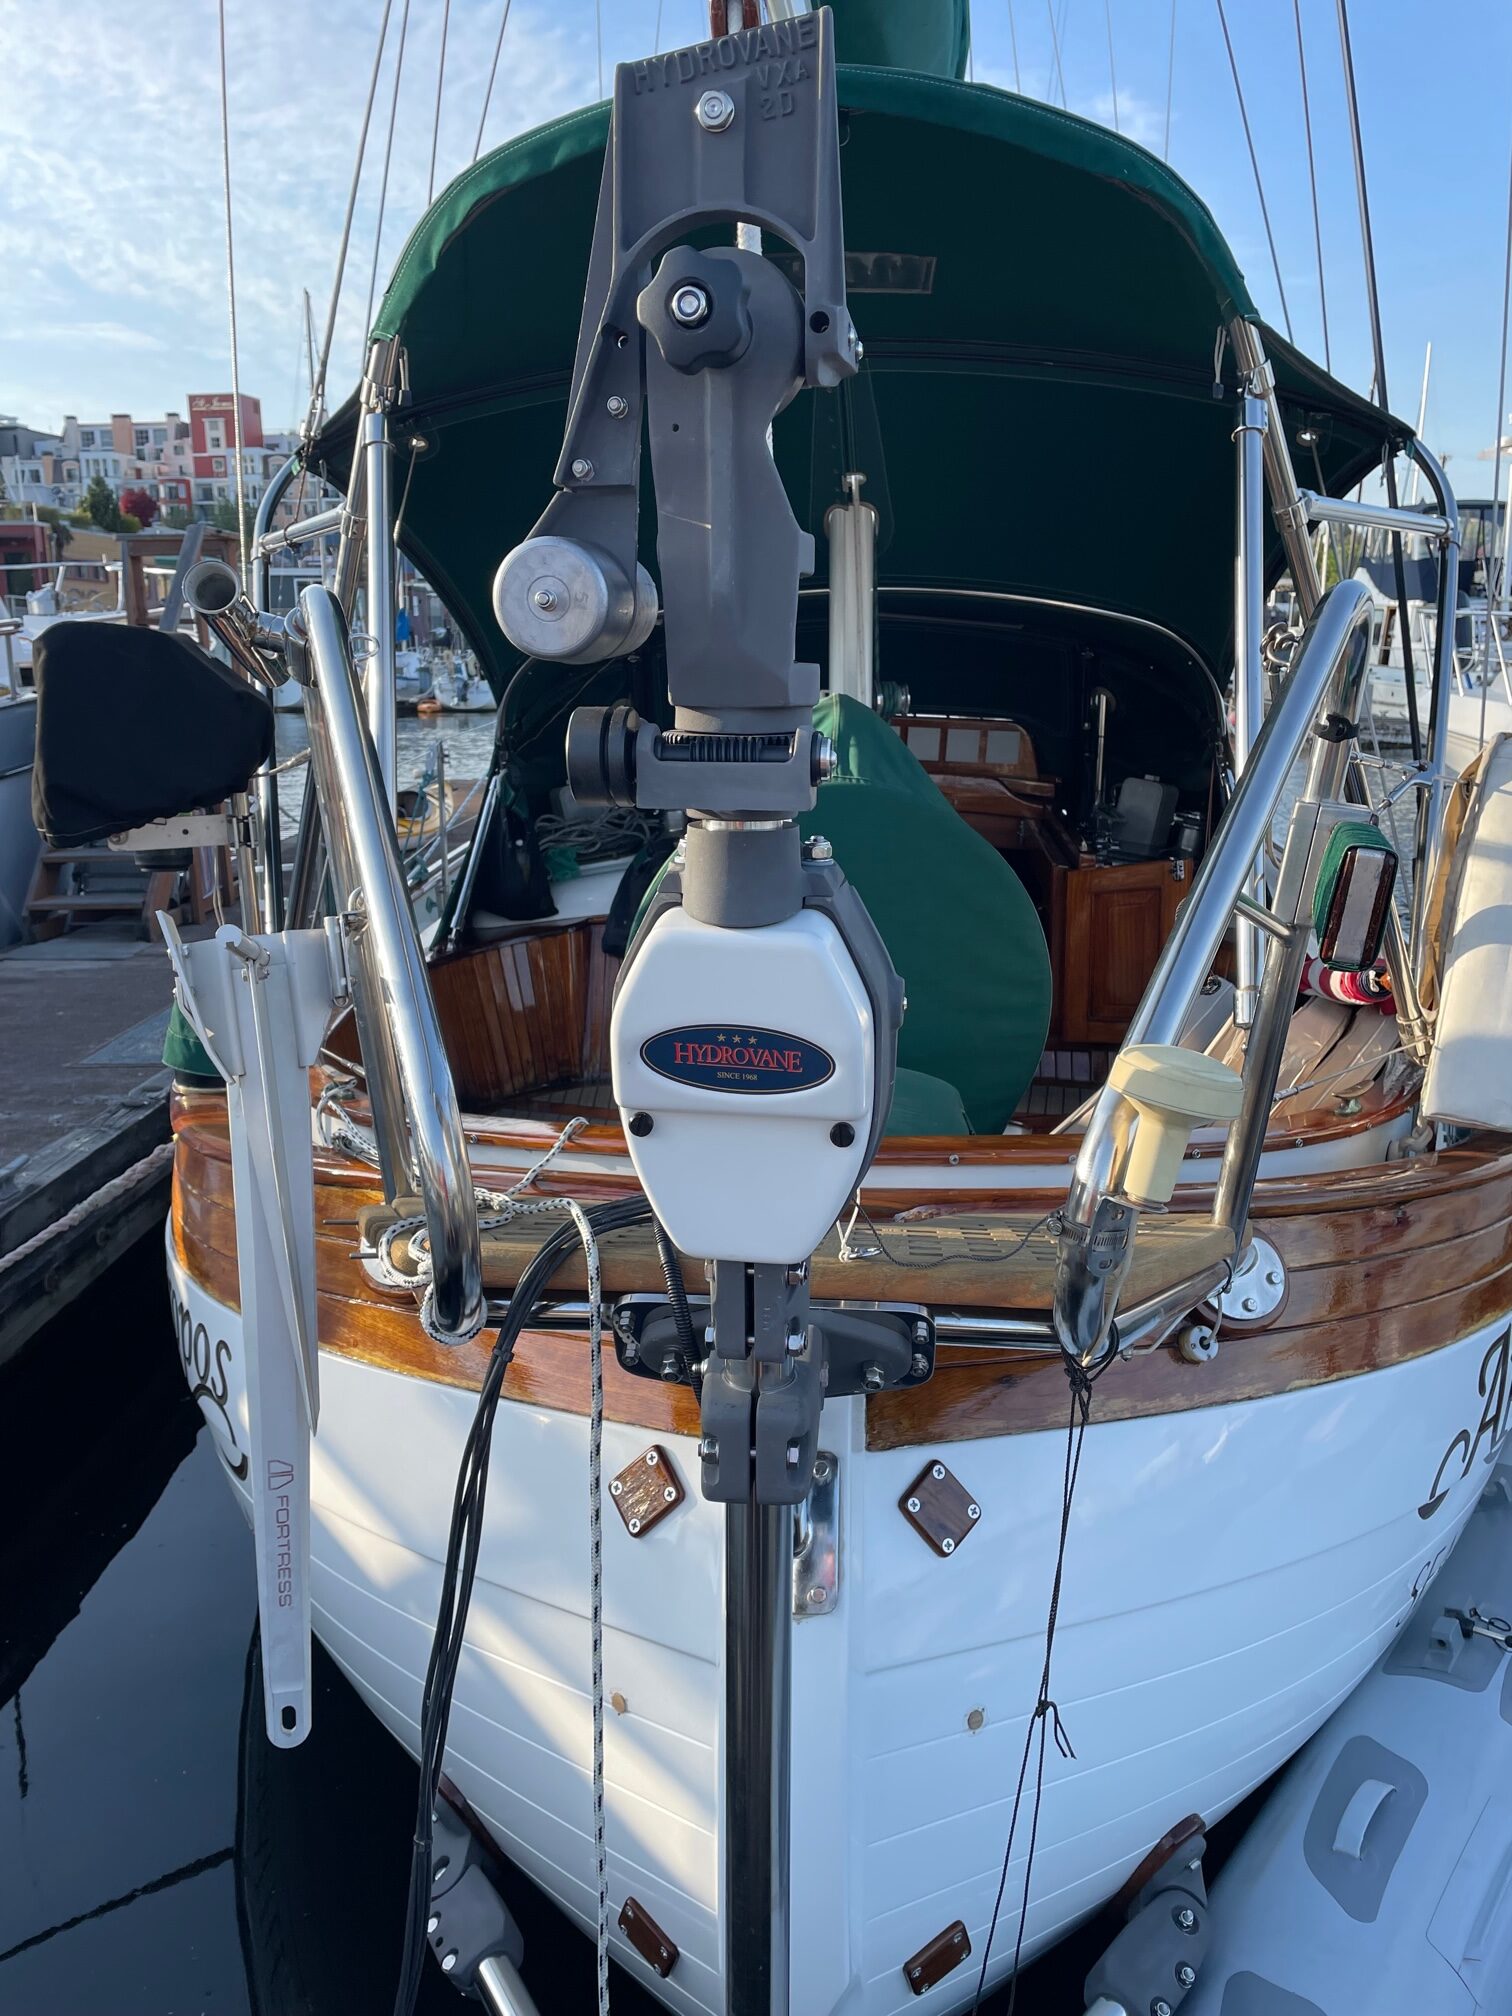
A Hydrovane self-steering windvane is an auxiliary rudder type system that drives its own rudder via a sophisticated drive unit linkage. Both the vane and the rudder are larger than the vane and paddle used in a servo-pendulum system. There’s an adjustment called a ratio knob that can be set according to wind conditions. The vane can also be adjusted up & down as well as pivoting to fine tune the sensitivity. The vane rotates 360 degrees via a continuous control line that extends into the cockpit, making it easy to adjust while at the helm.
Installation
Although the Hydrovane can be mounted off-center, I decided to mount it on the centerline of the boat. Hydrovane provides the correct brackets and shaft needed for any boat, and for Apropos I needed an upper H bracket, a lower A bracket, and a longer shaft, and 2 mounting brackets, teak pads and backing plates. For every step of the installation, I tied safety lines to the parts in case something fell. I was able to work from the dock when installing the upper H bracket, and from a dinghy for the lower A bracket. The install instructions (booklet and video) provided by Hydrovane were very well done and easy to follow. Phone support from Richard and Will at Hydrovane was also very helpful with any questions I had.
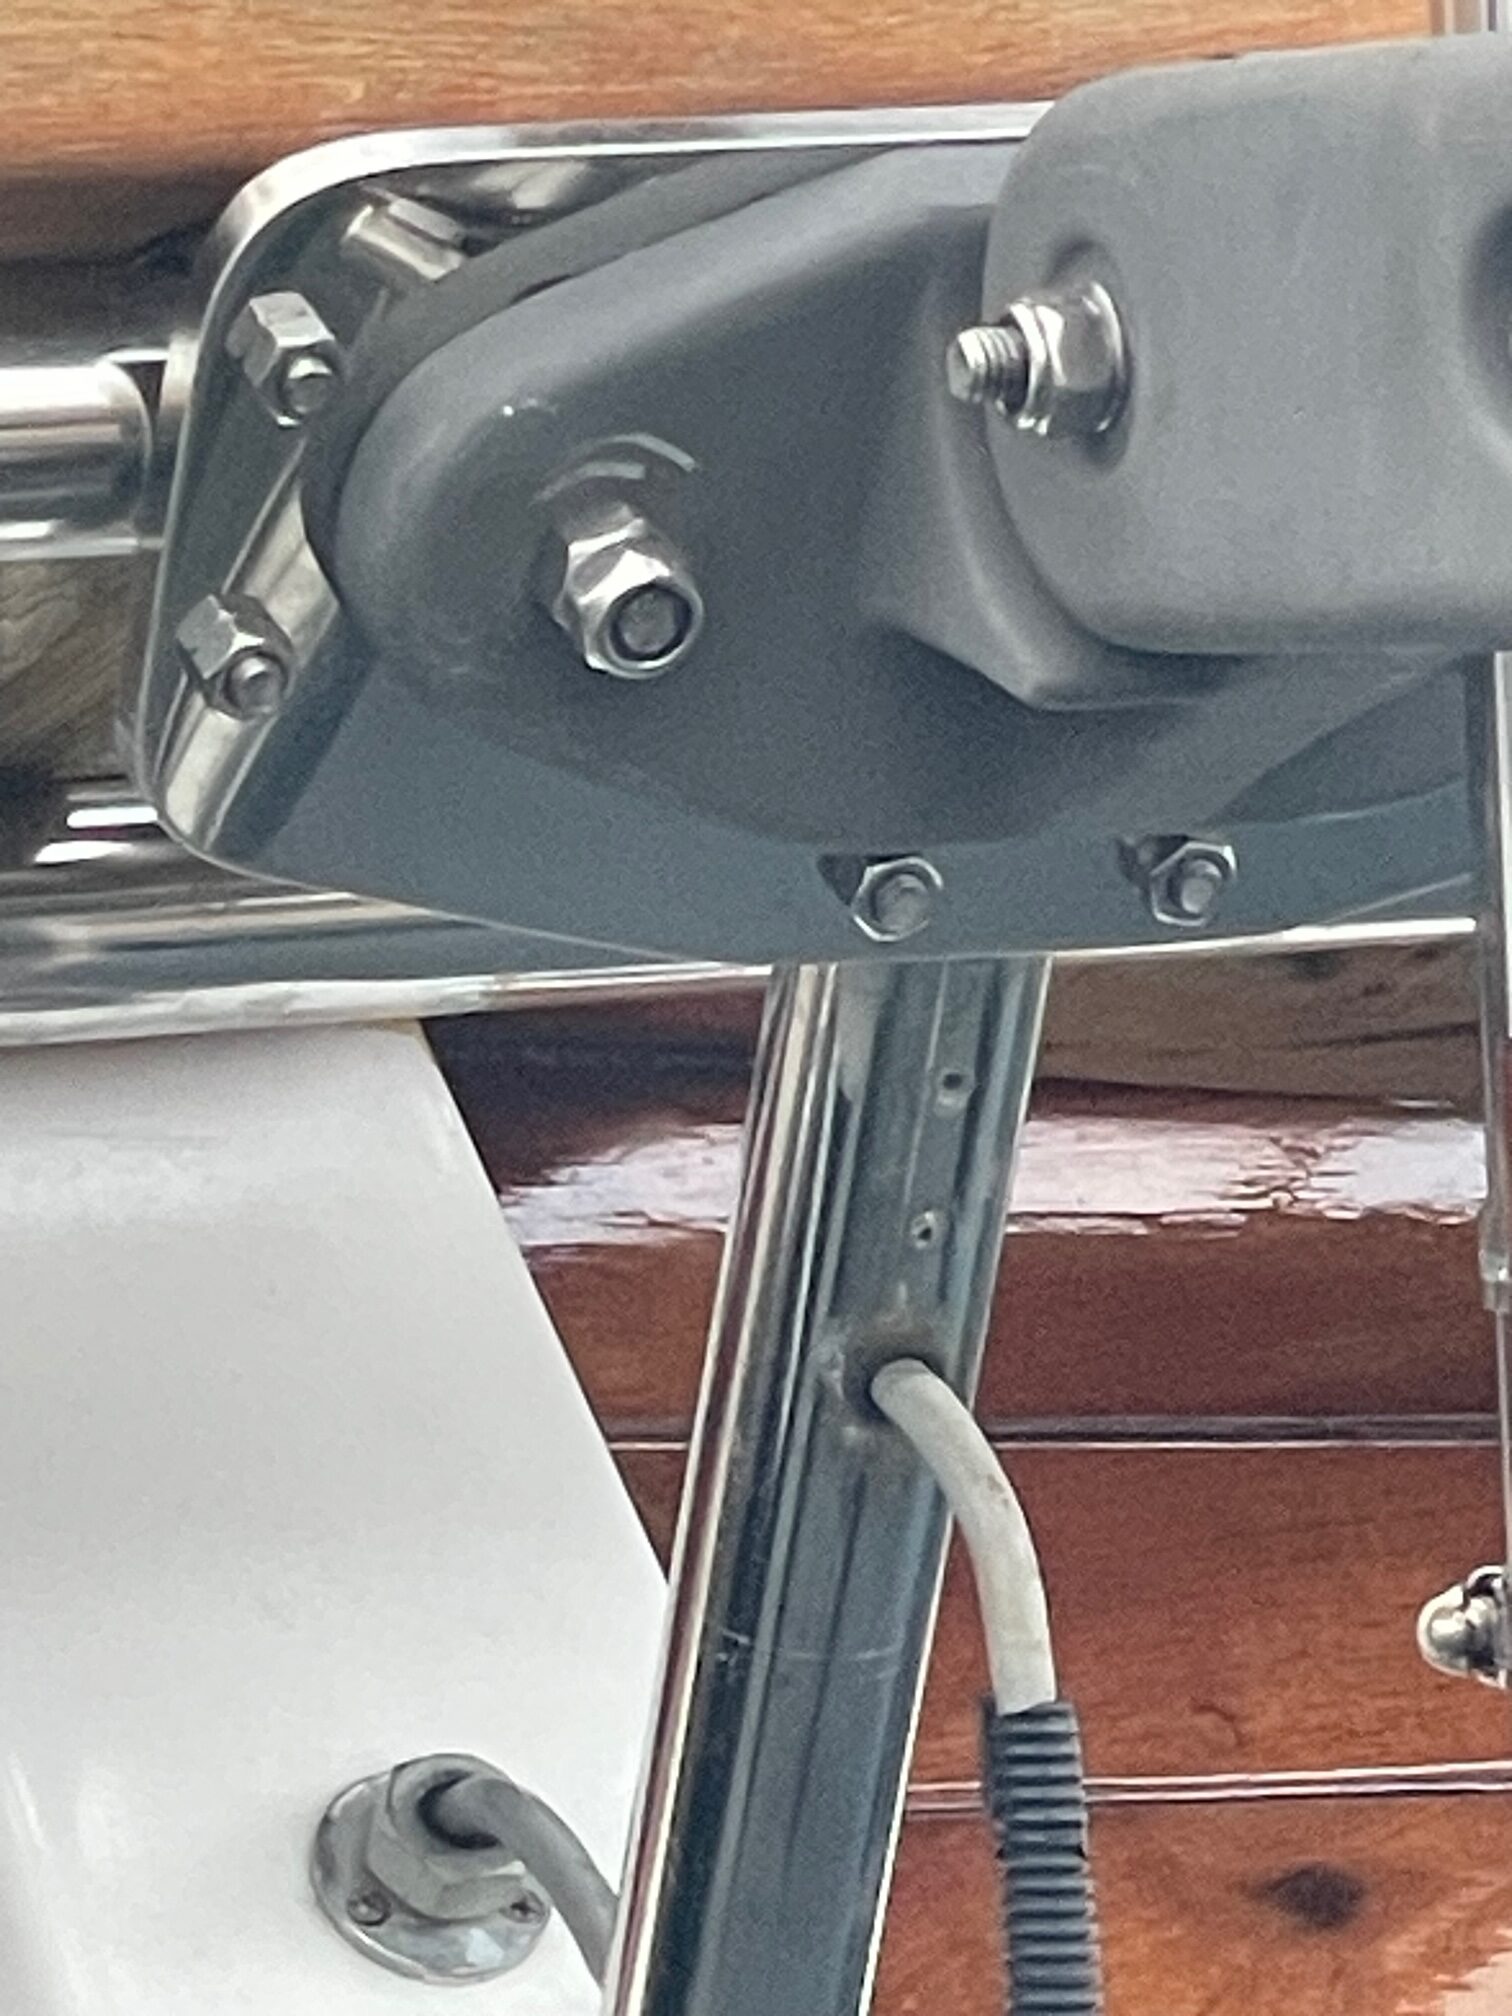
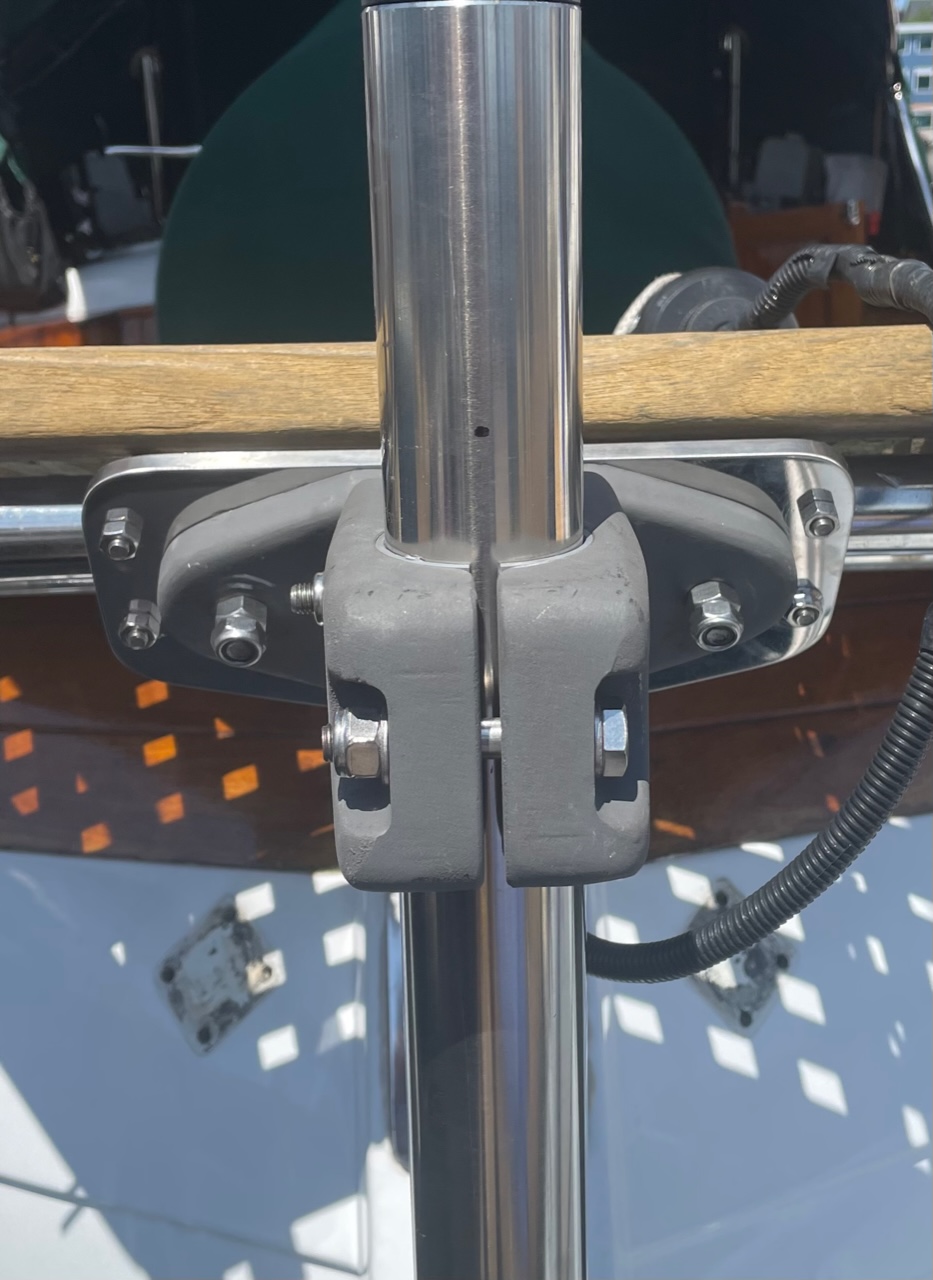
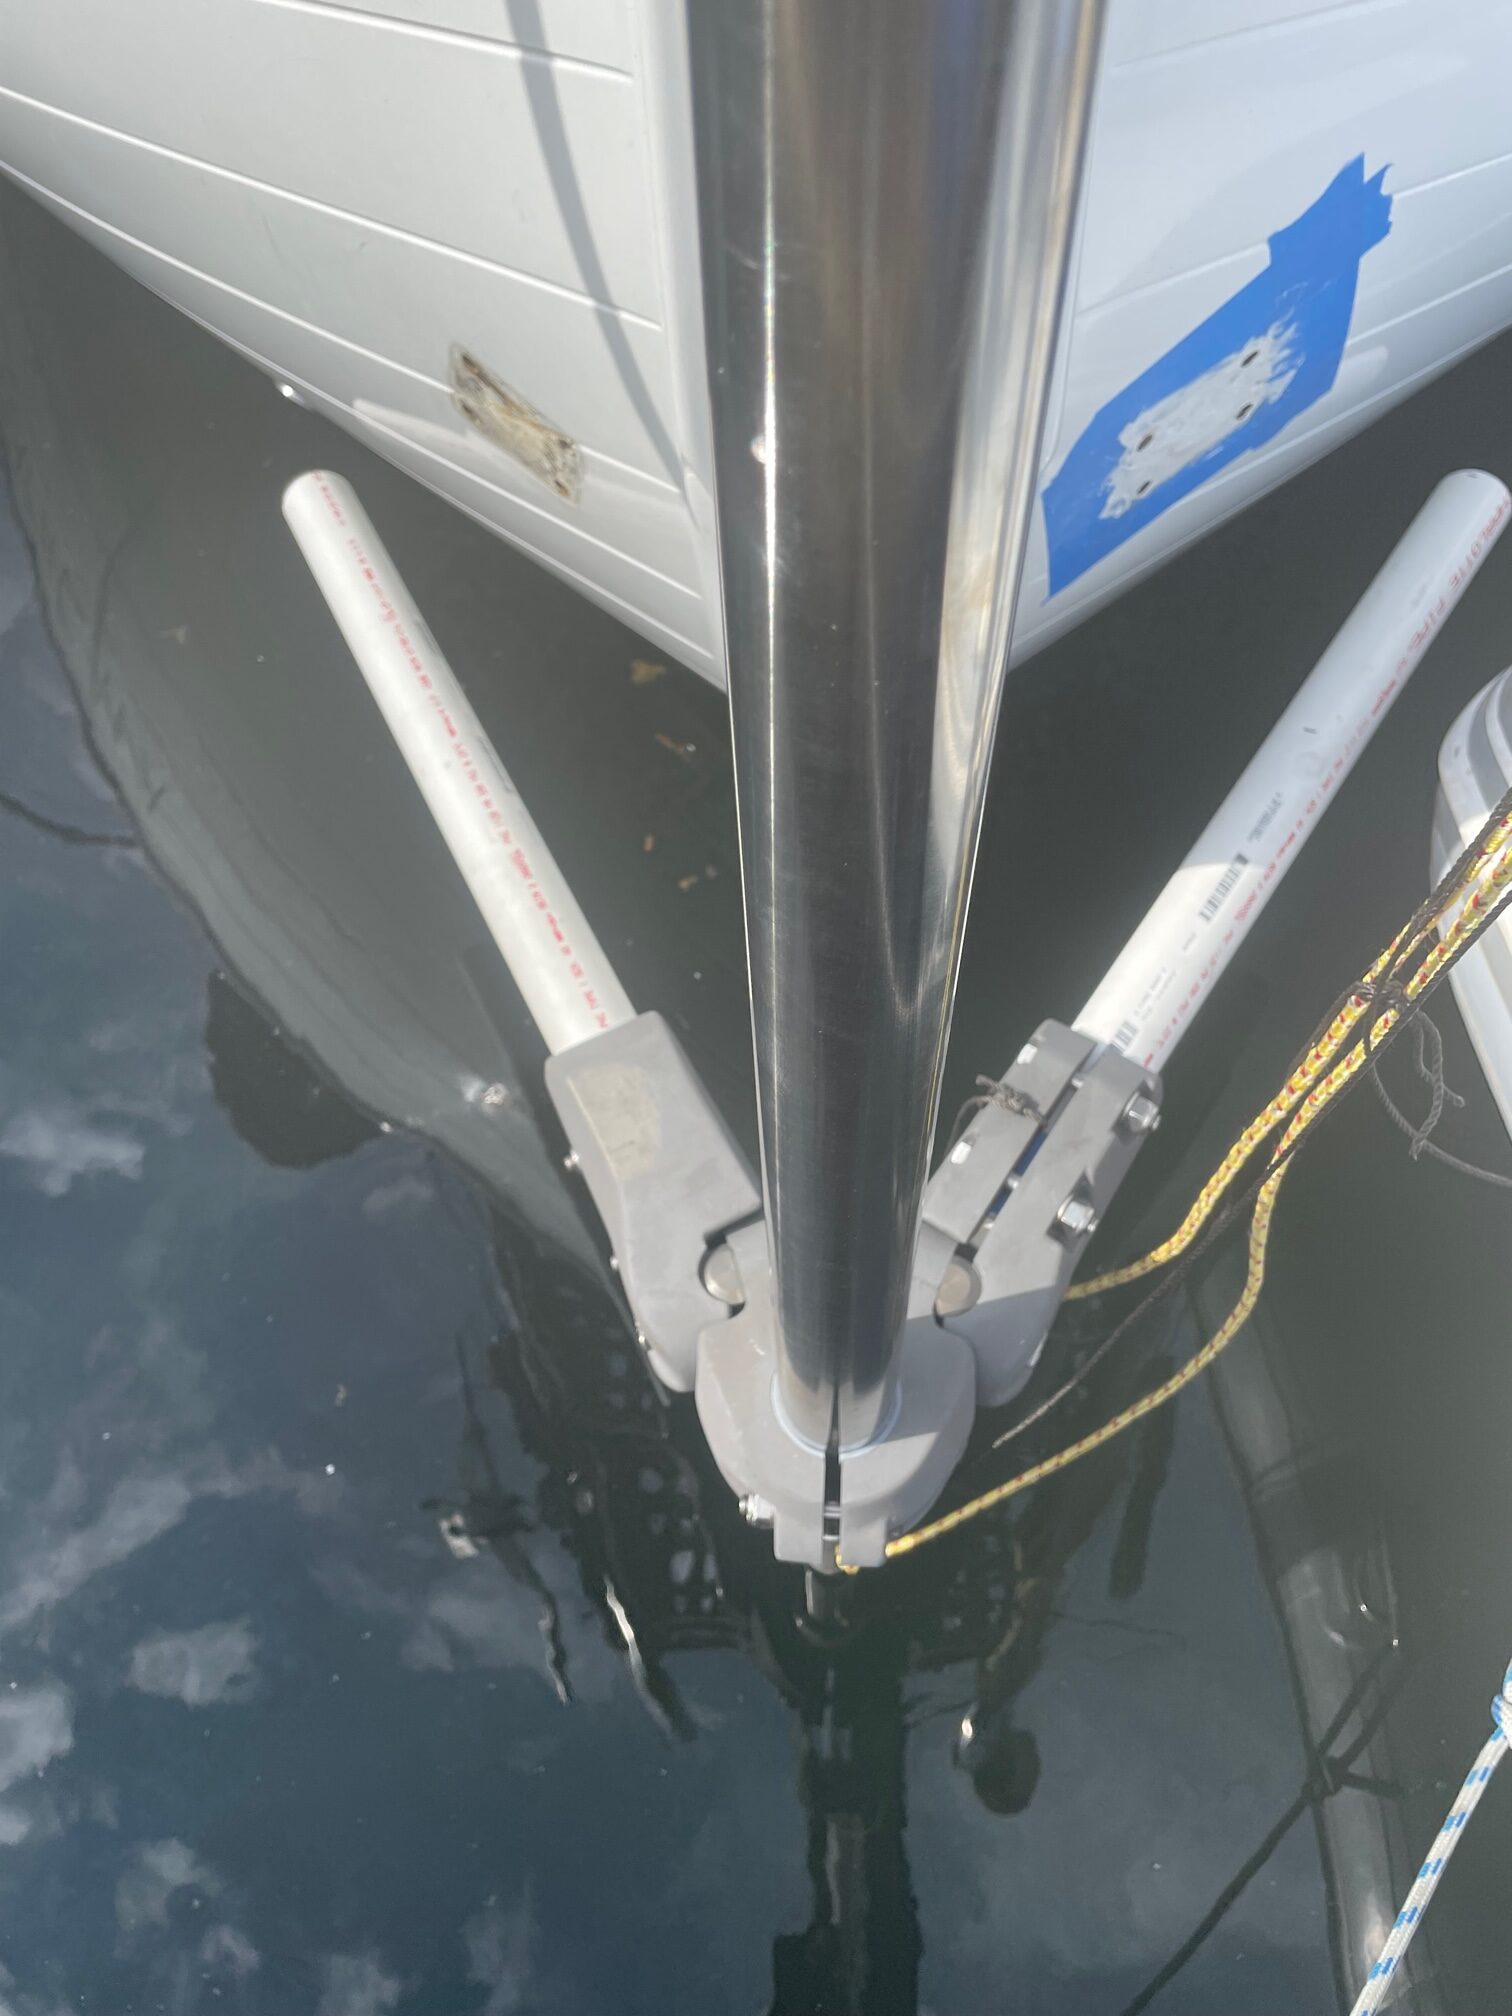
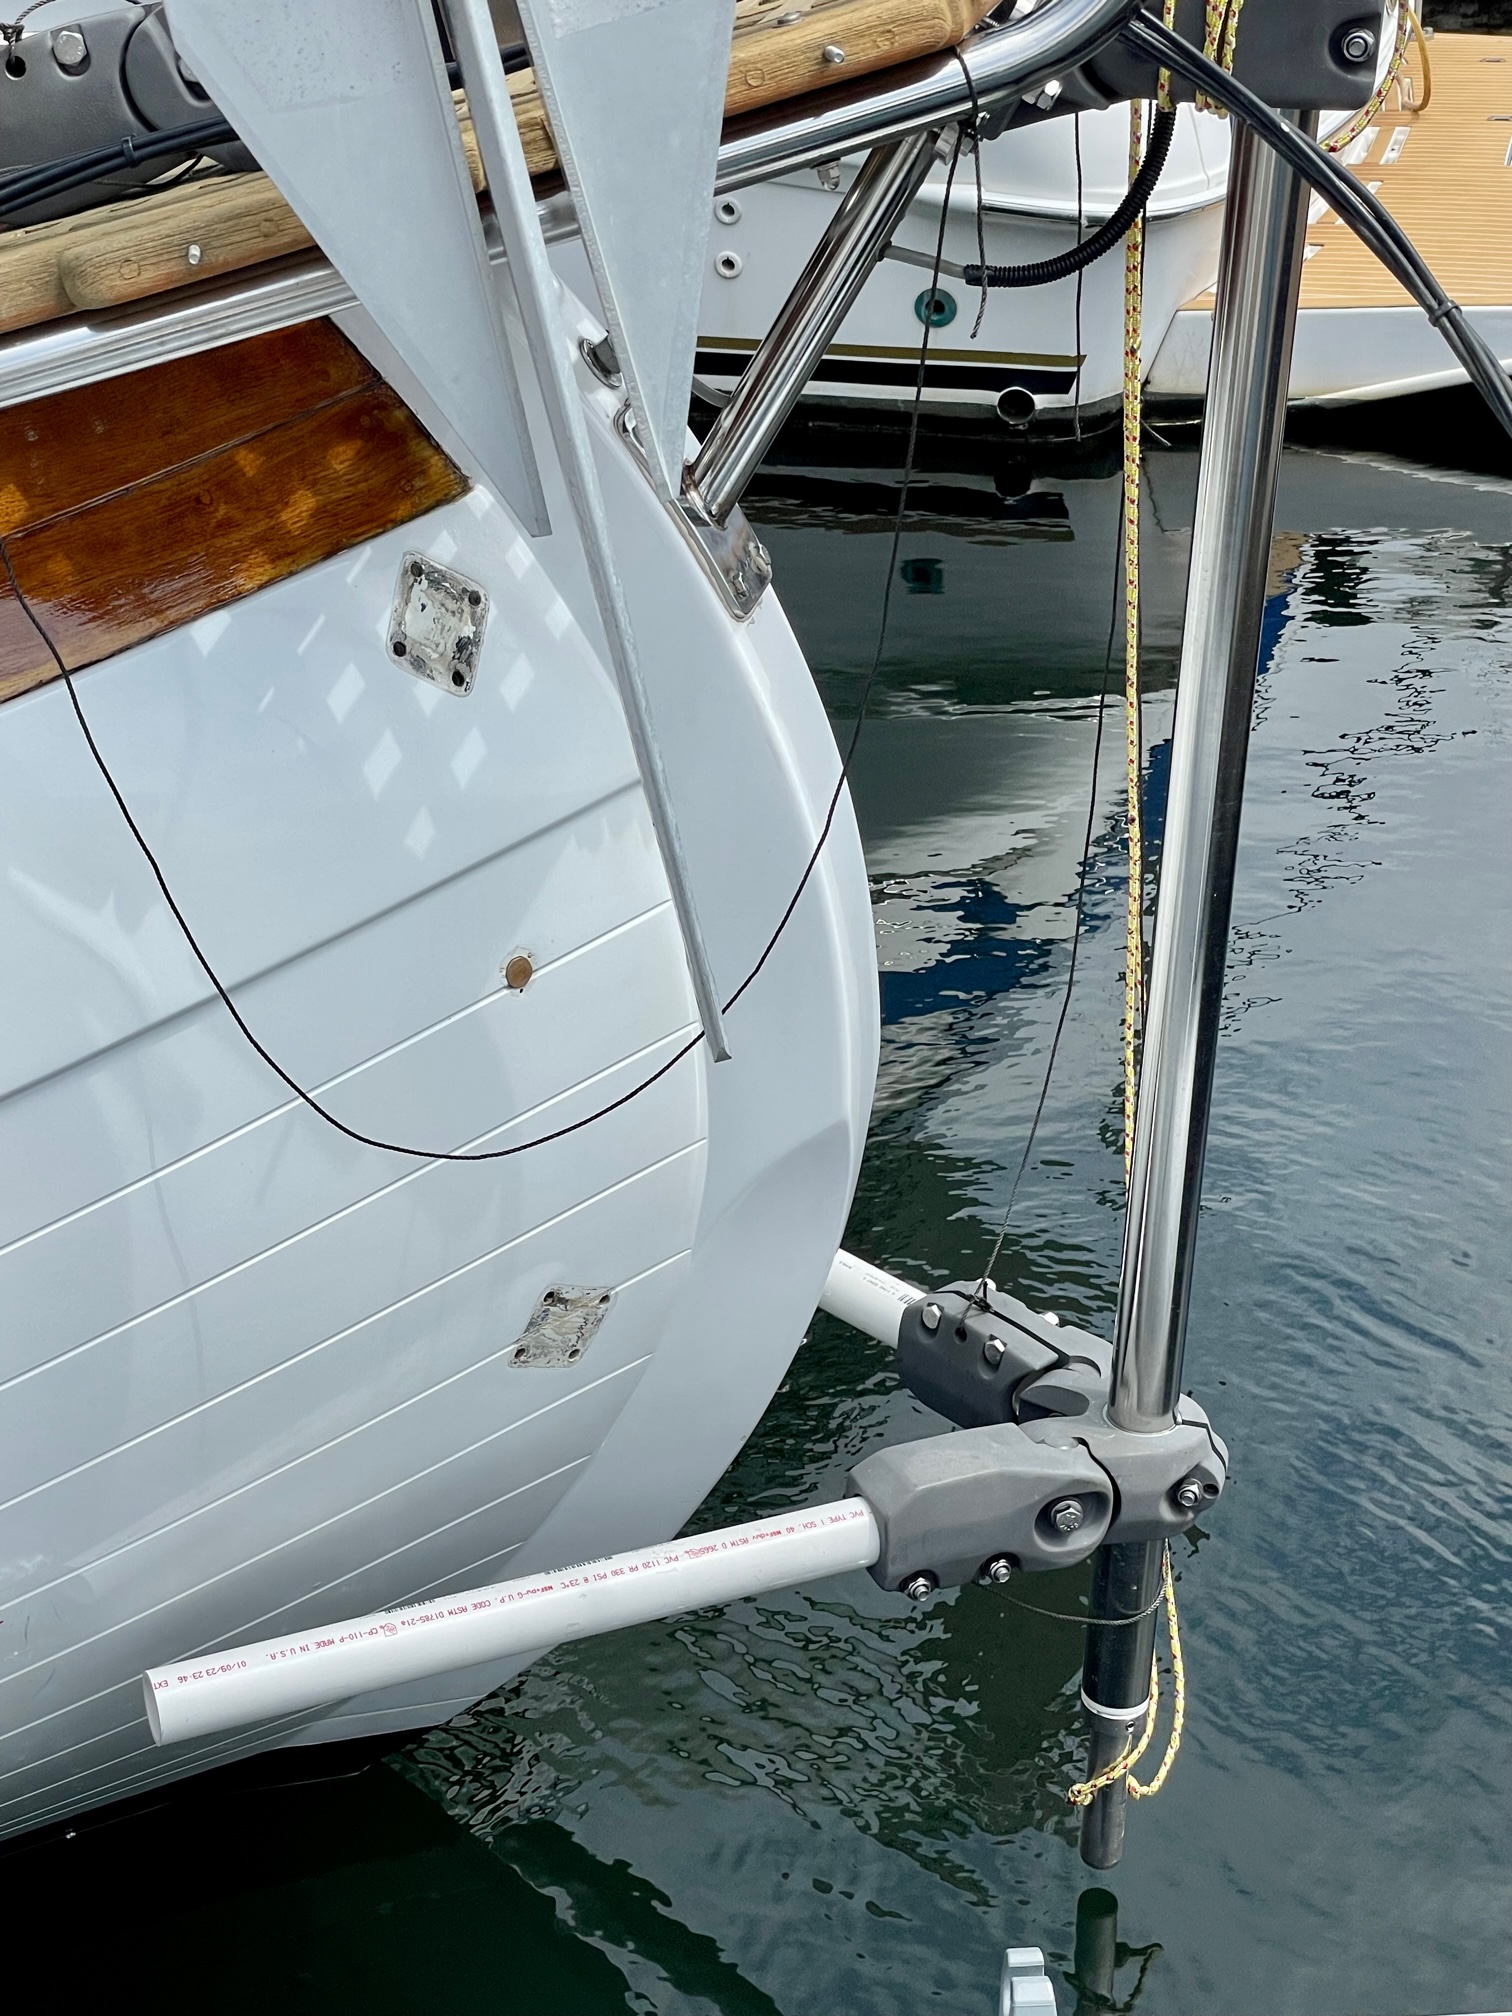
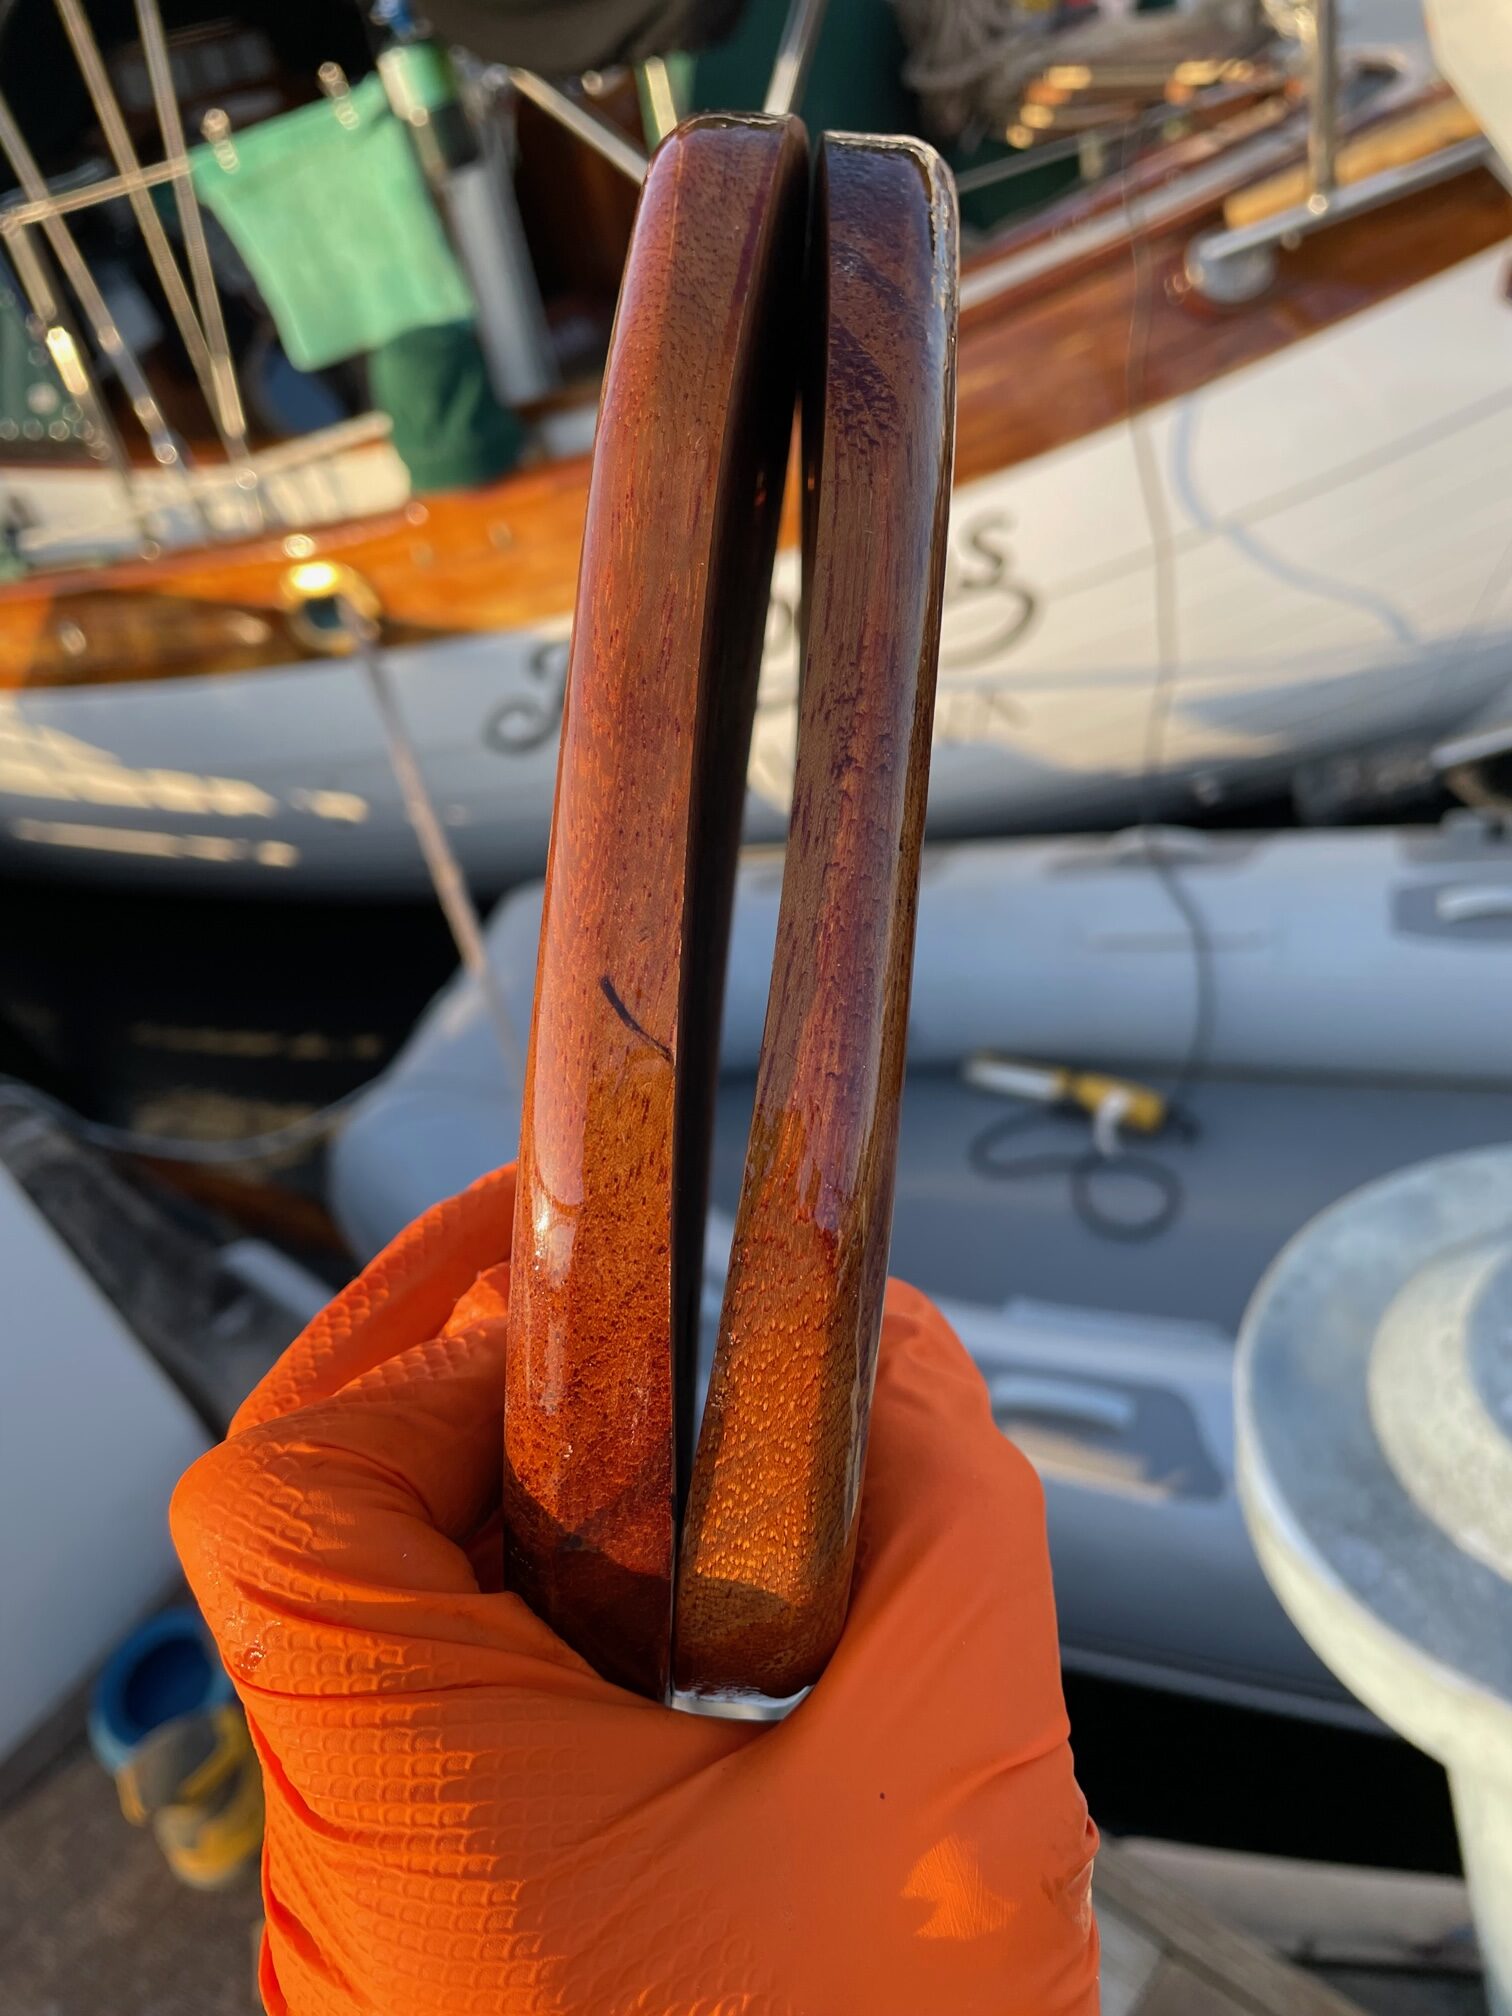
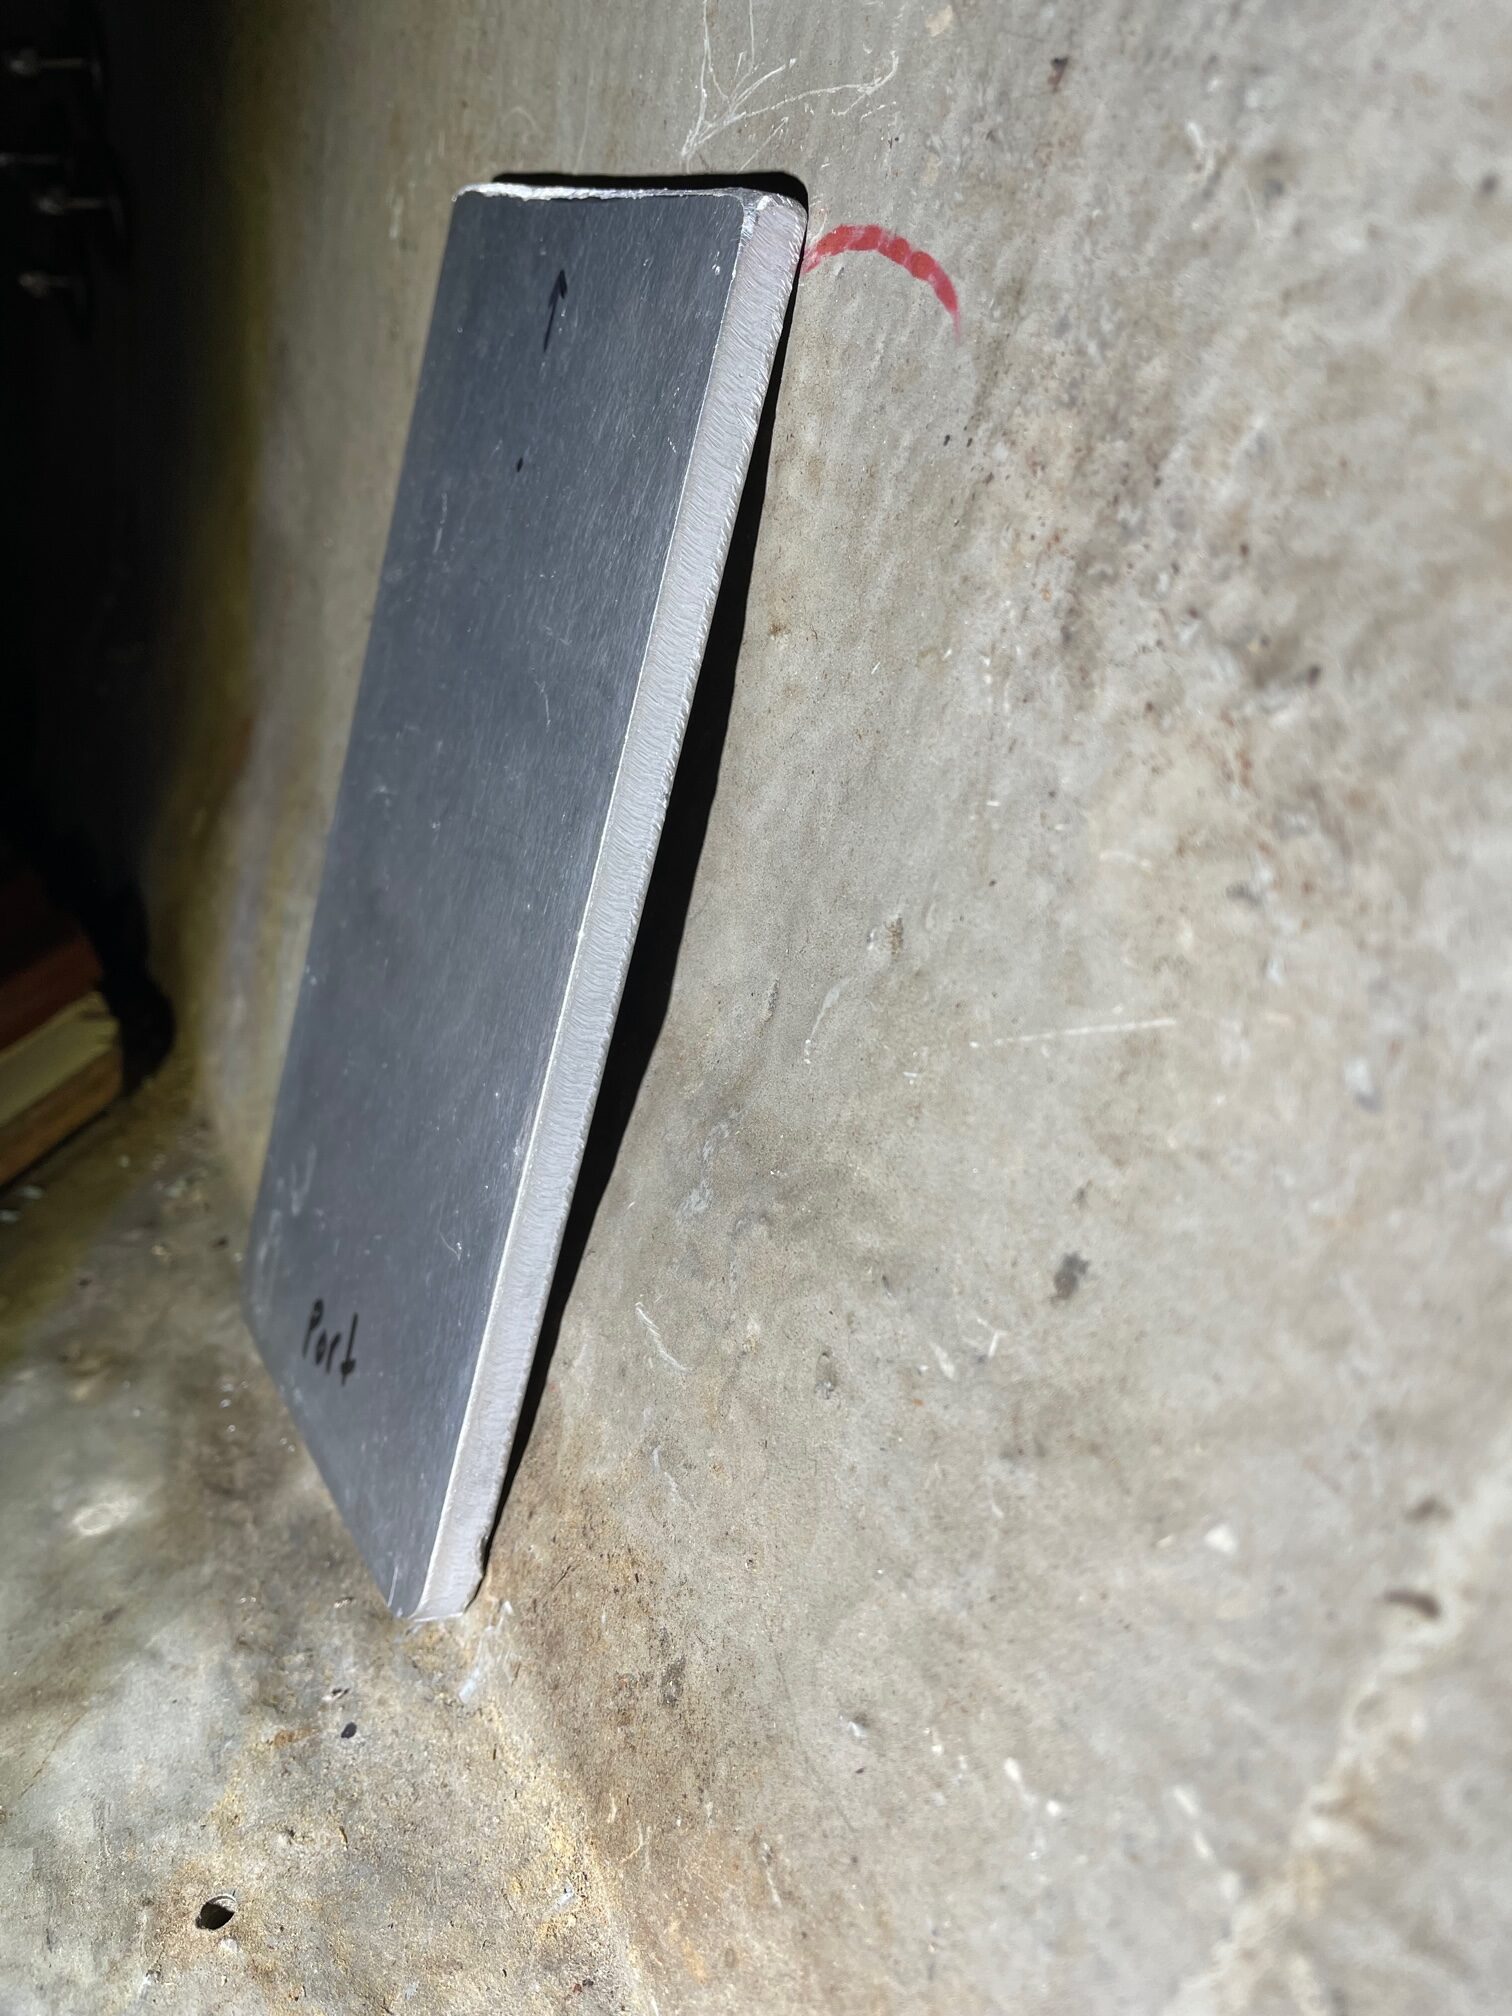
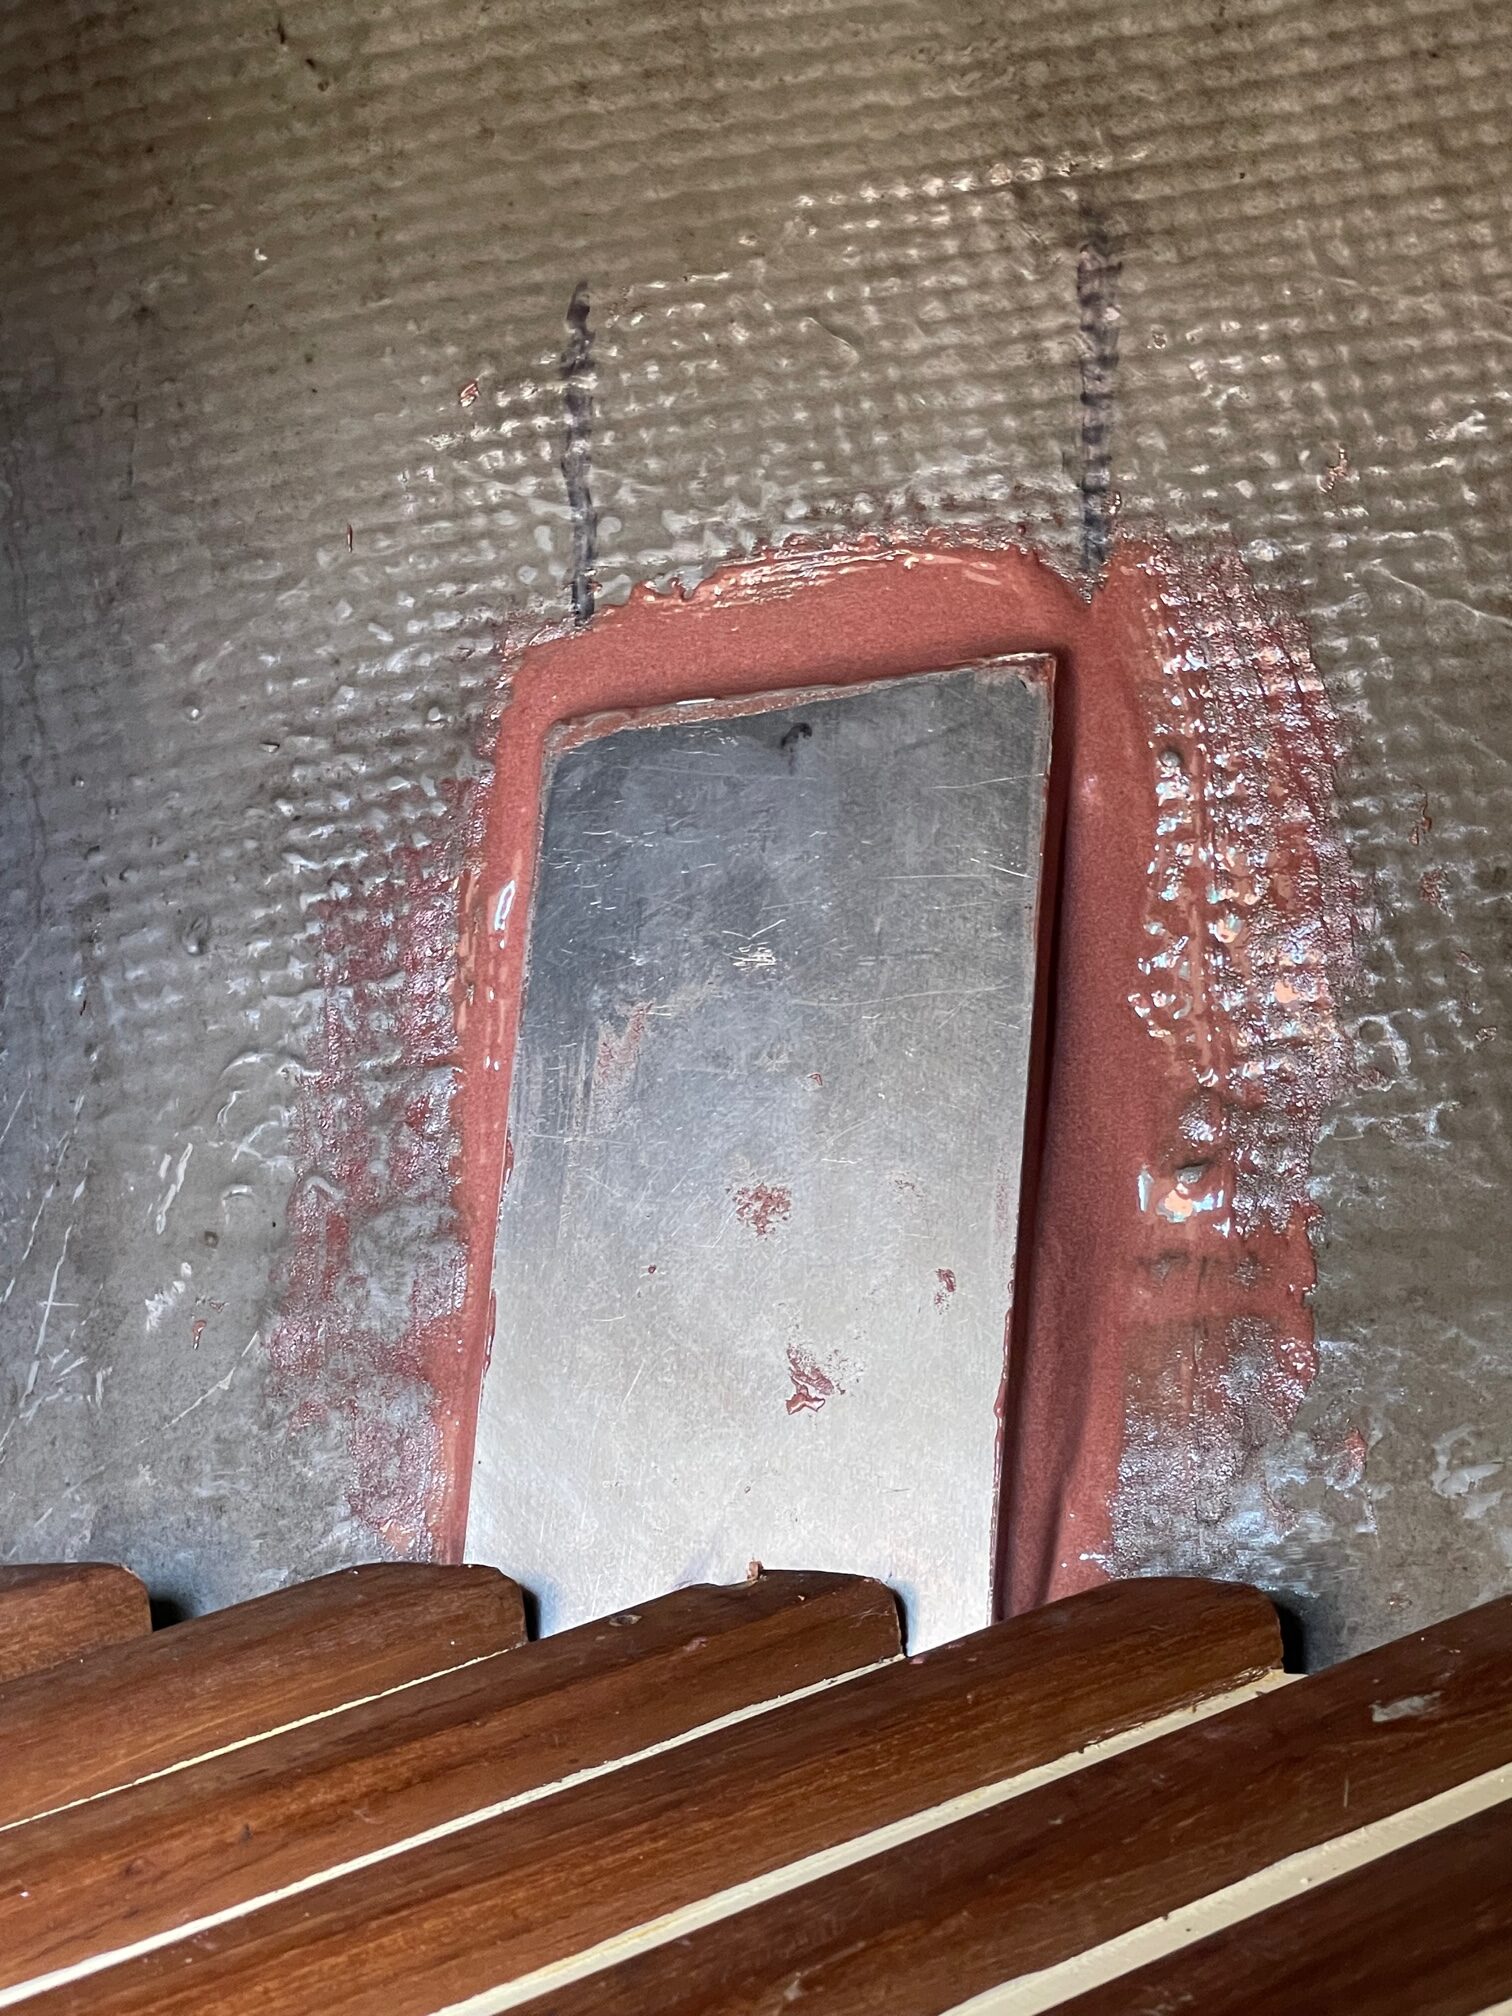
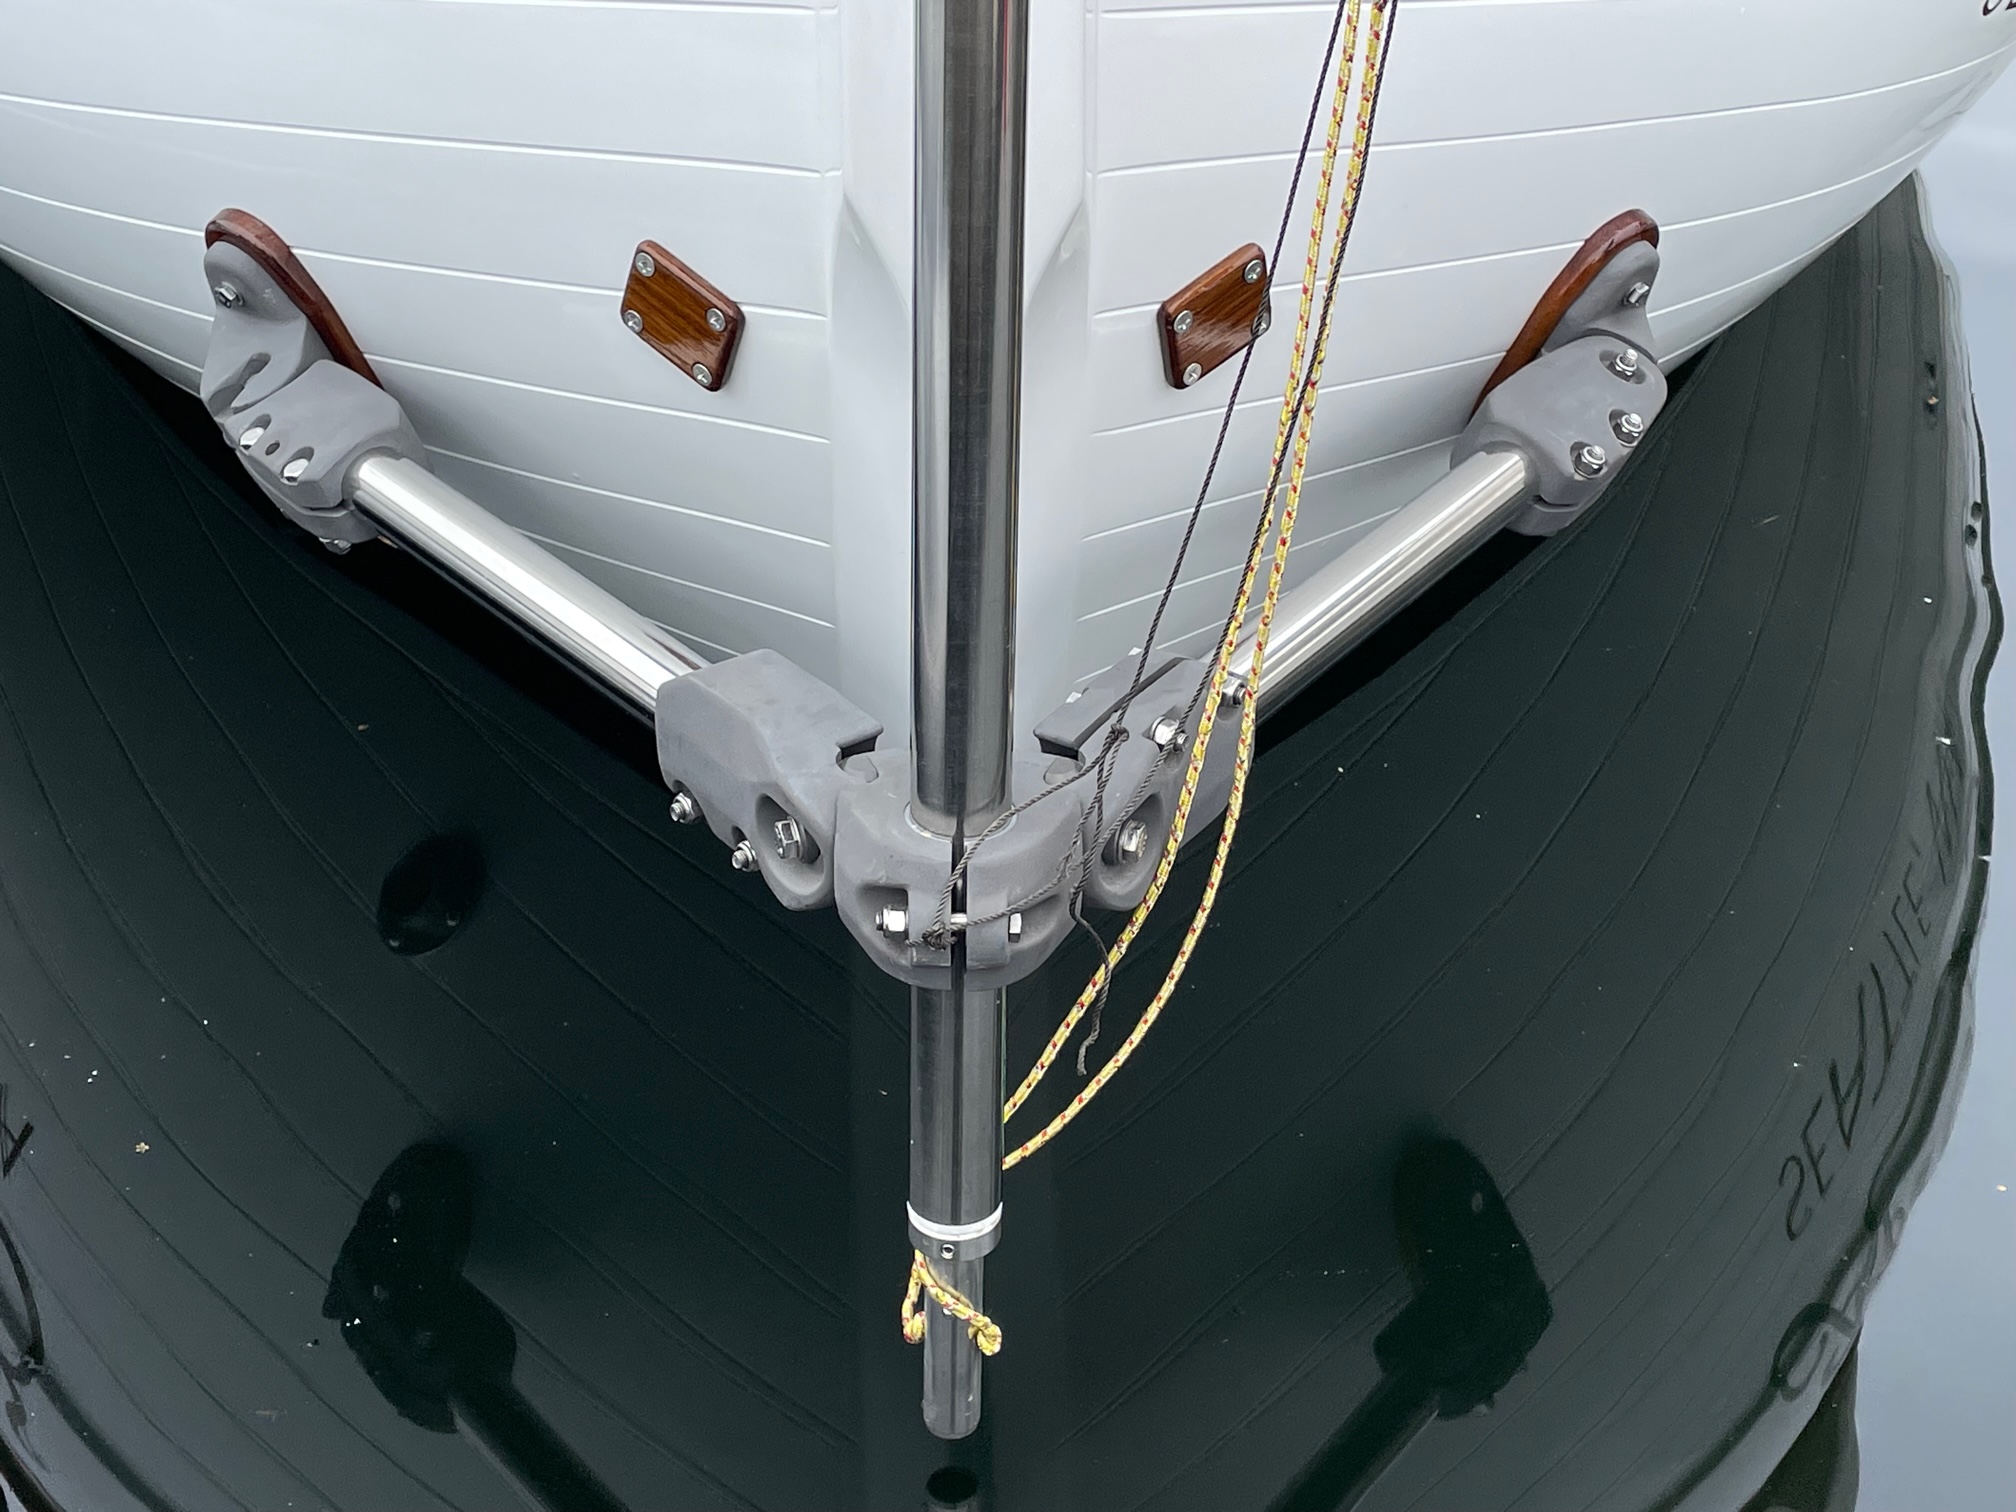
For the upper H bracket, I had a custom stainless steel plate fabricated and mounted it to the stern platform with 3 U-bolts. The H bracket then got bolted to the plate for a very solid upper connection. Next I mounted the shaft to the H bracket. For the lower connection, an A bracket was used with SS tubes extending to mounting plates that through-bolted to the hull. I used 3″ pvc pipe in place of the SS pipe for determining the exact placement of the hull through-bolts. One of the most time-consuming parts was sanding the 2 teak pads that fit between the hull and mounting plates to the contour of the hull shape. For this, I taped 80 grit sandpaper onto the hull and moved the teak pad back and forth until there were no gaps (took over 2 hours per pad). I used aluminum backing plates inside the hull, and fastened them using thickened epoxy to increase the contact area of the plates. After the upper H bracket, shaft, and lower A bracket were all mounted, the drive unit was added to the top part of the shaft, and finally the rudder, vane and vane adjustment line. Here are some pictures taken during the installation.
U-Bolts for SS PlateH Bracket Mounted to SS PlateA-Bracket (pvc pipe to determine exact position of hull mounts)Shaft Vertical PositioningAfter Sanding Teak to Hull ShapeInside Hull Mounting PlateEpoxy on Mounting PlateTeak Spacer and Brackets Mounted to HullDrive Unit Mounted on ShaftVane Added
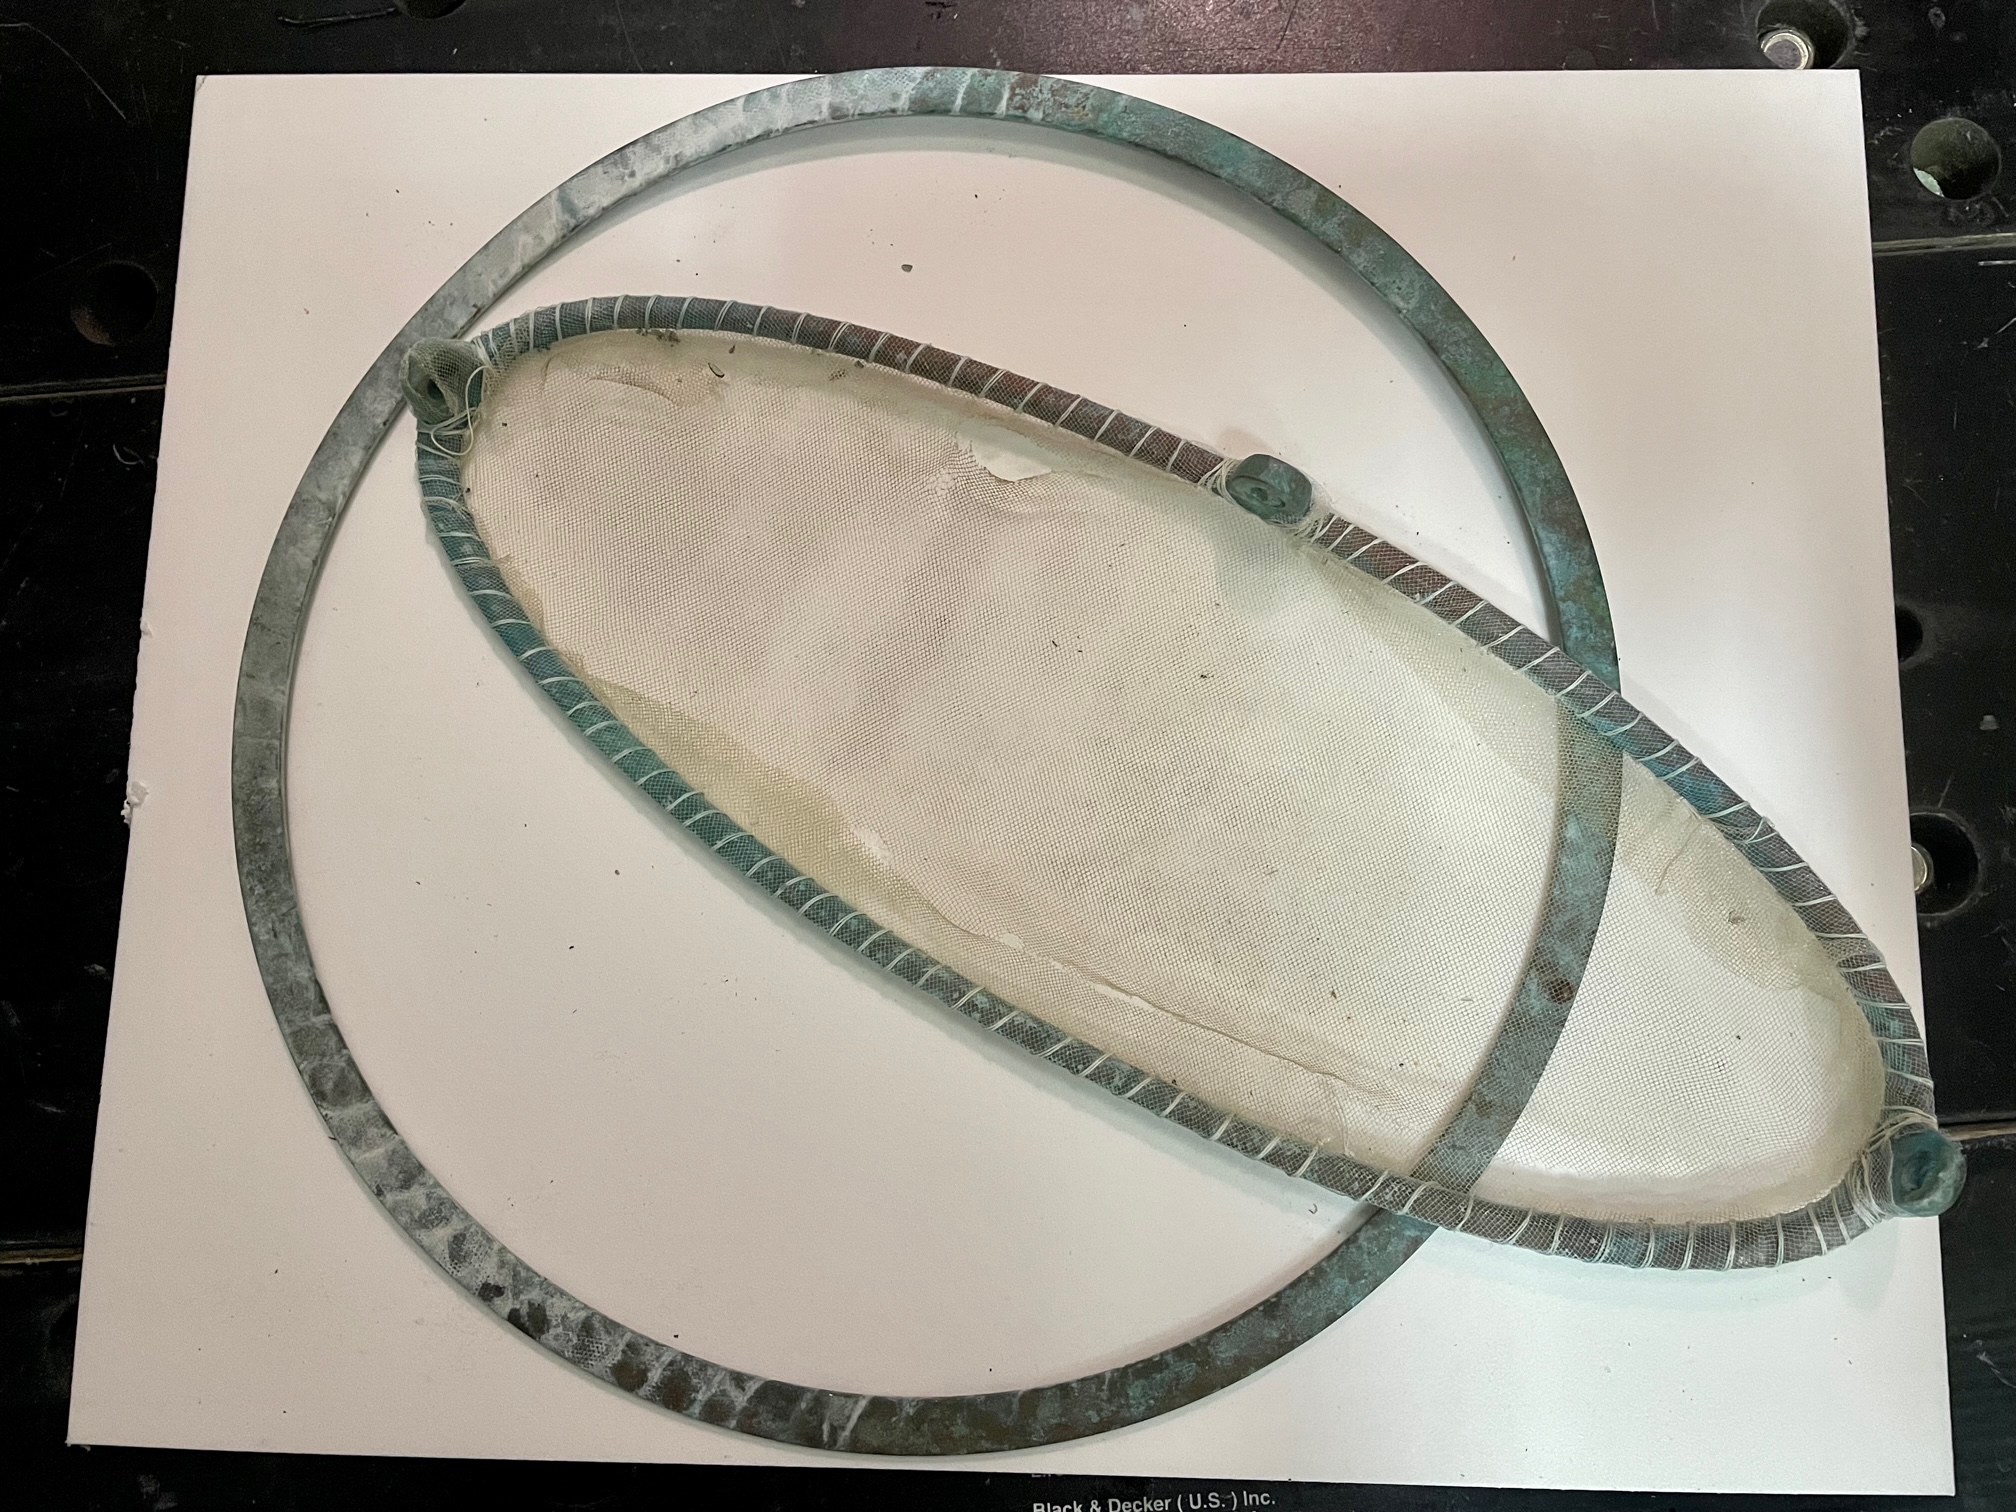
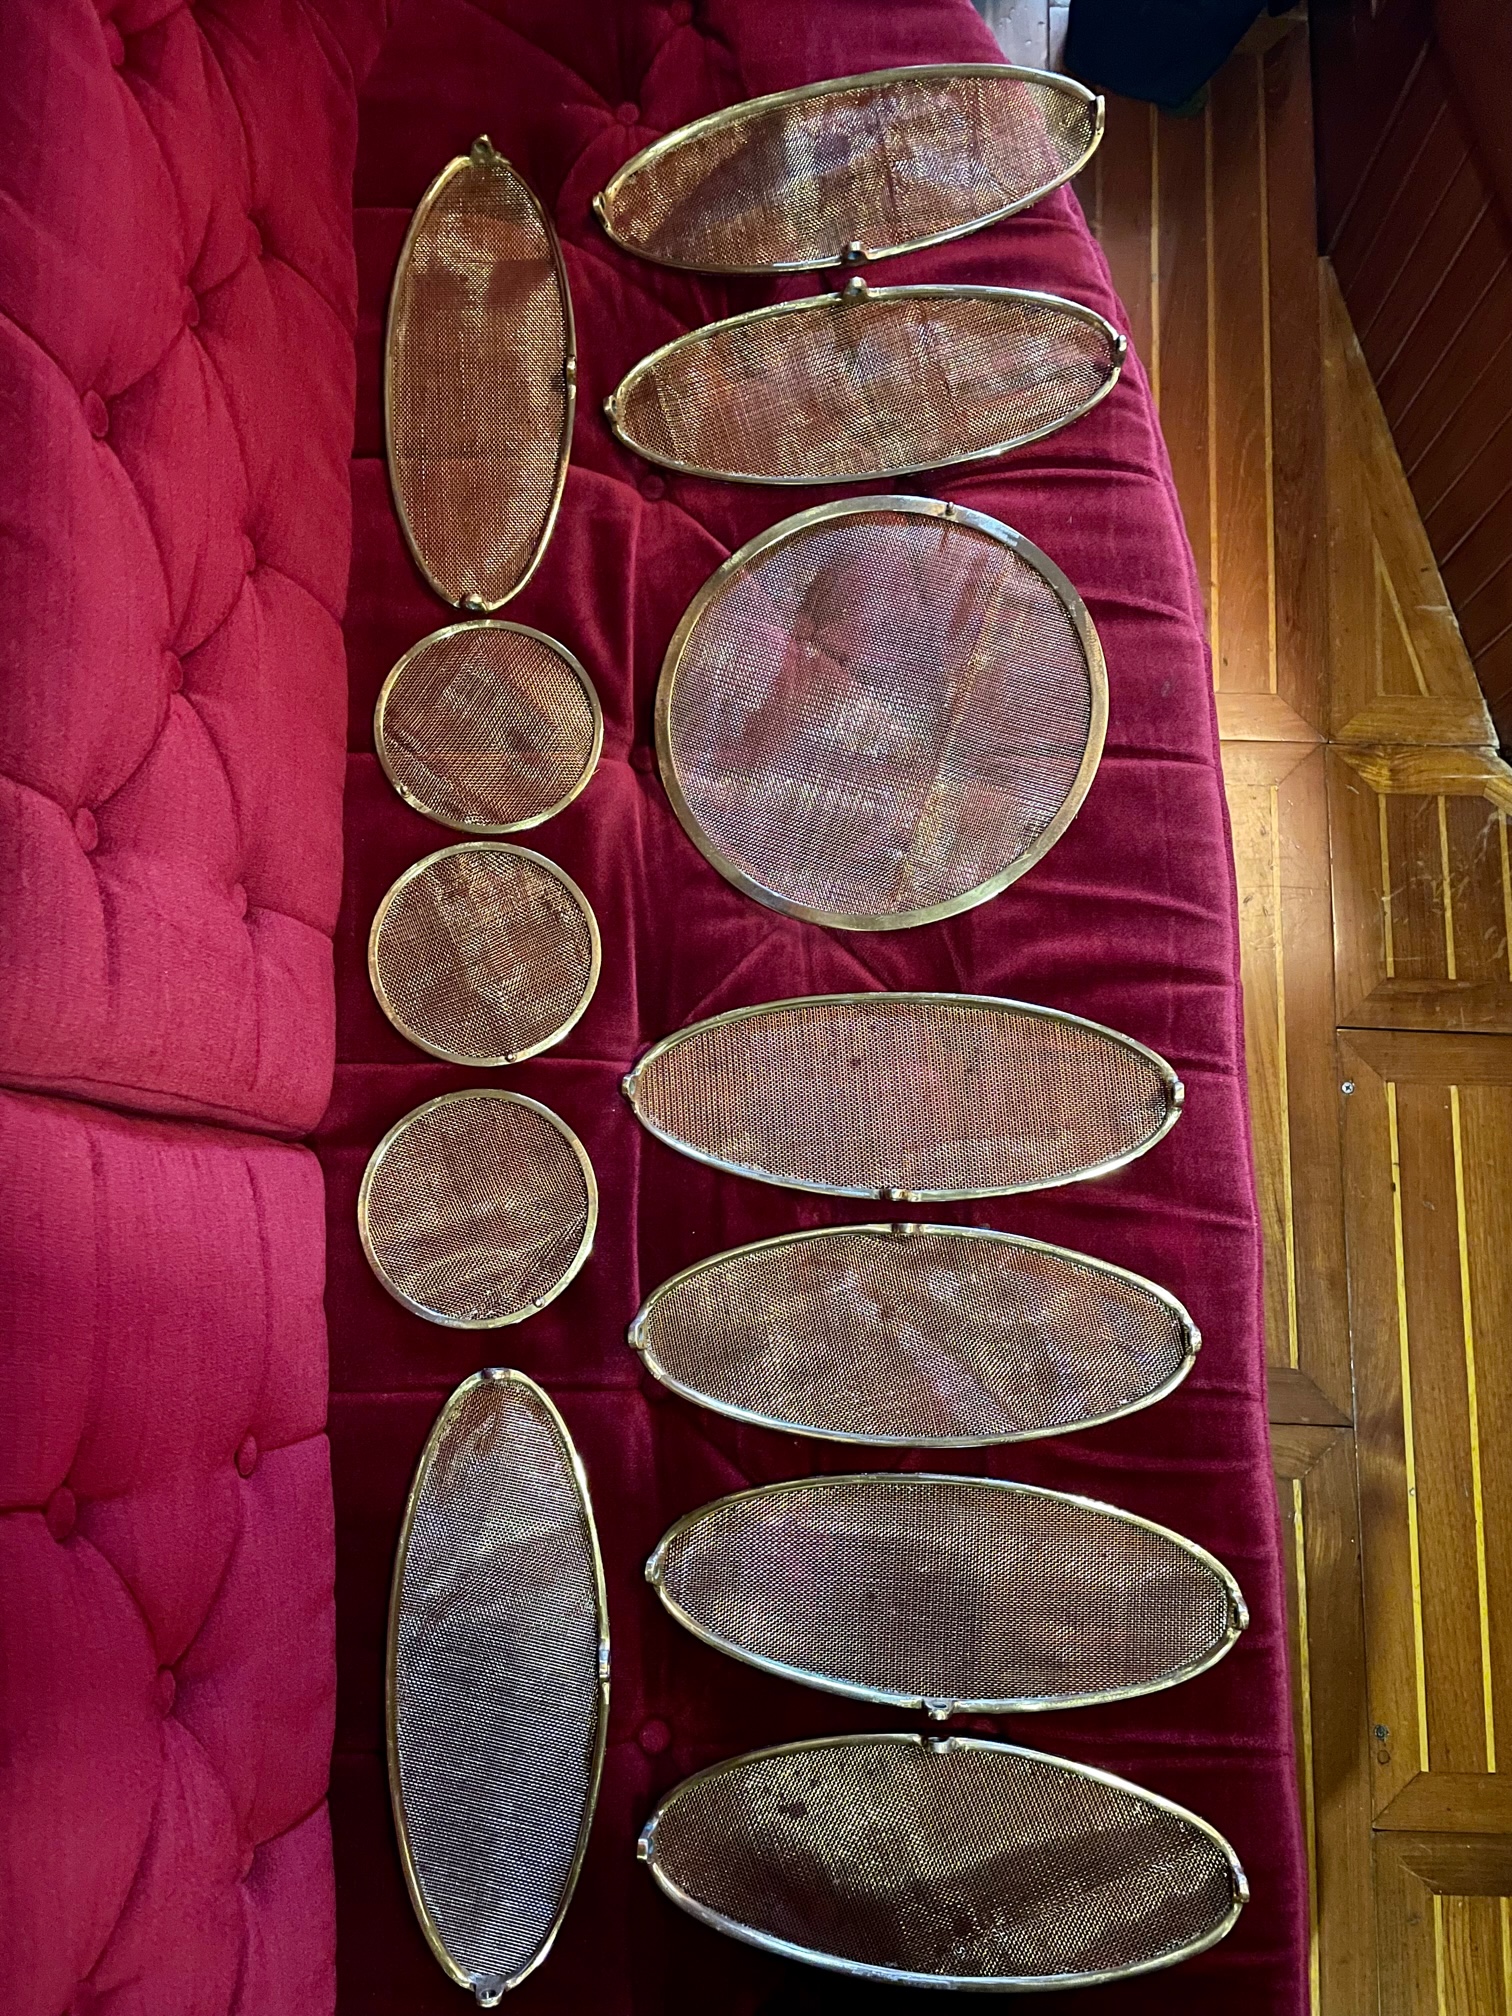
Apropos came with 8 oval, 3 small round, and 1 large round bronze port screen rings. After arriving in Mexico, we realized we needed them to keep out bugs, mosquitos, and no-see-ums (tiny flies that bite) since we had to keep the ports open for ventilation. The problem was that the frames had no screens, so we hastily added some fine mesh fabric by wrapping polyester thread (same as used for sails) around the edges of the rings. This worked well for the year it was needed, but eventually the mesh fabric became brittle and easily torn.
Frames with old fabric mesh
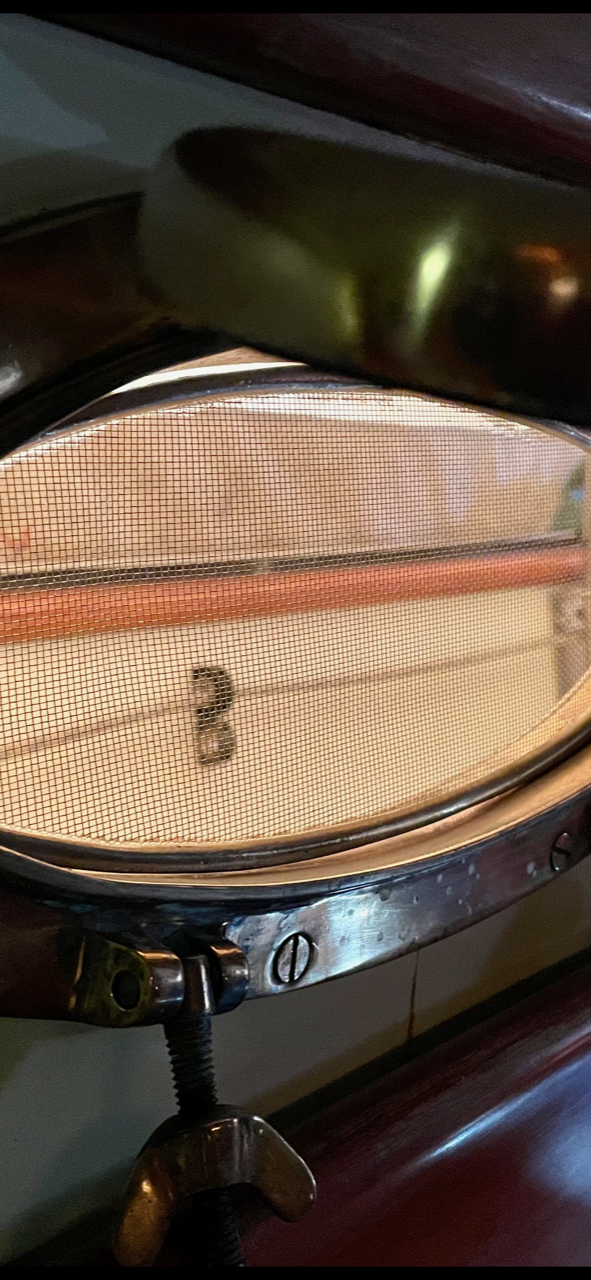
After removing the fabric and thread, I soaked the frames in a metal cleaner, then used a dremel tool to polish them. Next I coated them with Protecta-Clear. I had about a yard of bronze screen that came with the boat, so I cut pieces slightly bigger than each frame. I ran a bead of Gorilla glue on the frame, placed the screen on wax paper and the frame on top the screen, then a 5 gallon bucket of water to apply pressure for 2 hours while the glue cured. The final step was to trim the screen along the edges with a pair of scissors. Here are all 12 finished rings and a picture of one of the oval port rings in place.
Finished adding screens to port ringsOval screen in port opening
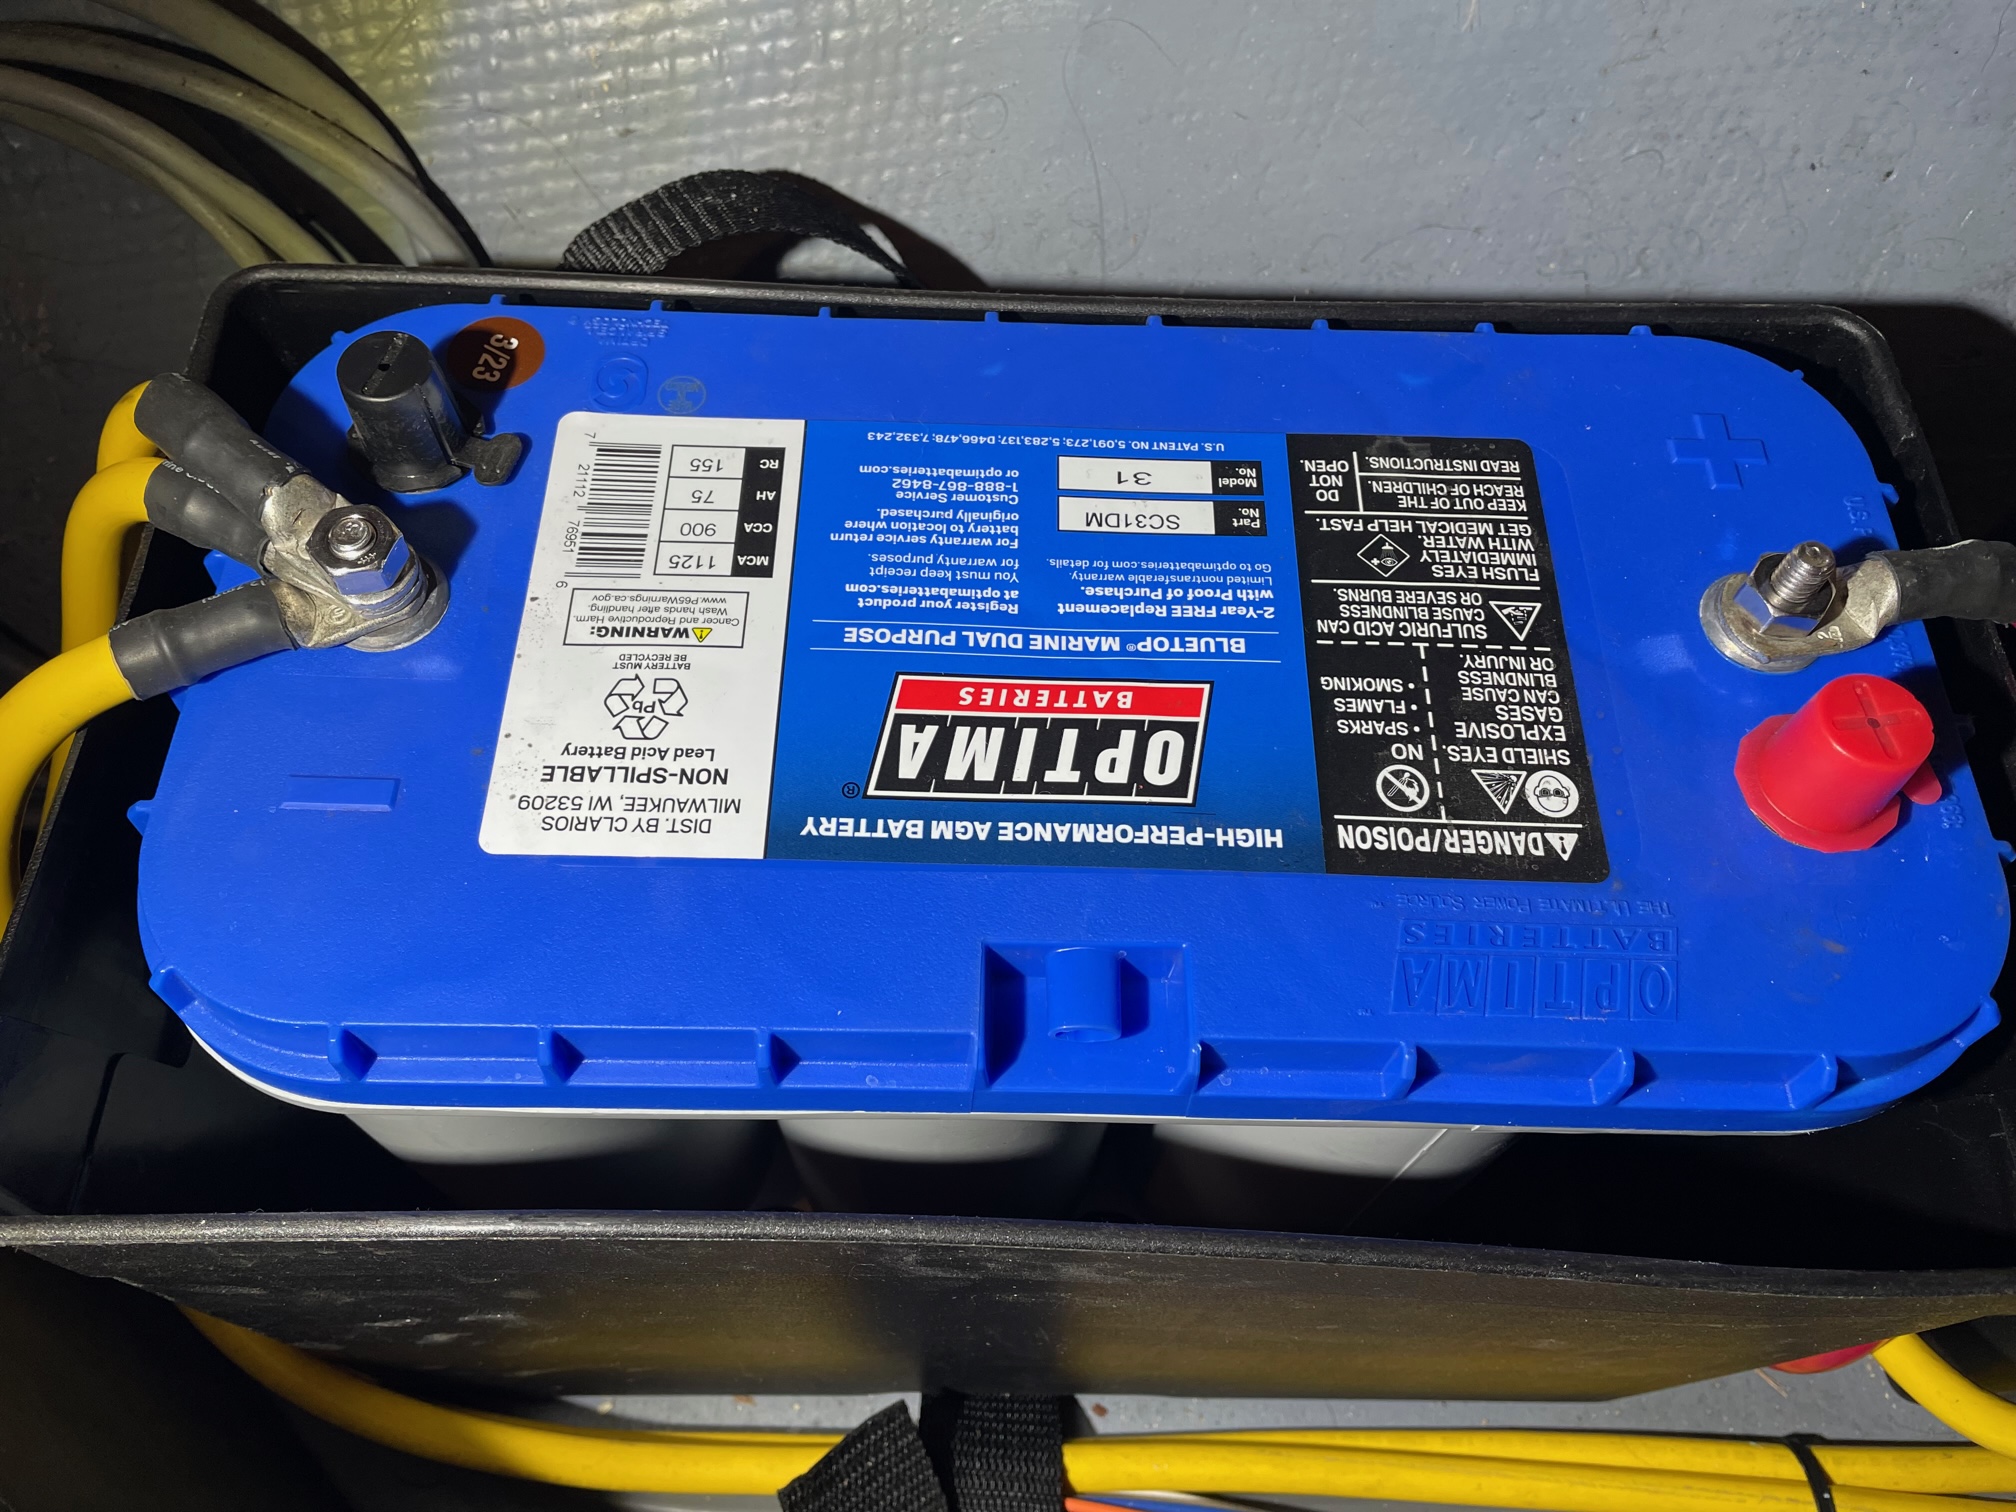
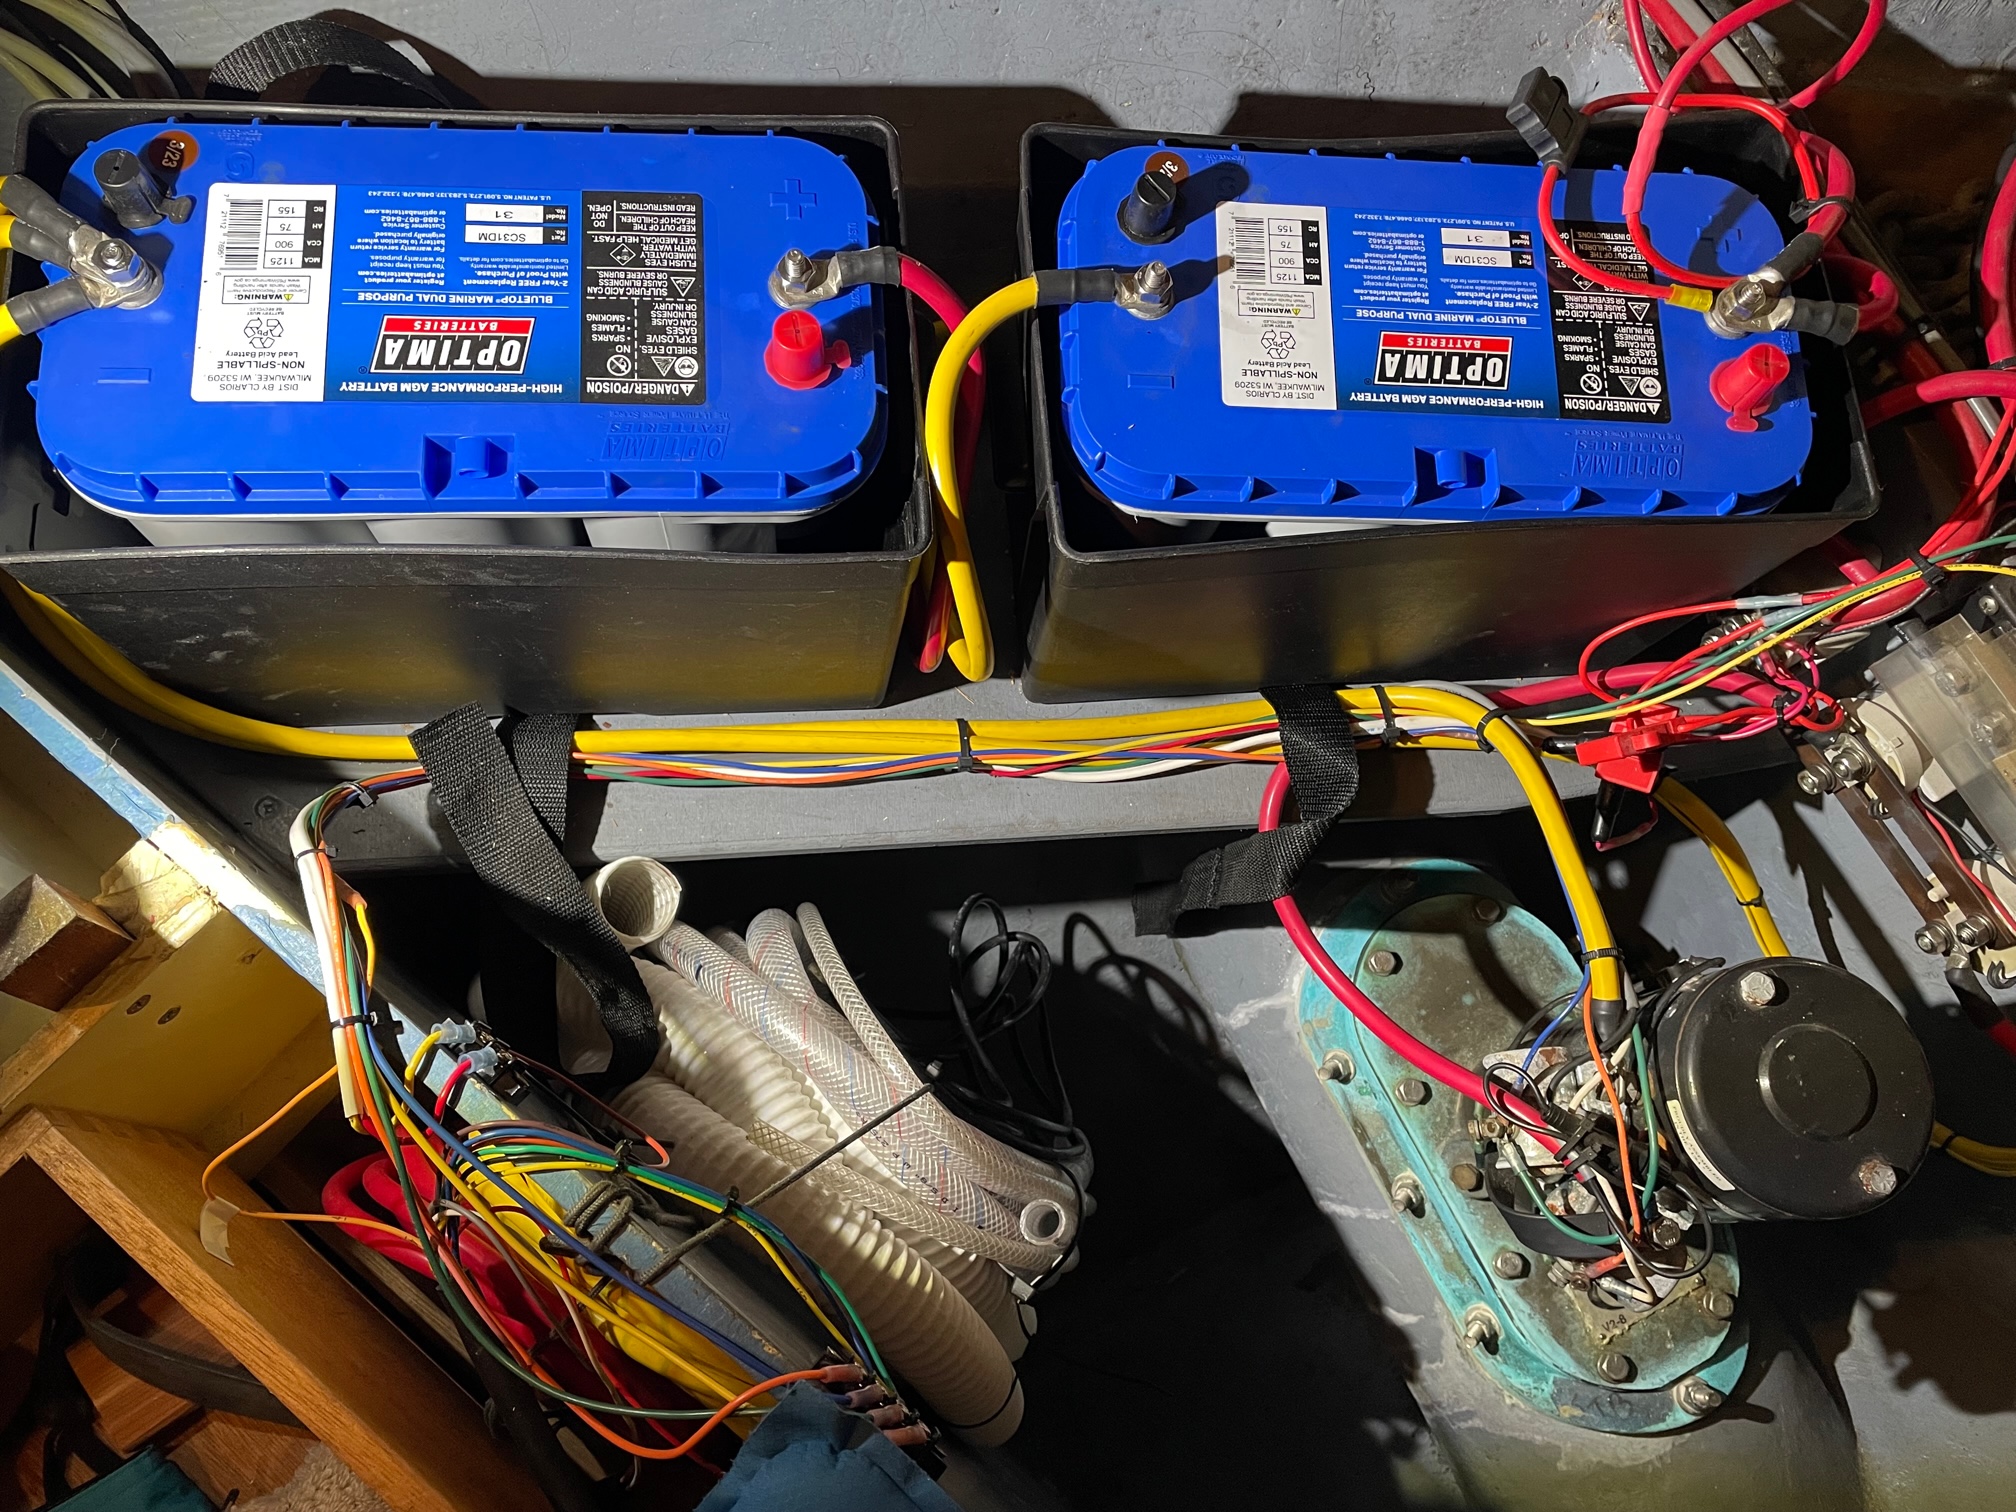
There are 2 deep cycle batteries in the v-berth that provide power to the bow thruster and anchor windlass. They are 20 years old and I’ve been meaning to replace them for several years, but they were still pulling up the anchor and running the thruster. I did notice the bow thruster would get weaker if I used it for more than 30 seconds, but I tend to not rely on it when getting into and out of the slip, and 15 seconds is more than adequate. But this summer we’re planning on a 2 week trip where there will be lots of anchoring, so I thought now would be a good time to replace them.
I decided on replacing them with the same brand–Optima AGM (blue top) with 900 CCA. The old ones were actually yellow top, which are not the “marine purpose” type but the only difference I could see is the blue top has the optional studs for wire connectors vs just the lugs.
The 2 batteries are parallel connected, so total AHrs is 150. All wires and crimps looked fine so it was an easy replacement. These batteries get charged through a Balmar Digital Duo Charge connected to the House bank. There’s never been a way to monitor these batteries, so if the Balmar charger ever failed, I wouldn’t know it until it was too late and could risk ruining the batteries. A simple voltage monitor with alarm would be a good addition.
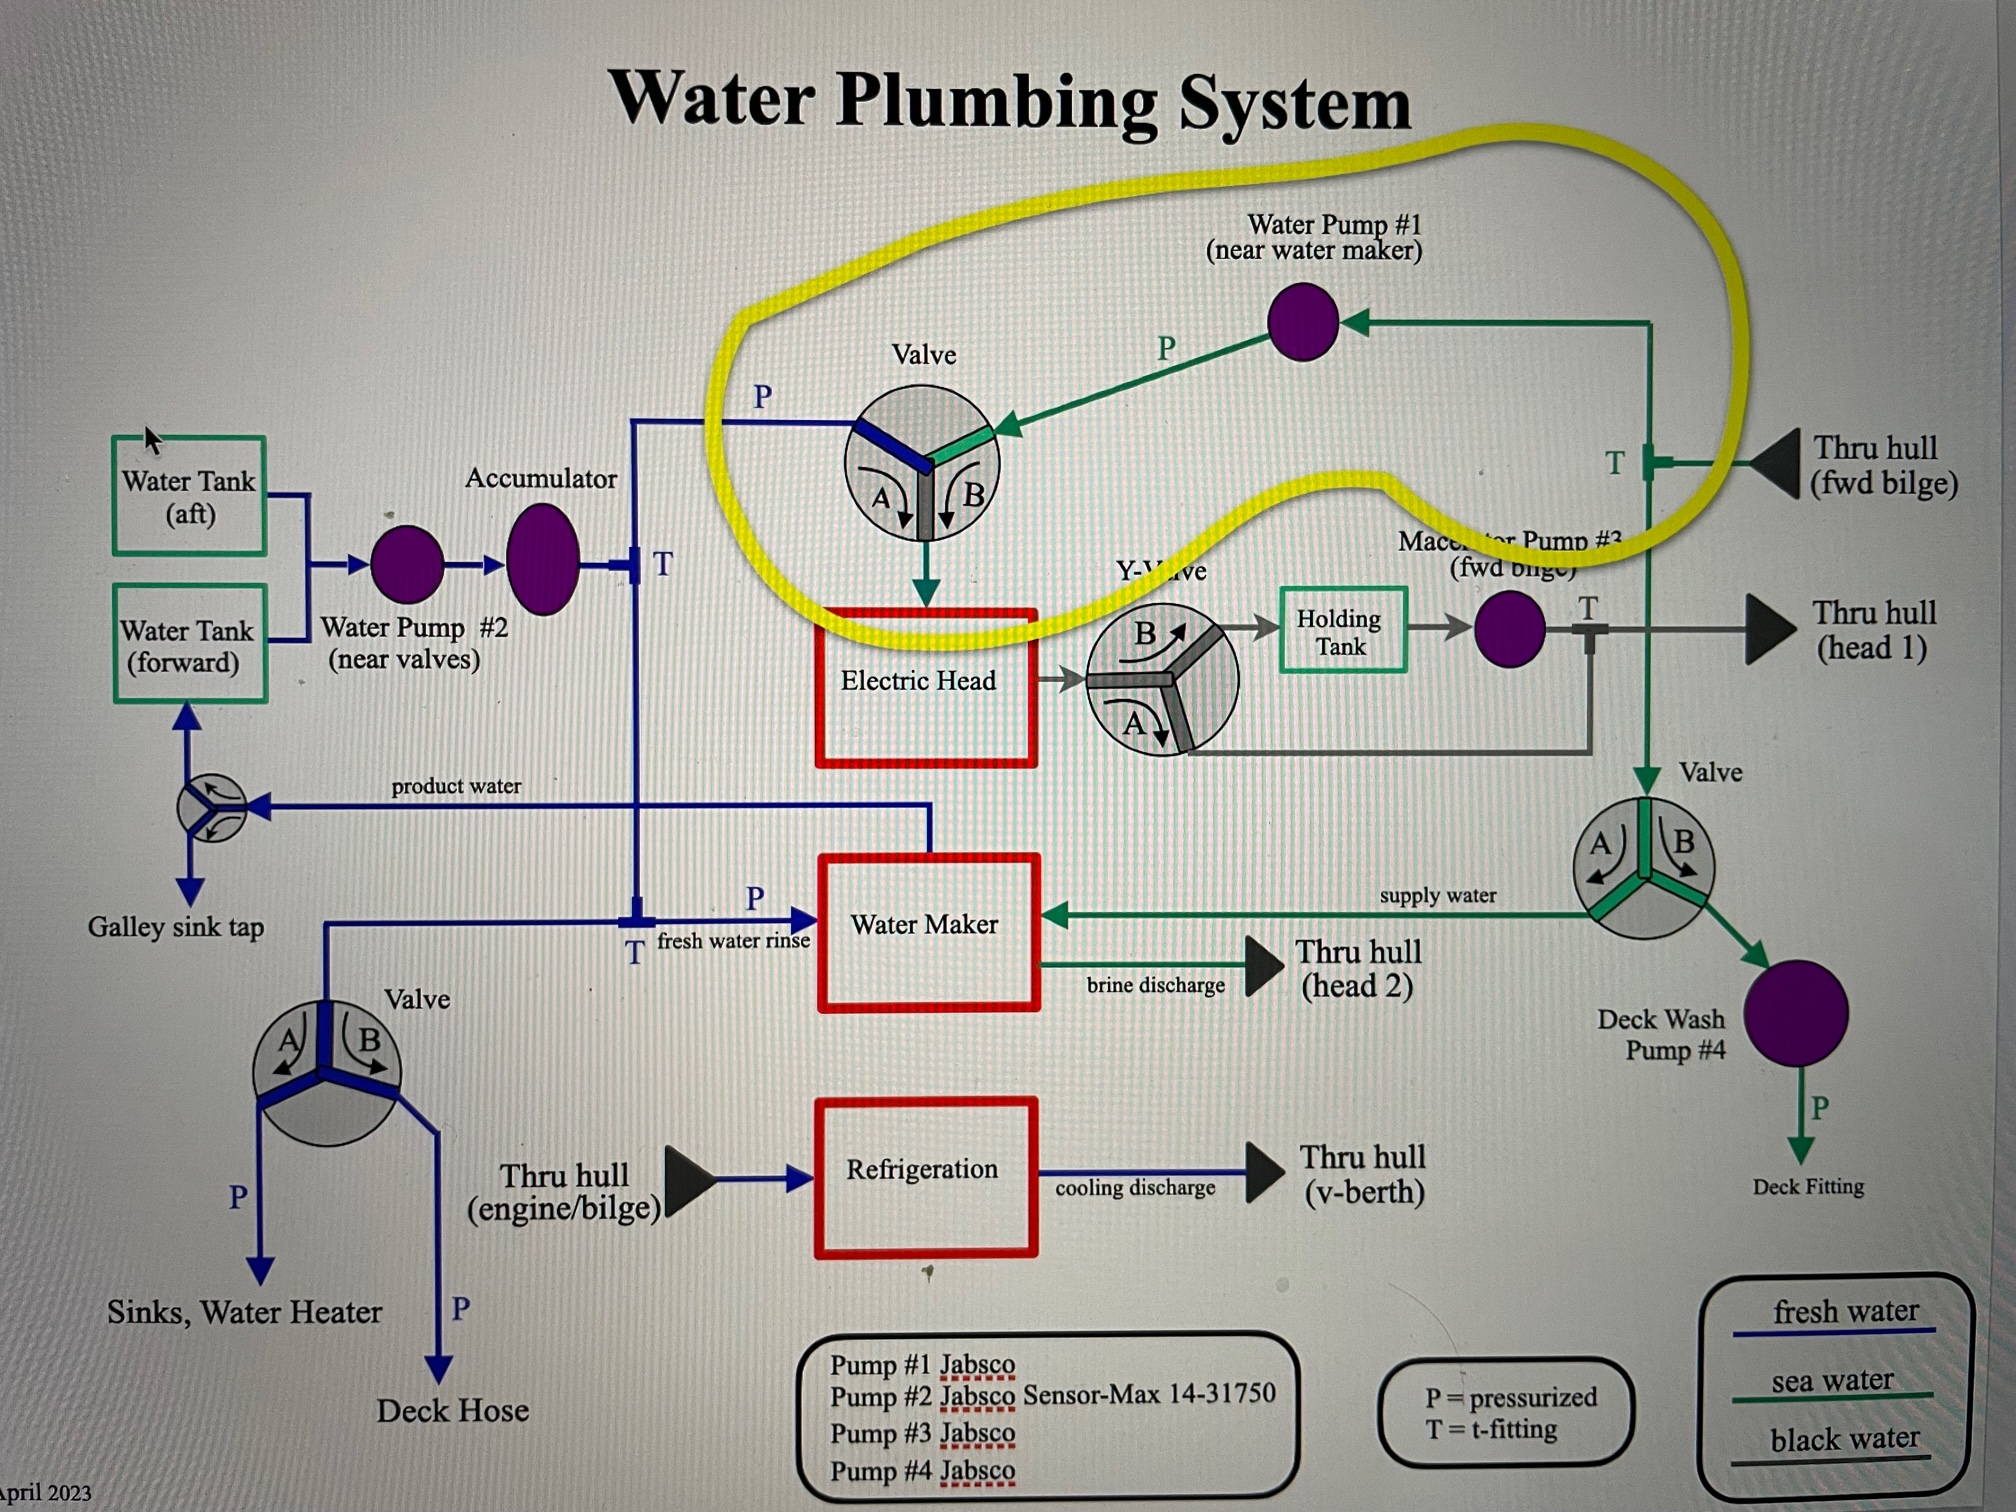
About a year ago I replaced the old manual head with a new electric head. I plumbed it with fresh water fill/flush but wanted to add a sea water option. The fresh water option will be used whenever there is easy access and abundant water. When sailing offshore or cruising in areas where fresh water isn’t easily available, the head would be switched over to using sea water.
I added a 1:2 valve, a Jabsco pump (taken from the old refrigeration system), and T’d into the sea water input for an easy project that was accomplished in a weekend. Here is a drawing of the project showing the new plumbing inside the yellow boundary. The green lines represent sea water and the blue lines fresh water. The sea water pump is wired to the electric head control board so when the fill button is pressed, the pump will activate. A disconnect switch was added to open the wiring to the sea water pump when the system is in fresh water mode.
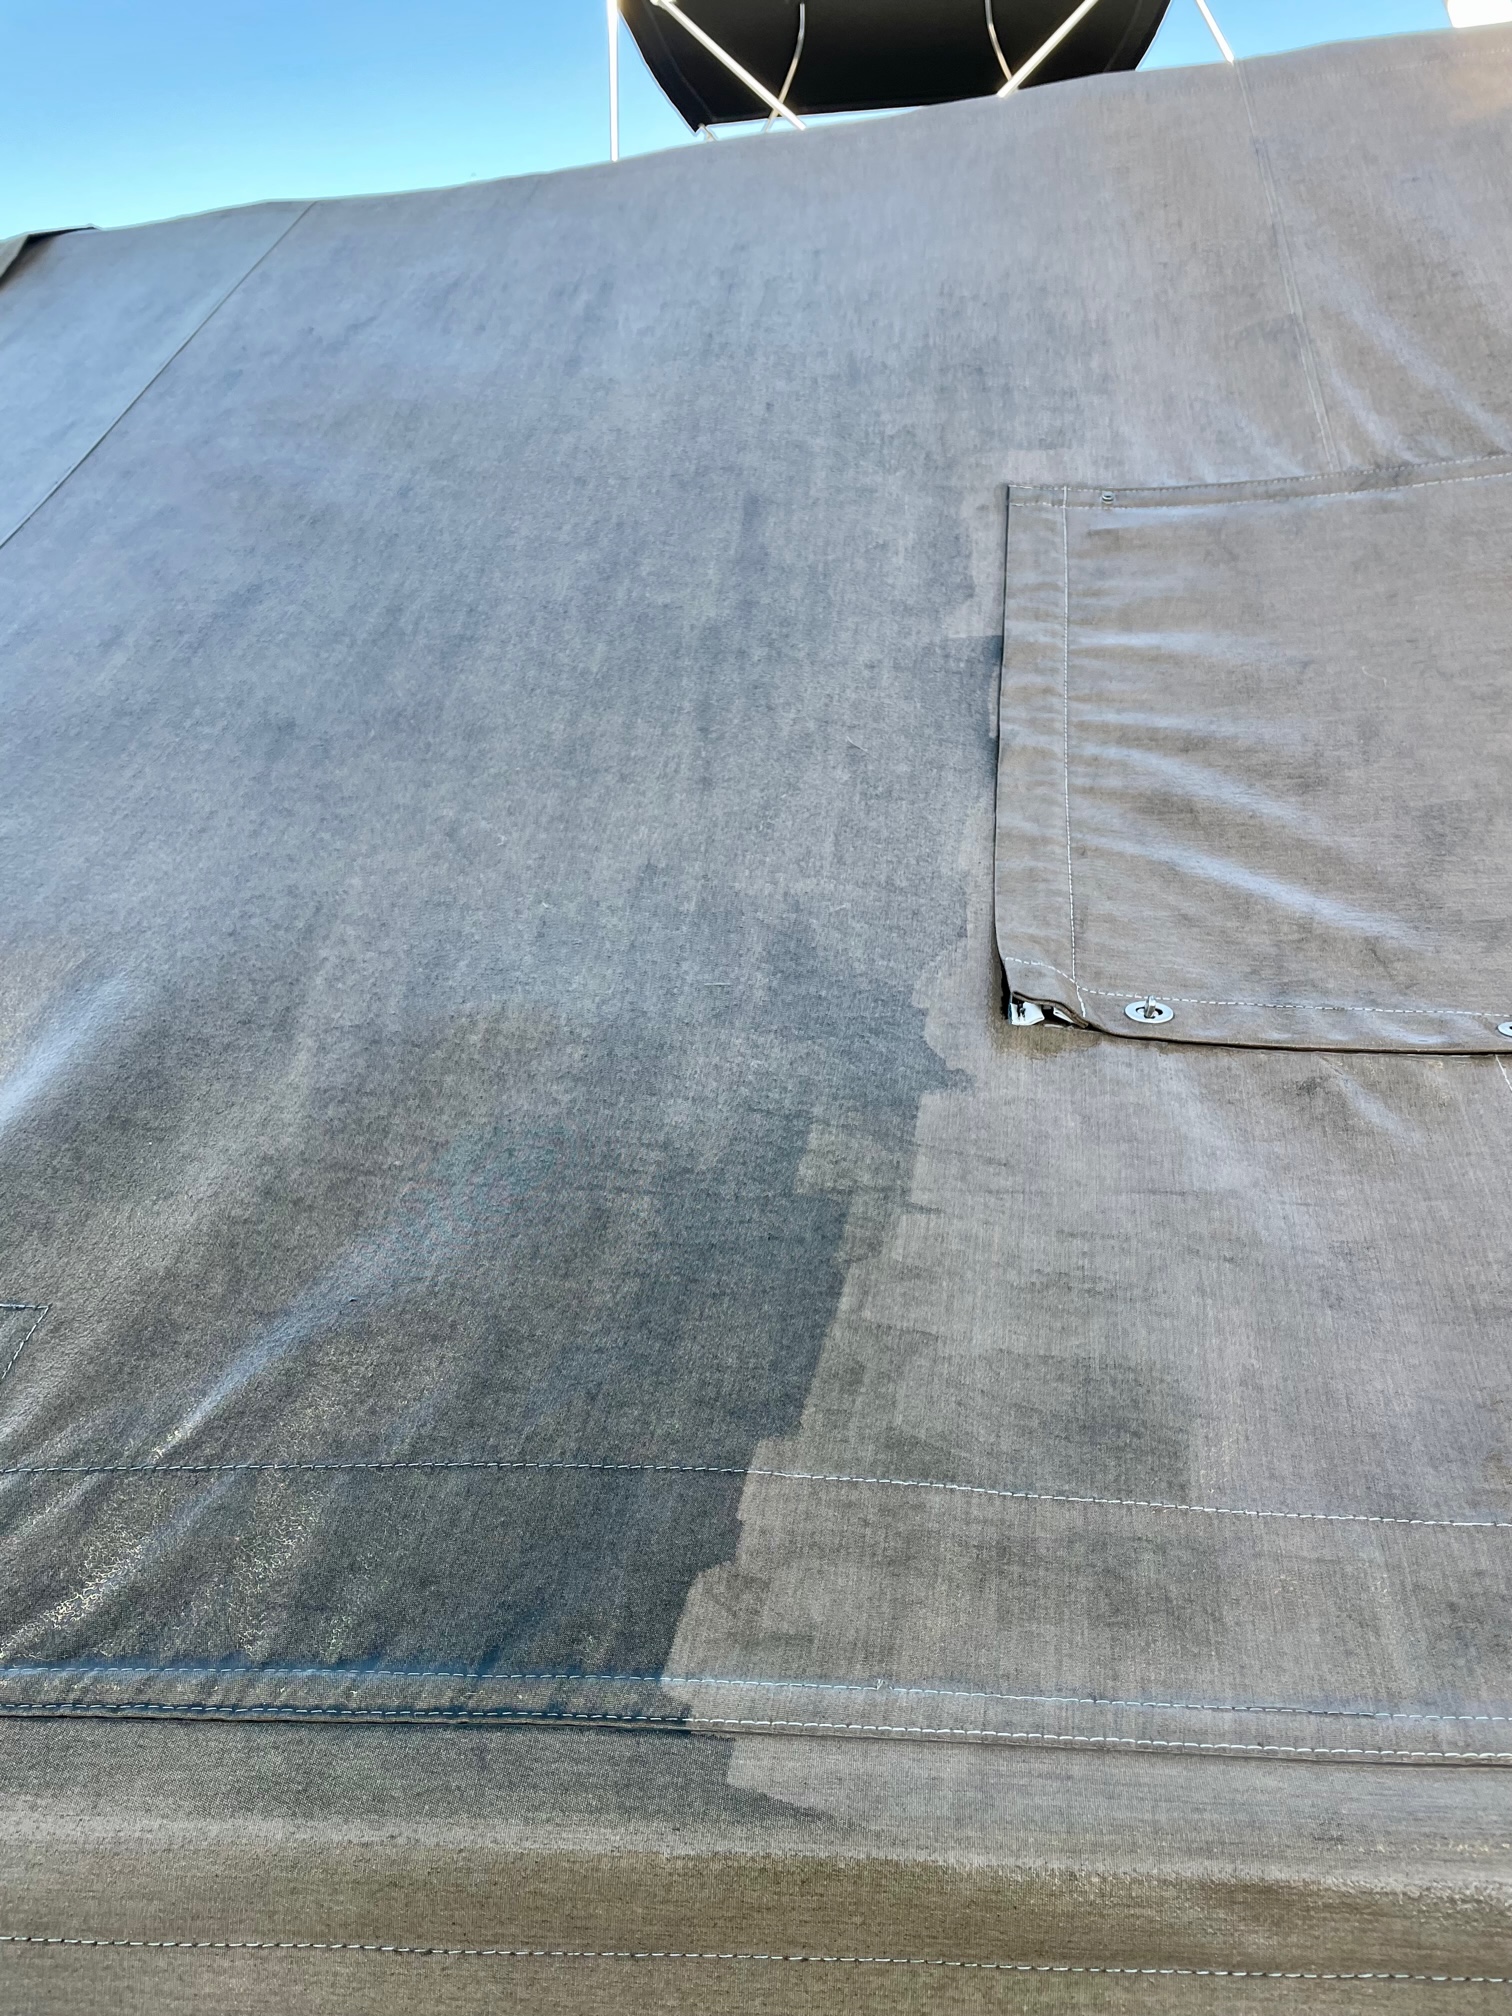
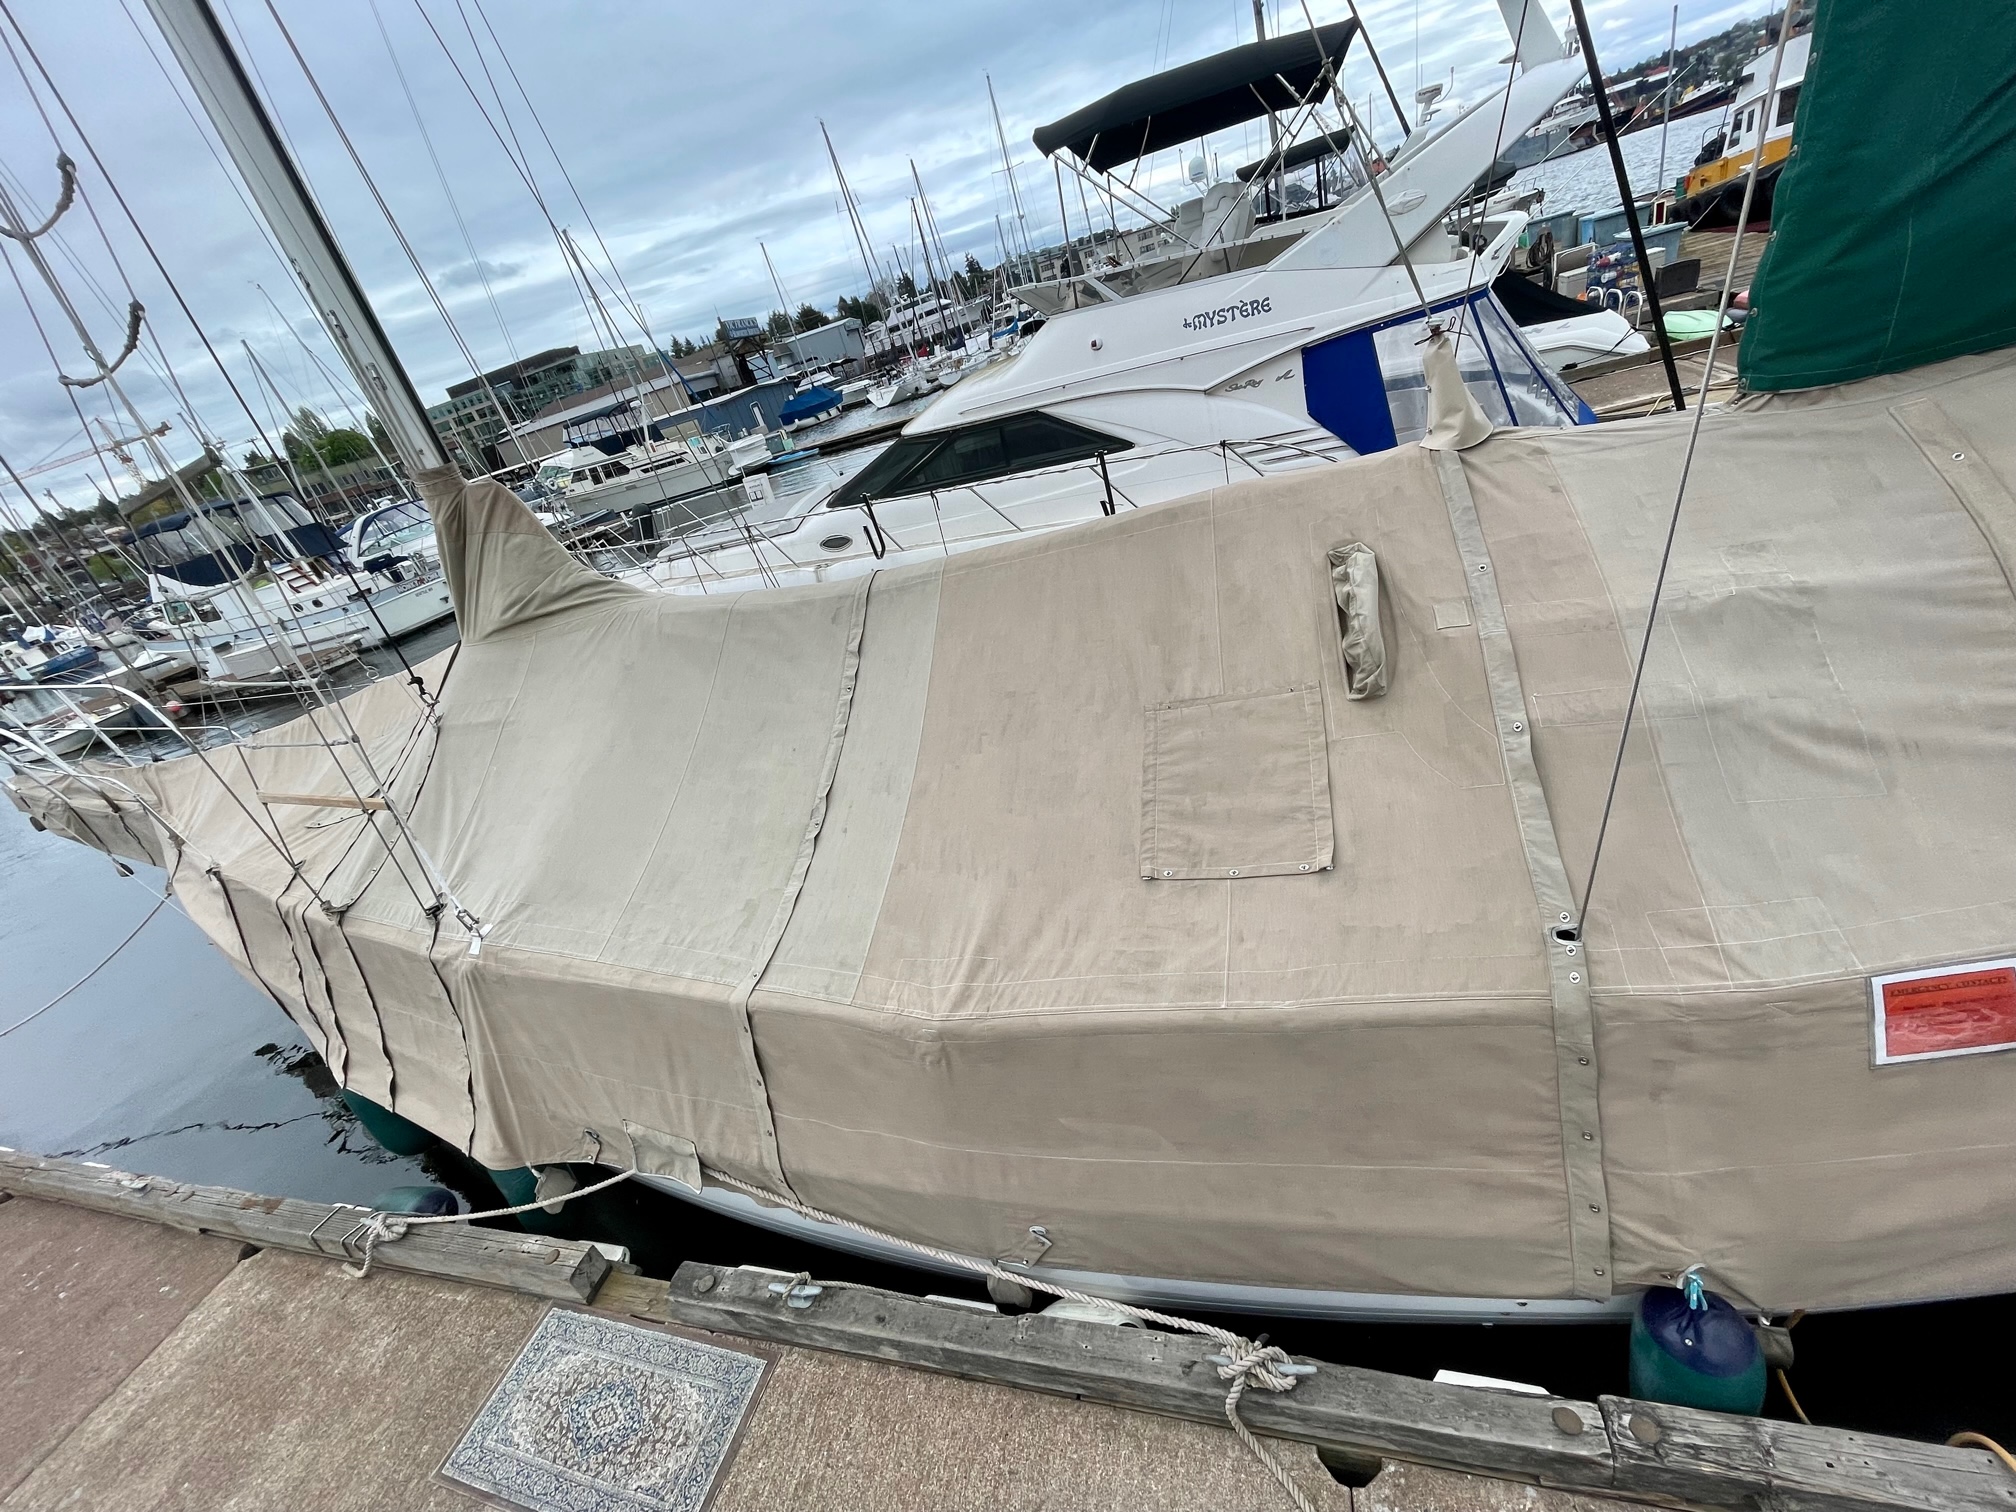
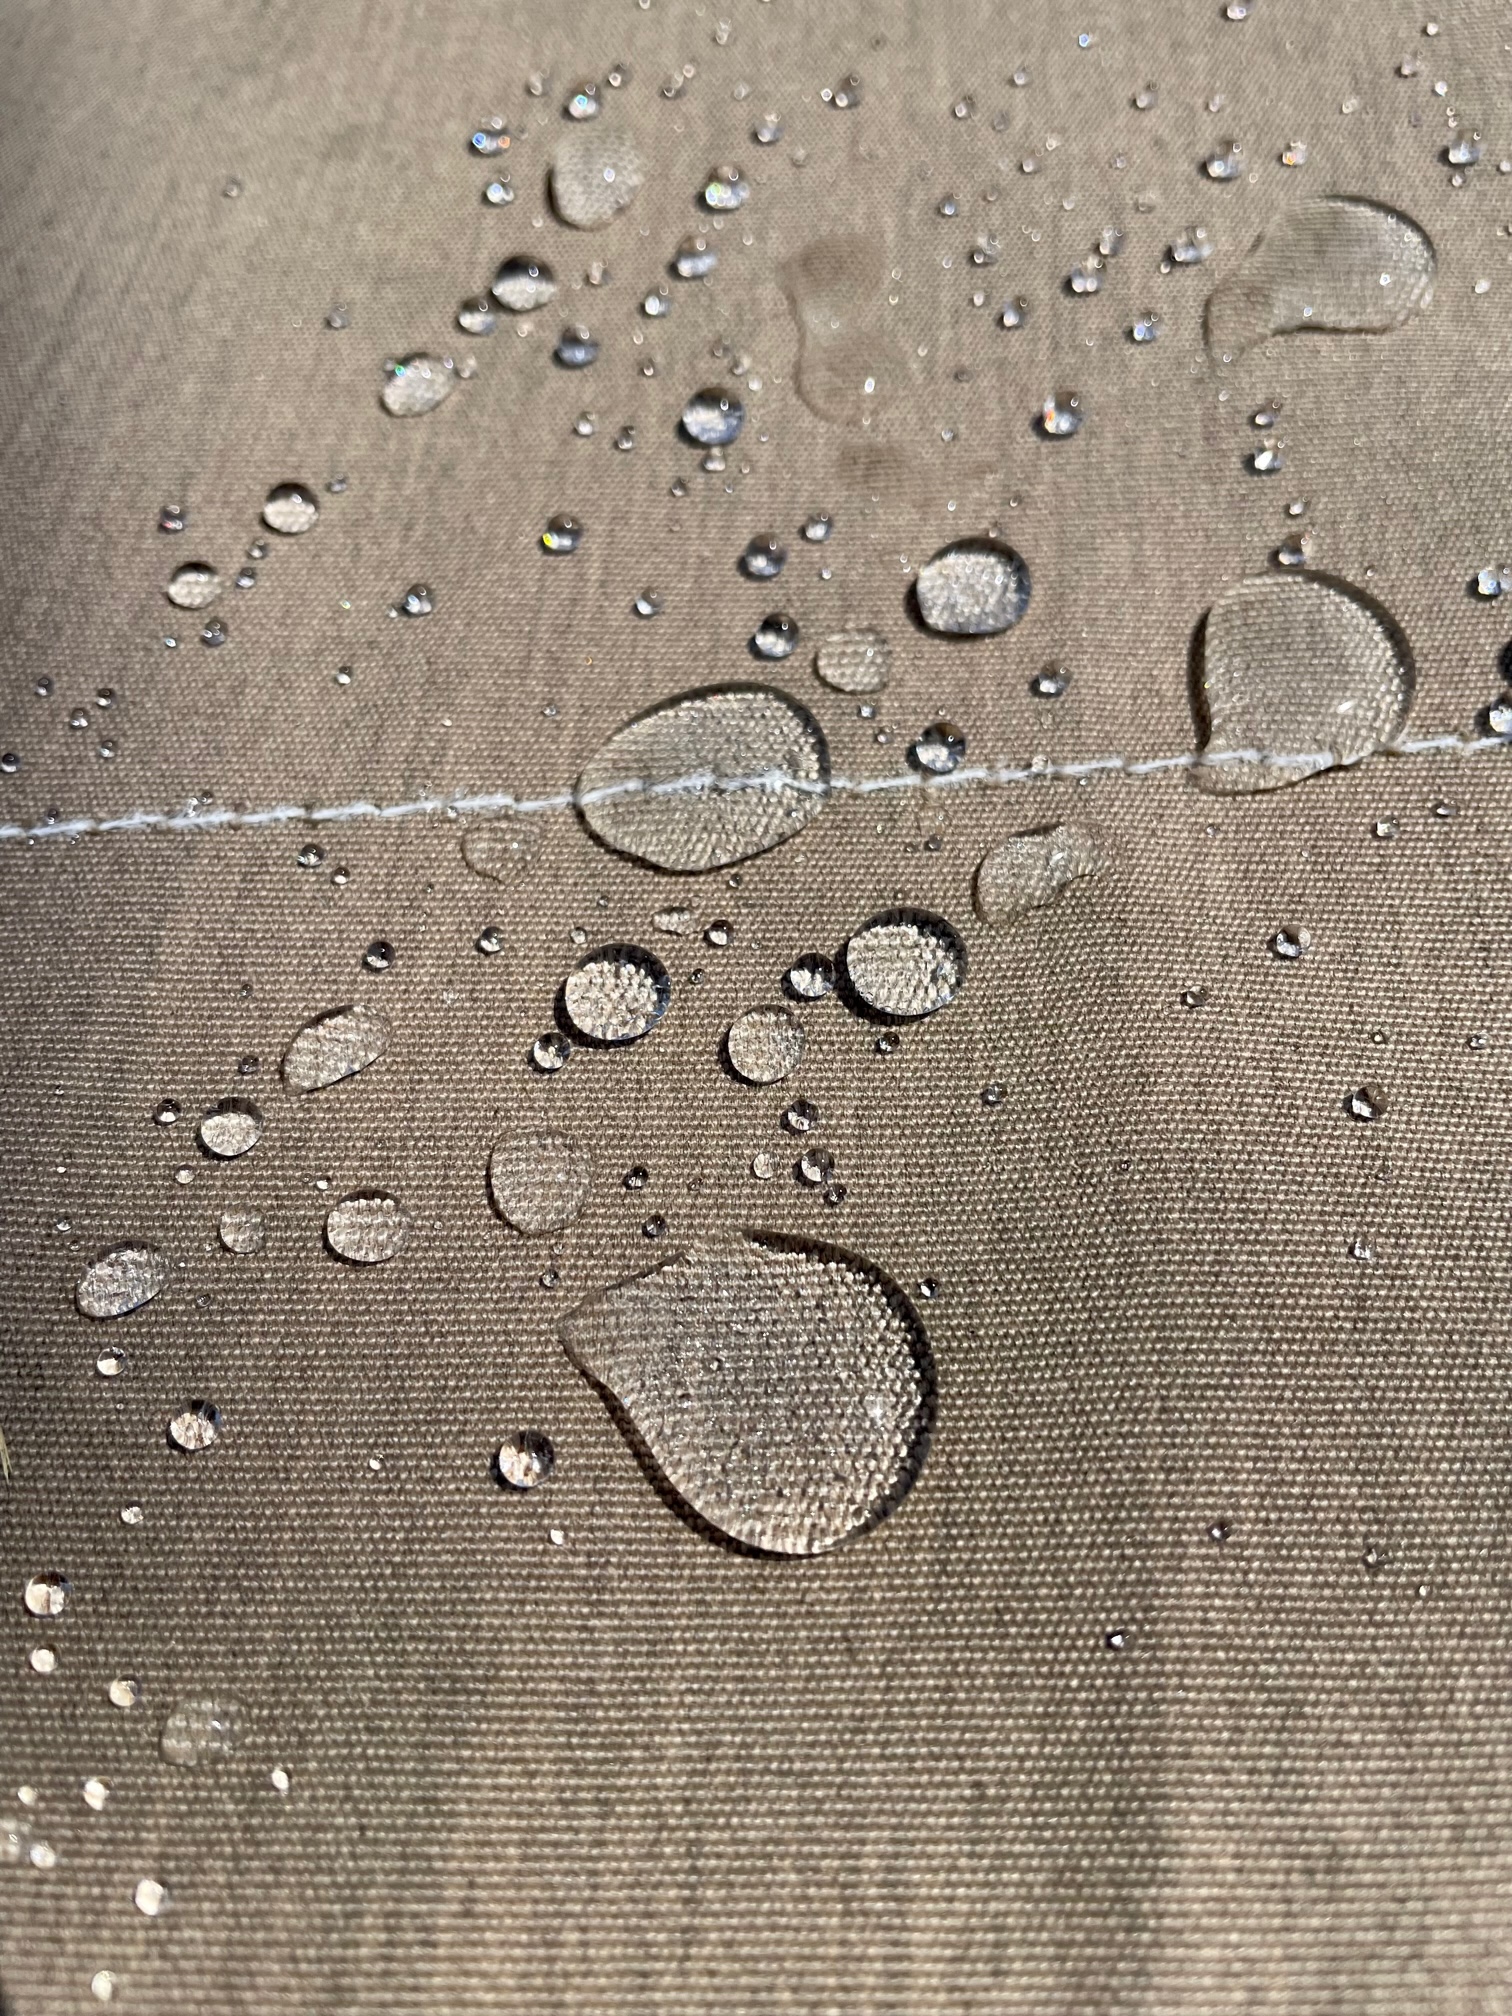
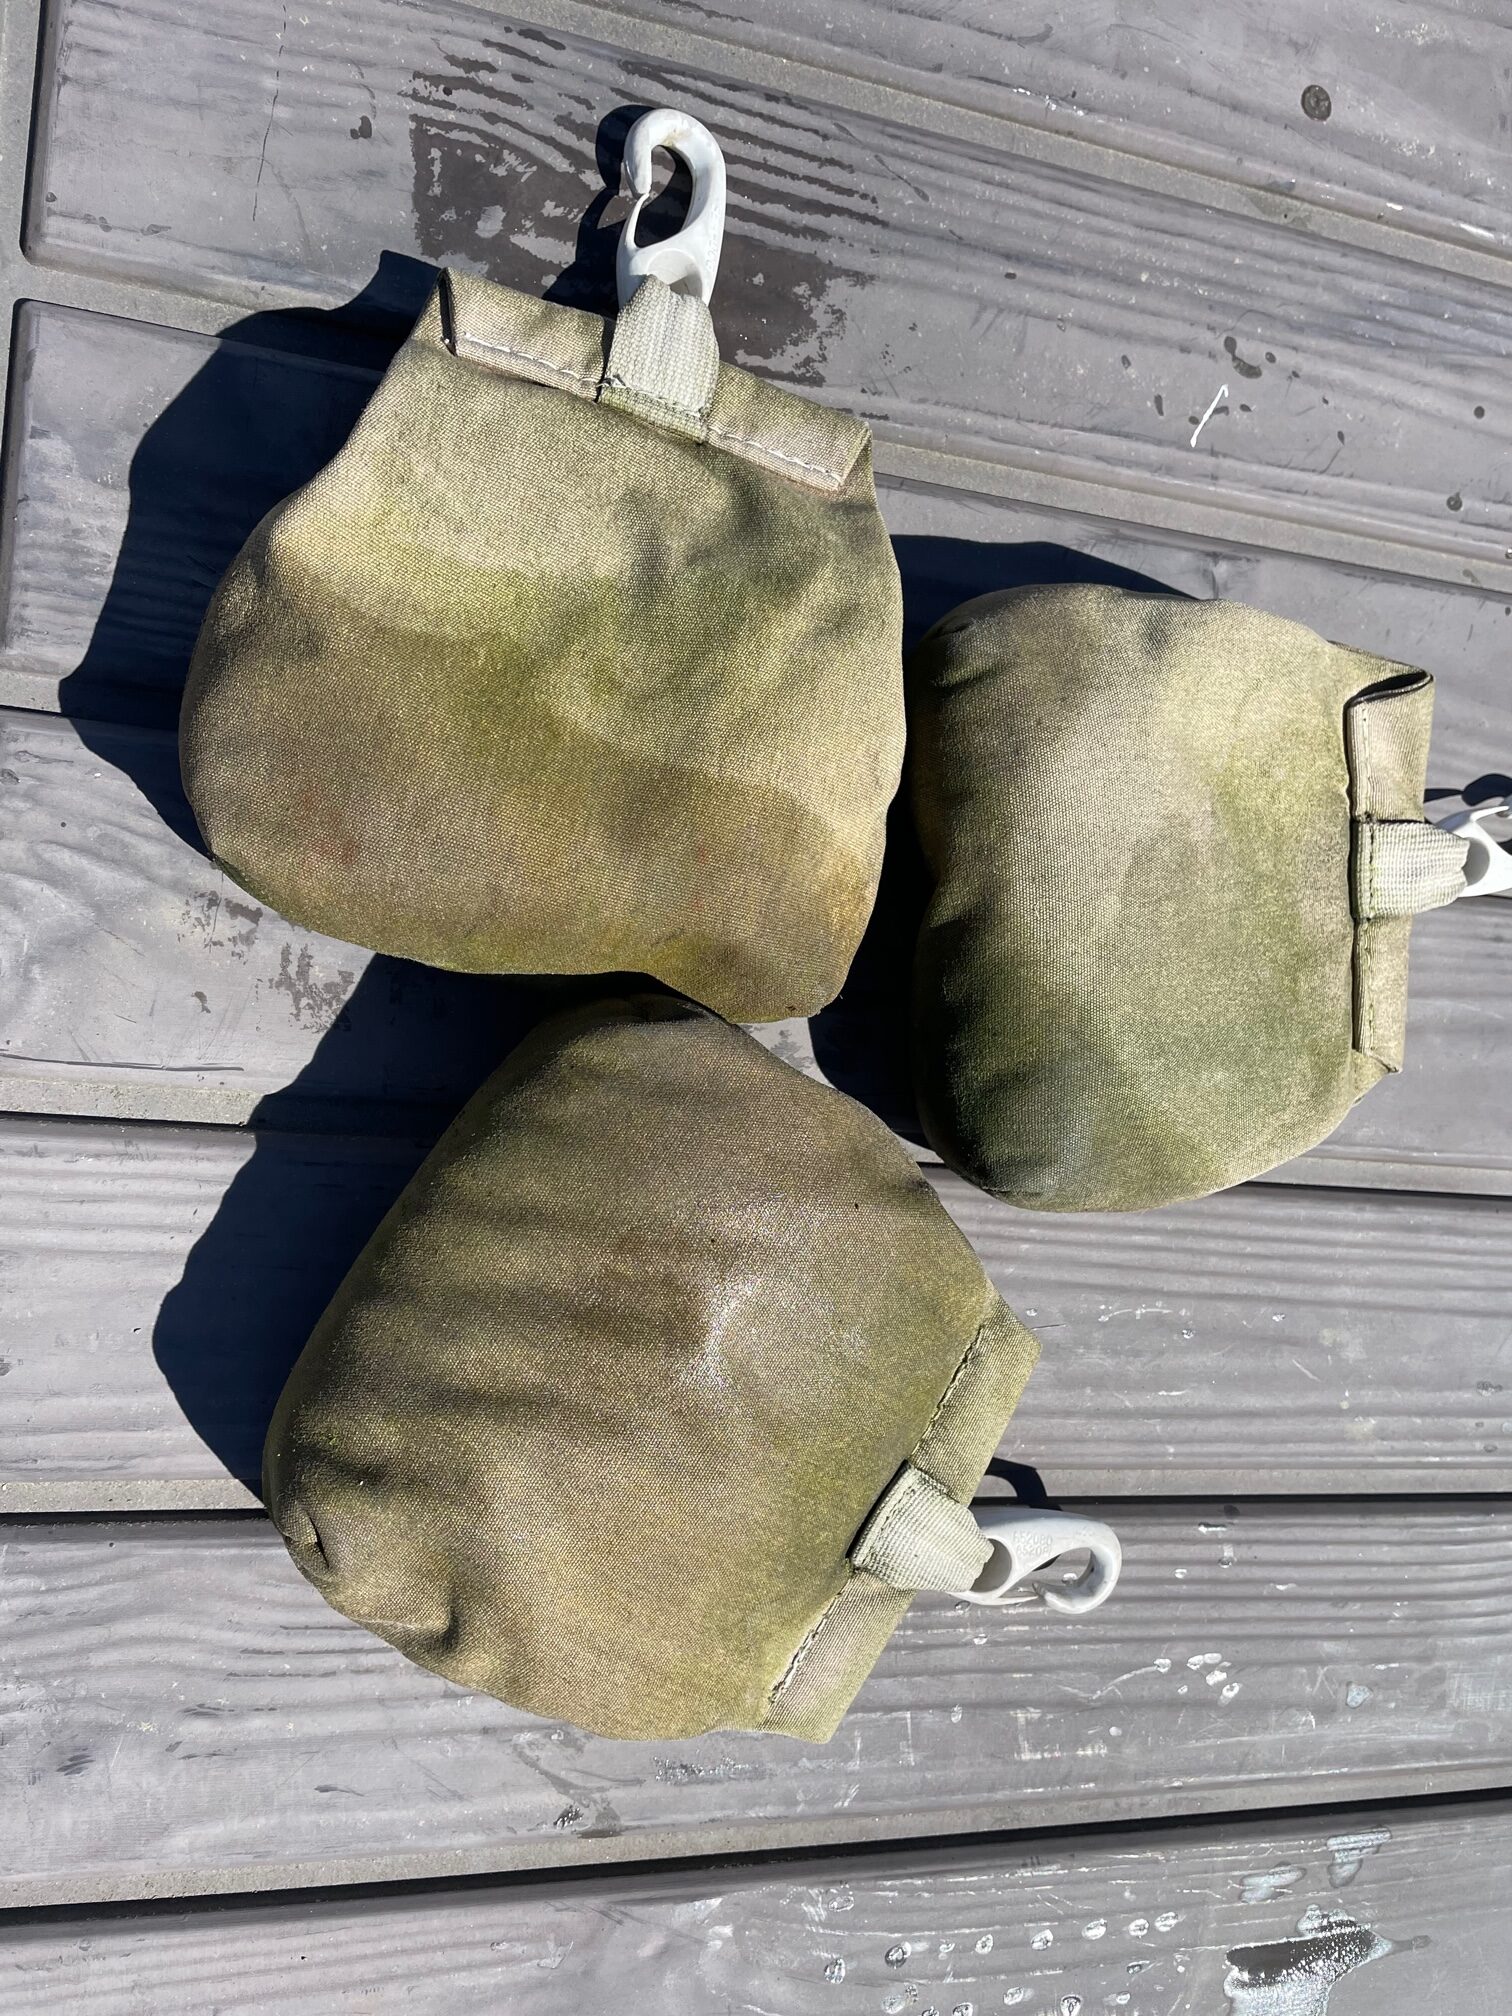
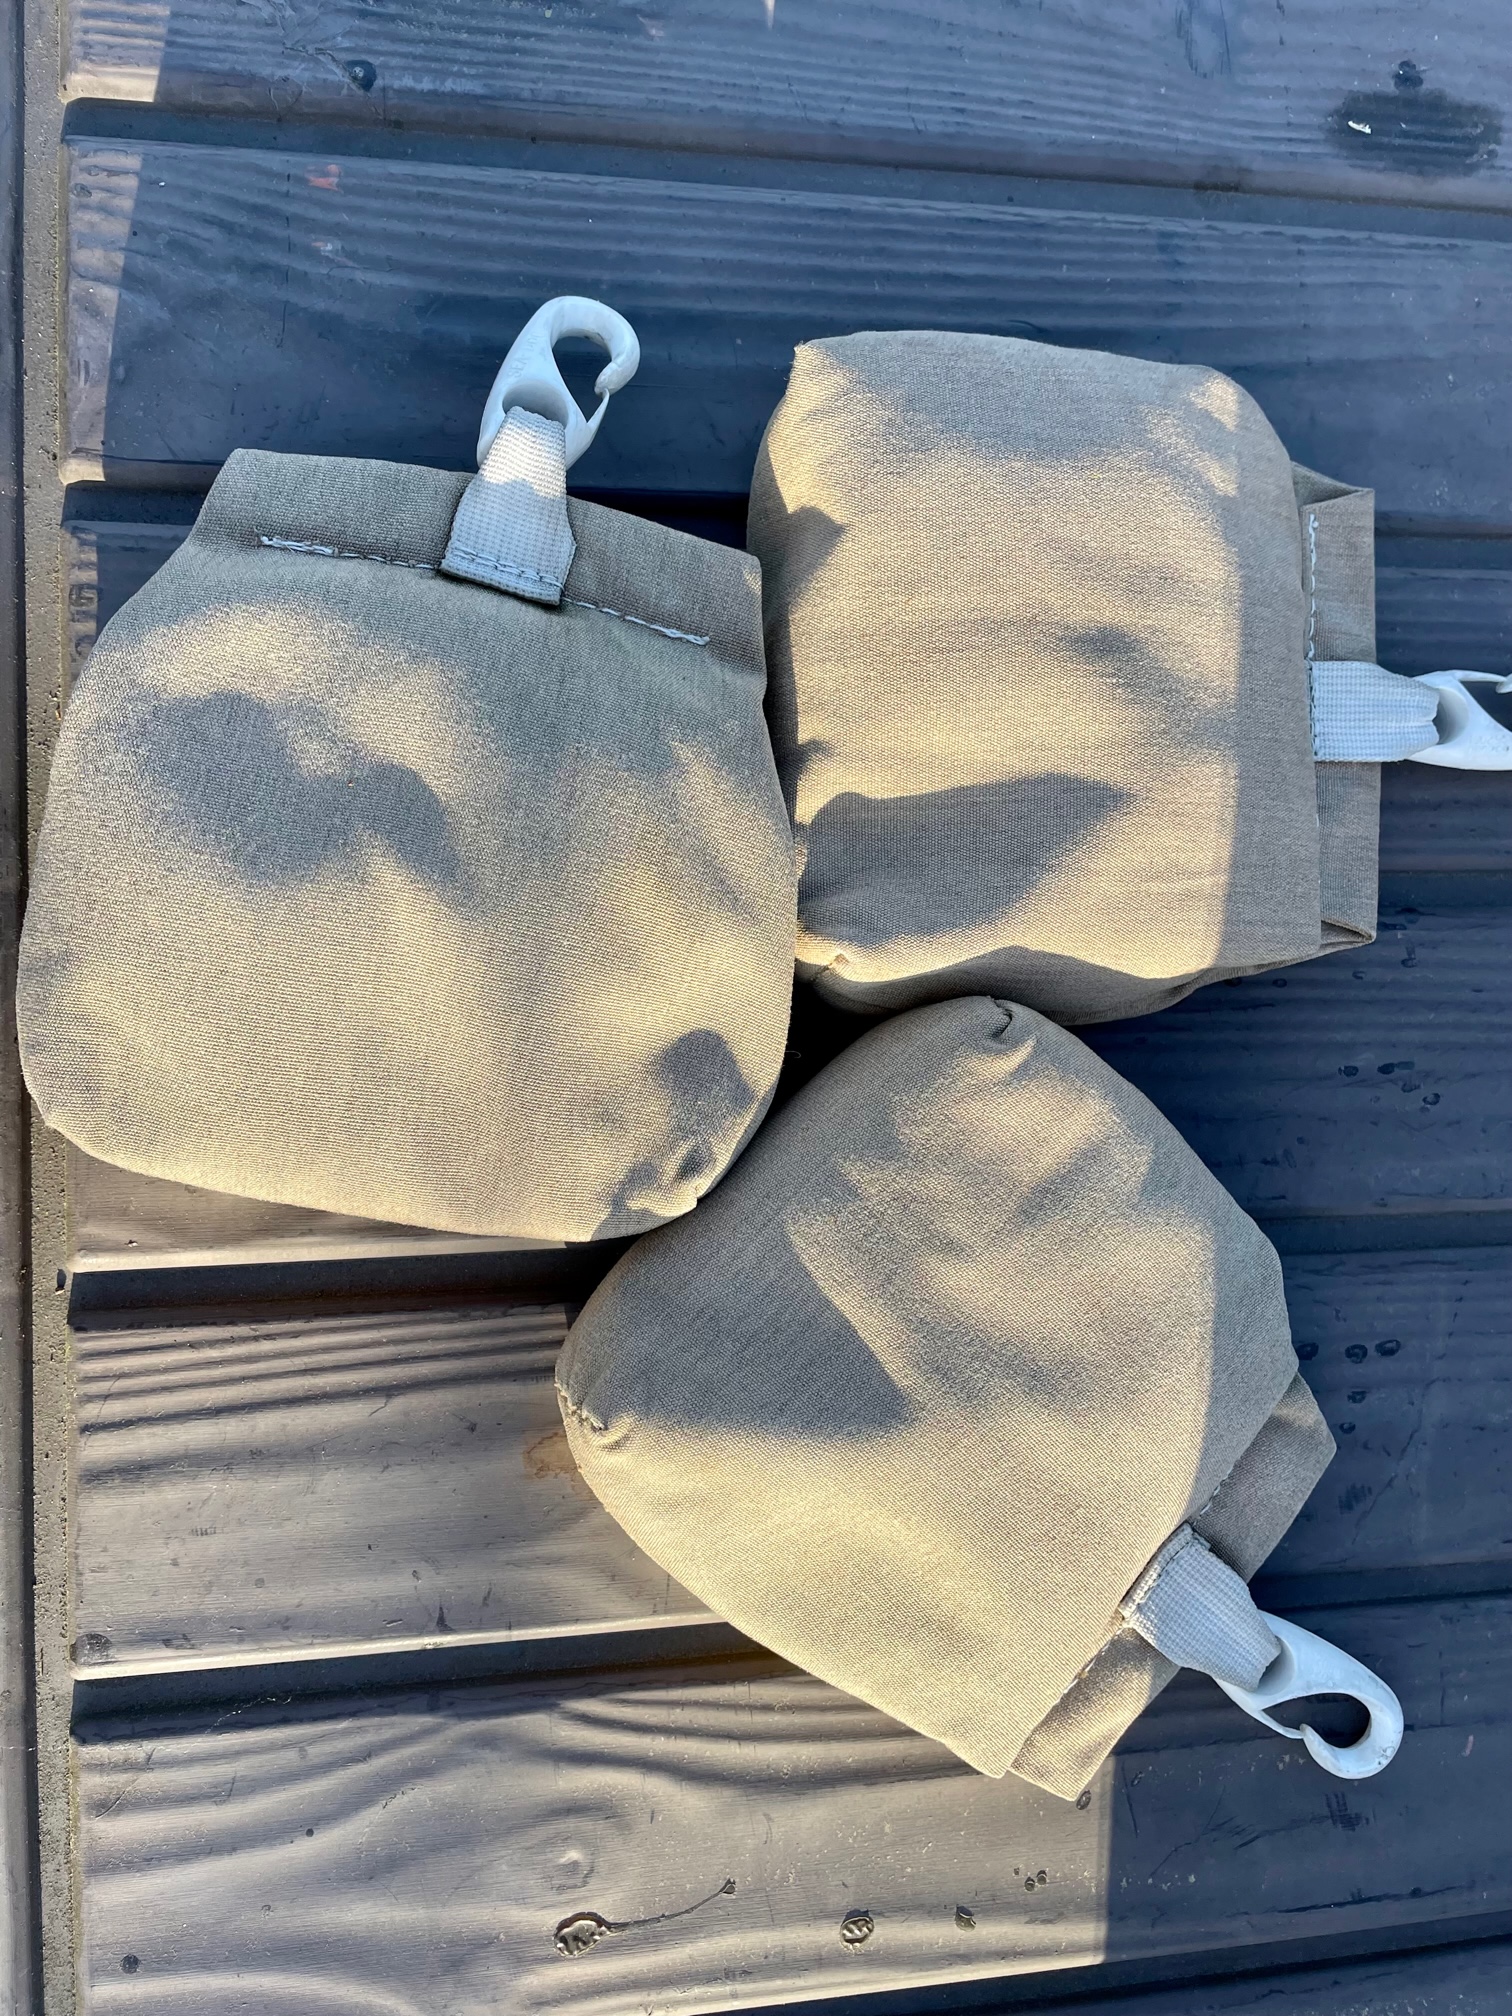
The boat cover has been used for 15 years worth of Seattle rainy winters. It goes on around November 1 and comes off by mid to late April. The cover was custom made using marine canvas (Sunbrella) with zippers and twist locks connecting 4 large sections. I usually rinse it with a hose, allow it to dry, and pack it inside 2 huge duffel bags, then store it in a garage until bringing it back out for the winter. Over the years it has accumulated quite a bit of dirt and mildew, so this year I decided to clean it well. I started with a hose and a canvas cleaning product, lightly scrubbing it with a soft brush and then rinsing. This did very little in the way of making it look any cleaner. So I decided to bring out pressure washer and that made a huge difference. It took a few hours of spraying at close range to remove most of the grime, but it came out looking almost new. After drying well, I applied 3 gallons of 303 Marine/Aerospace protectant using a garden sprayer. This gives it UV protection, and makes it water repellent and stain resistant. I also cleaned and treated the 18 canvas bags that hold sand used as weights that clip on along the bottom of the cover.
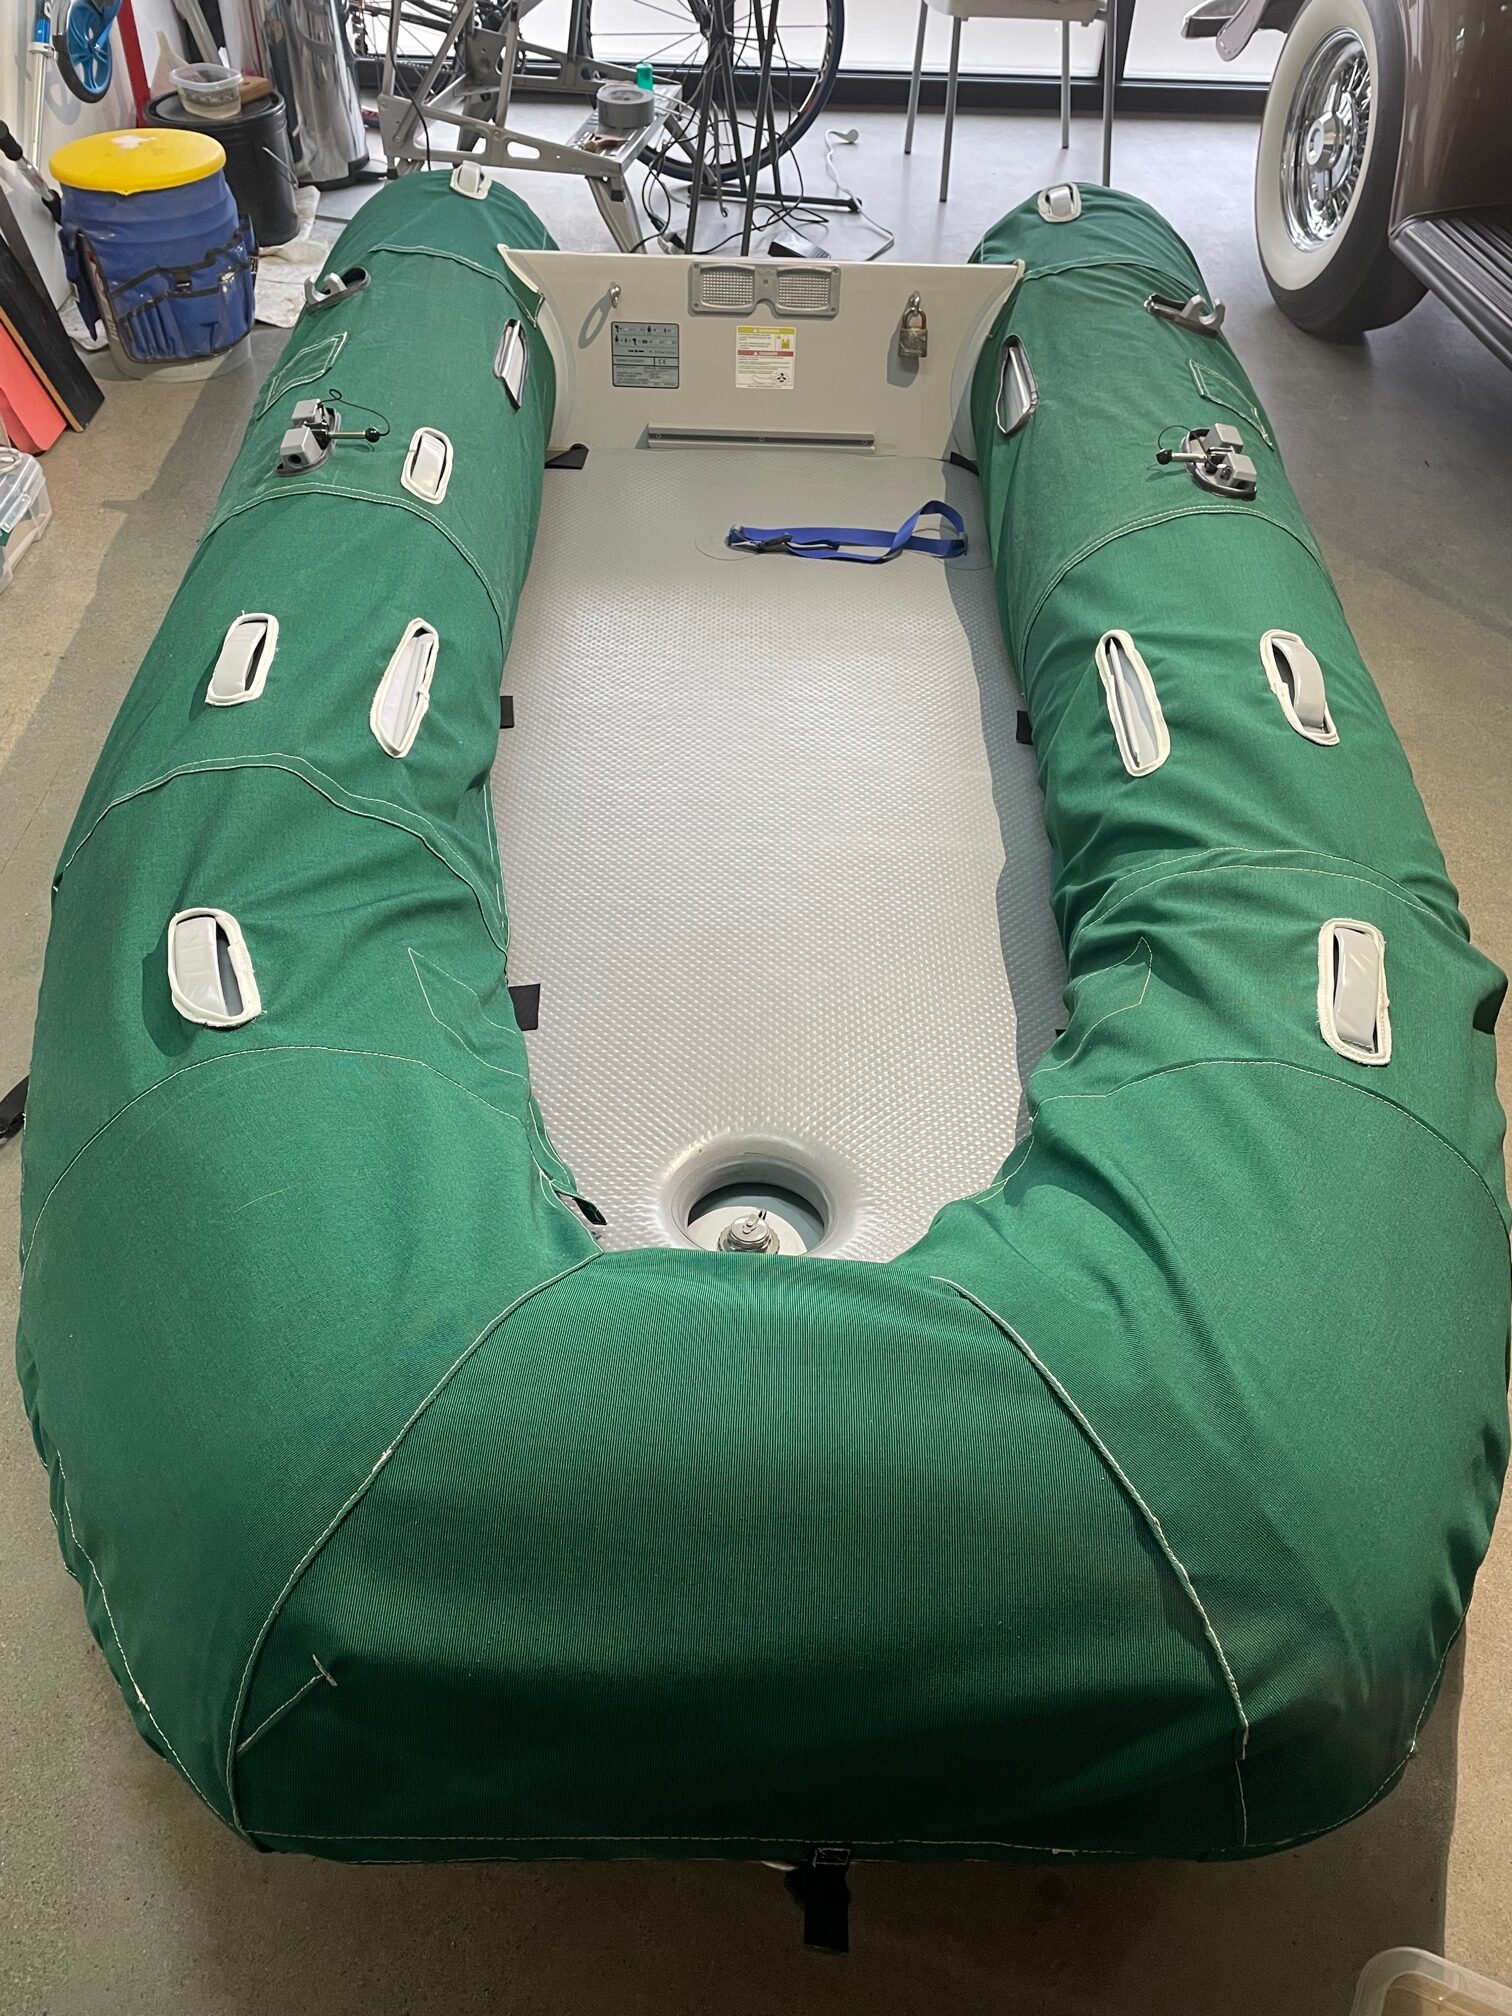
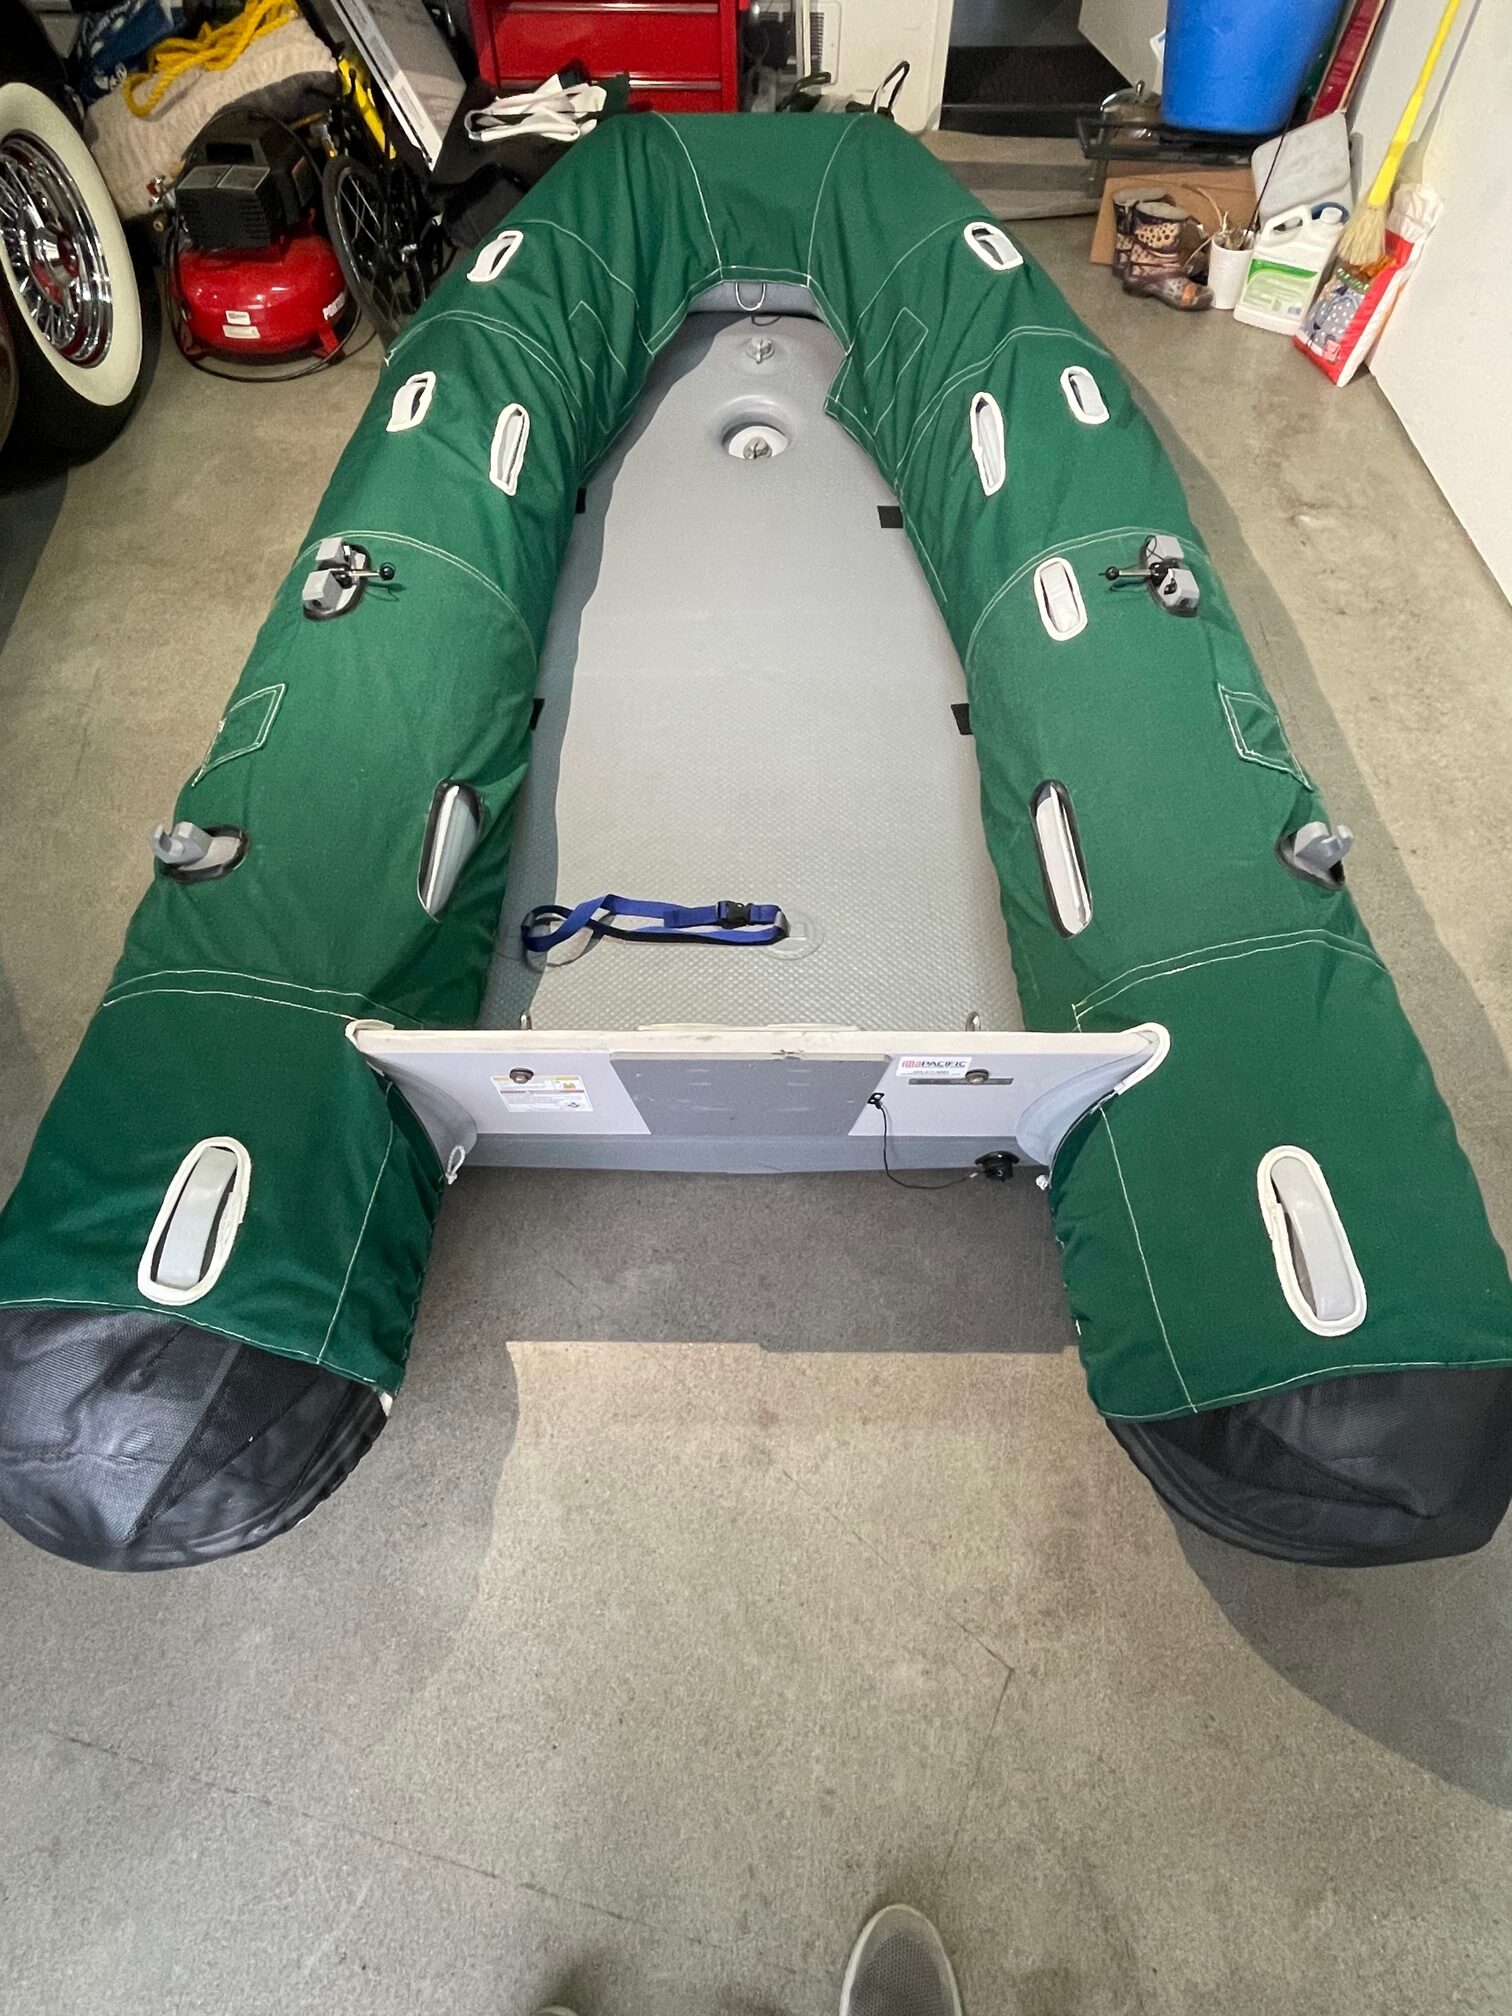
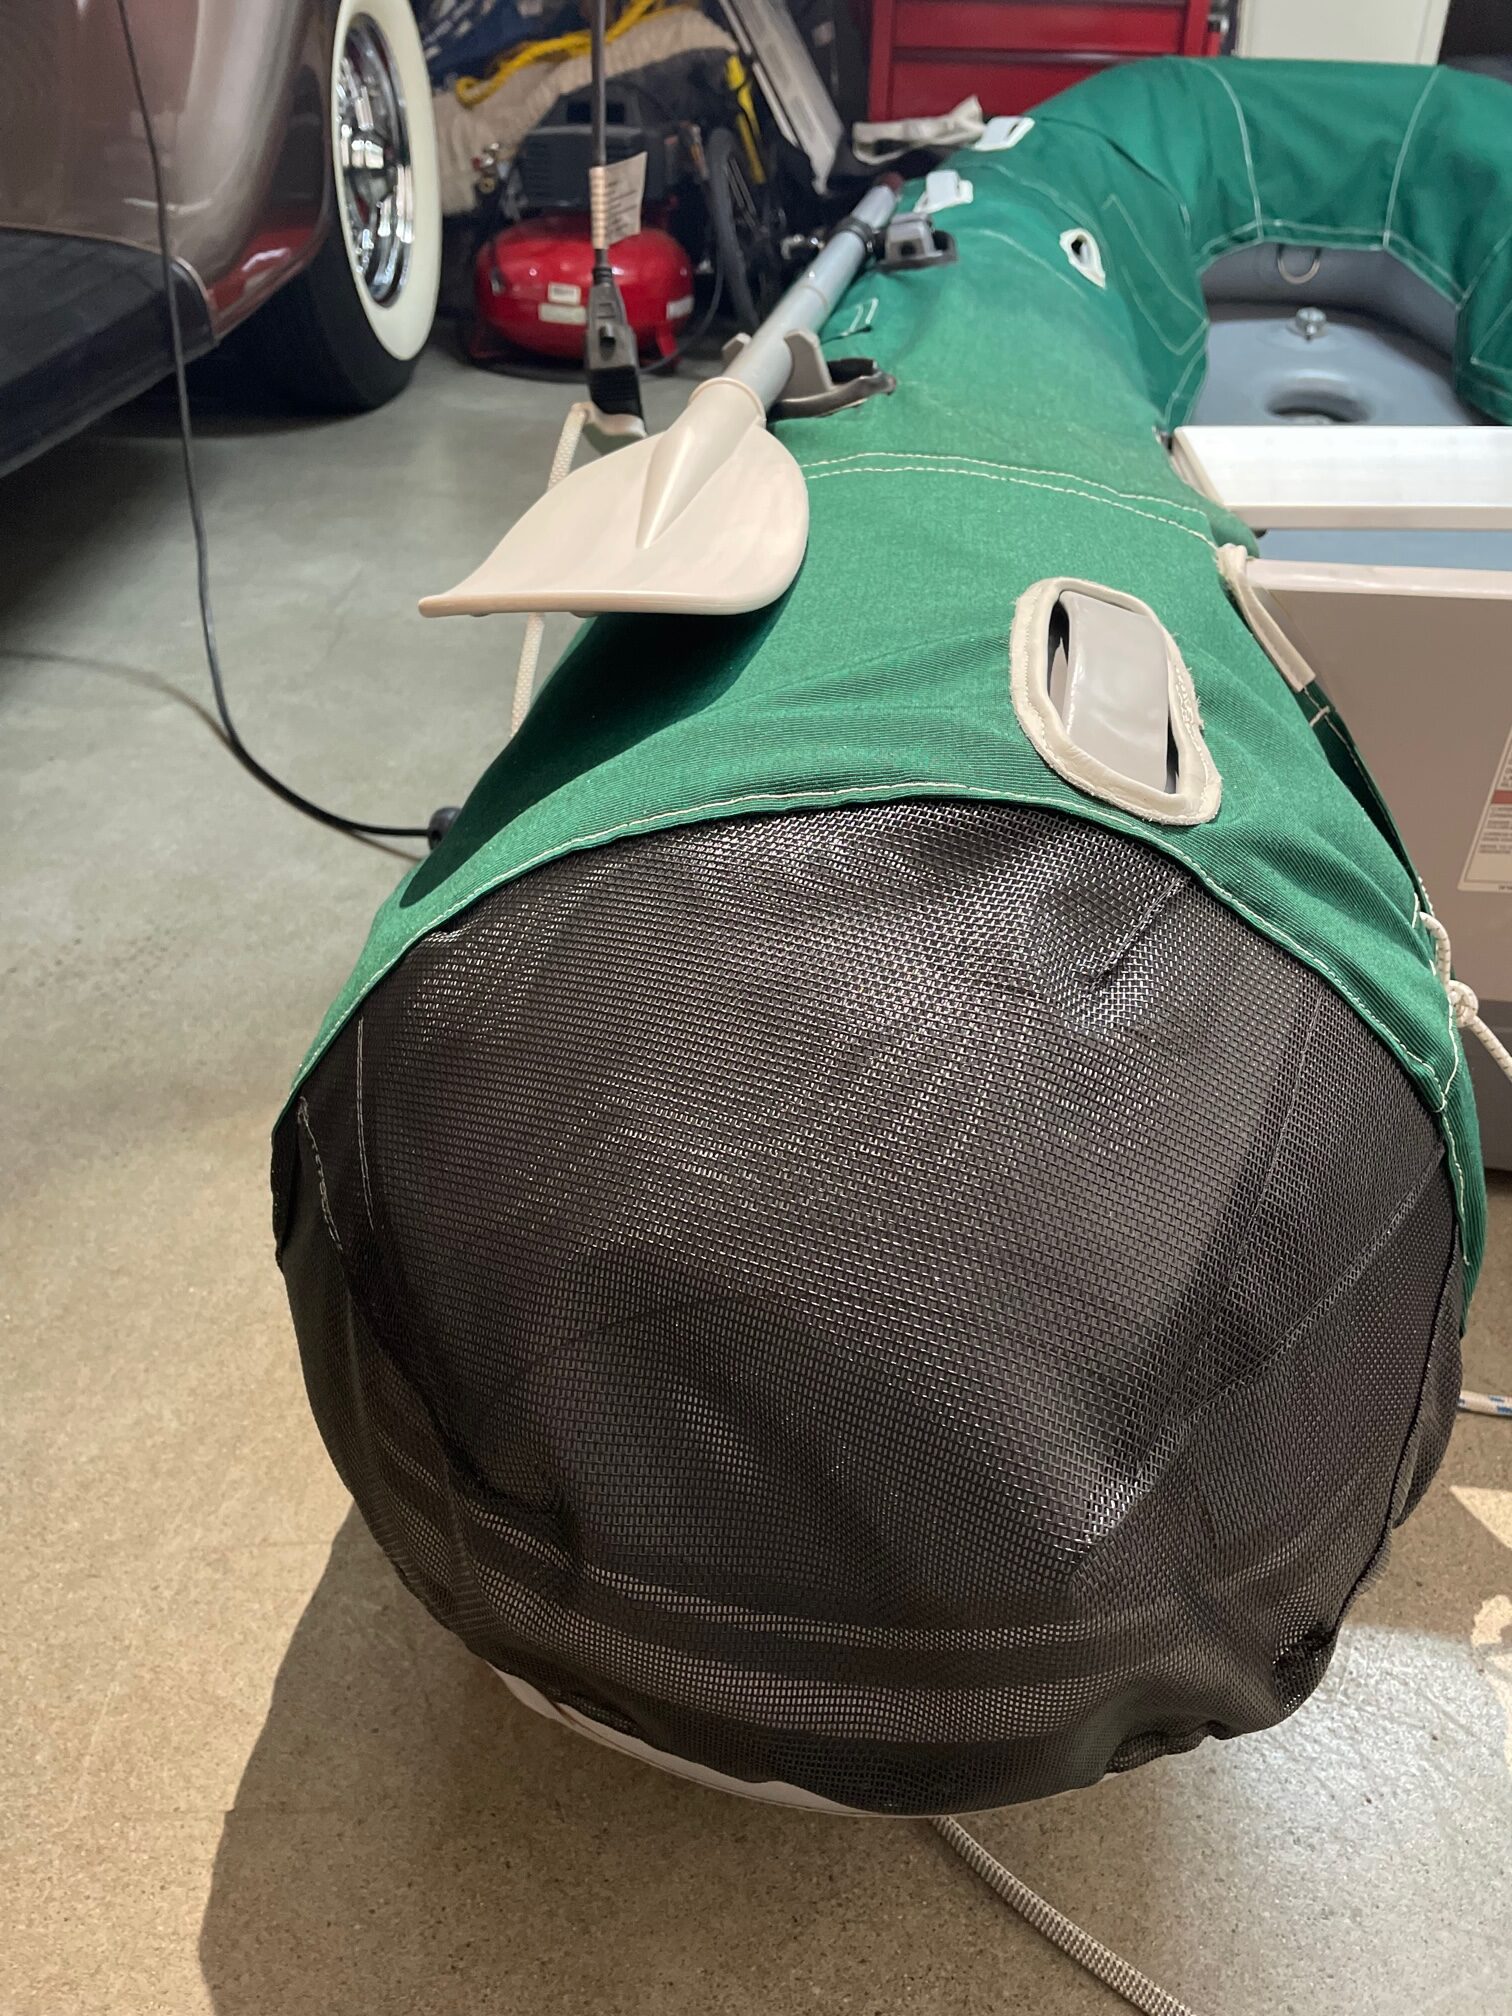
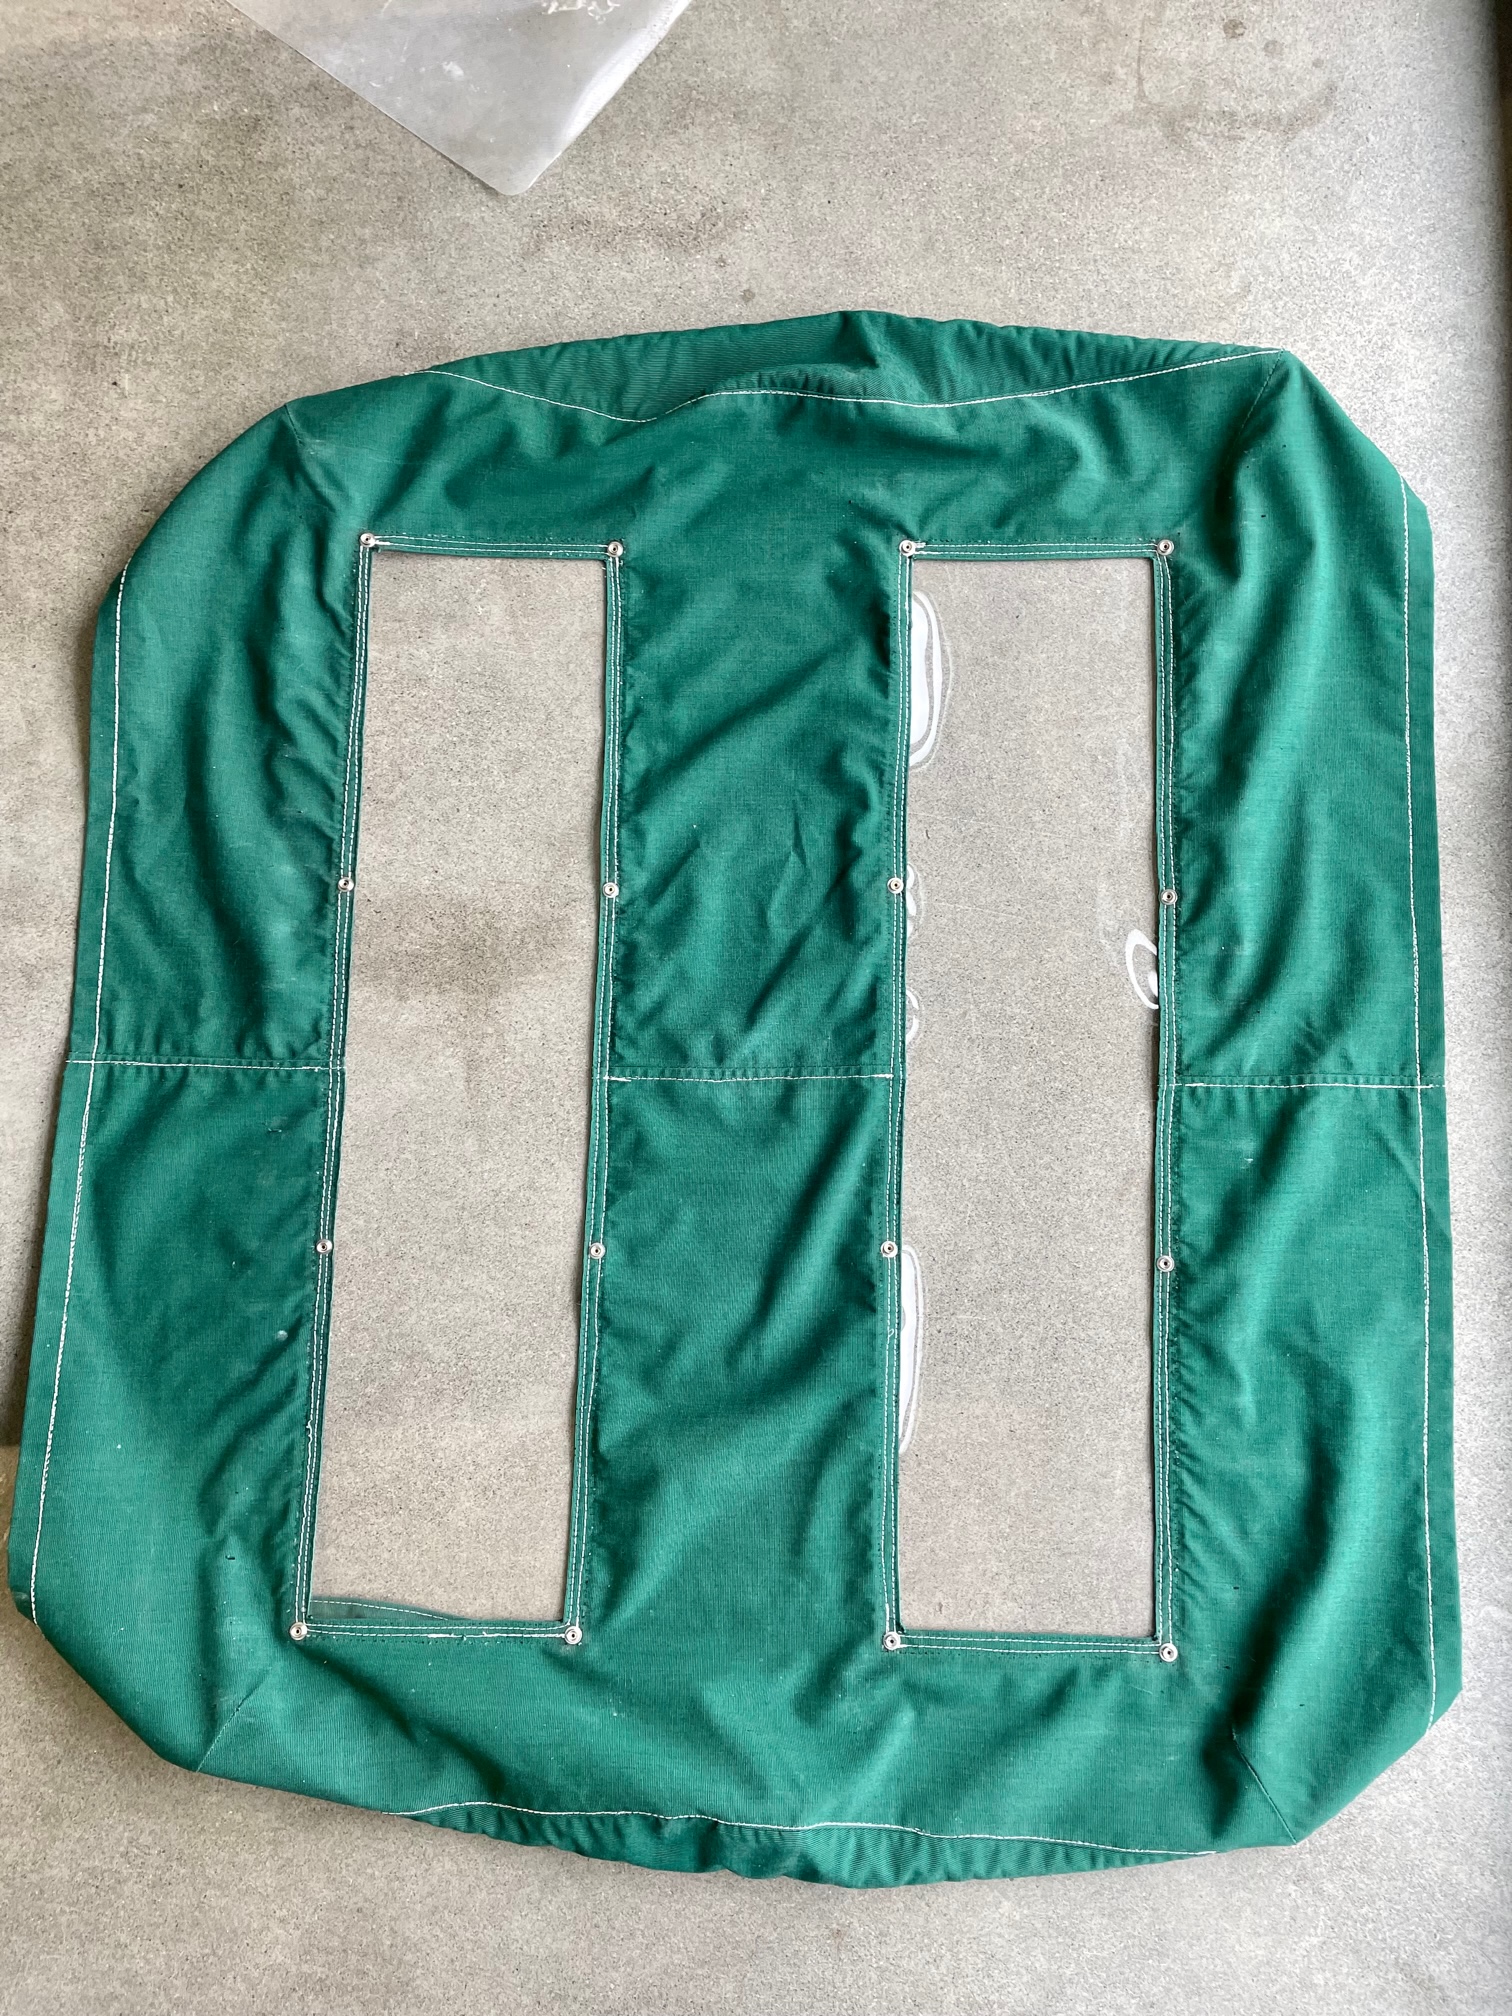
We had canvas dinghy chaps made when we were in Mexico to help protect the dinghy from UV exposure. It was custom made for the dinghy, so 9 years later when we got a new dinghy, it no longer fit. I tried modifying the chaps, but wound up replacing most of the Sunbrella canvas to get a better fit. It’s my biggest sewing project using a Sailrite machine and I got pretty good with it. I also re-stitched some of the other canvas covers for the boat, and replaced the vinyl in the butterfly hatch cover and the forward hatch cover since both were over 10 years old.
Handle Cutouts Lined With LeatherMesh Phifertex Butterfly Hatch Cover New Vinyl
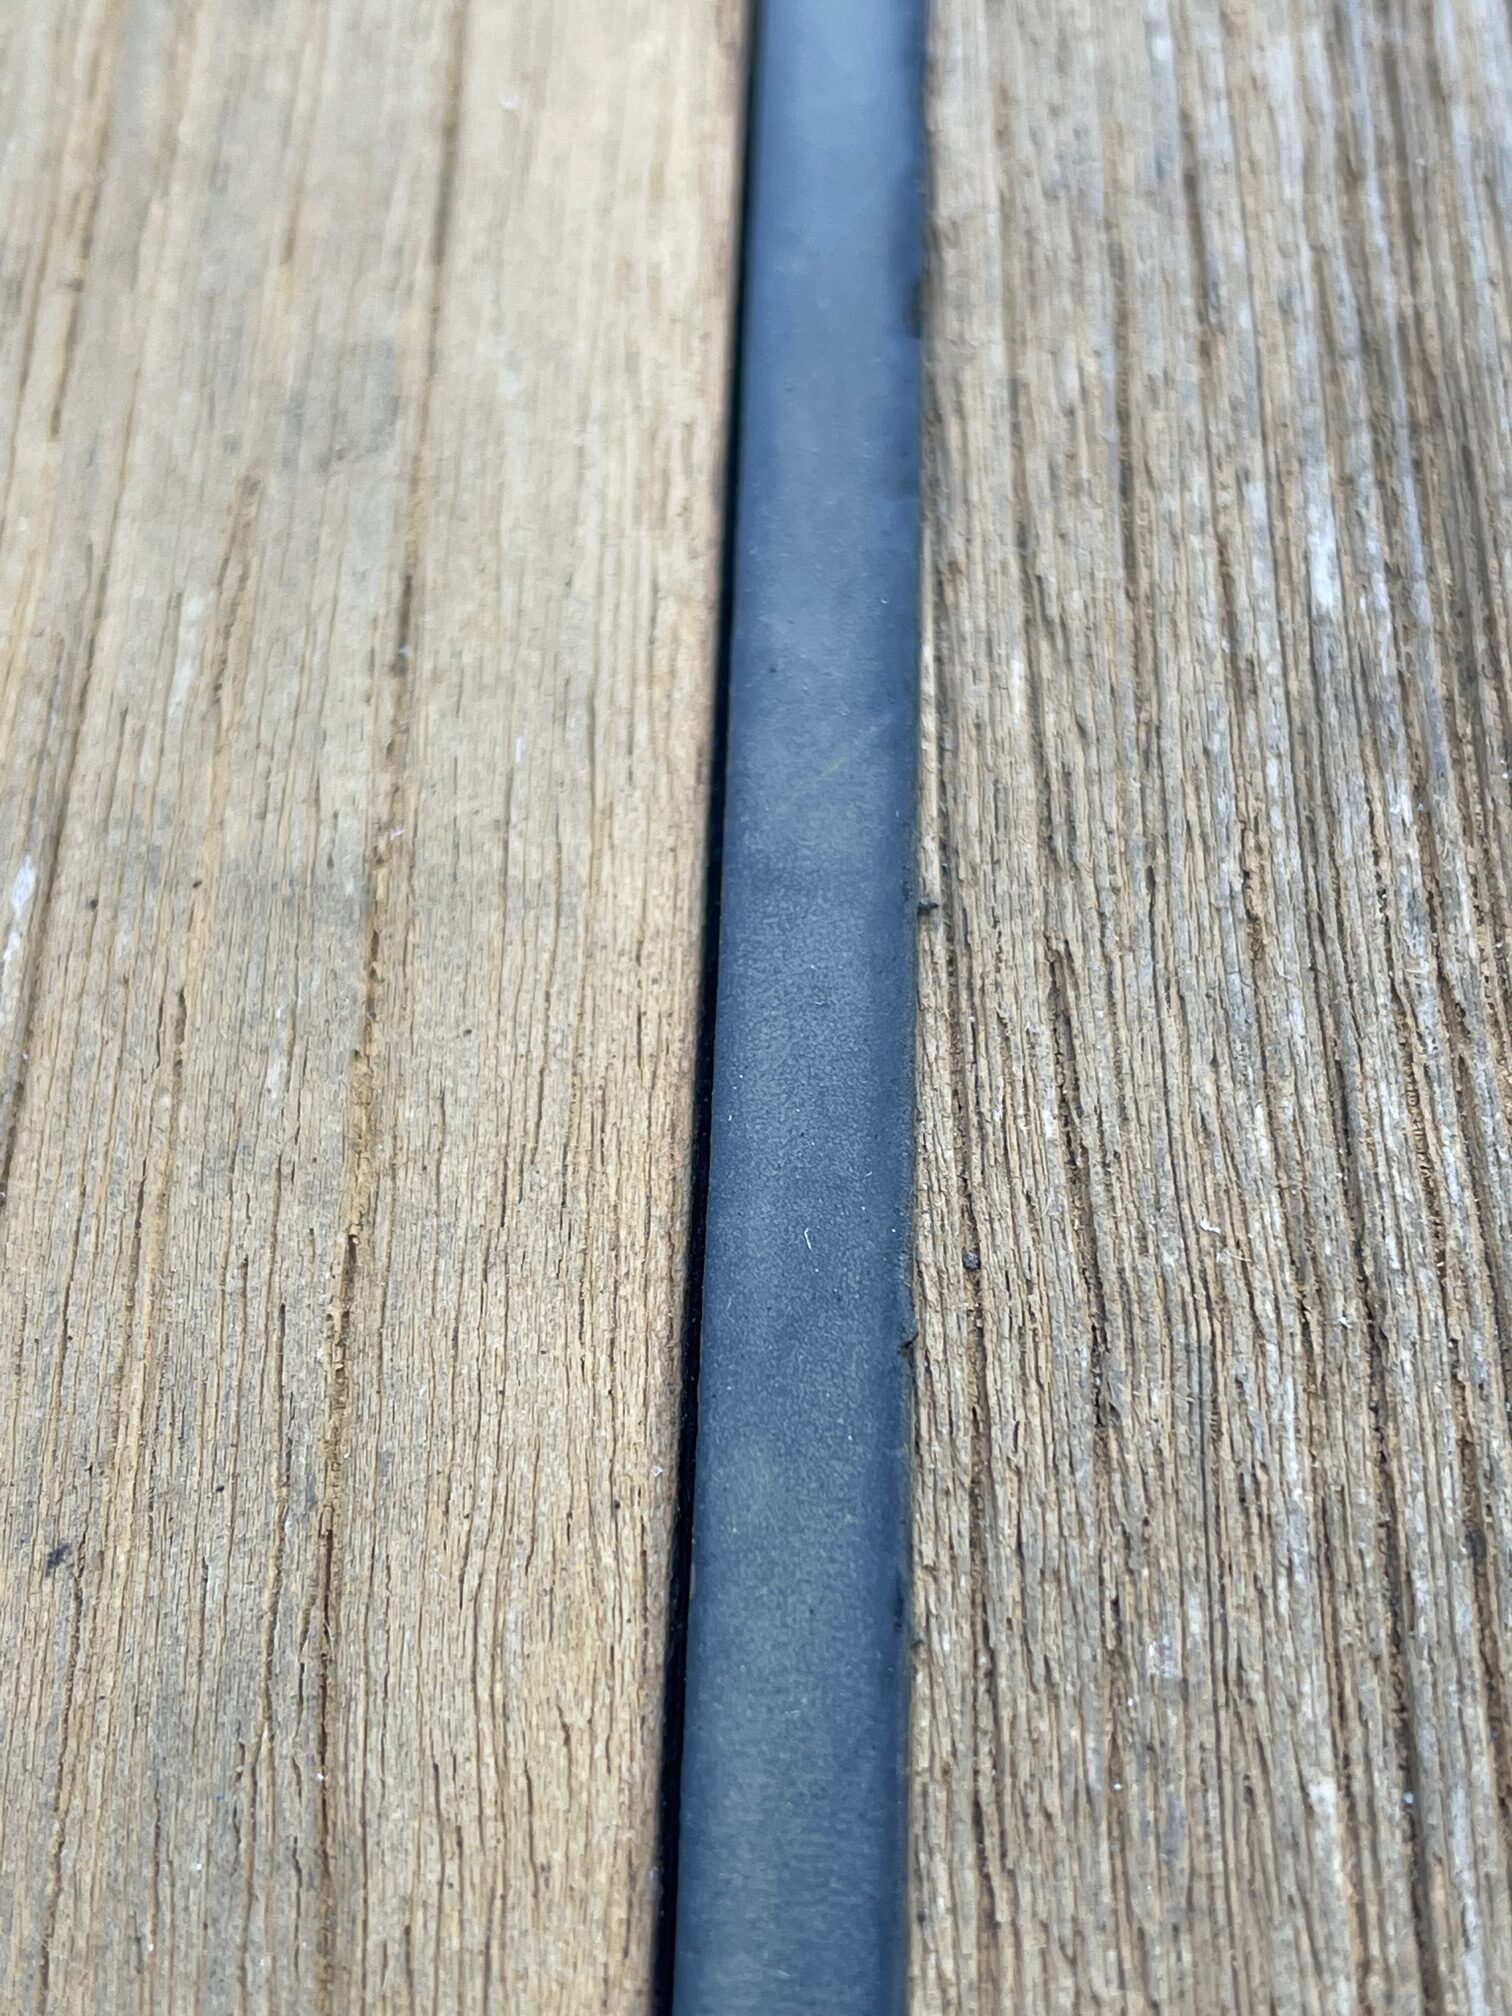
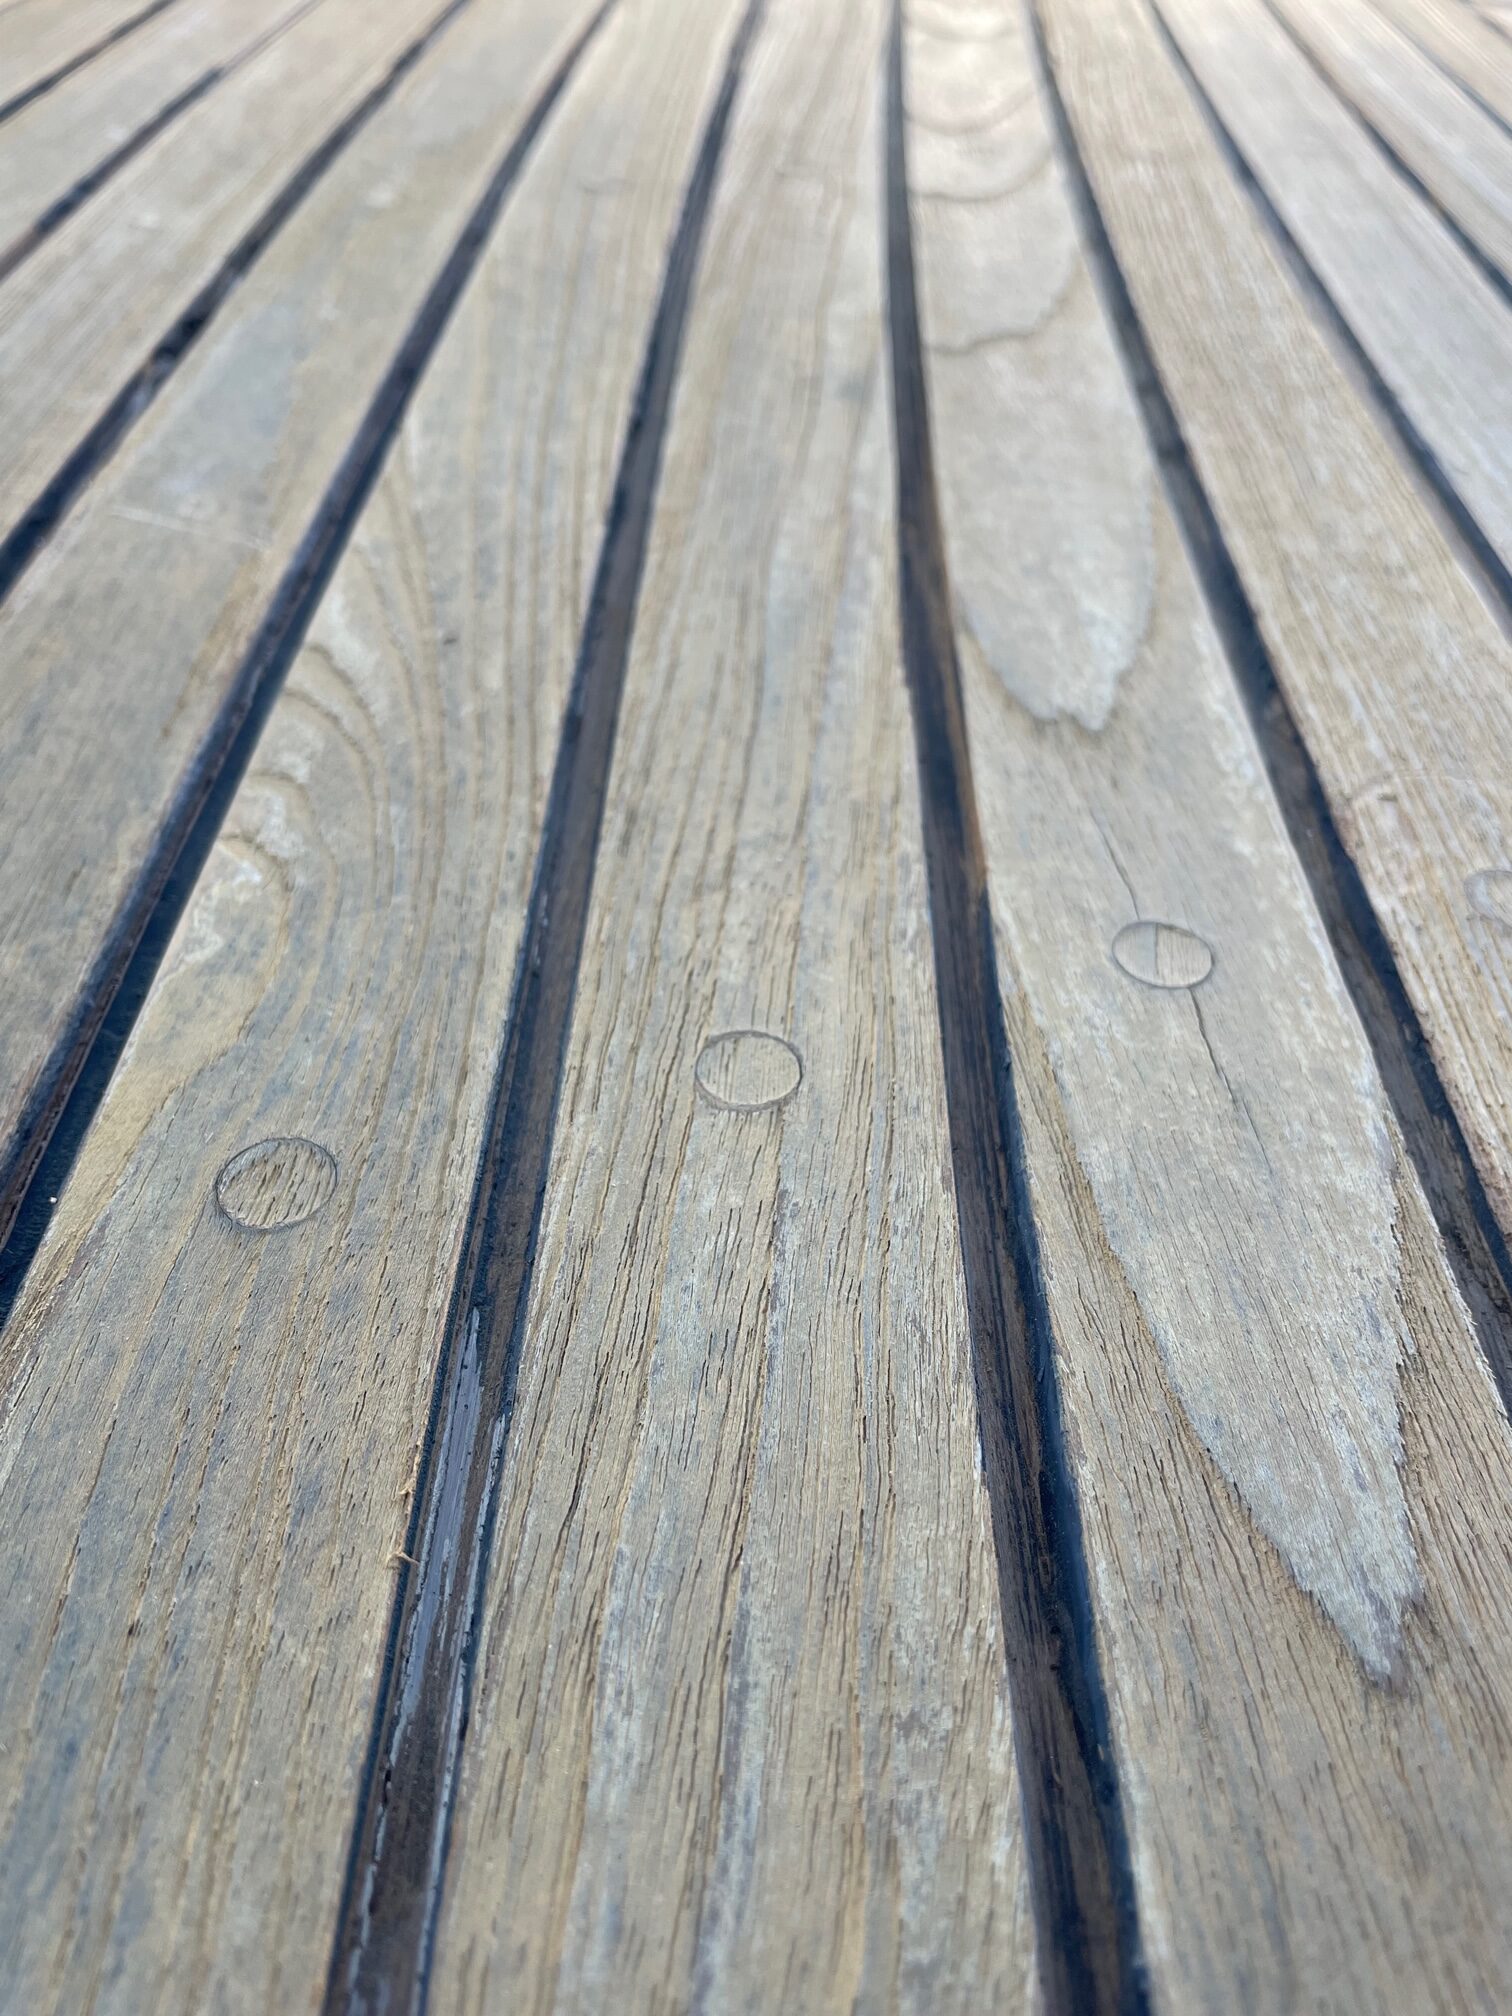
The teak decks on Apropos are 40 years old and still in pretty good shape. Much of the caulking is also in decent shape but there are places where it has separated from the teak. This allows water to sit between the teak and caulking. These areas can be seen when a wet deck is drying since they are the last to dry.
Gap between caulking and teak
The fore-deck teak had a lot of these caulking gaps so I decided to start there. Using a utility knife to score both sides of the caulk, and a Teakdecking Systems Reefing Hook, I removed all the old caulking. Next I sanded the U-shaped channels, vacuumed, and cleaned with Acetone.
Caulking removed and channels cleaned
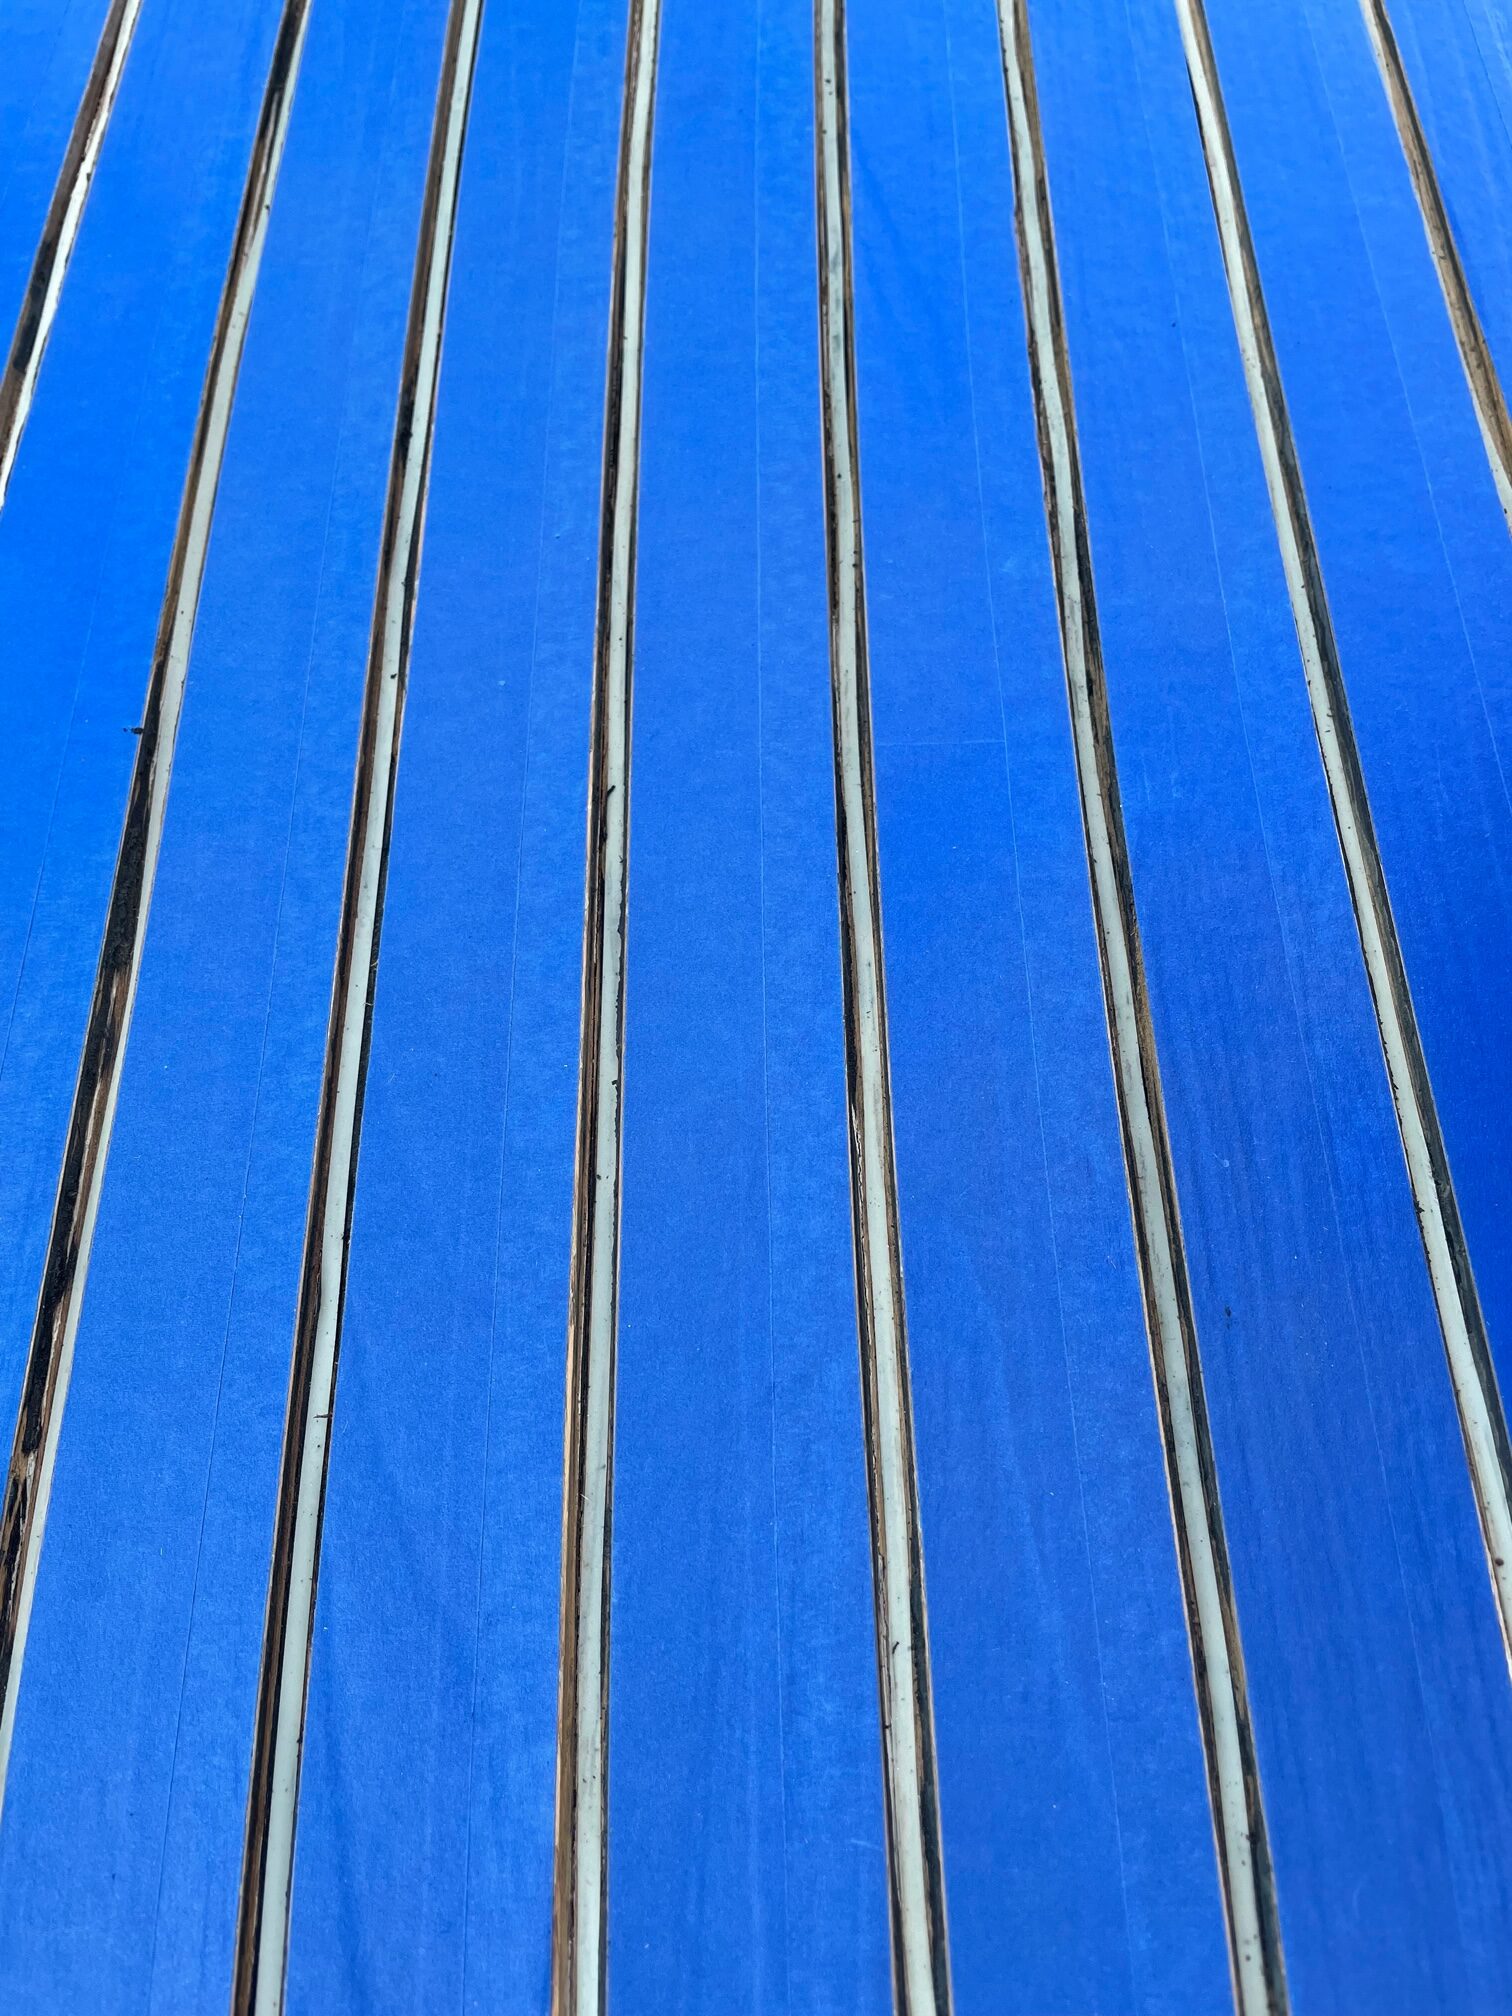
Next was the tedious job of taping the teak. I used Scotch brand blue painters tape. This method requires much less sanding which is important with 40 year old decks. I used 3/16″ fine-line tape to line the bottom of the channels, as recommended by Teakdecking Systems. This prevents the caulking from bonding to the bottom of the channel and allows it to expand and contract with the constant movement of the boat deck.
Taped Decking
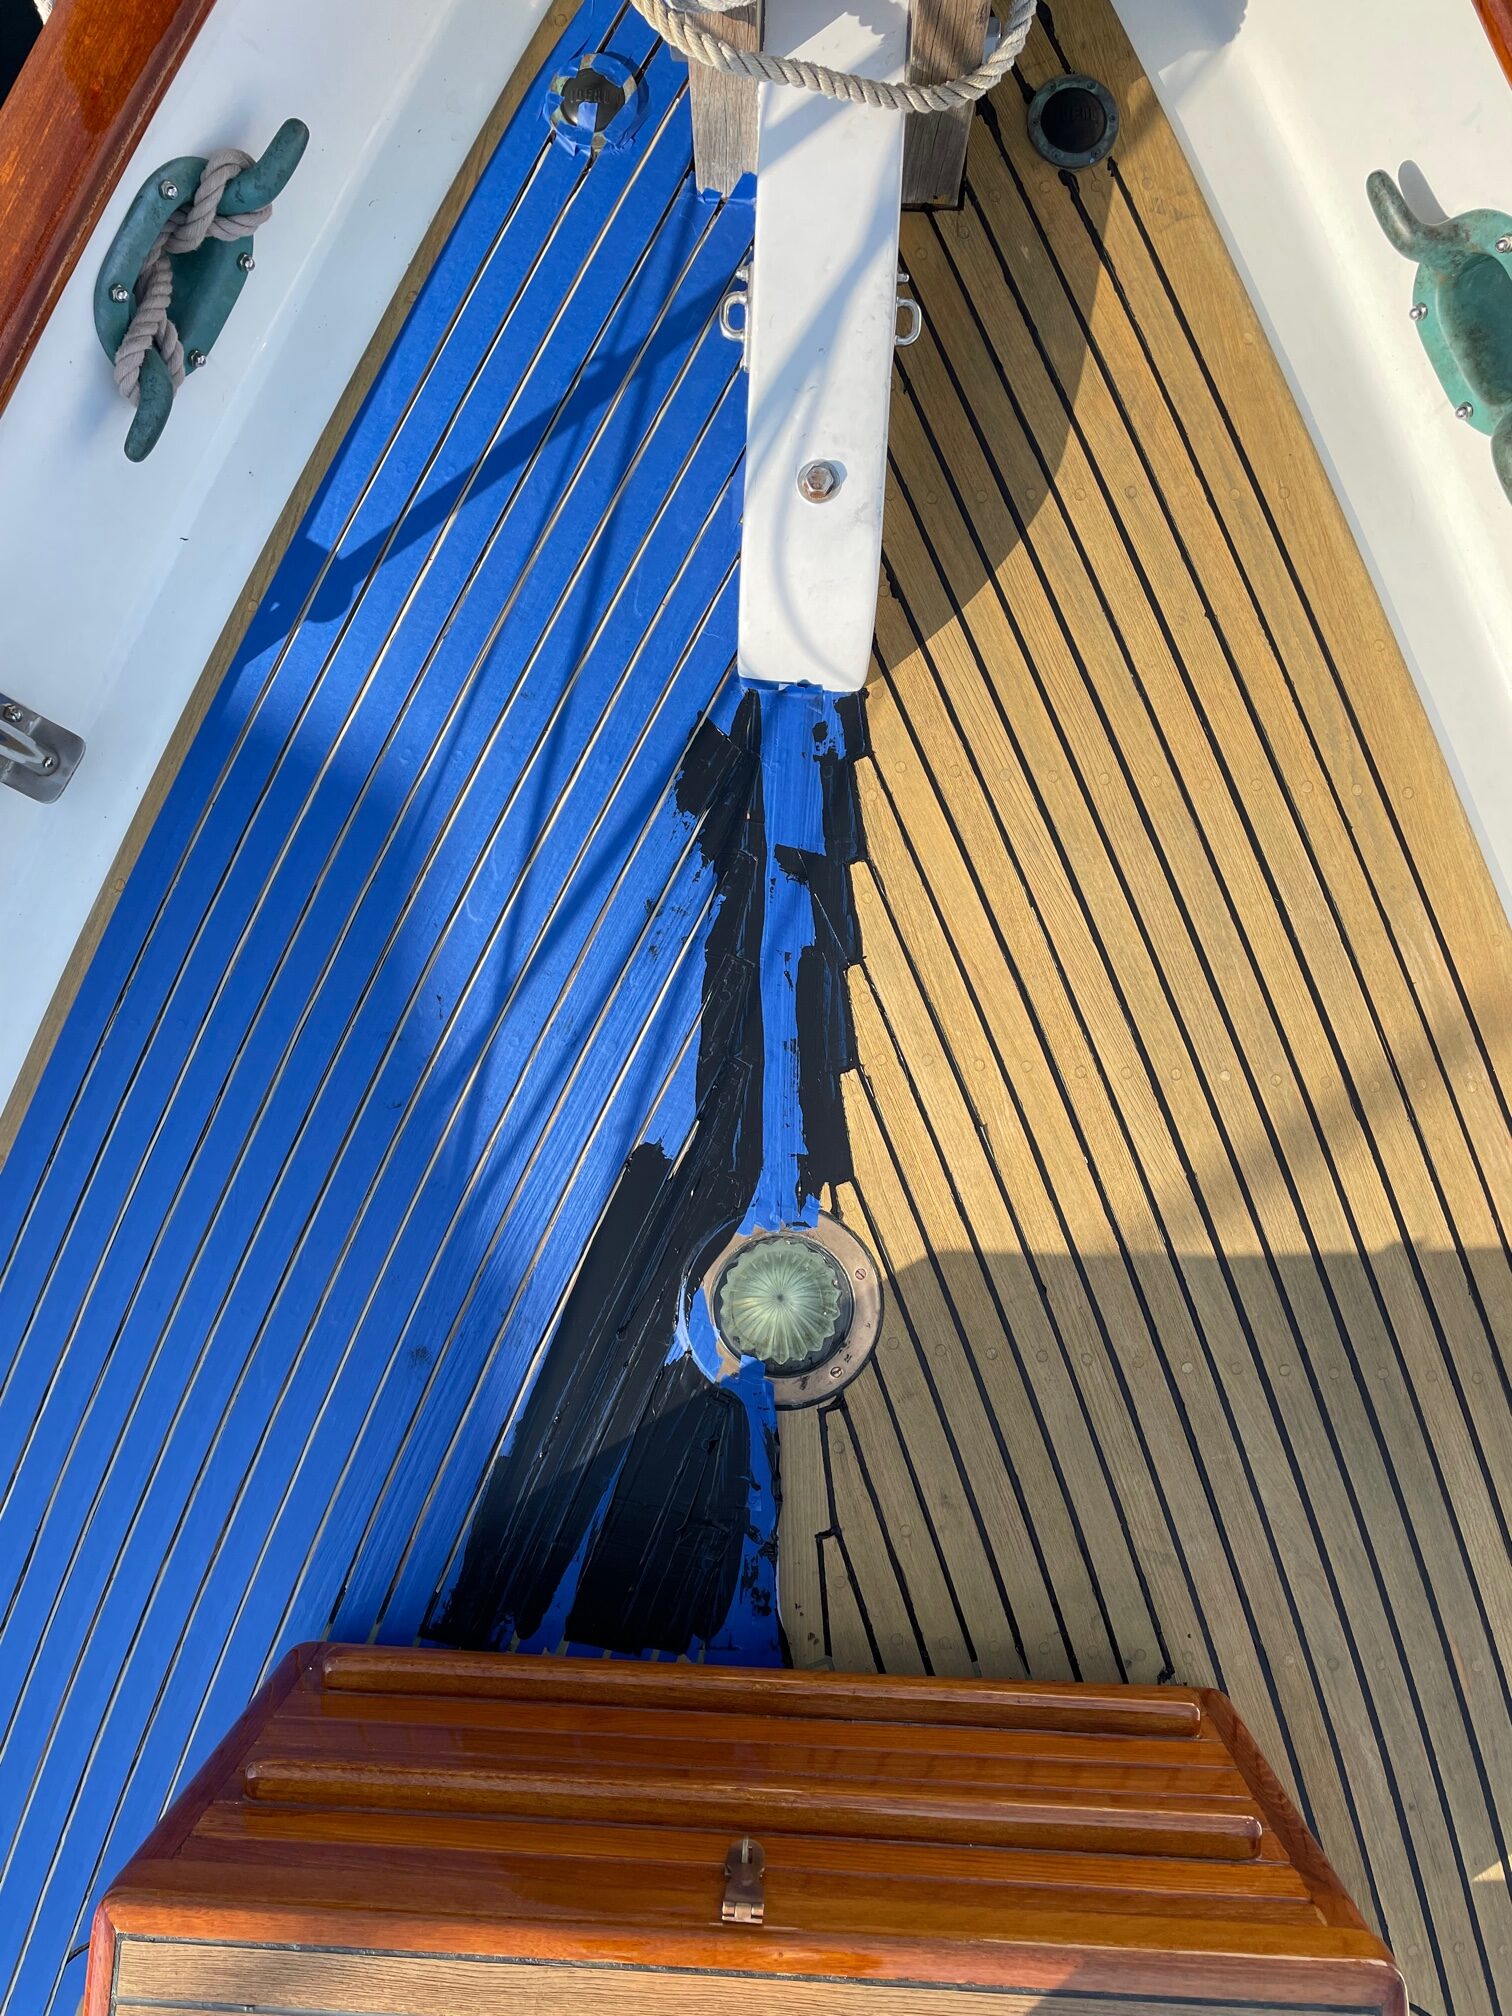
Finally, I applied the Teakdecking Systems SIS 440 caulk. The method I used was to over-fill the channel, then use a metal putty knife to apply pressure to remove any air gaps and remove excess caulk. After sitting for 5 minutes, I peeled off the blue tape. The entire fore-deck took 6-10oz tubes of caulk.
Half Way Done
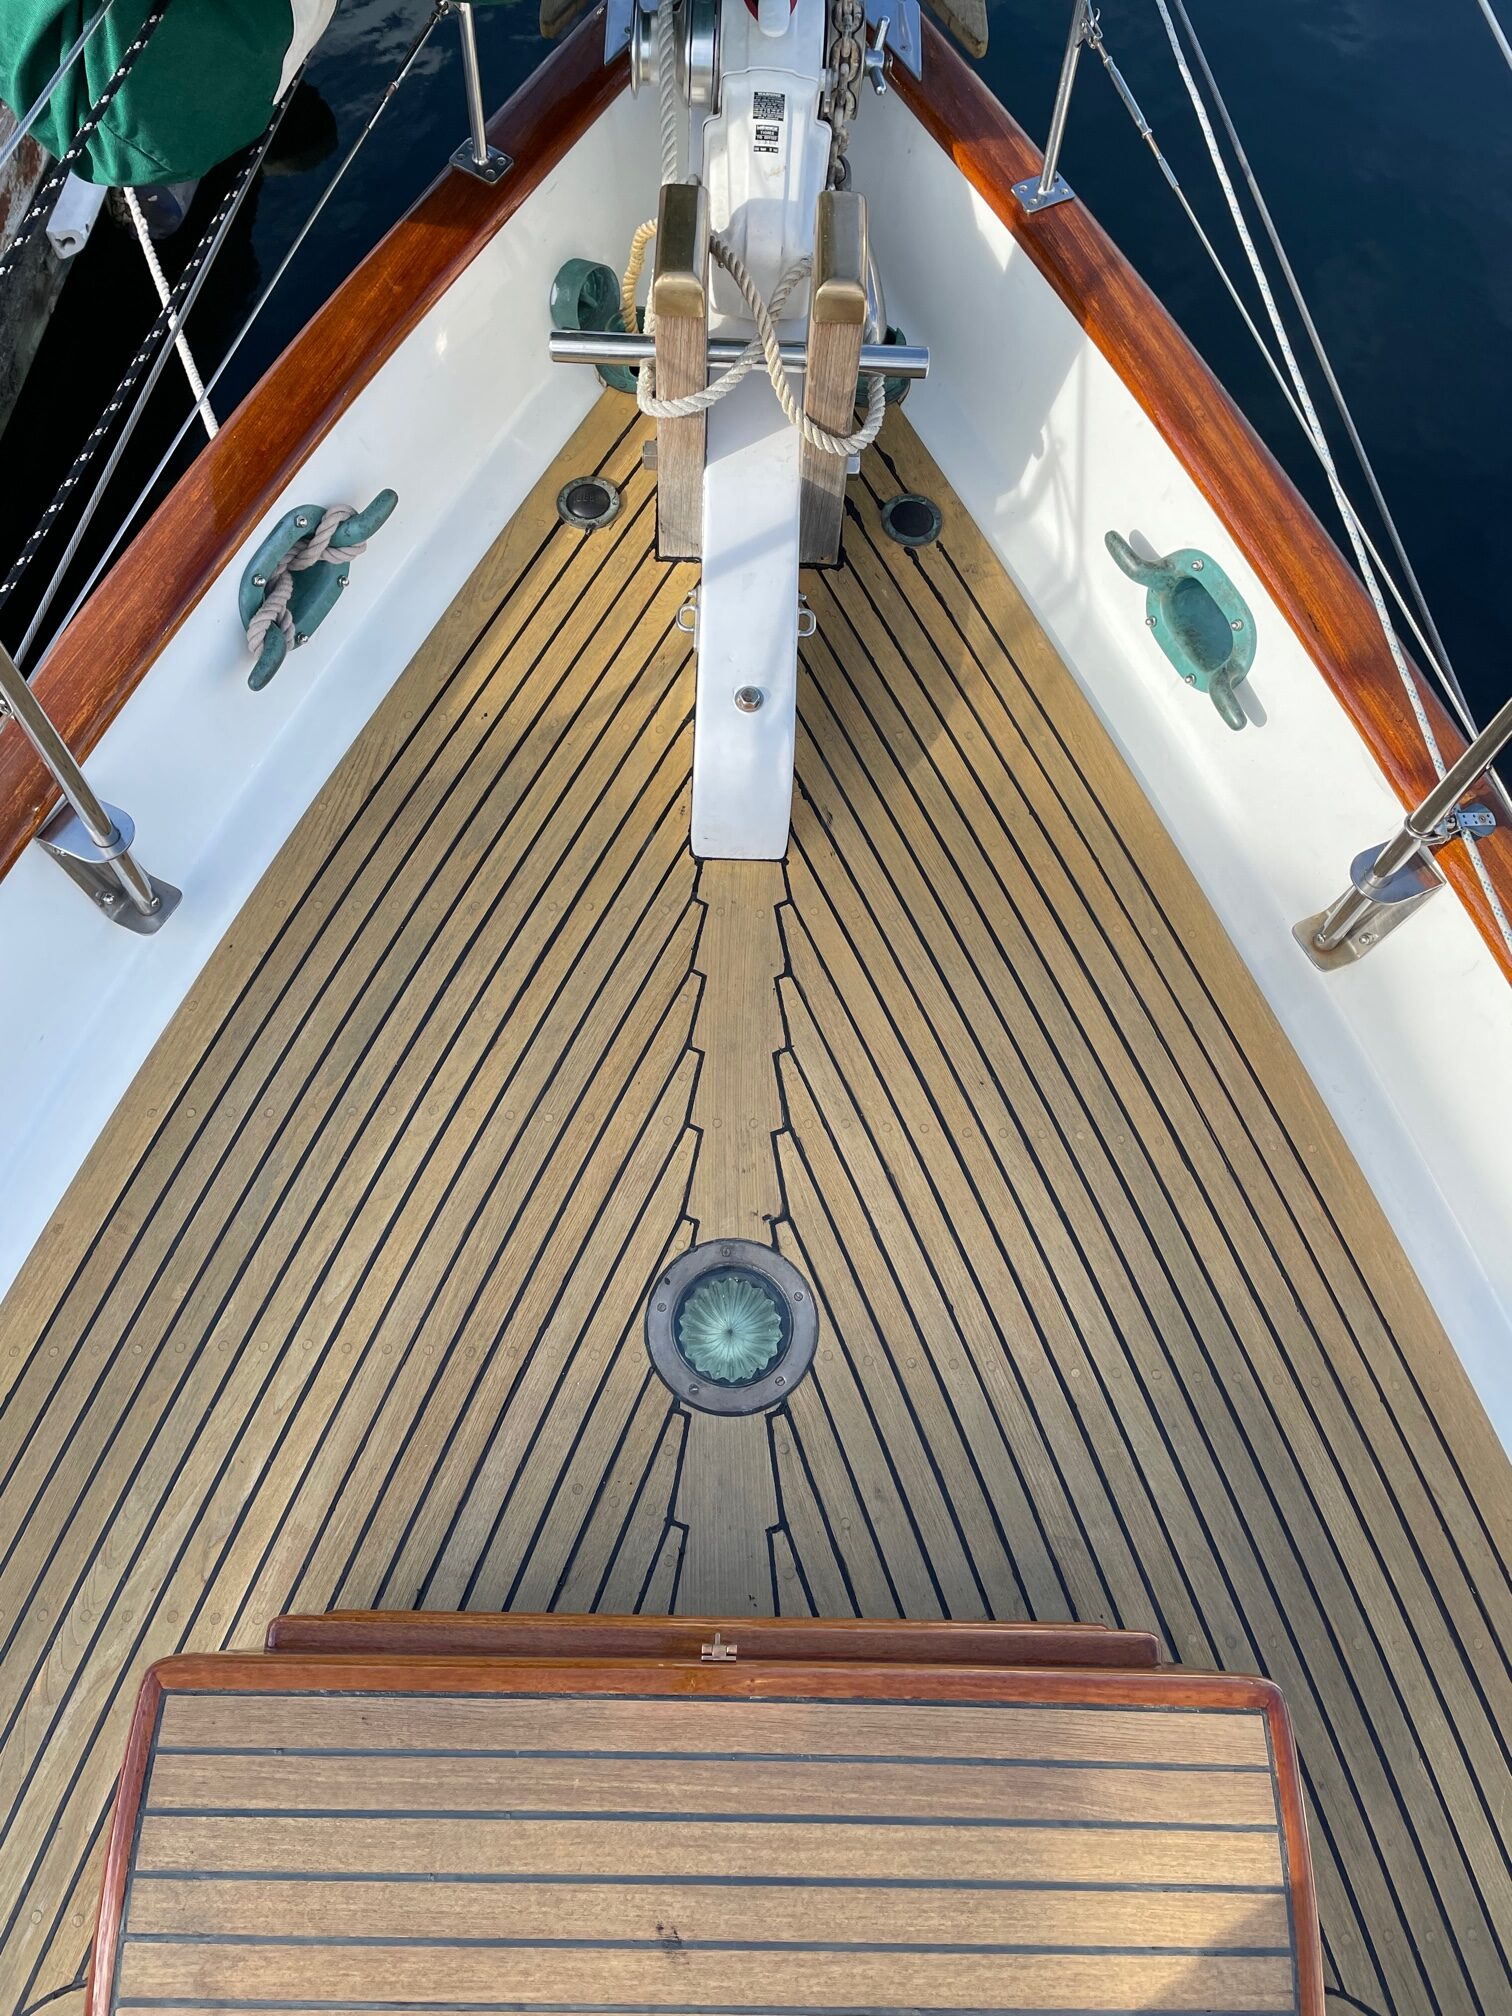
After the caulk cured for 5 days, I sanded with 80-grit paper to smooth out the caulk and make it flush with the teak. Here’s the final result.
Re-Caulked Teak Decking
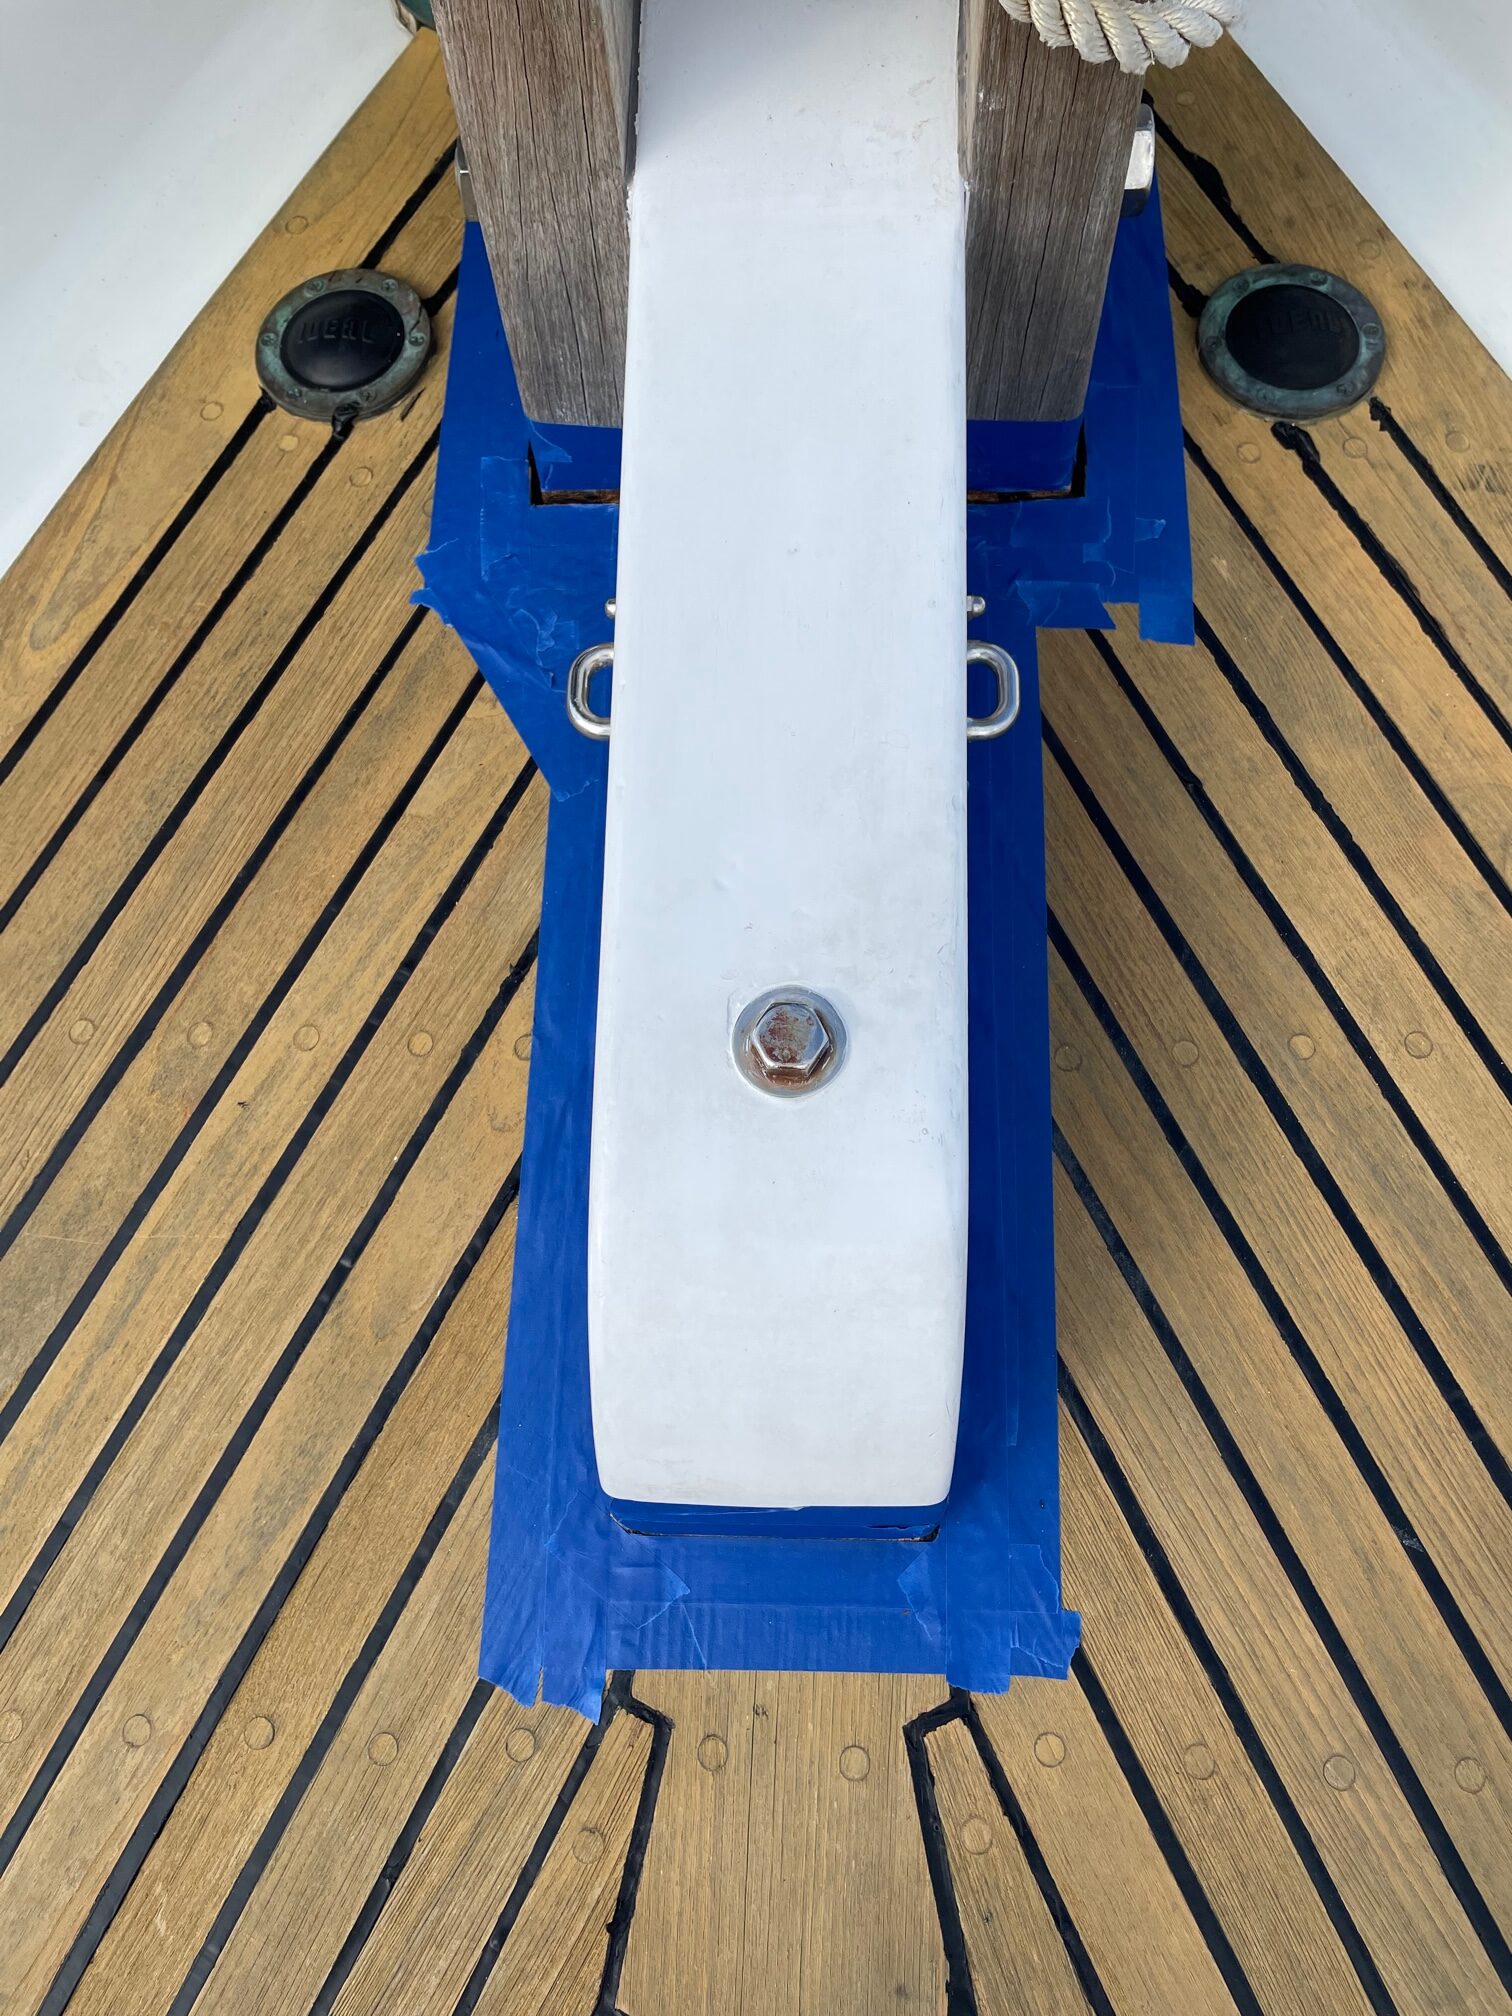
About half a tube of caulk was used to fill the deep gaps between the decking and aft bowsprit and chocks shown here. It’s important to keep water from leaking around the bowsprit and chocks.