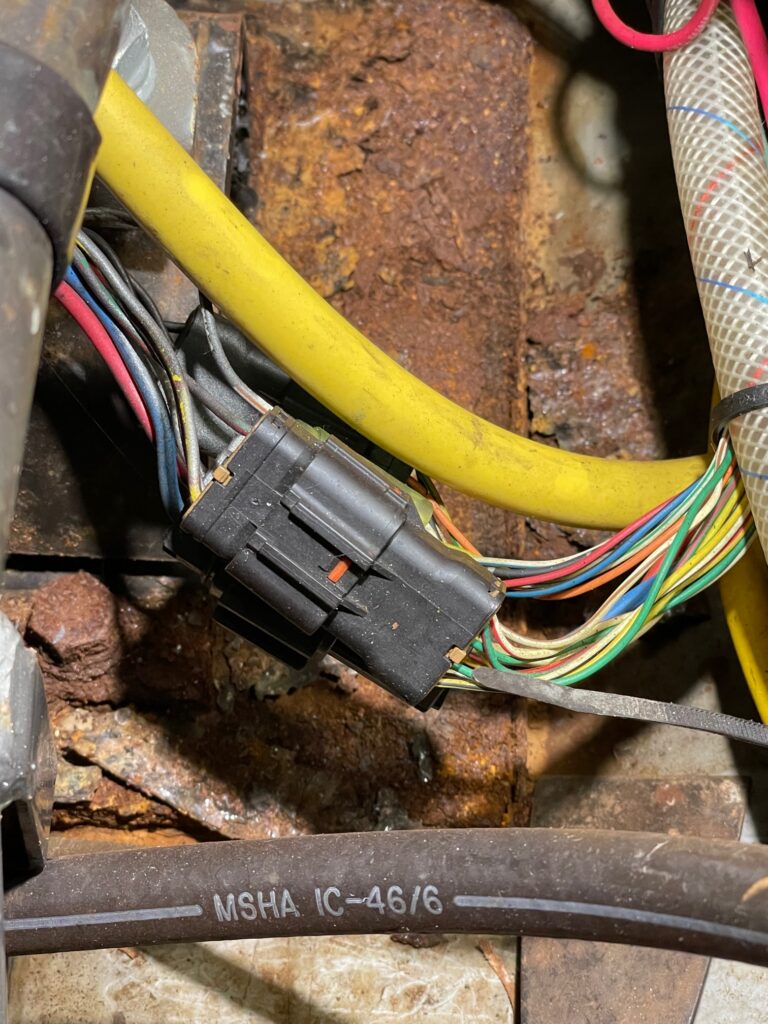
Engine Mount Plates
While changing the engine water pump impeller, I noticed all 4 engine mounting plates were corroded. These were newly installed during the repowering of the Yanmar 4JH3-TE in 2005, so I was hoping it was mostly surface rust and they could be cleaned up. The engine mounts are bolted to 3/8″x6″x10″ steel plates and these plates were not properly protected for the marine environment. I started with a wire brush and scraper to remove the loose stuff, then a coarse brillo-pad. At this point I realized it was just surface rust and replacement wouldn’t be necessary. Next I applied 2 coats of Ospho, which chemically seals metal and prevents rust from reoccurring by converting iron oxide (rust) to iron sulphate. Each application needed to sit 24 hours for the chemical process to complete. The final step was applying 2 coats of Rust-oleum oil base paint.
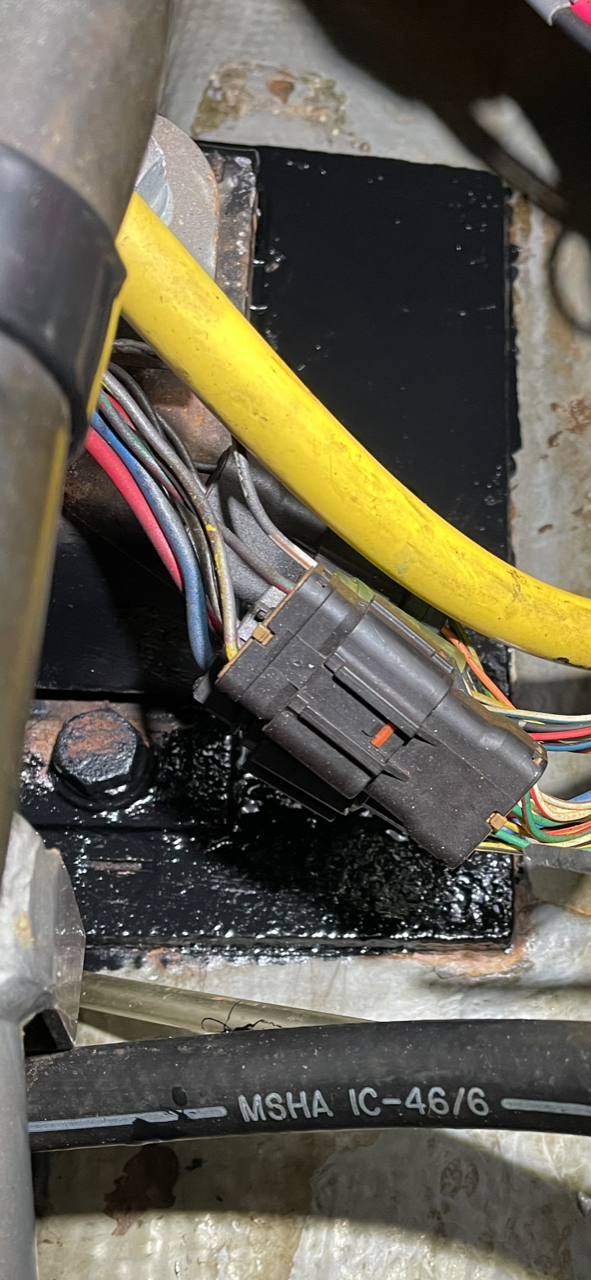
Engine Mount & Plate #1 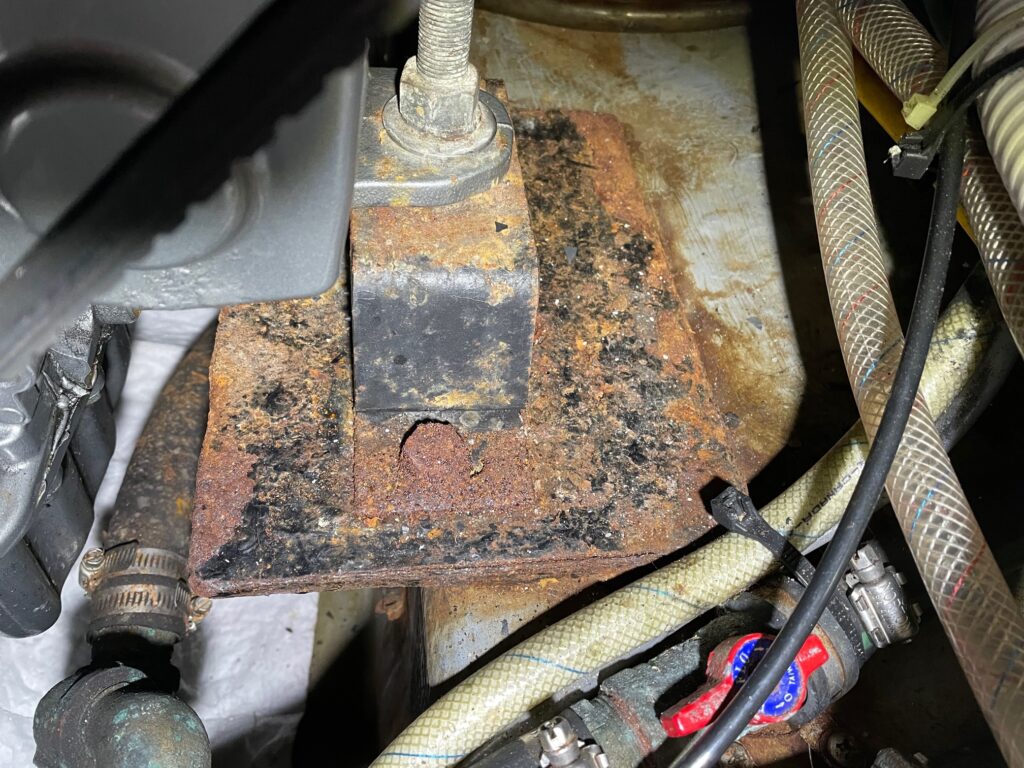
Engine Mount & Plate #2

After Treating Plate #1 with Ospho 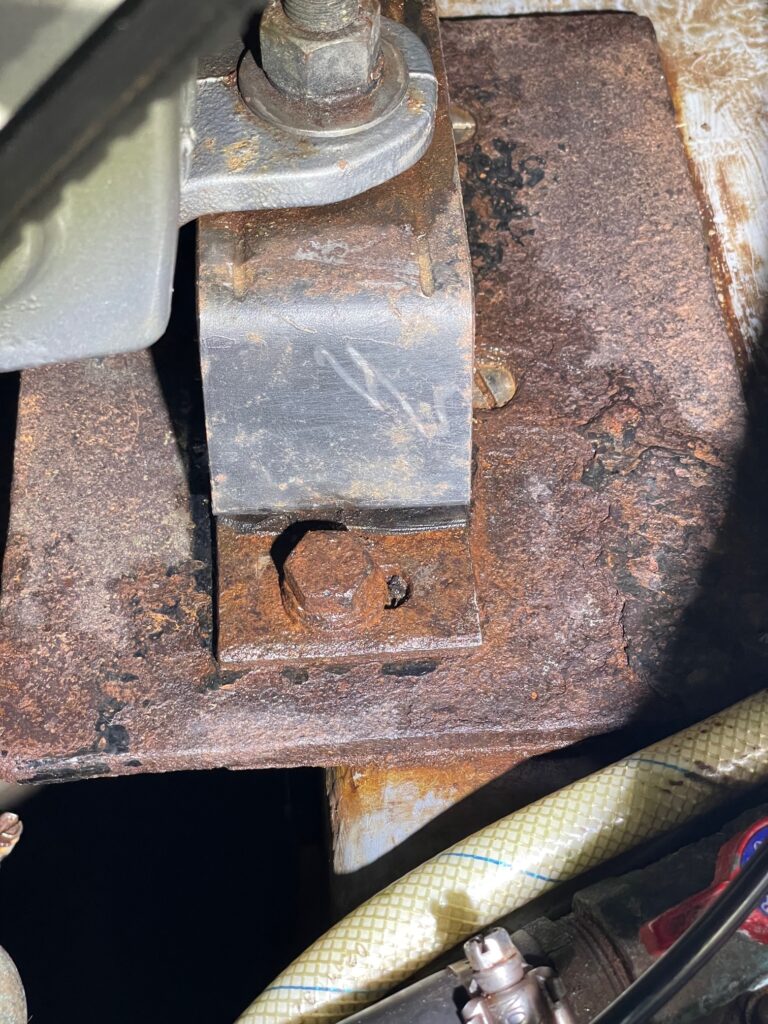
After Treating Plate #2 with Ospho
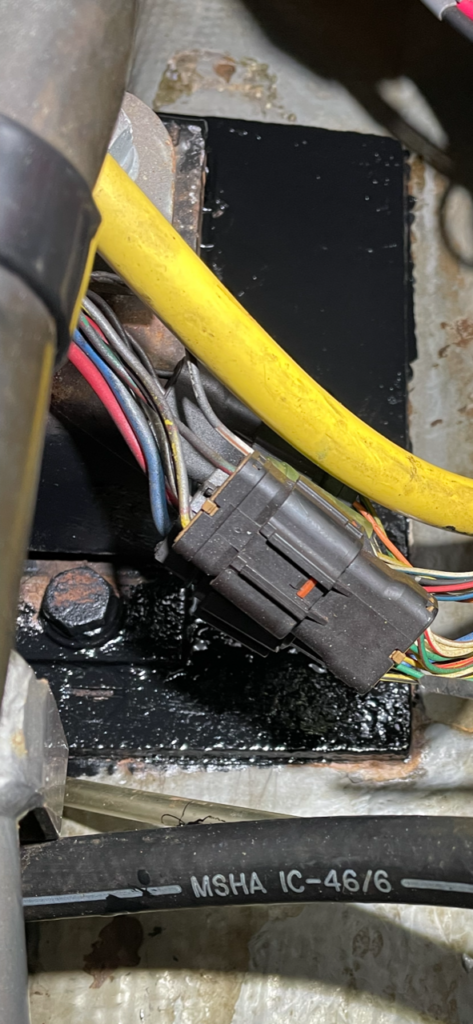
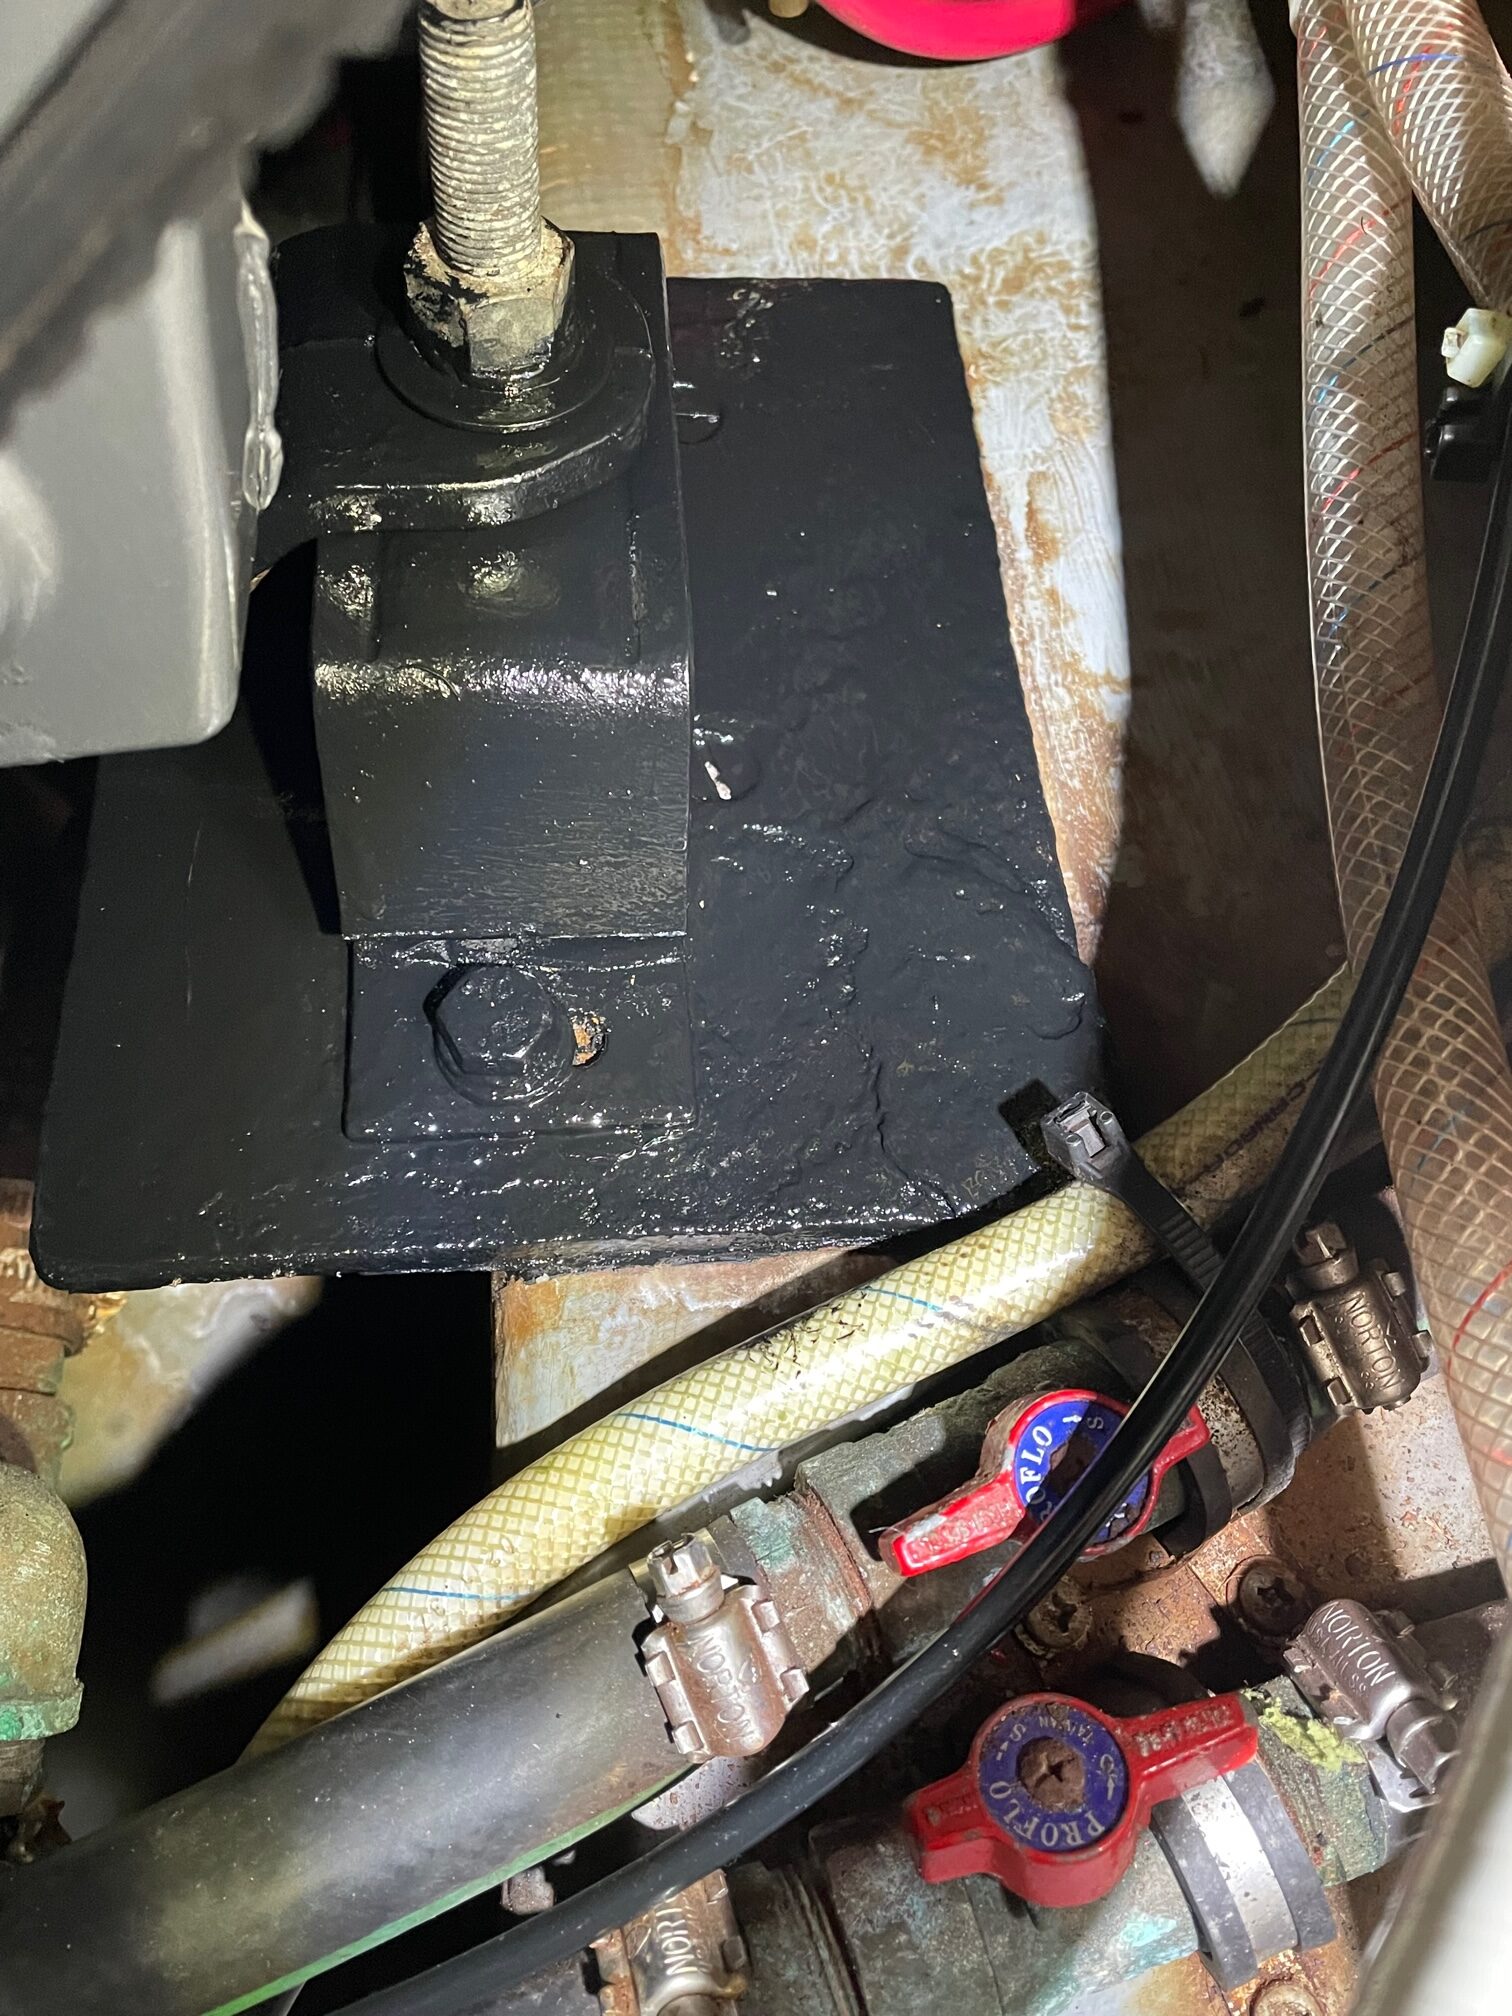
Plate #1 After Paint 
Plate #2 After Paint
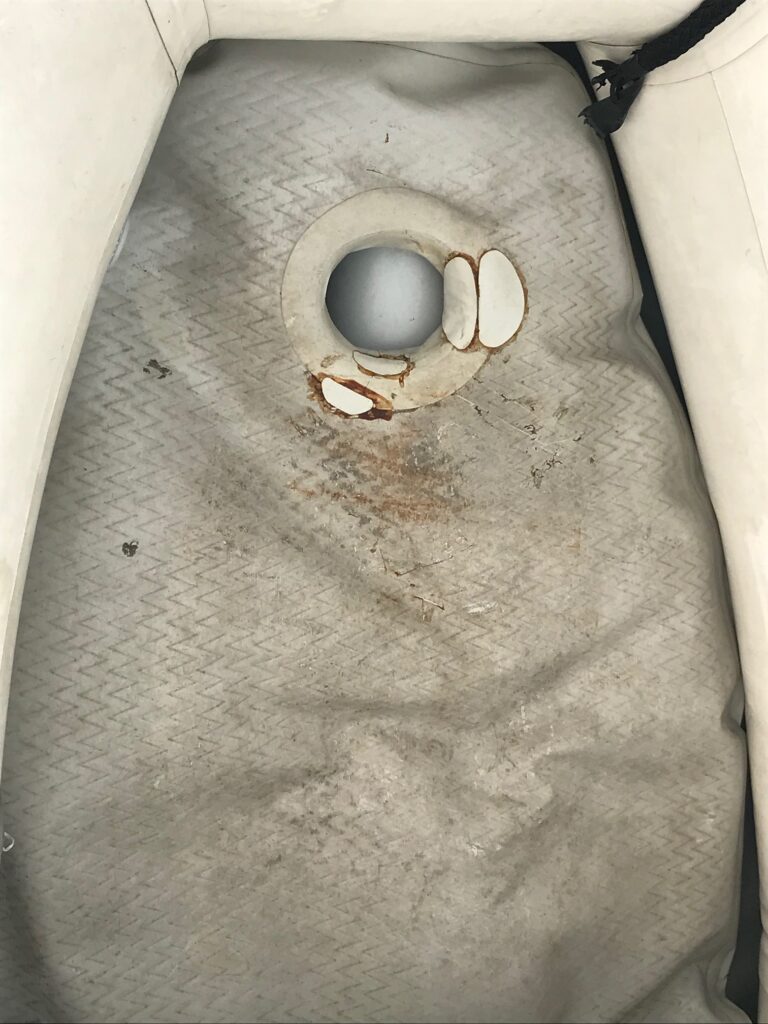
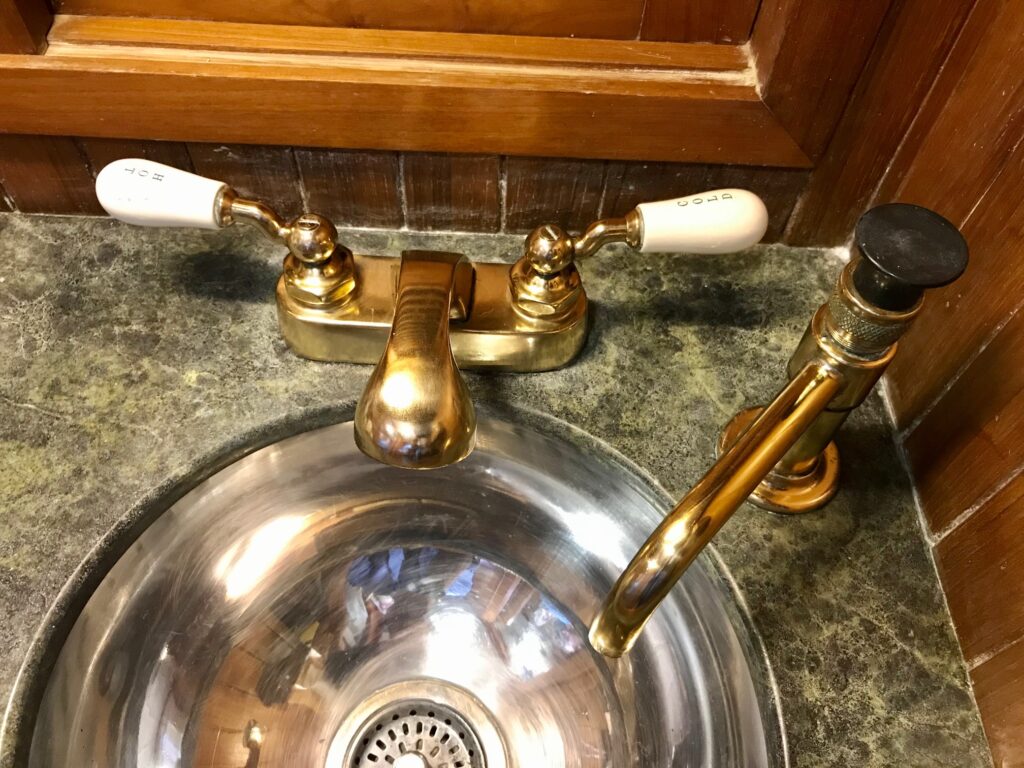
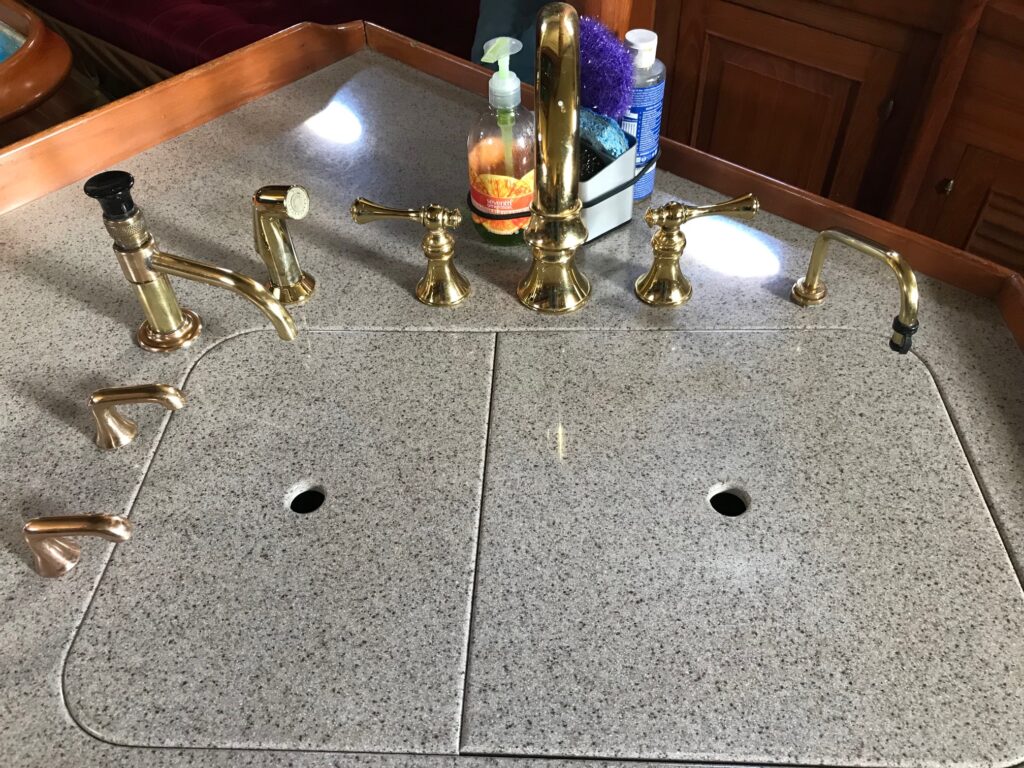
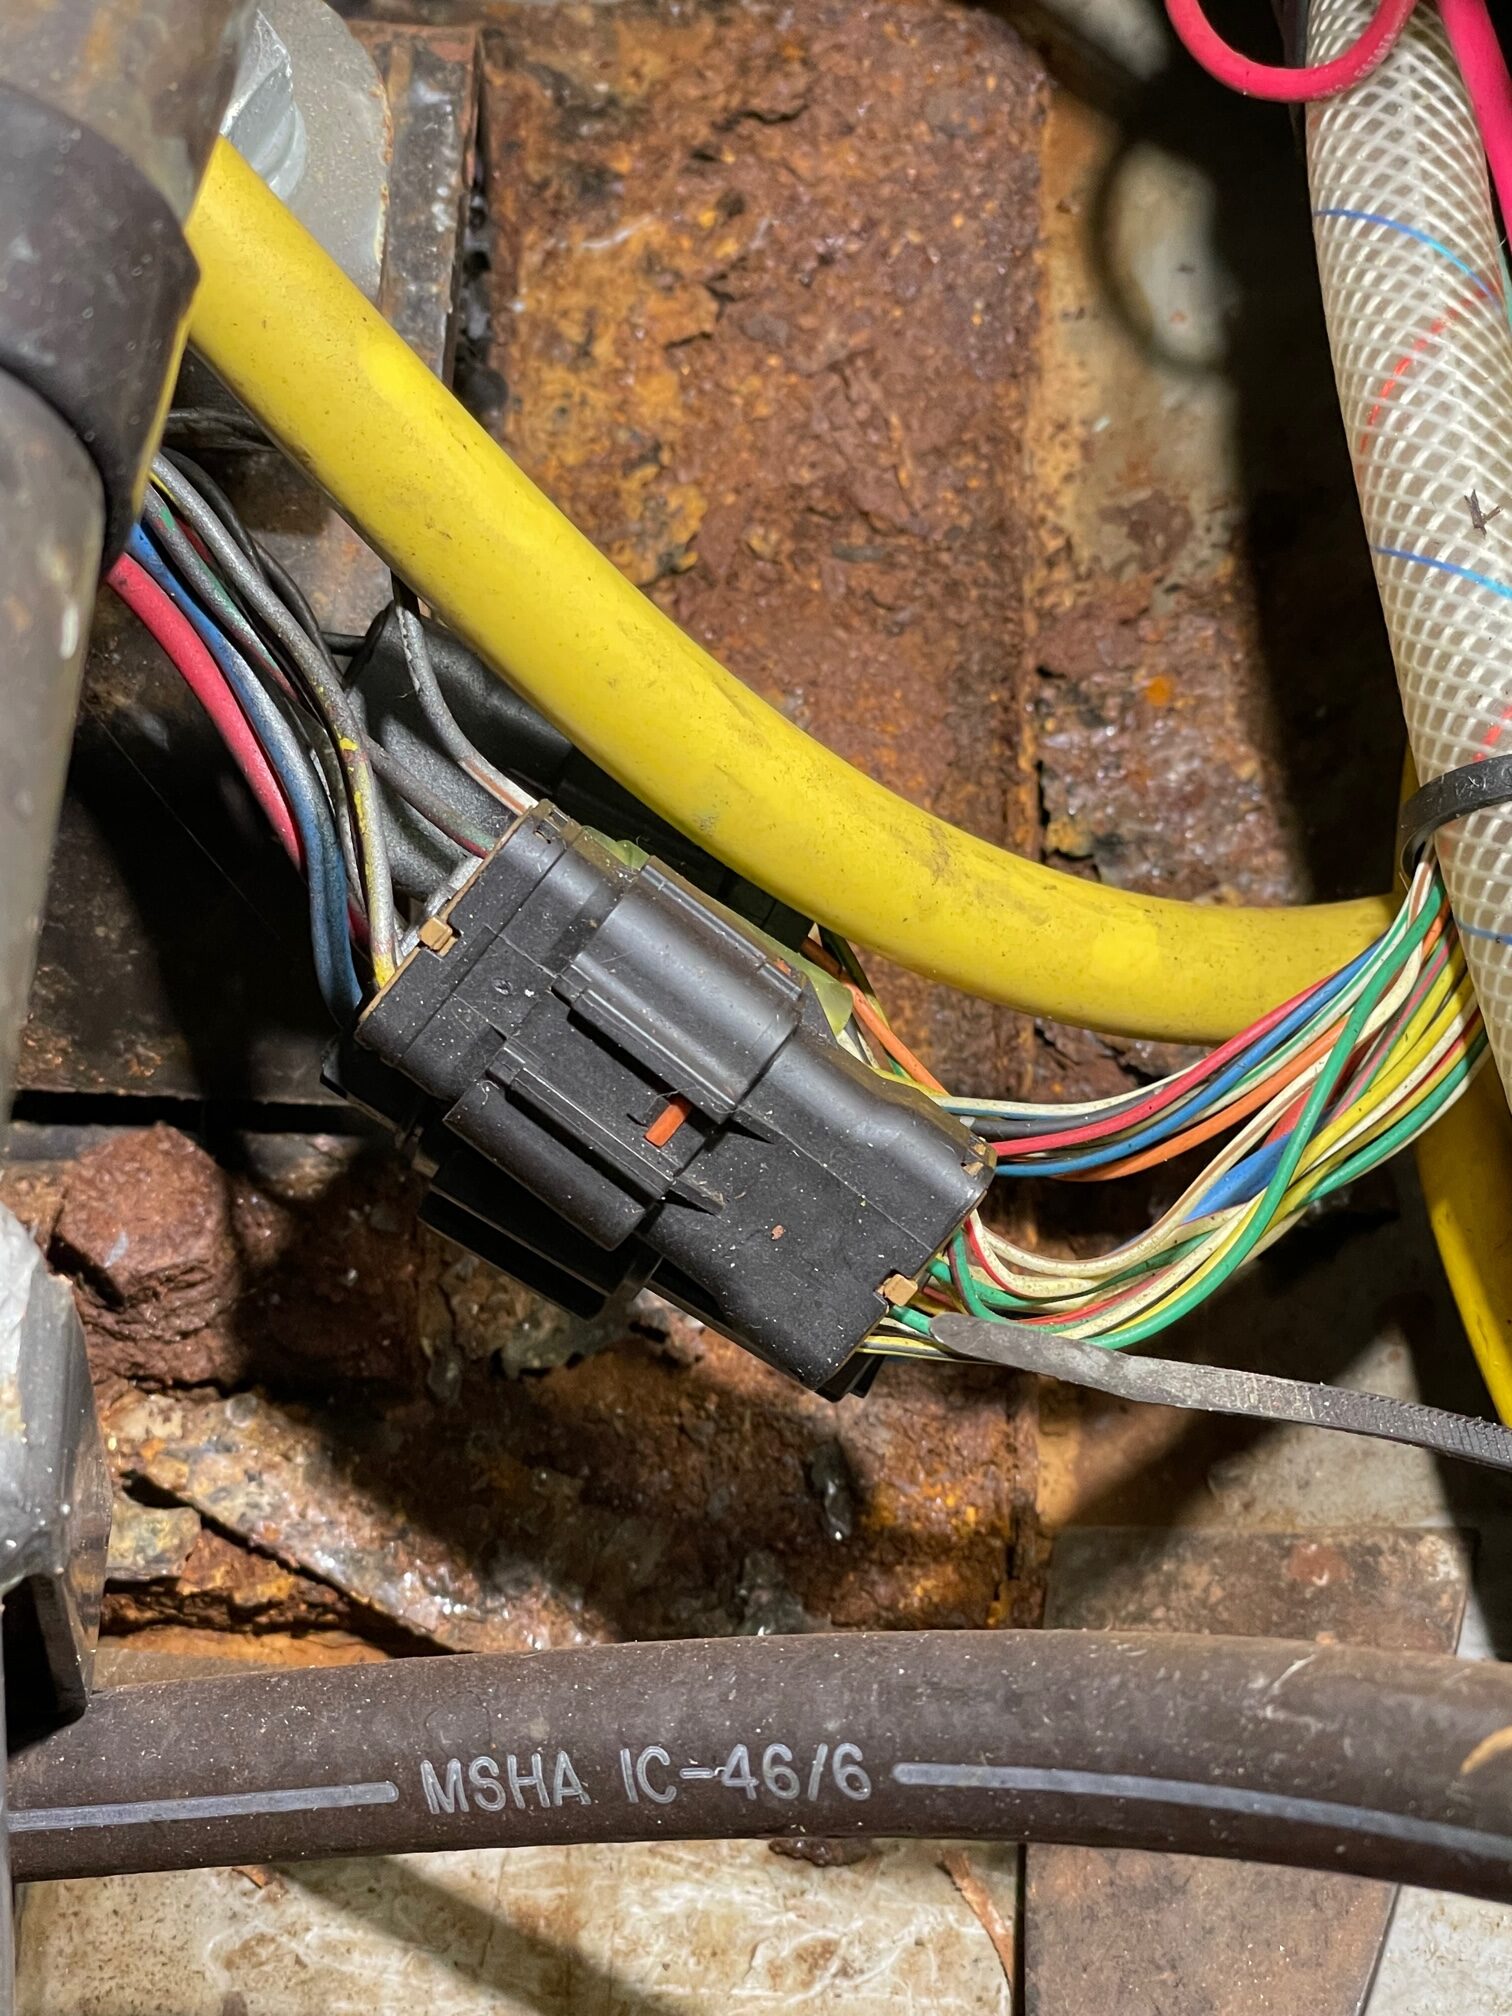
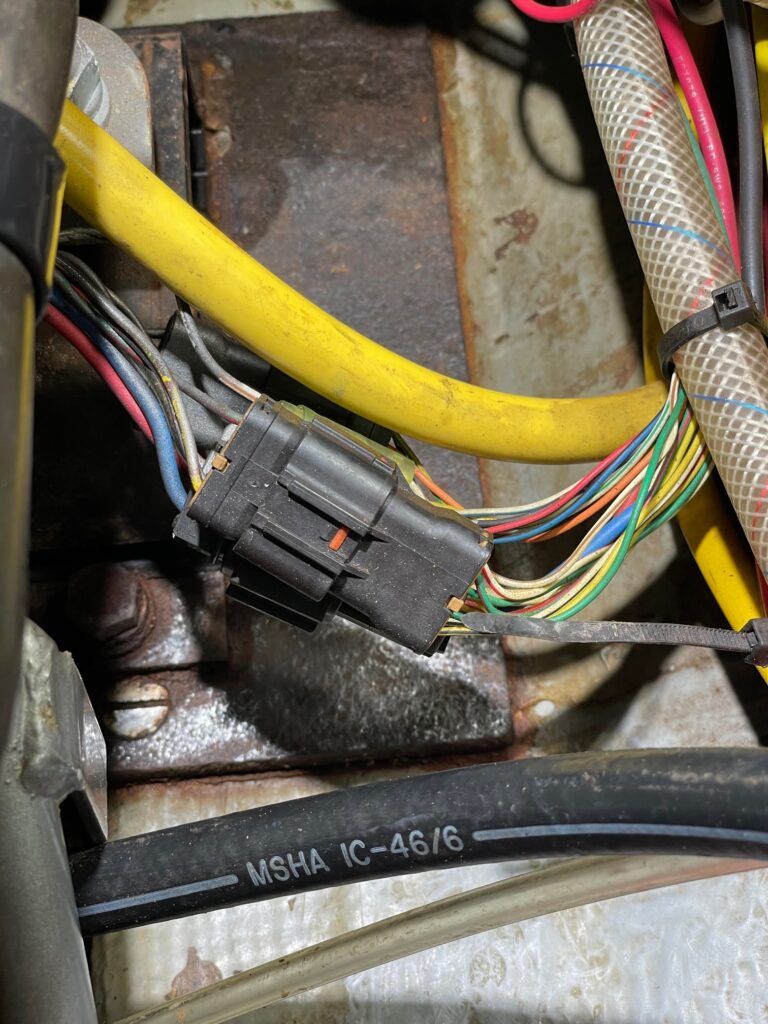
Galley Sink Plumbing
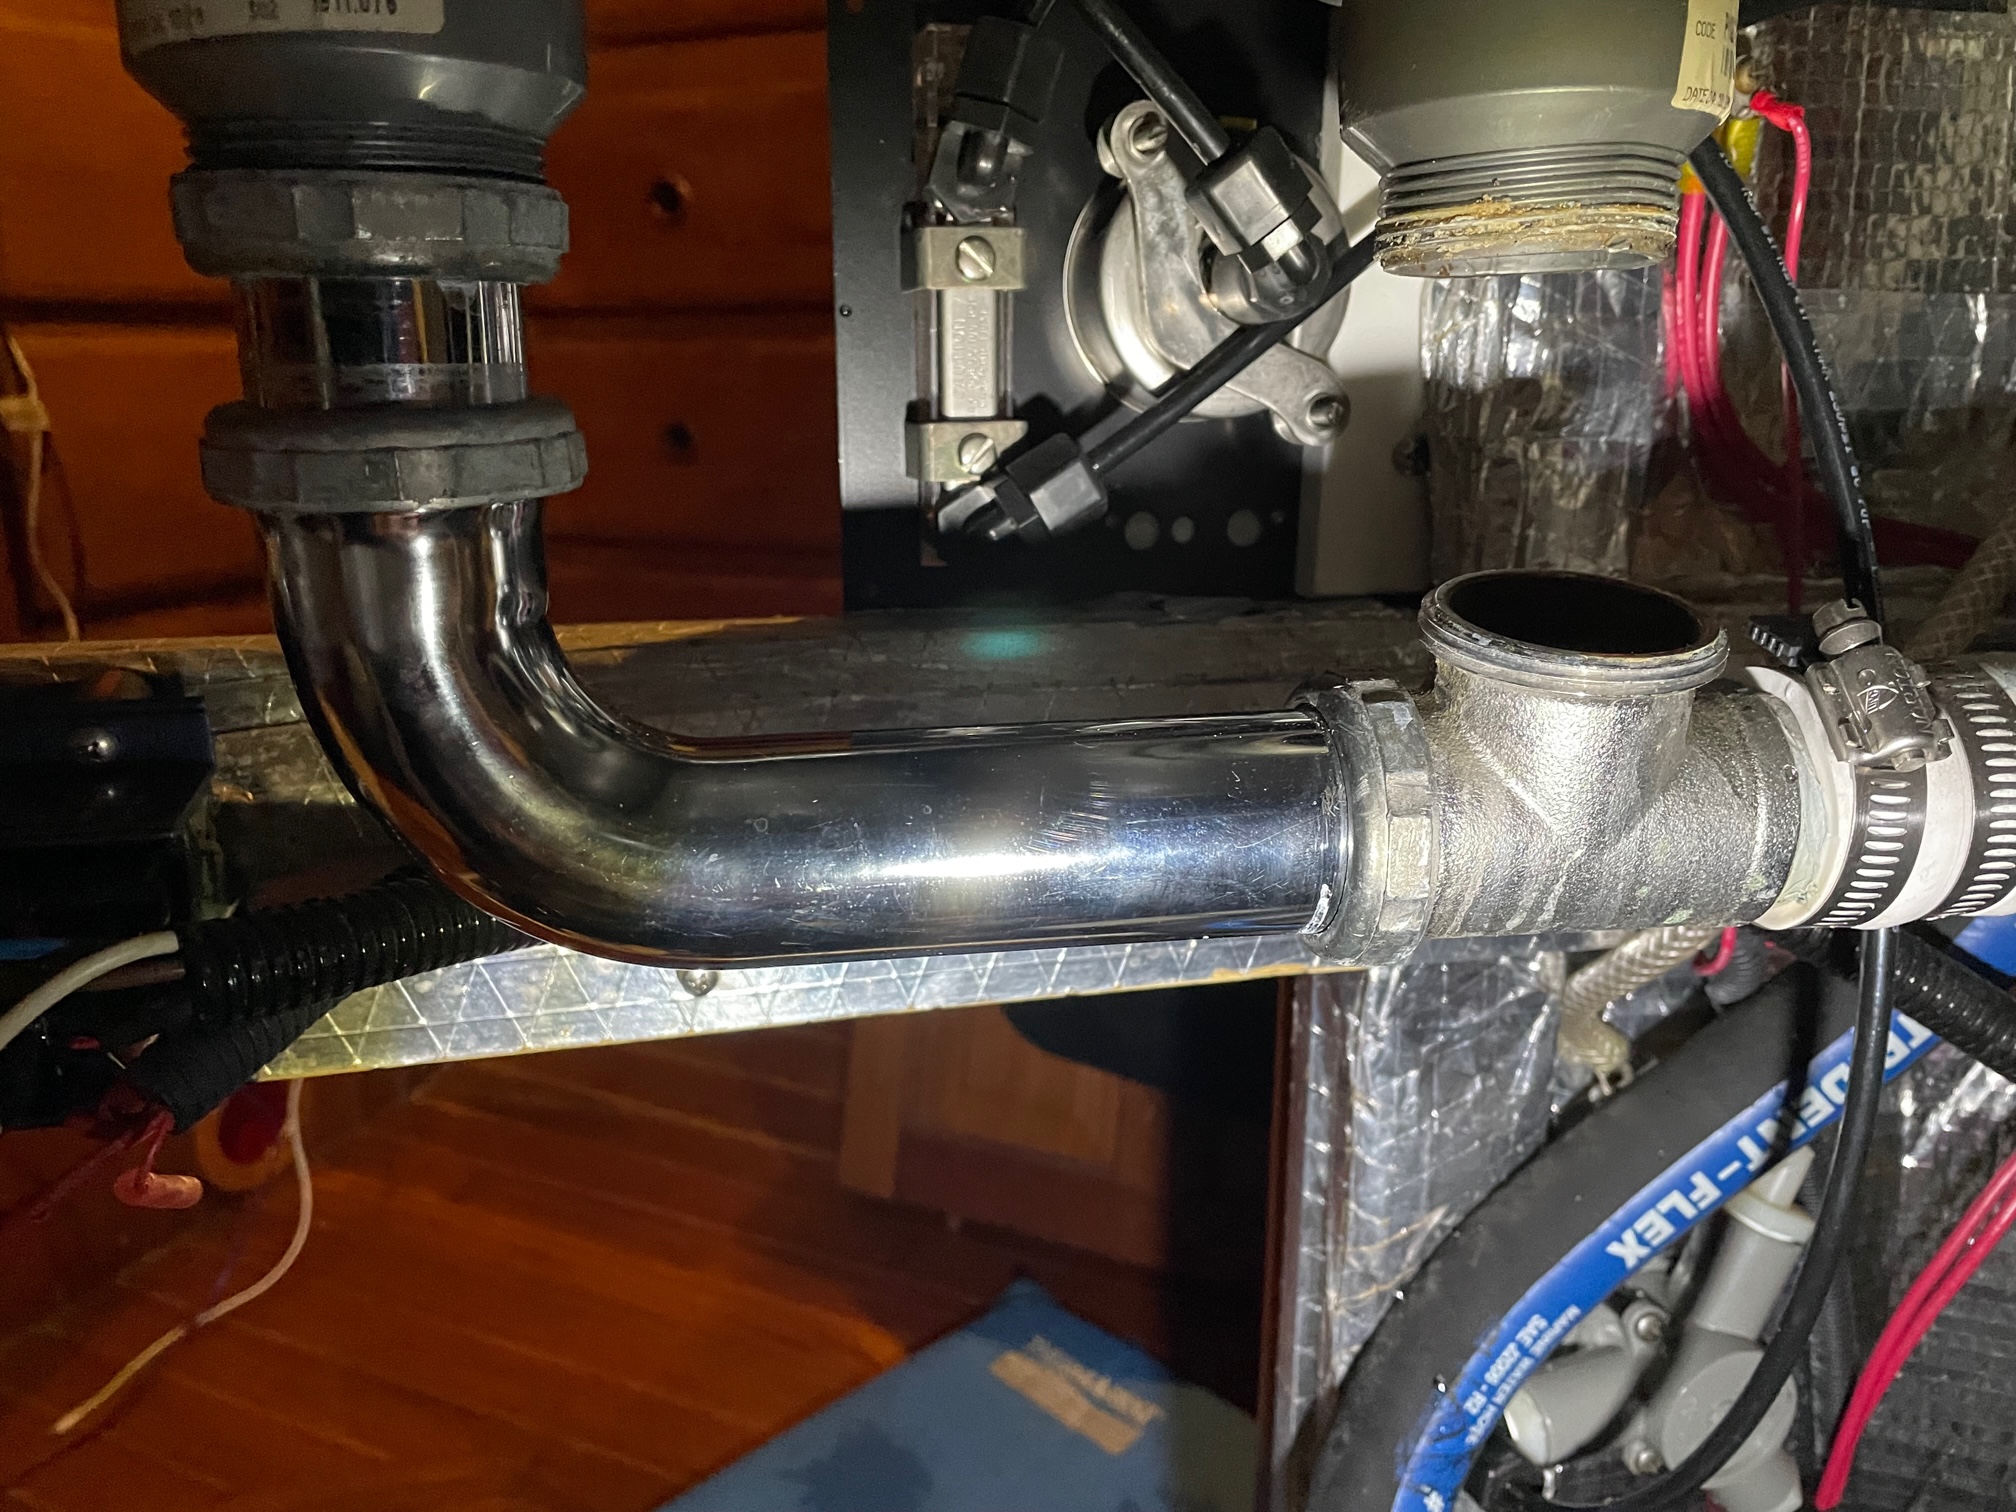
After noticing a slow leak in the galley sink drain plumbing, I removed the “house grade” plumbing that wasn’t meant for harsh marine environment, and replaced it with flexible bilge pipe, PVC fittings, and new SS clamps. The bottom of the double sink is in the engine bay. Since the horizontal part of the piping is below the water line, it remains full of water, and even though the sink is plumbed for fresh water only, sea water will come in the thru-hull and corrode any metal piping. The thin chrome elbow shown in the top picture was already replaced a few years ago after the old one rusted through. Getting rid of all metal piping should make this maintenance free for many years.
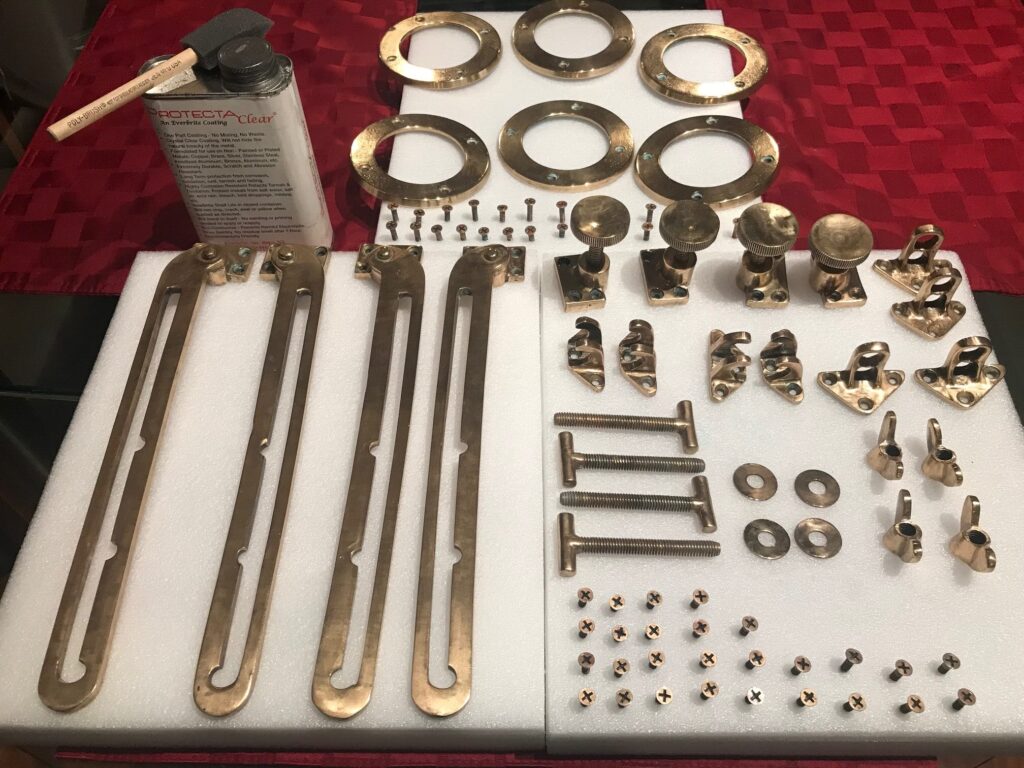
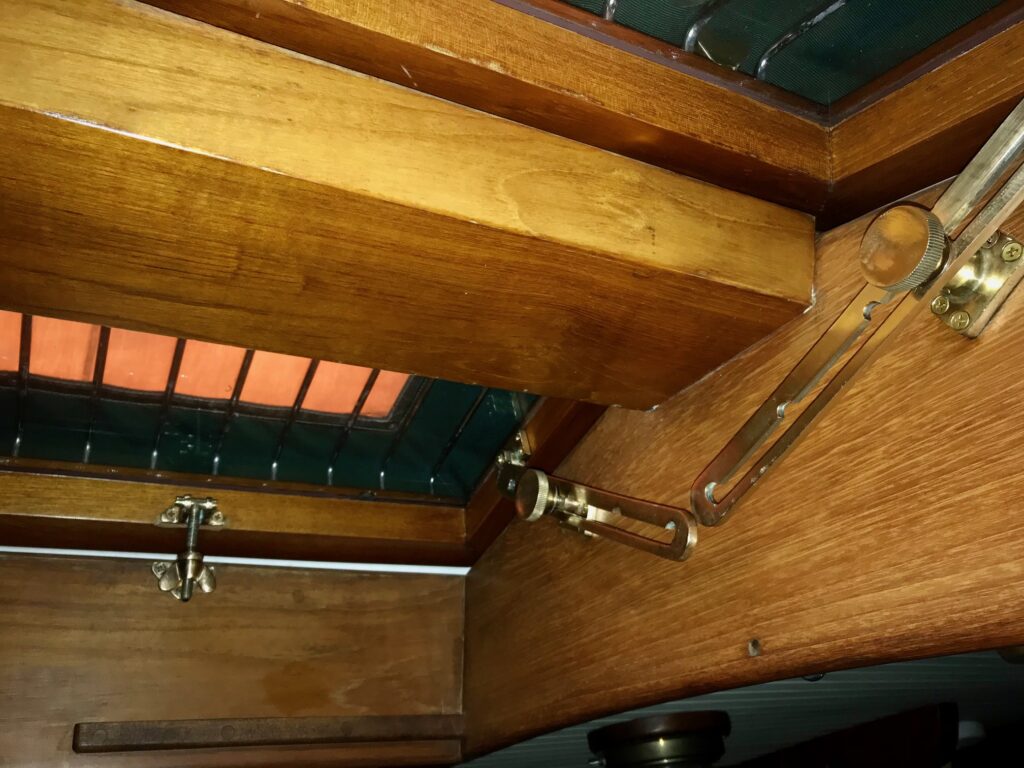
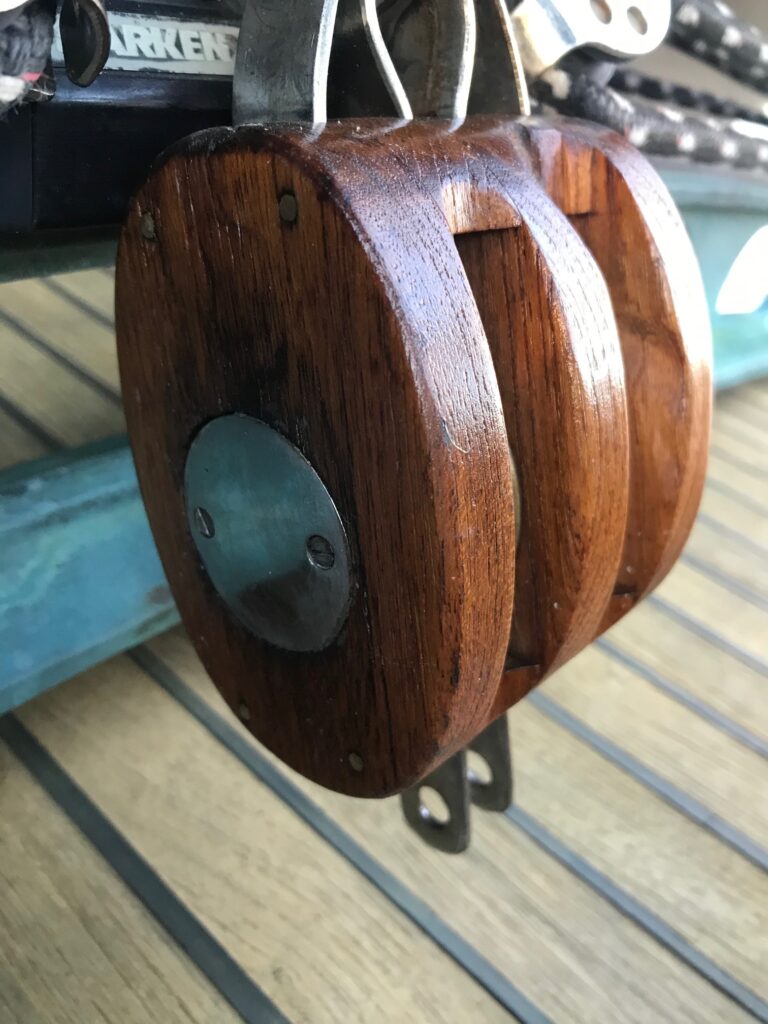
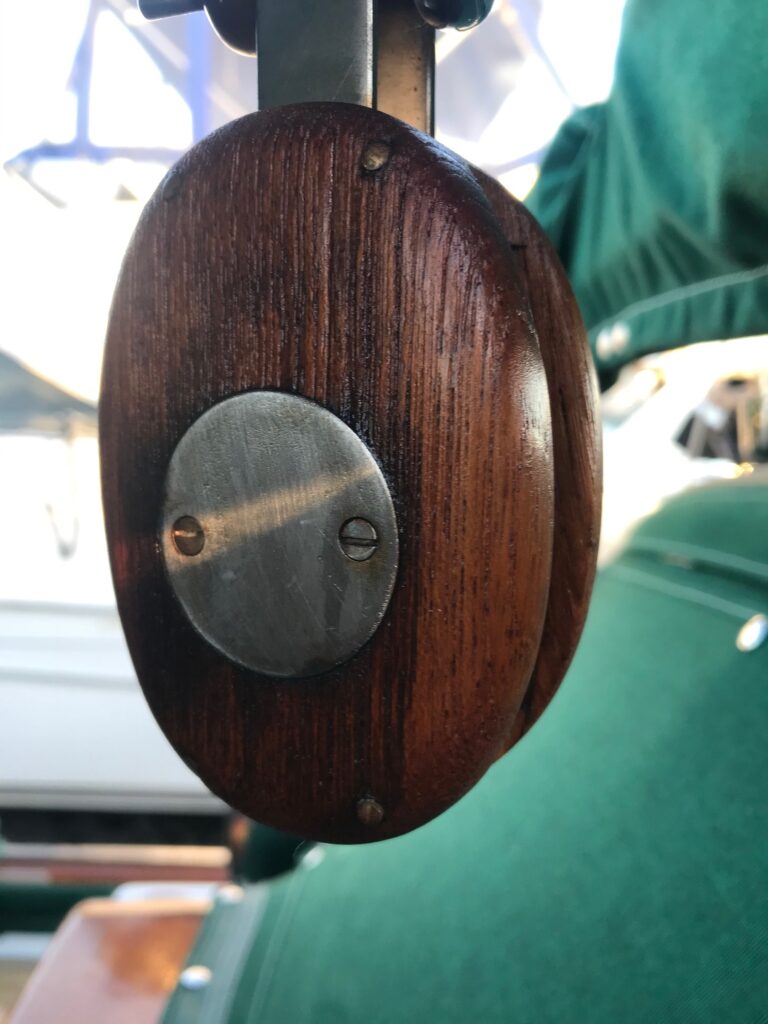
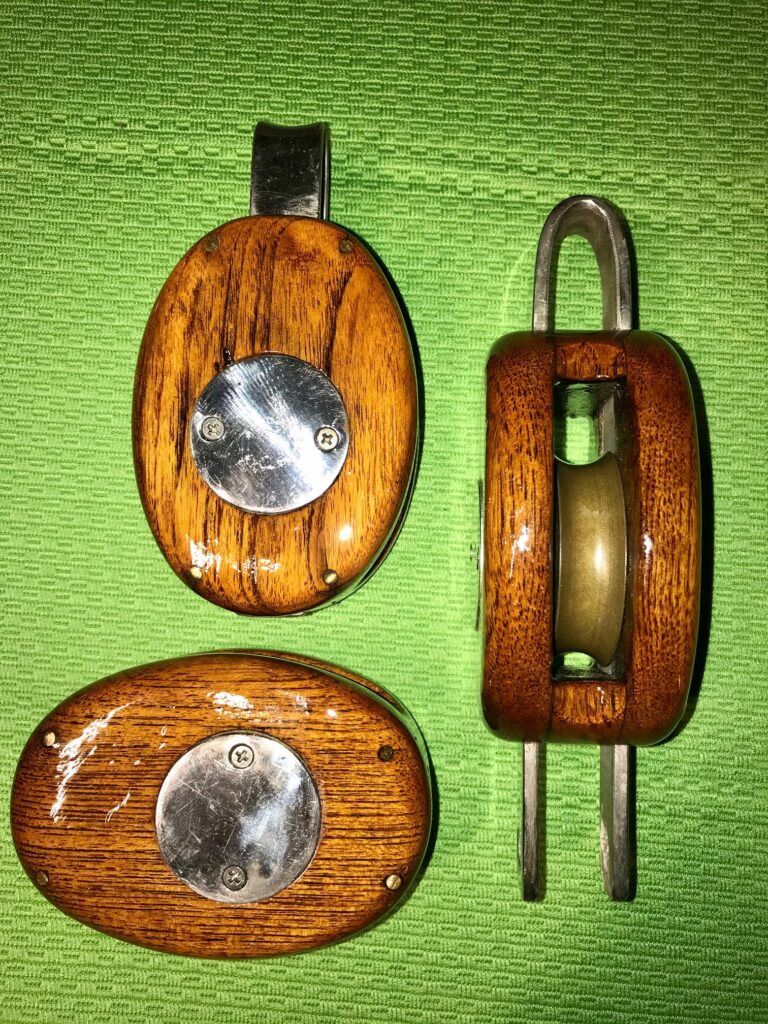
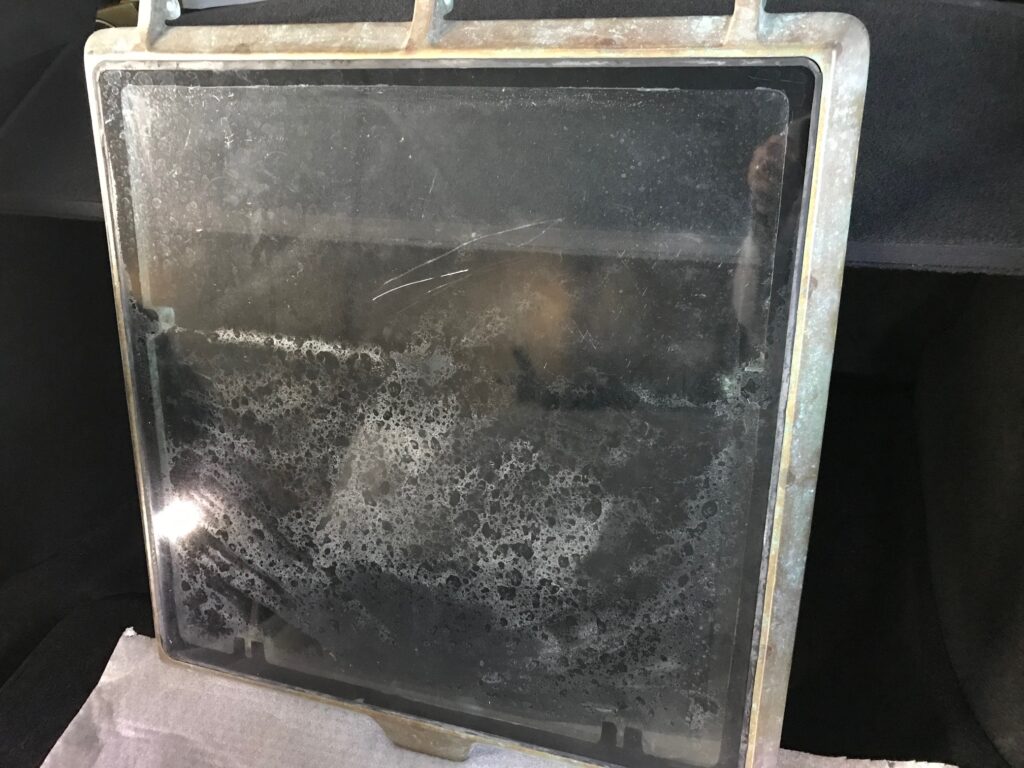
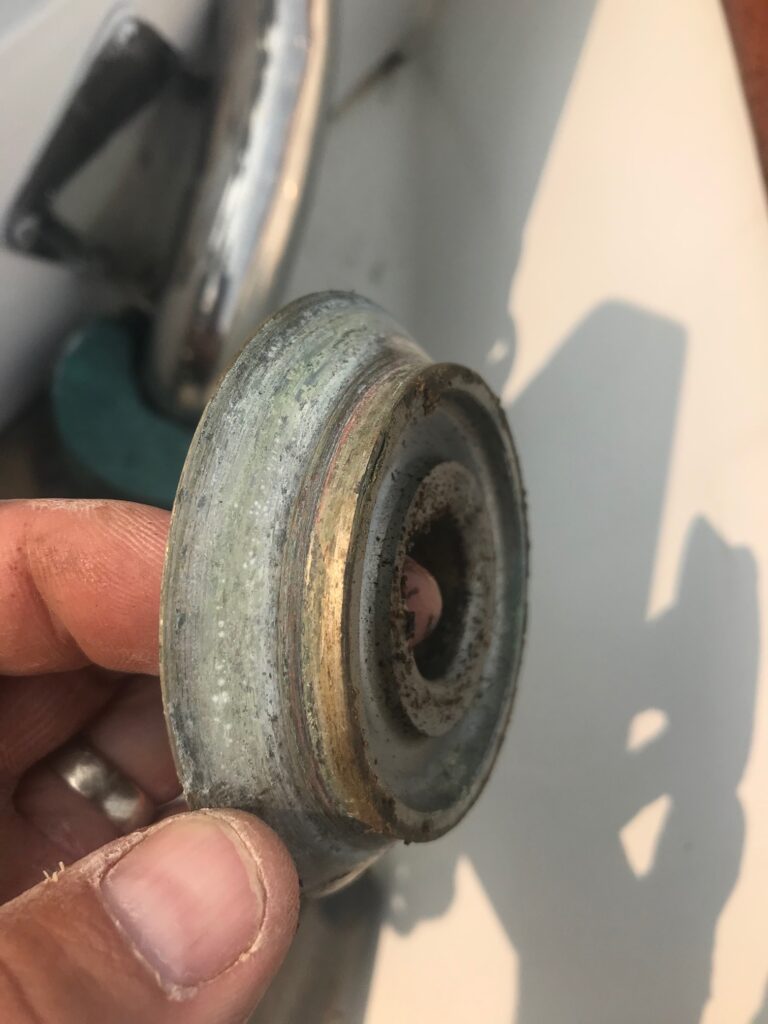
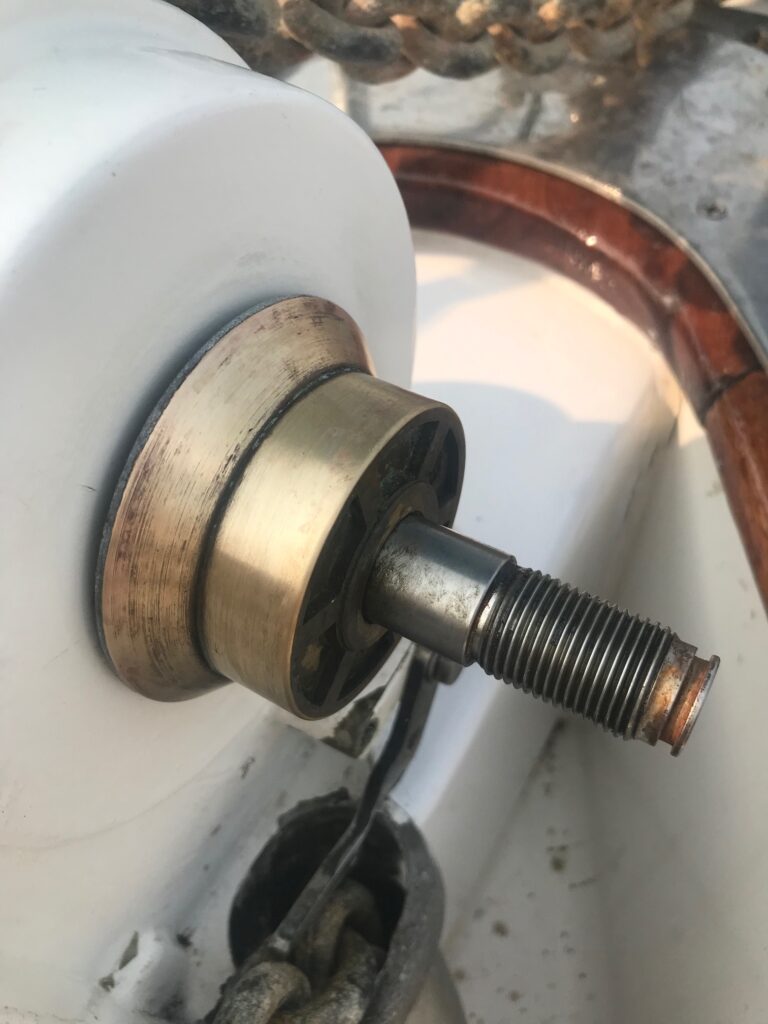
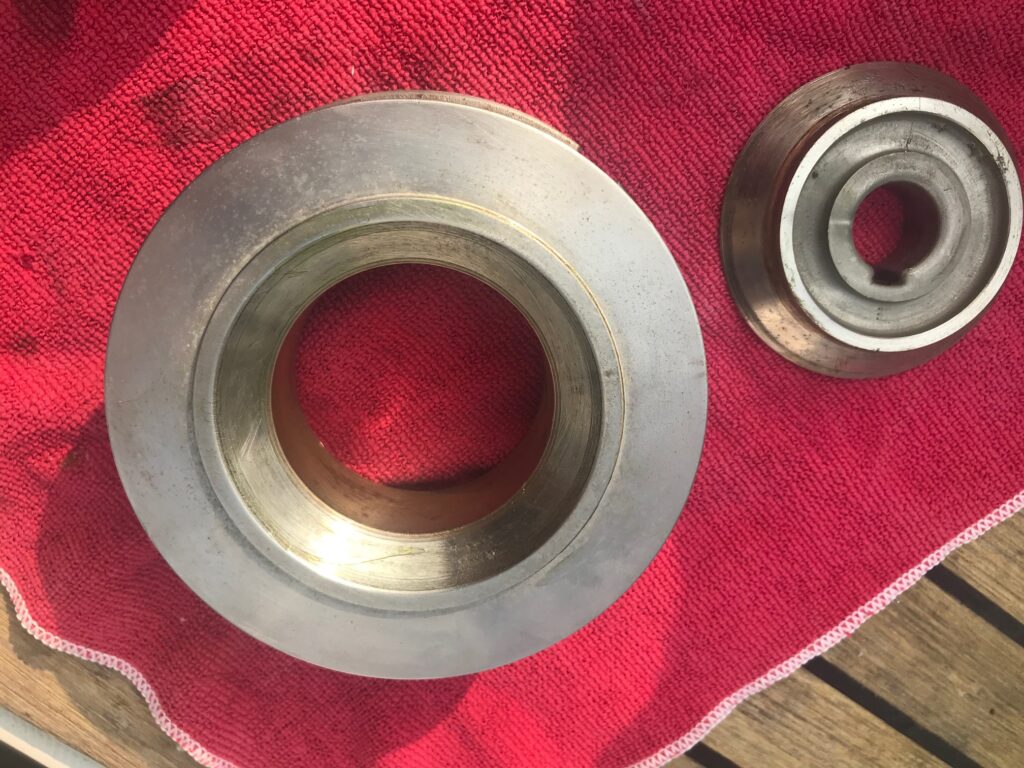
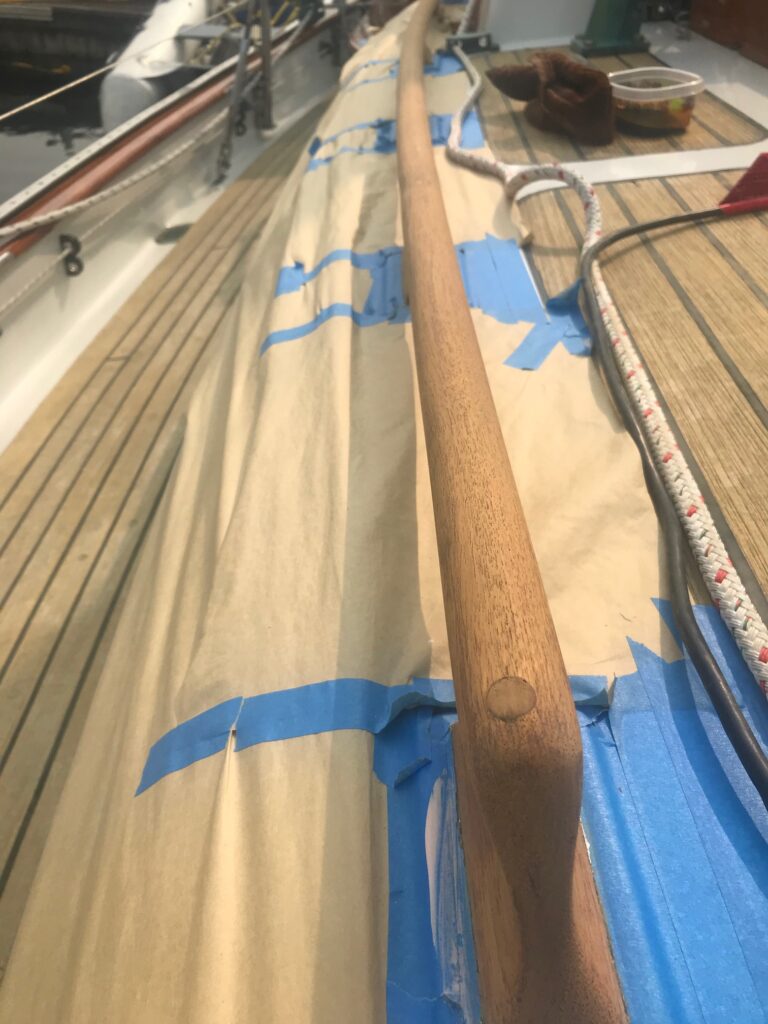
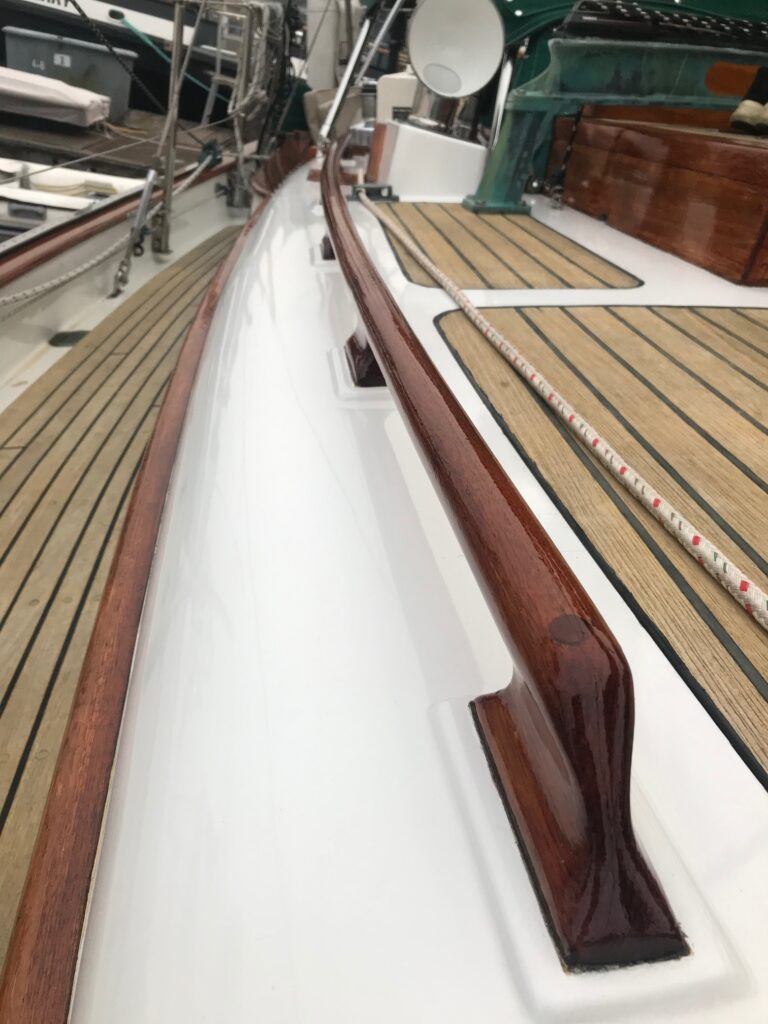
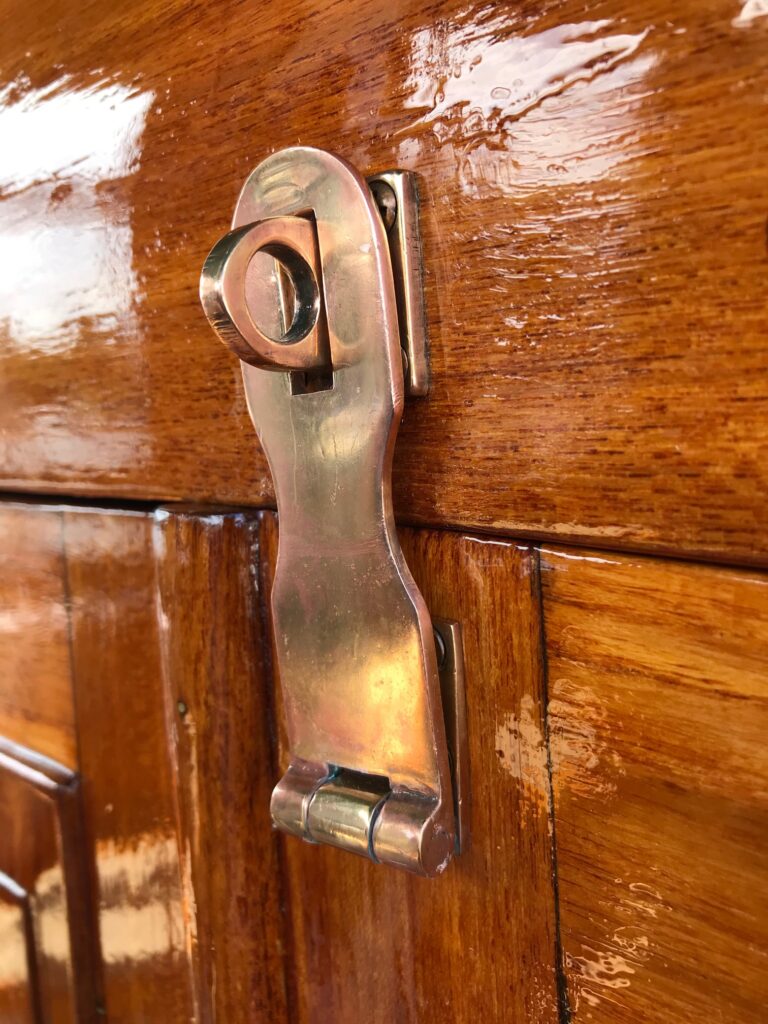
Interior Port Polishing
About every other year I go through the boat and polish up the interior side of the 16 bronze ports. A Dremel tool with a buffing attachment used with Flitz polishing compound speeds up the process. I also replaced the chain that holds the ports in the open position with new solid brass Single Jack chain.
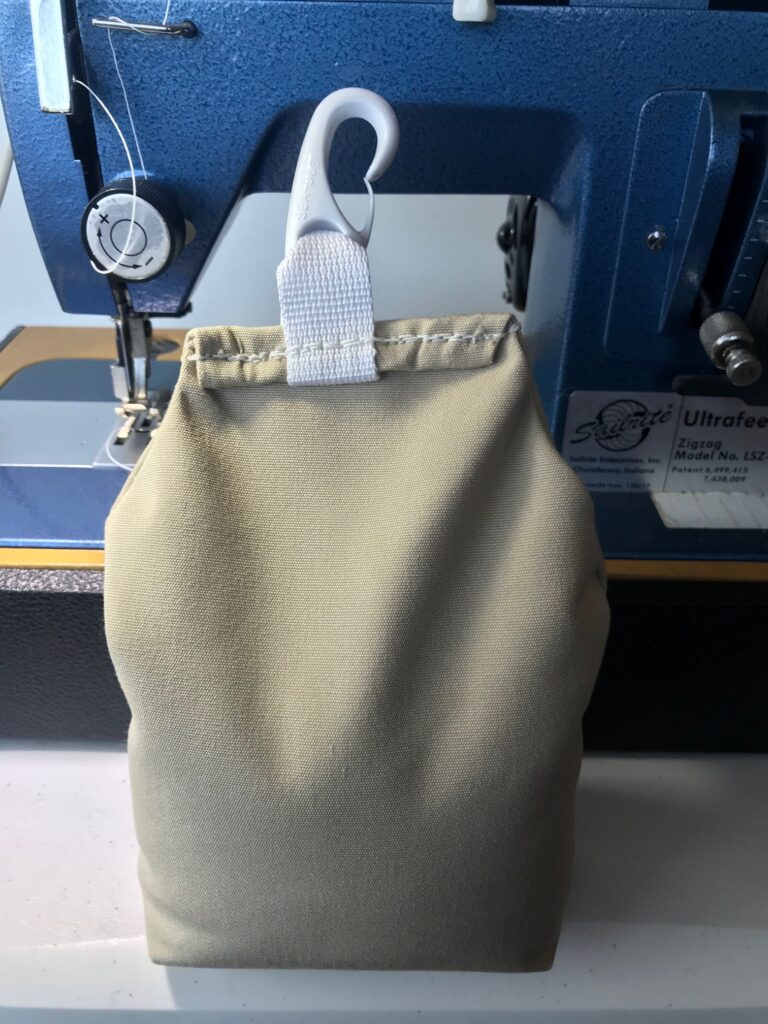
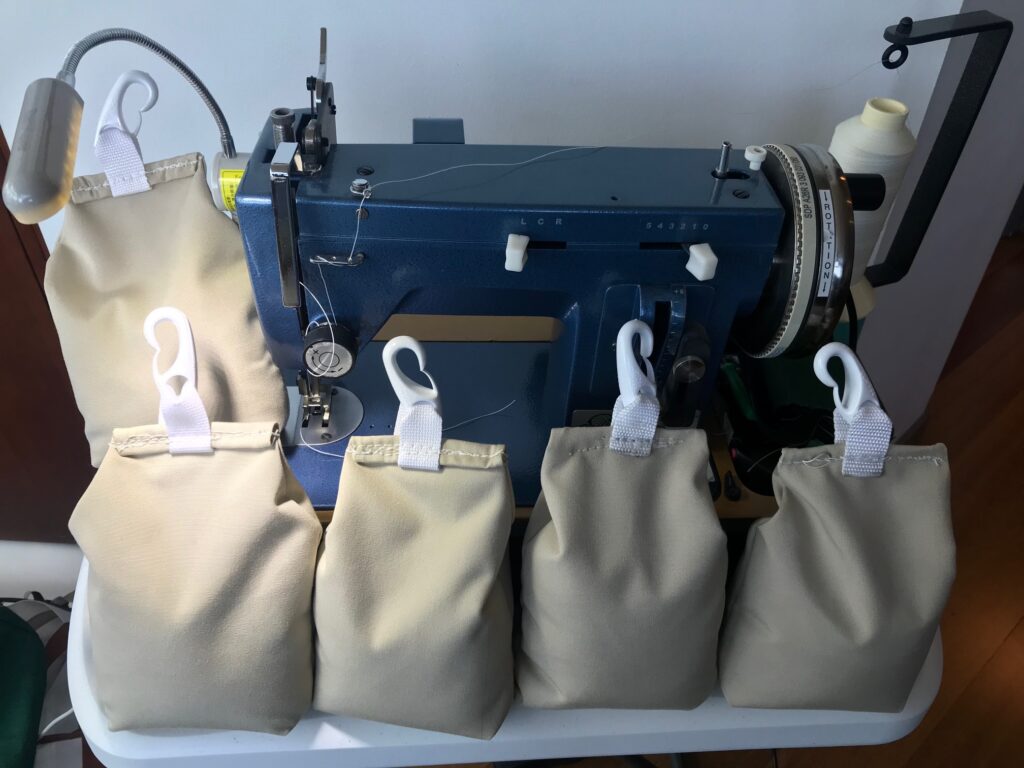
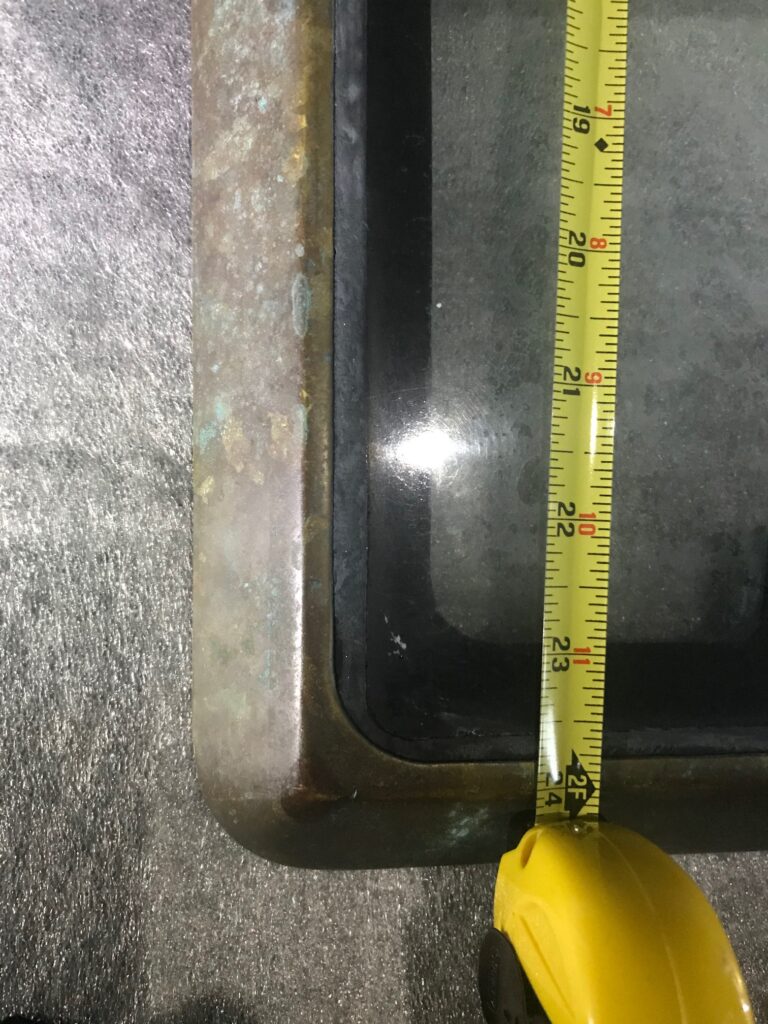
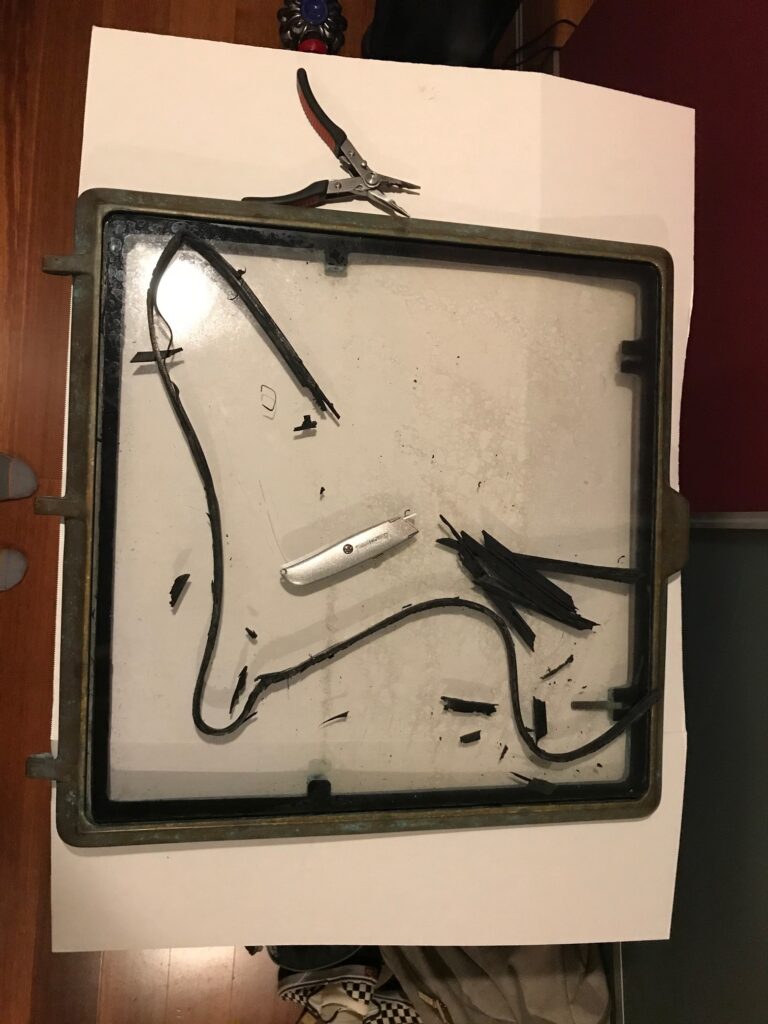
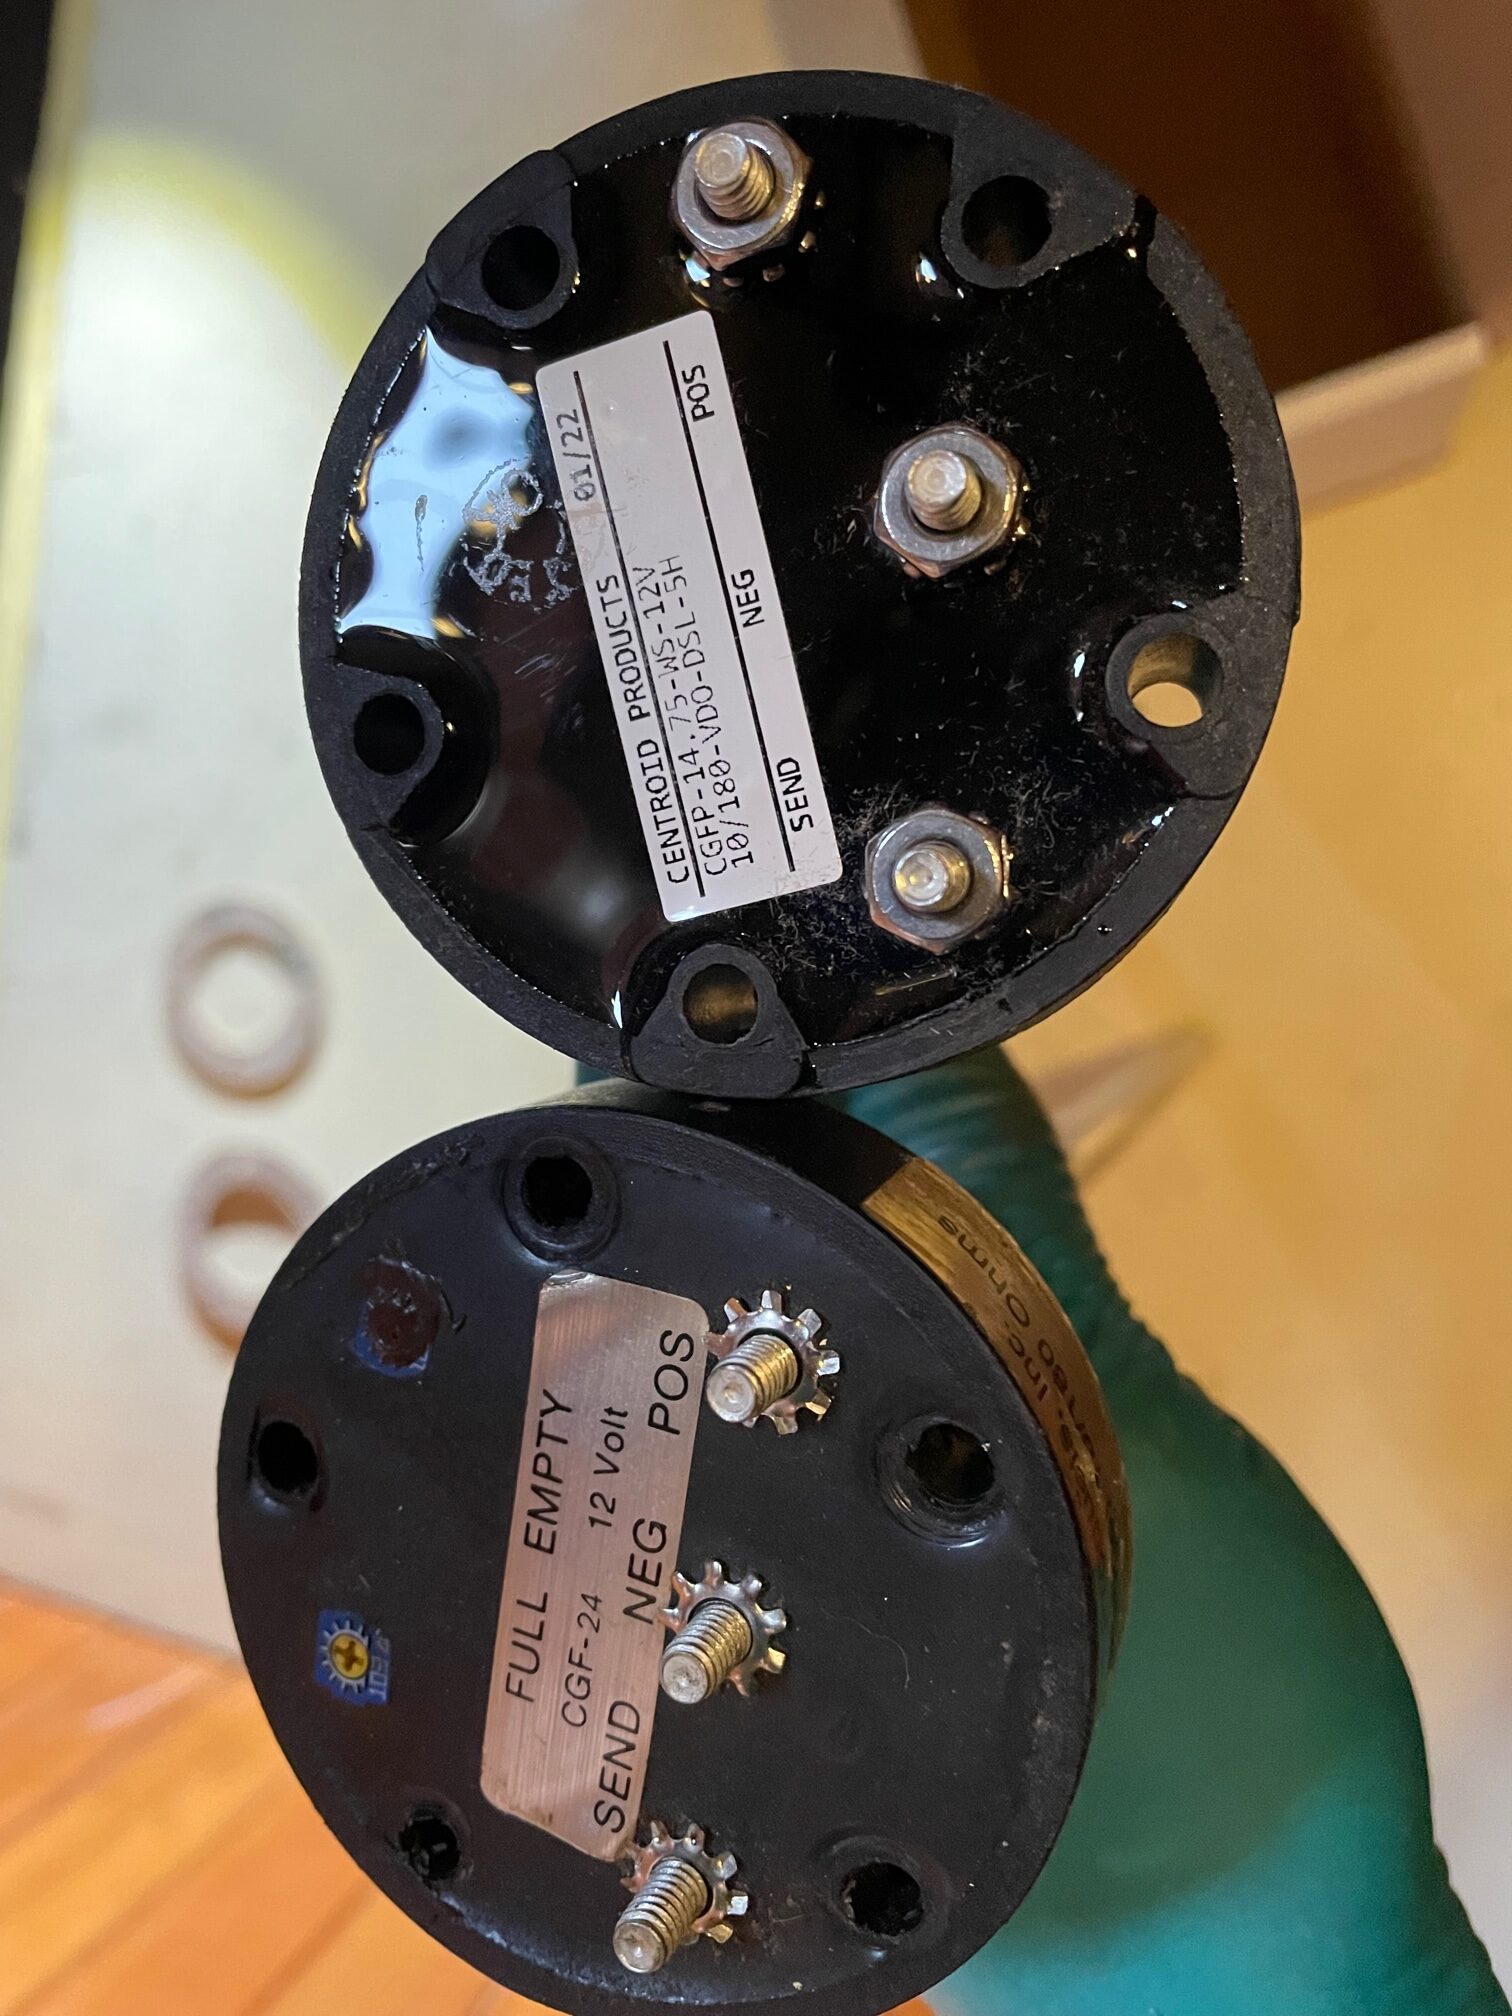
Diesel Tank Sending Units
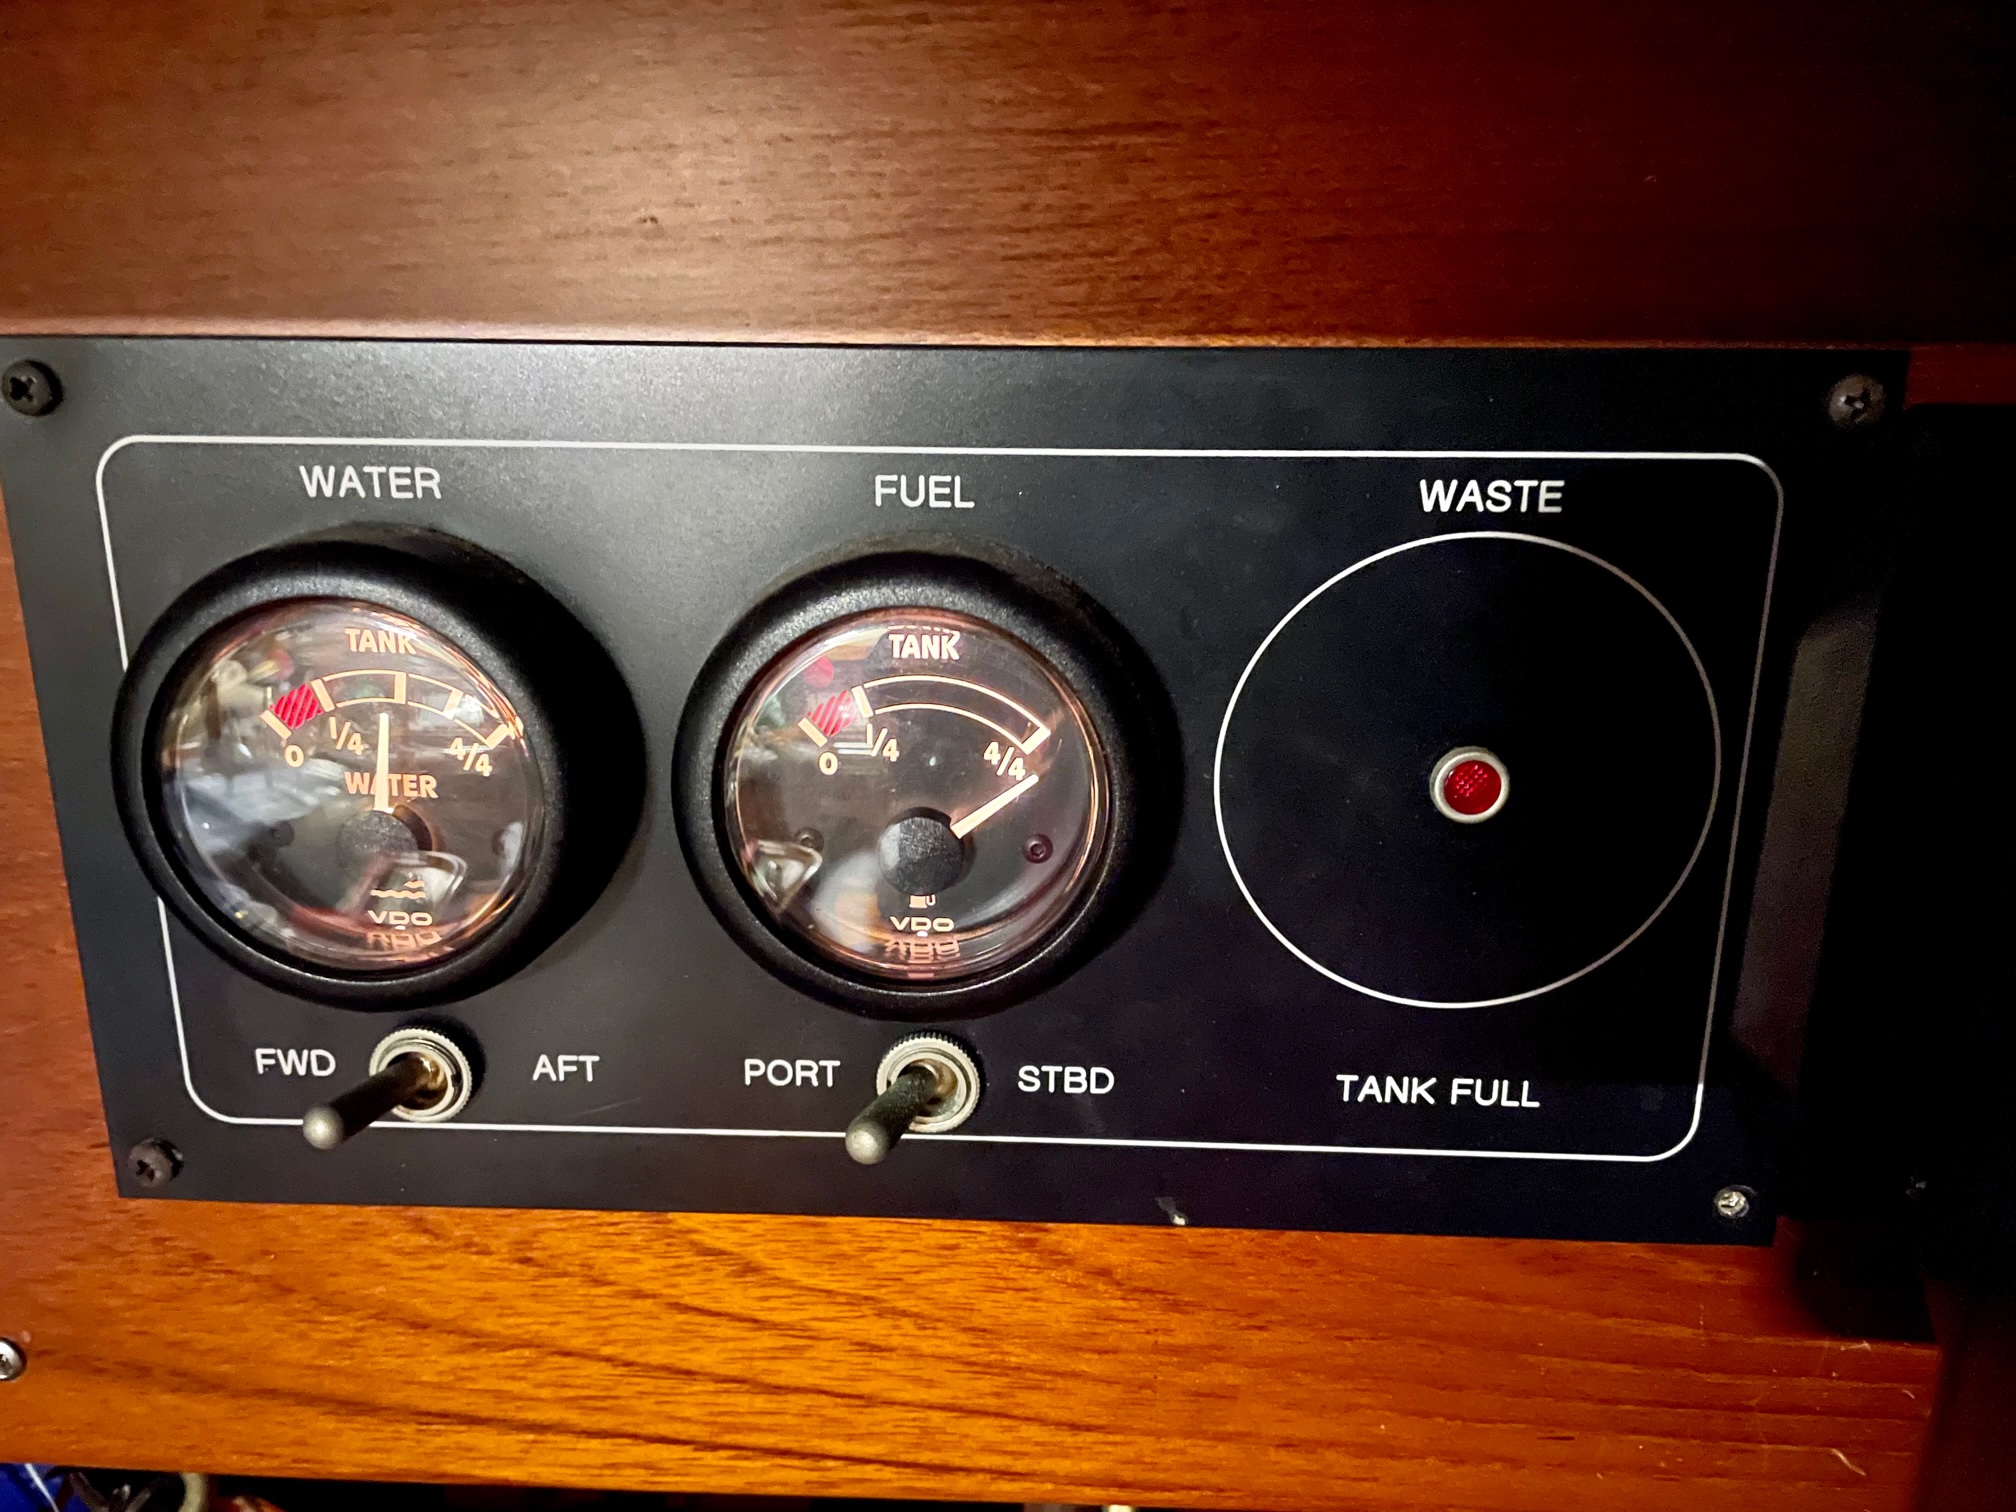
Both diesel tank sending units gradually became inaccurate and finally stopped working a few years ago. Based on measuring a capacitance change as the tank fuel level changes, they worked well for over 10 years. I keep track of engine hours and burn rate to calculate the approximate amount of diesel in the tanks, but having a tank gauge is always nice. I removed them from the tanks and was able to order new ones from the same manufacturer, Centroid Products. They even had the paper record dating back to 2004 from the original purchase filed under my boat name! The tube length is 14.5″ so it’s about a half inch from the bottom of the deepest part of the tank. Installation was easy and now I have accurate tank level readings that are displayed on a VDO gauge that has a selector switch for port and starboard tanks.
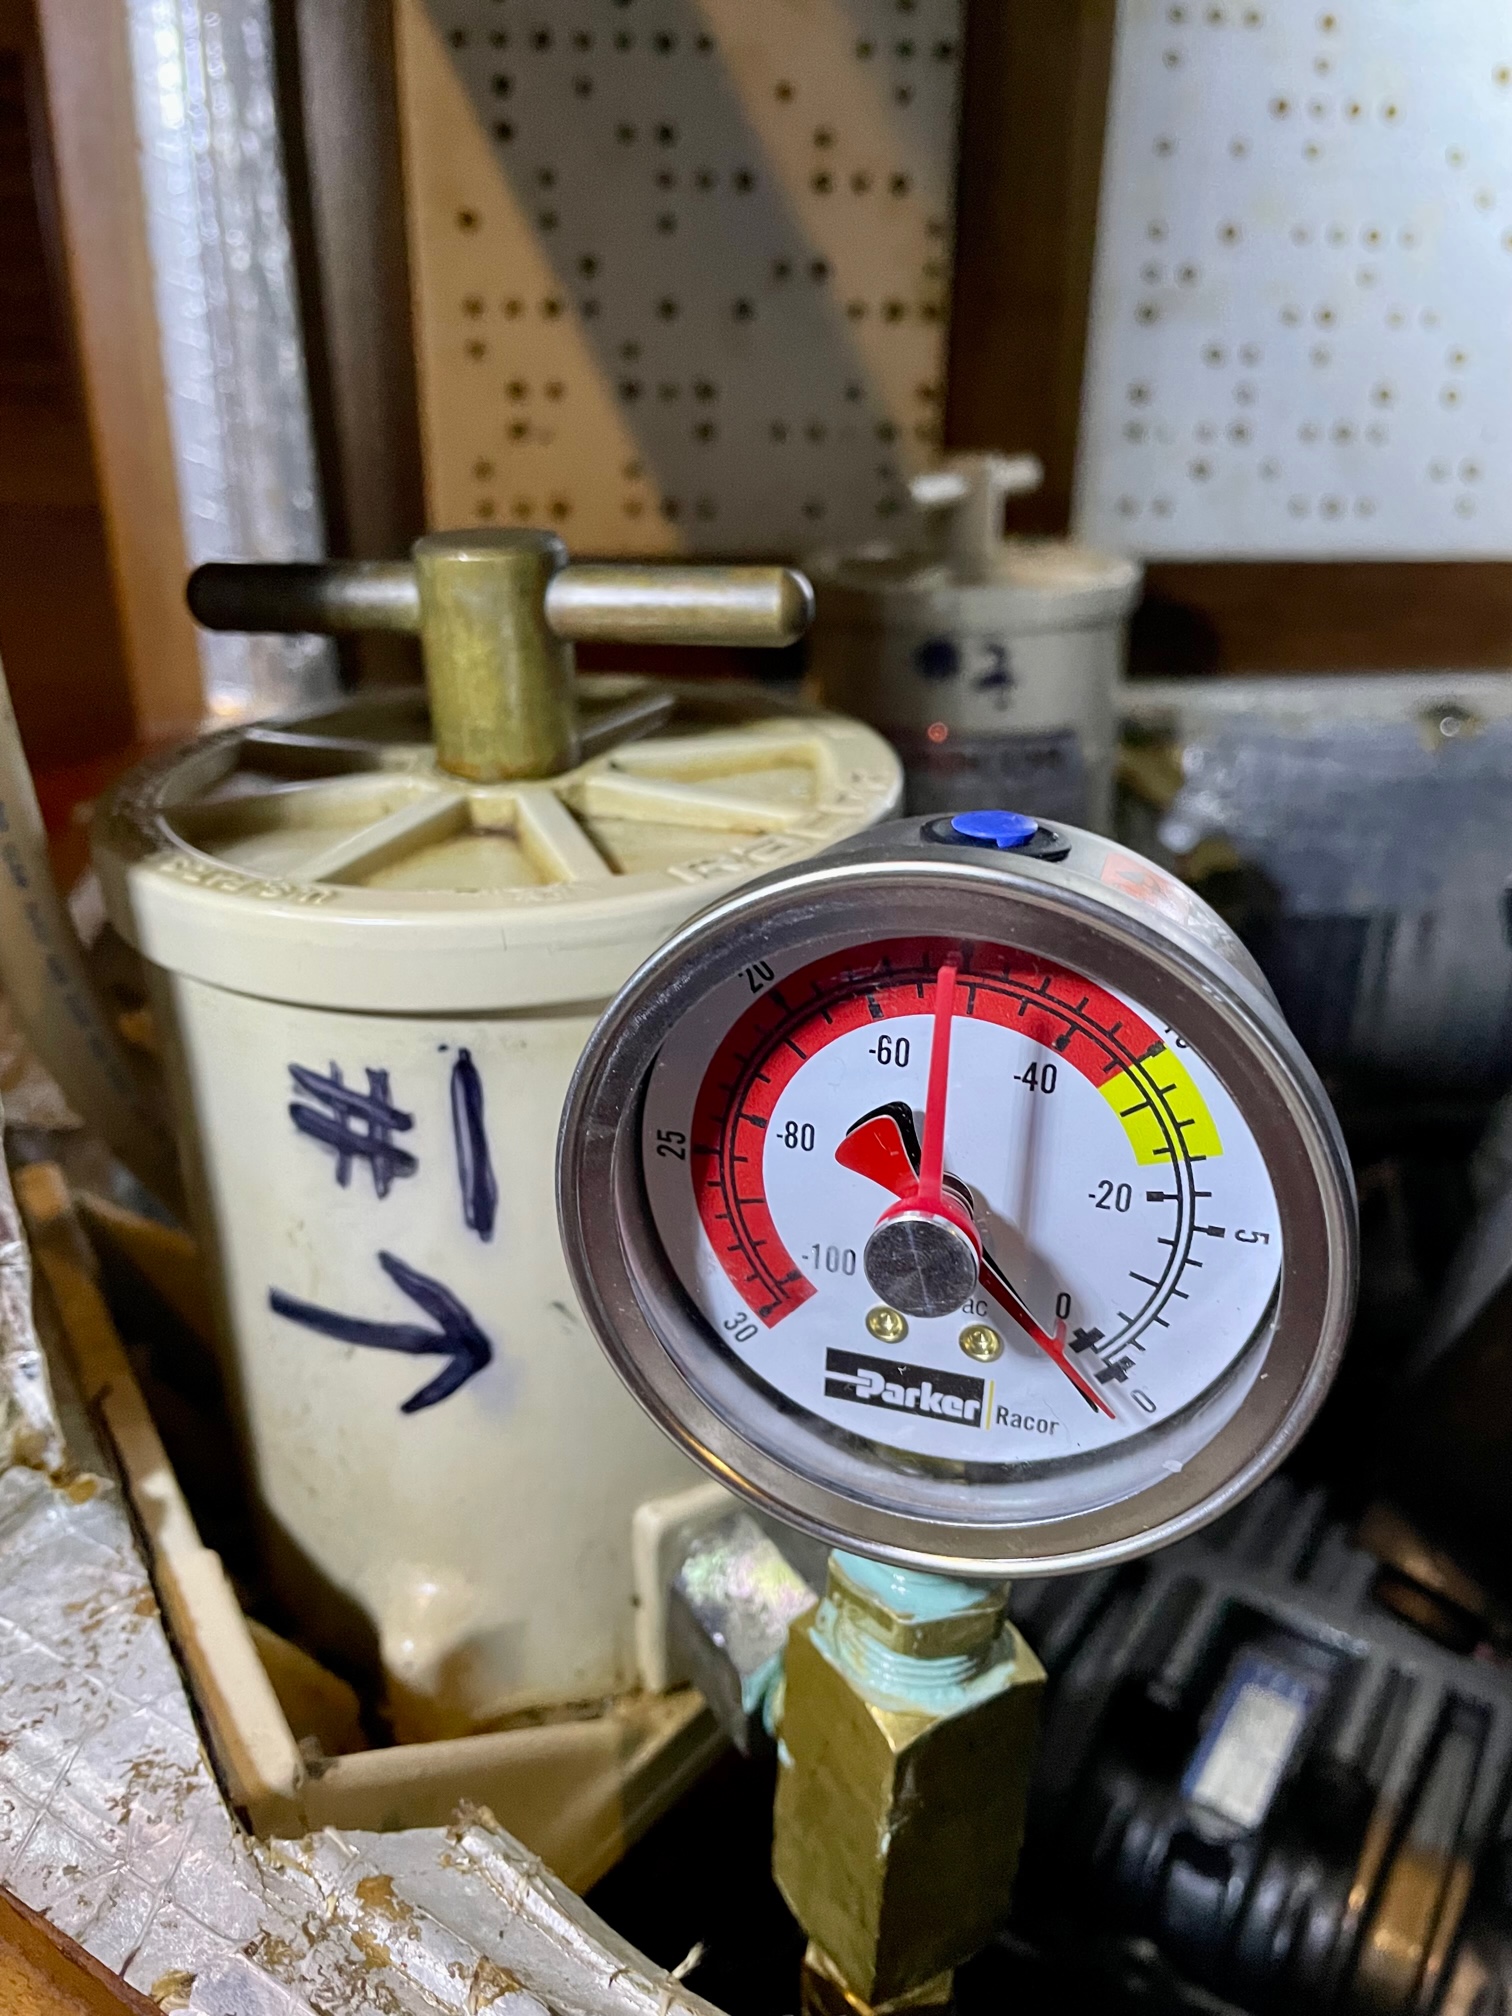
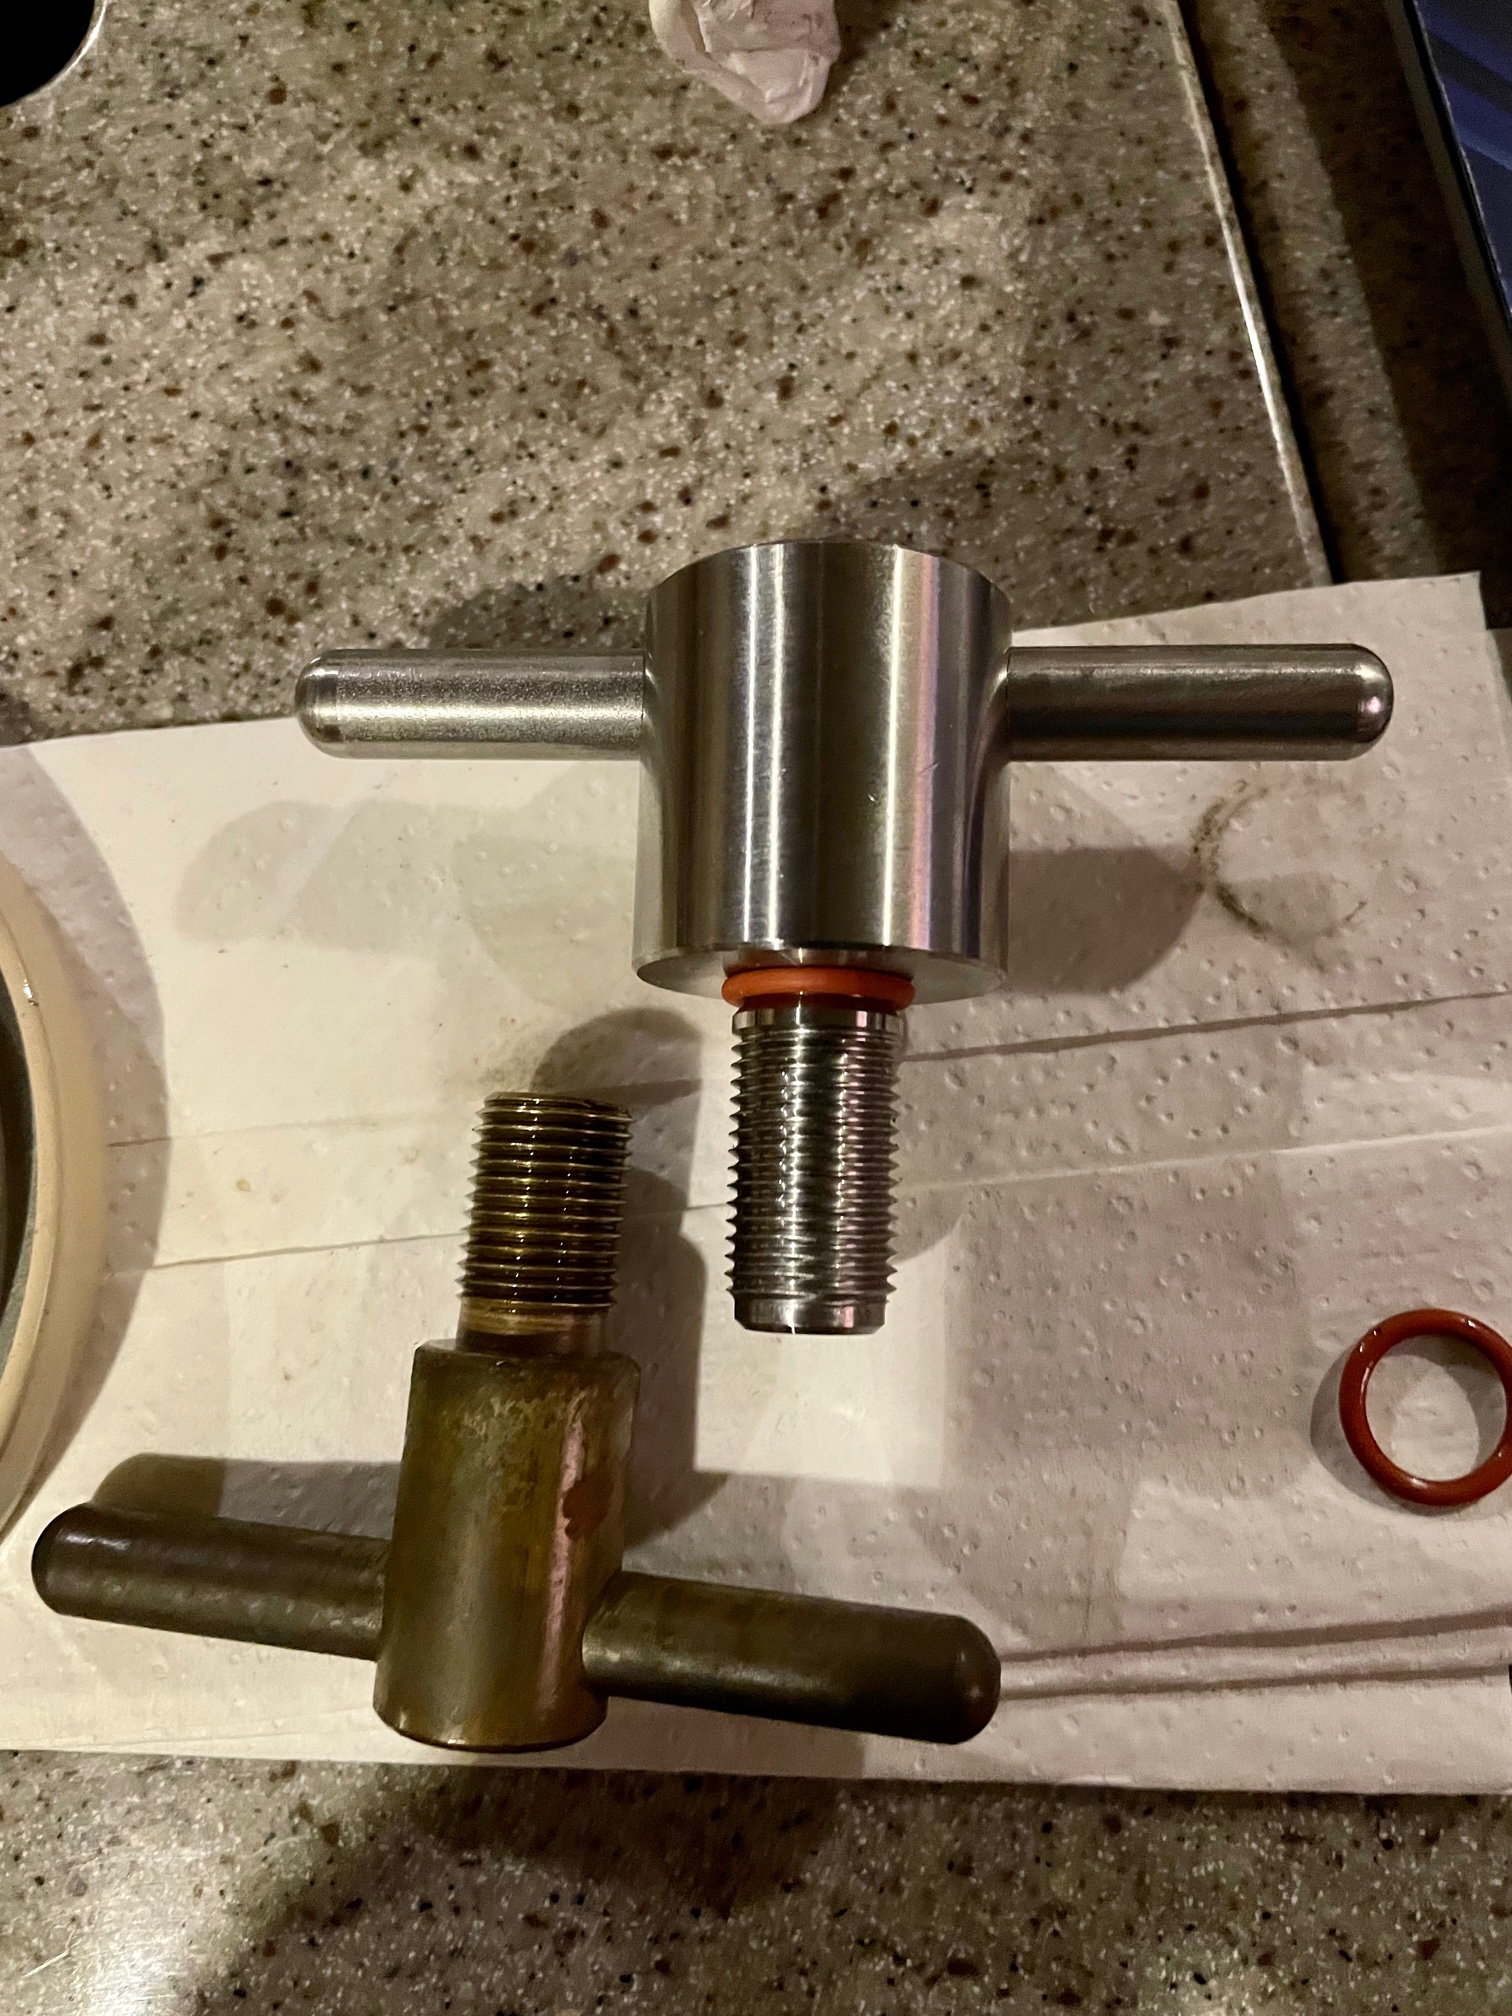
Diesel Vacuum Gauge
Diesel flows from the tanks to the engine, and in between is a Racor fuel filter. Since the fuel pump is on the engine, the diesel flows in a vacuum through the filter. Knowing the vacuum level helps to determine when the filter element needs changed. As the filter becomes clogged, vacuum increases. Parker, the maker of Racor diesel filters, makes a convenient “T” handle vacuum gauge that replaces the regular “T” handle on top of the Racor filter housing. Unfortunately, the threads on the “T” handle are too long for pre-2004 Racor housings so I wasn’t able to mount the gauge on the top. Instead, I added a bronze T-fitting at the output port of the Racor and threaded on the vacuum gauge. The gauge has a red stationary needle that can be set anywhere, a red moveable needle that indicates the maximum vacuum that was reached (and can be reset with the blue button at the top of the gauge), and a black needle that indicates the real-time vacuum. In my dual Racor system, the gauge will measure vacuum in whichever Racor is selected.