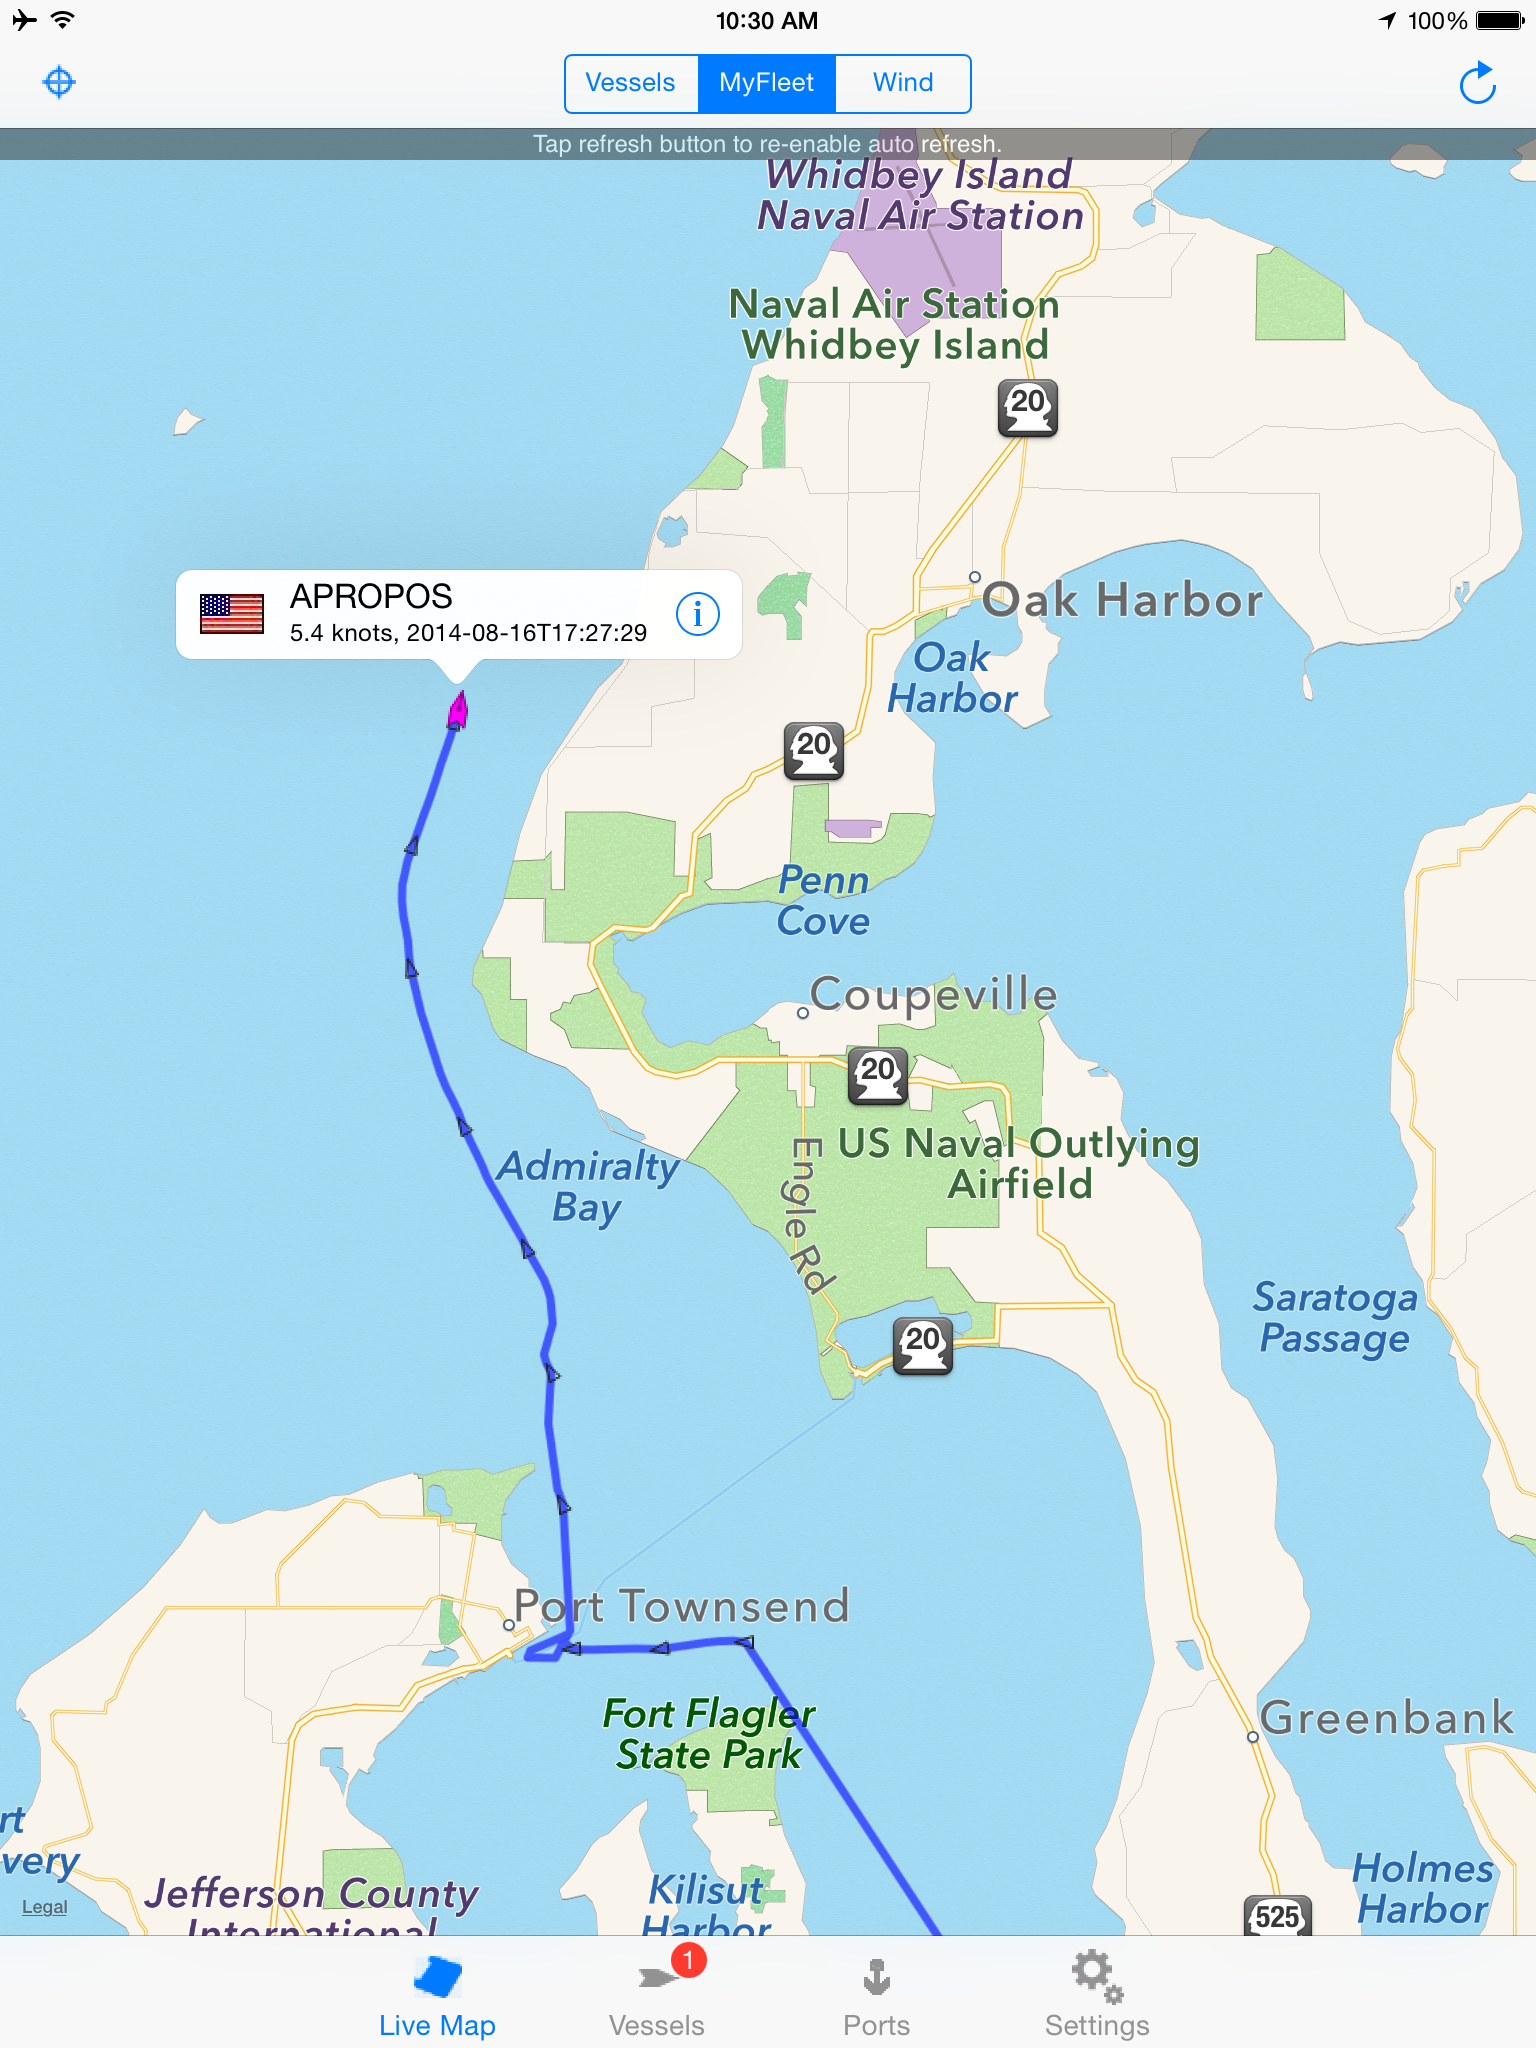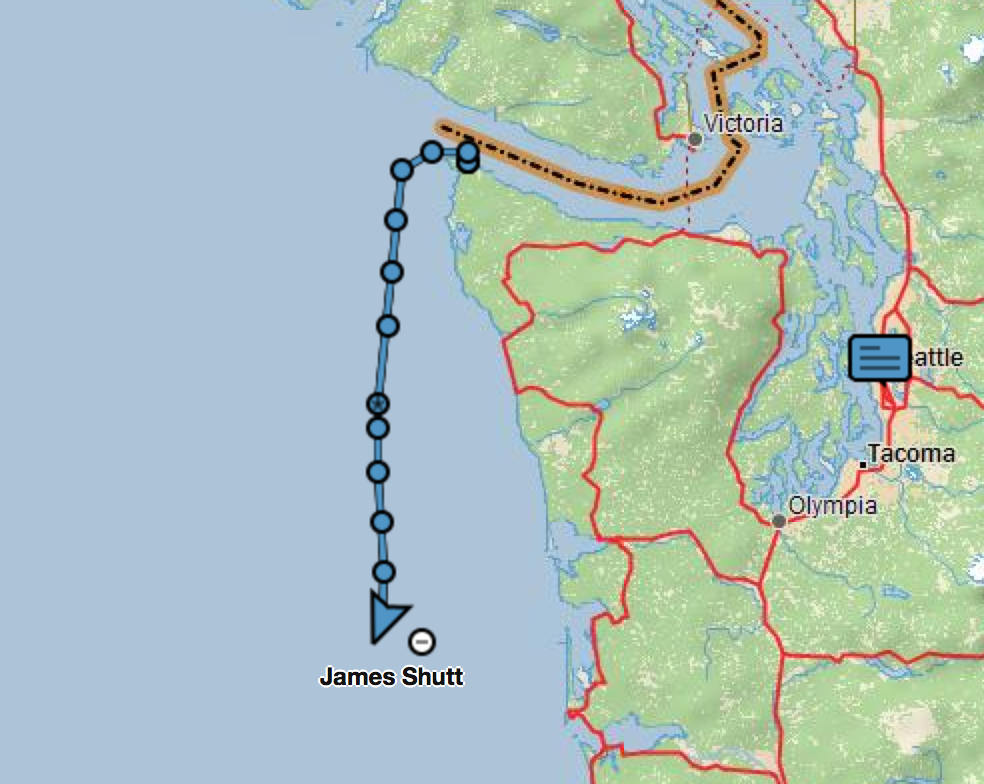
Their progress at 0630 today shows boat speed at 5knots and almost to the state border.
This is a test mail to see if I can update the blog via SSB radio.
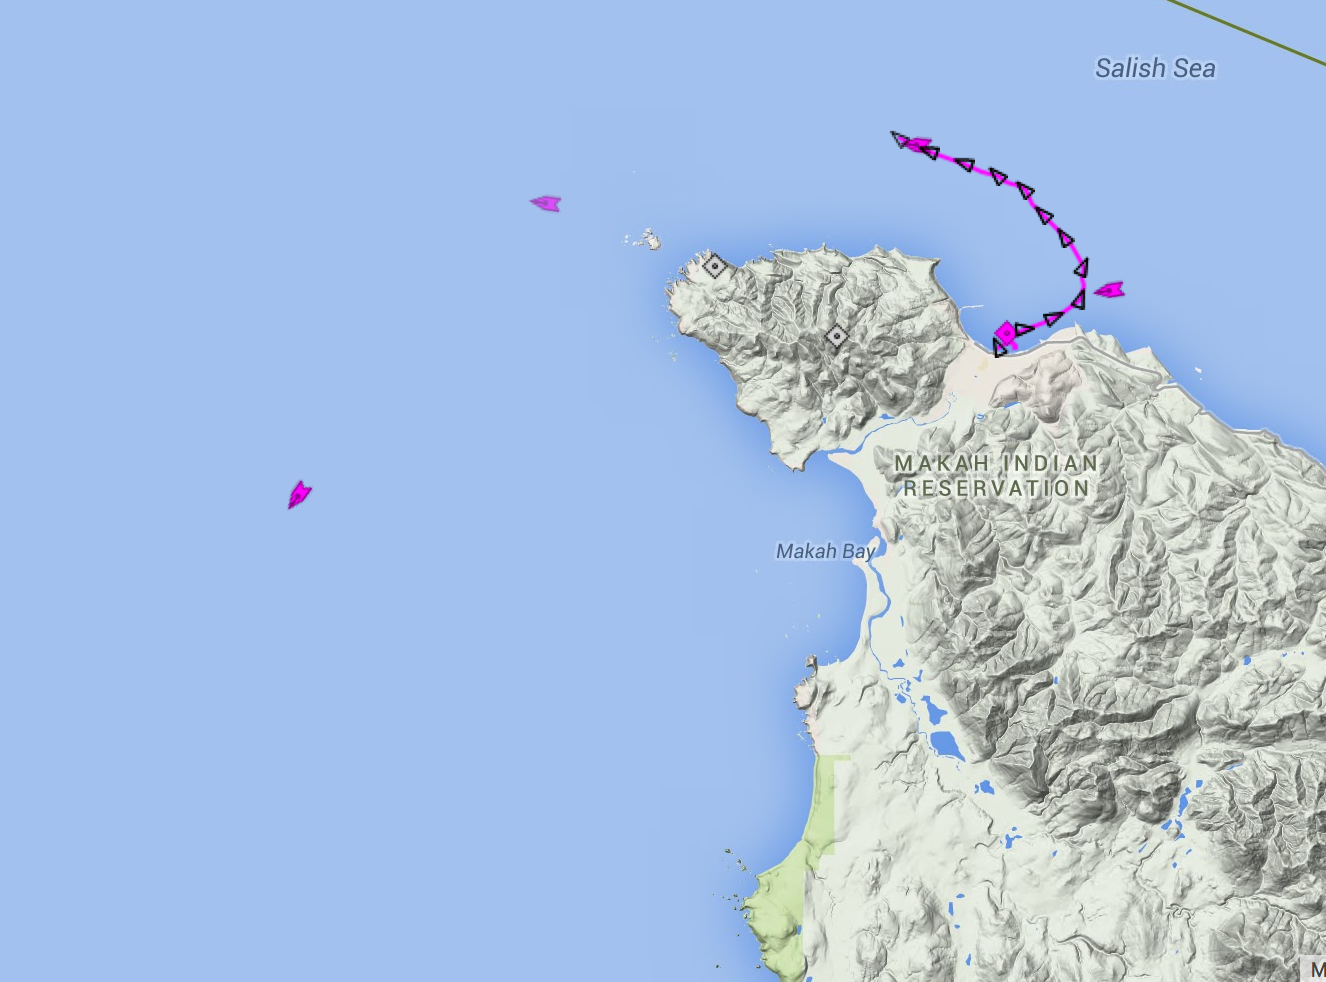
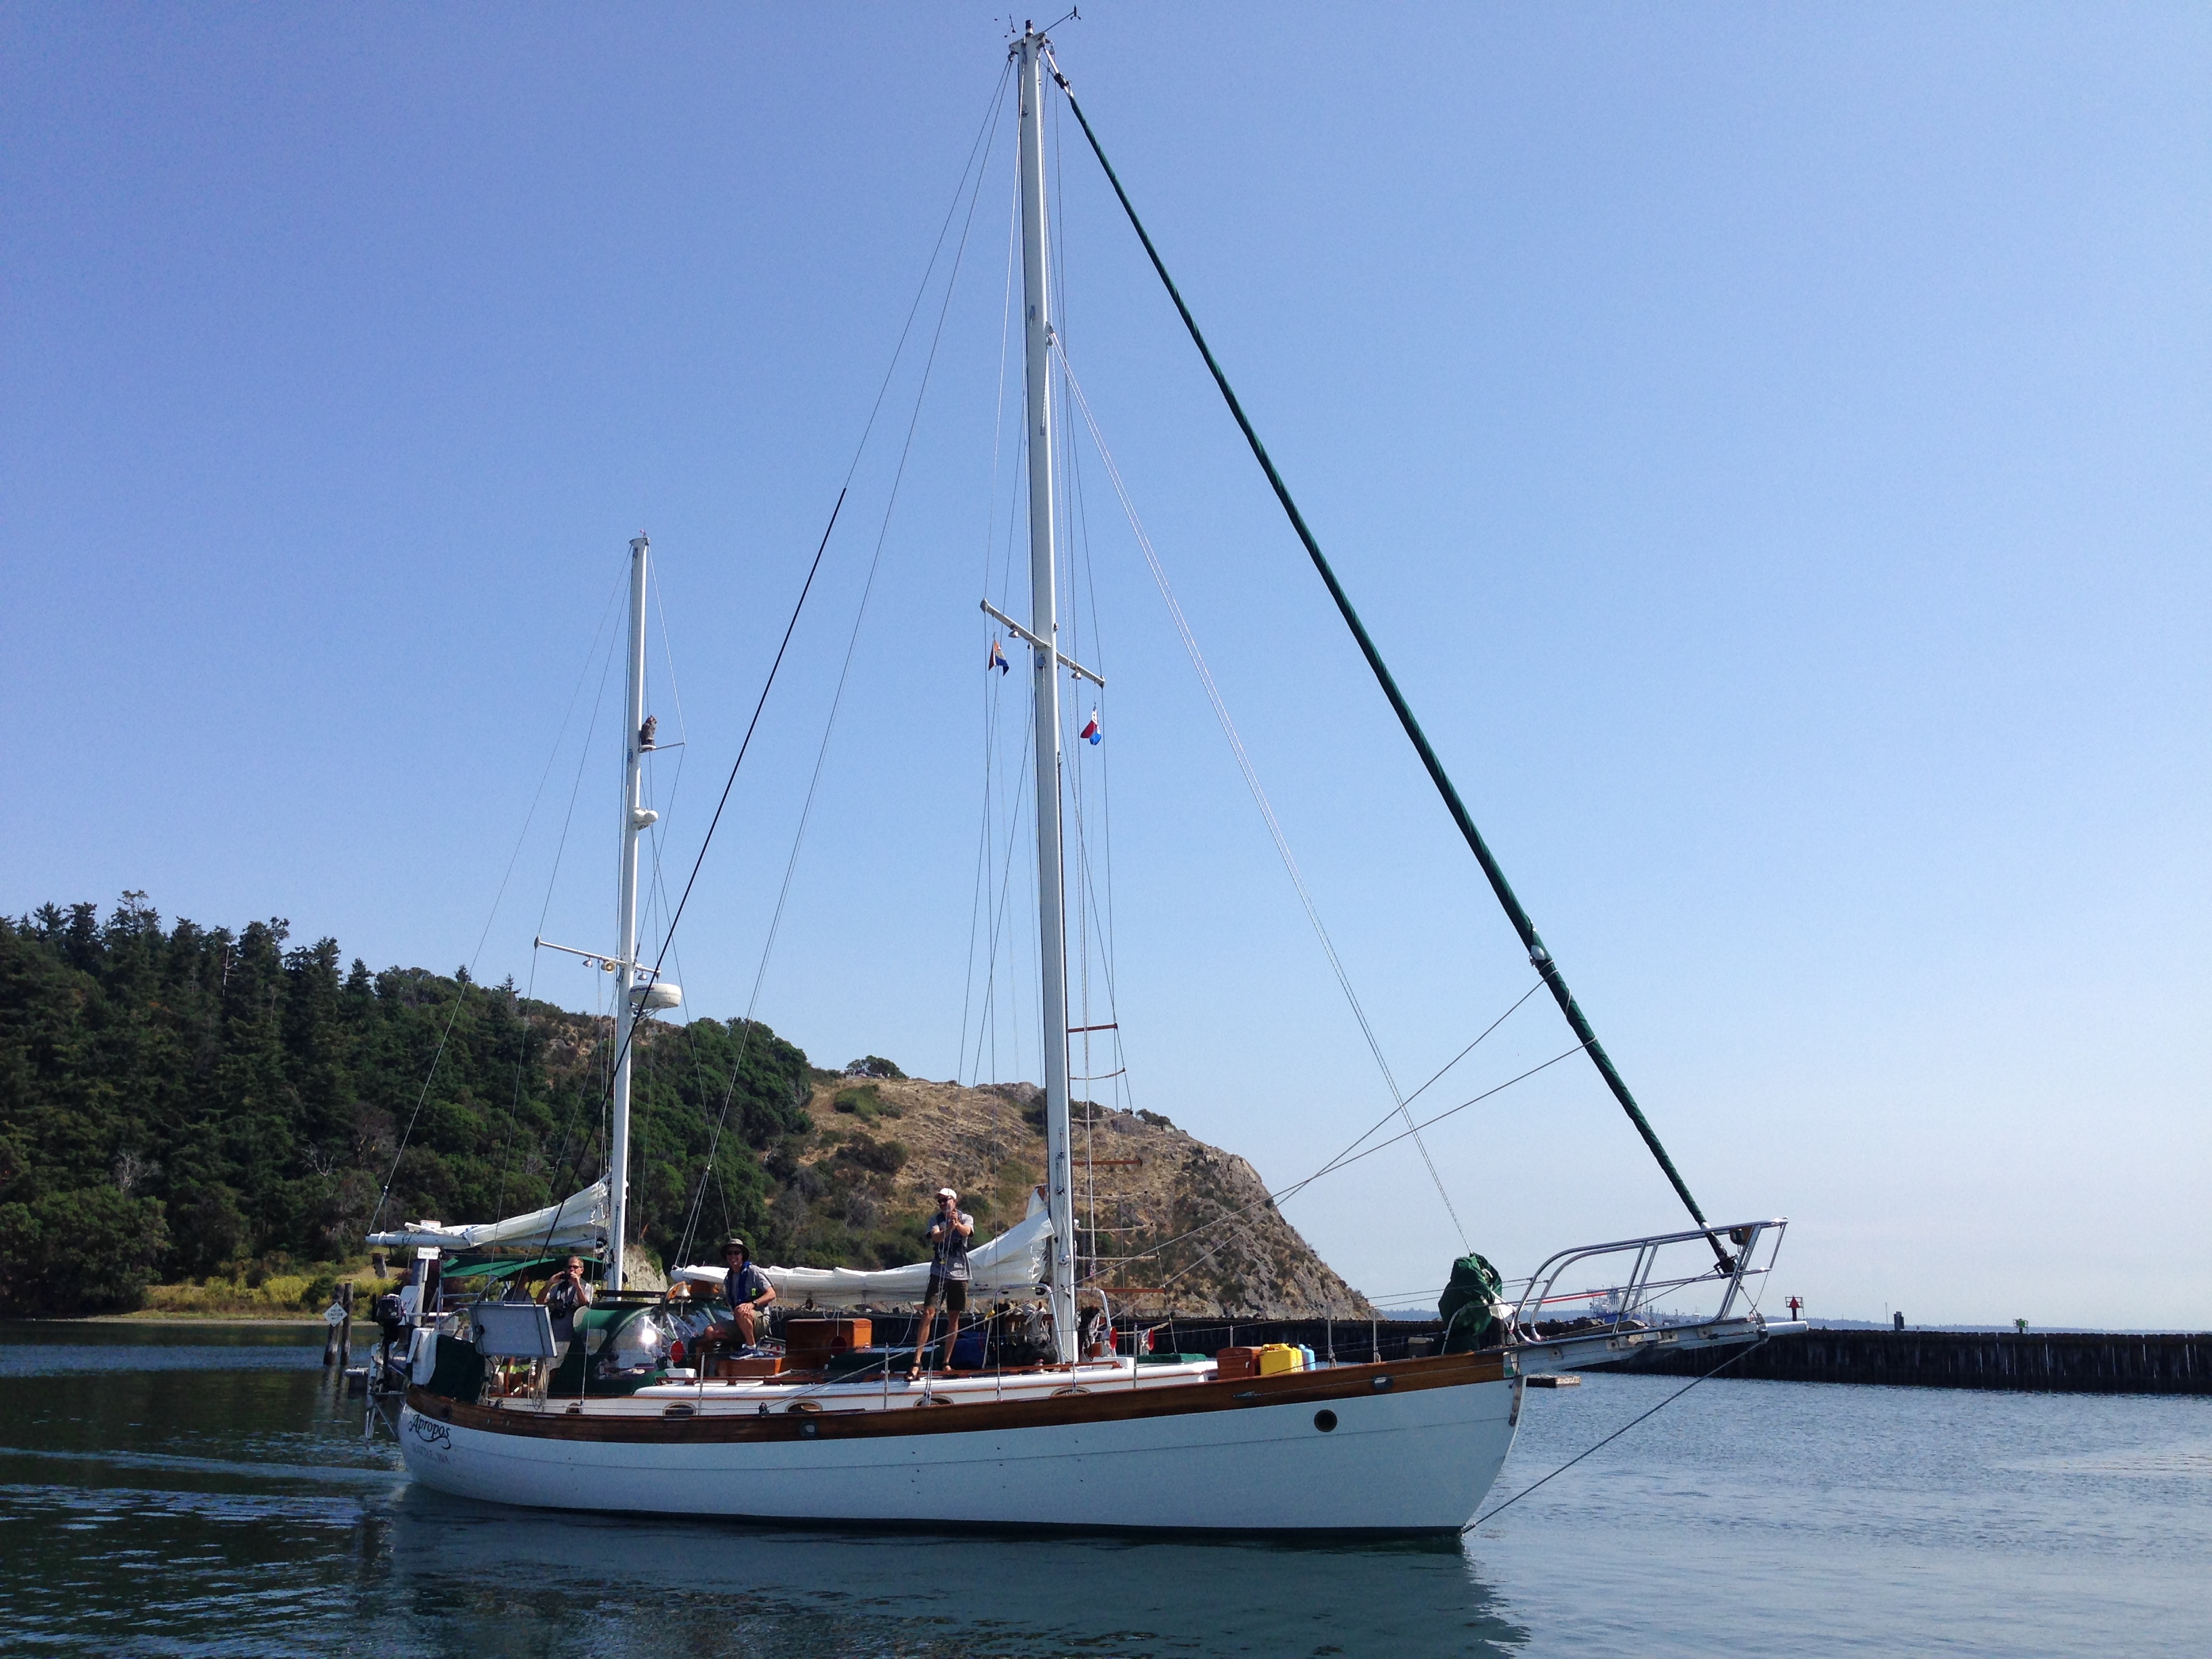
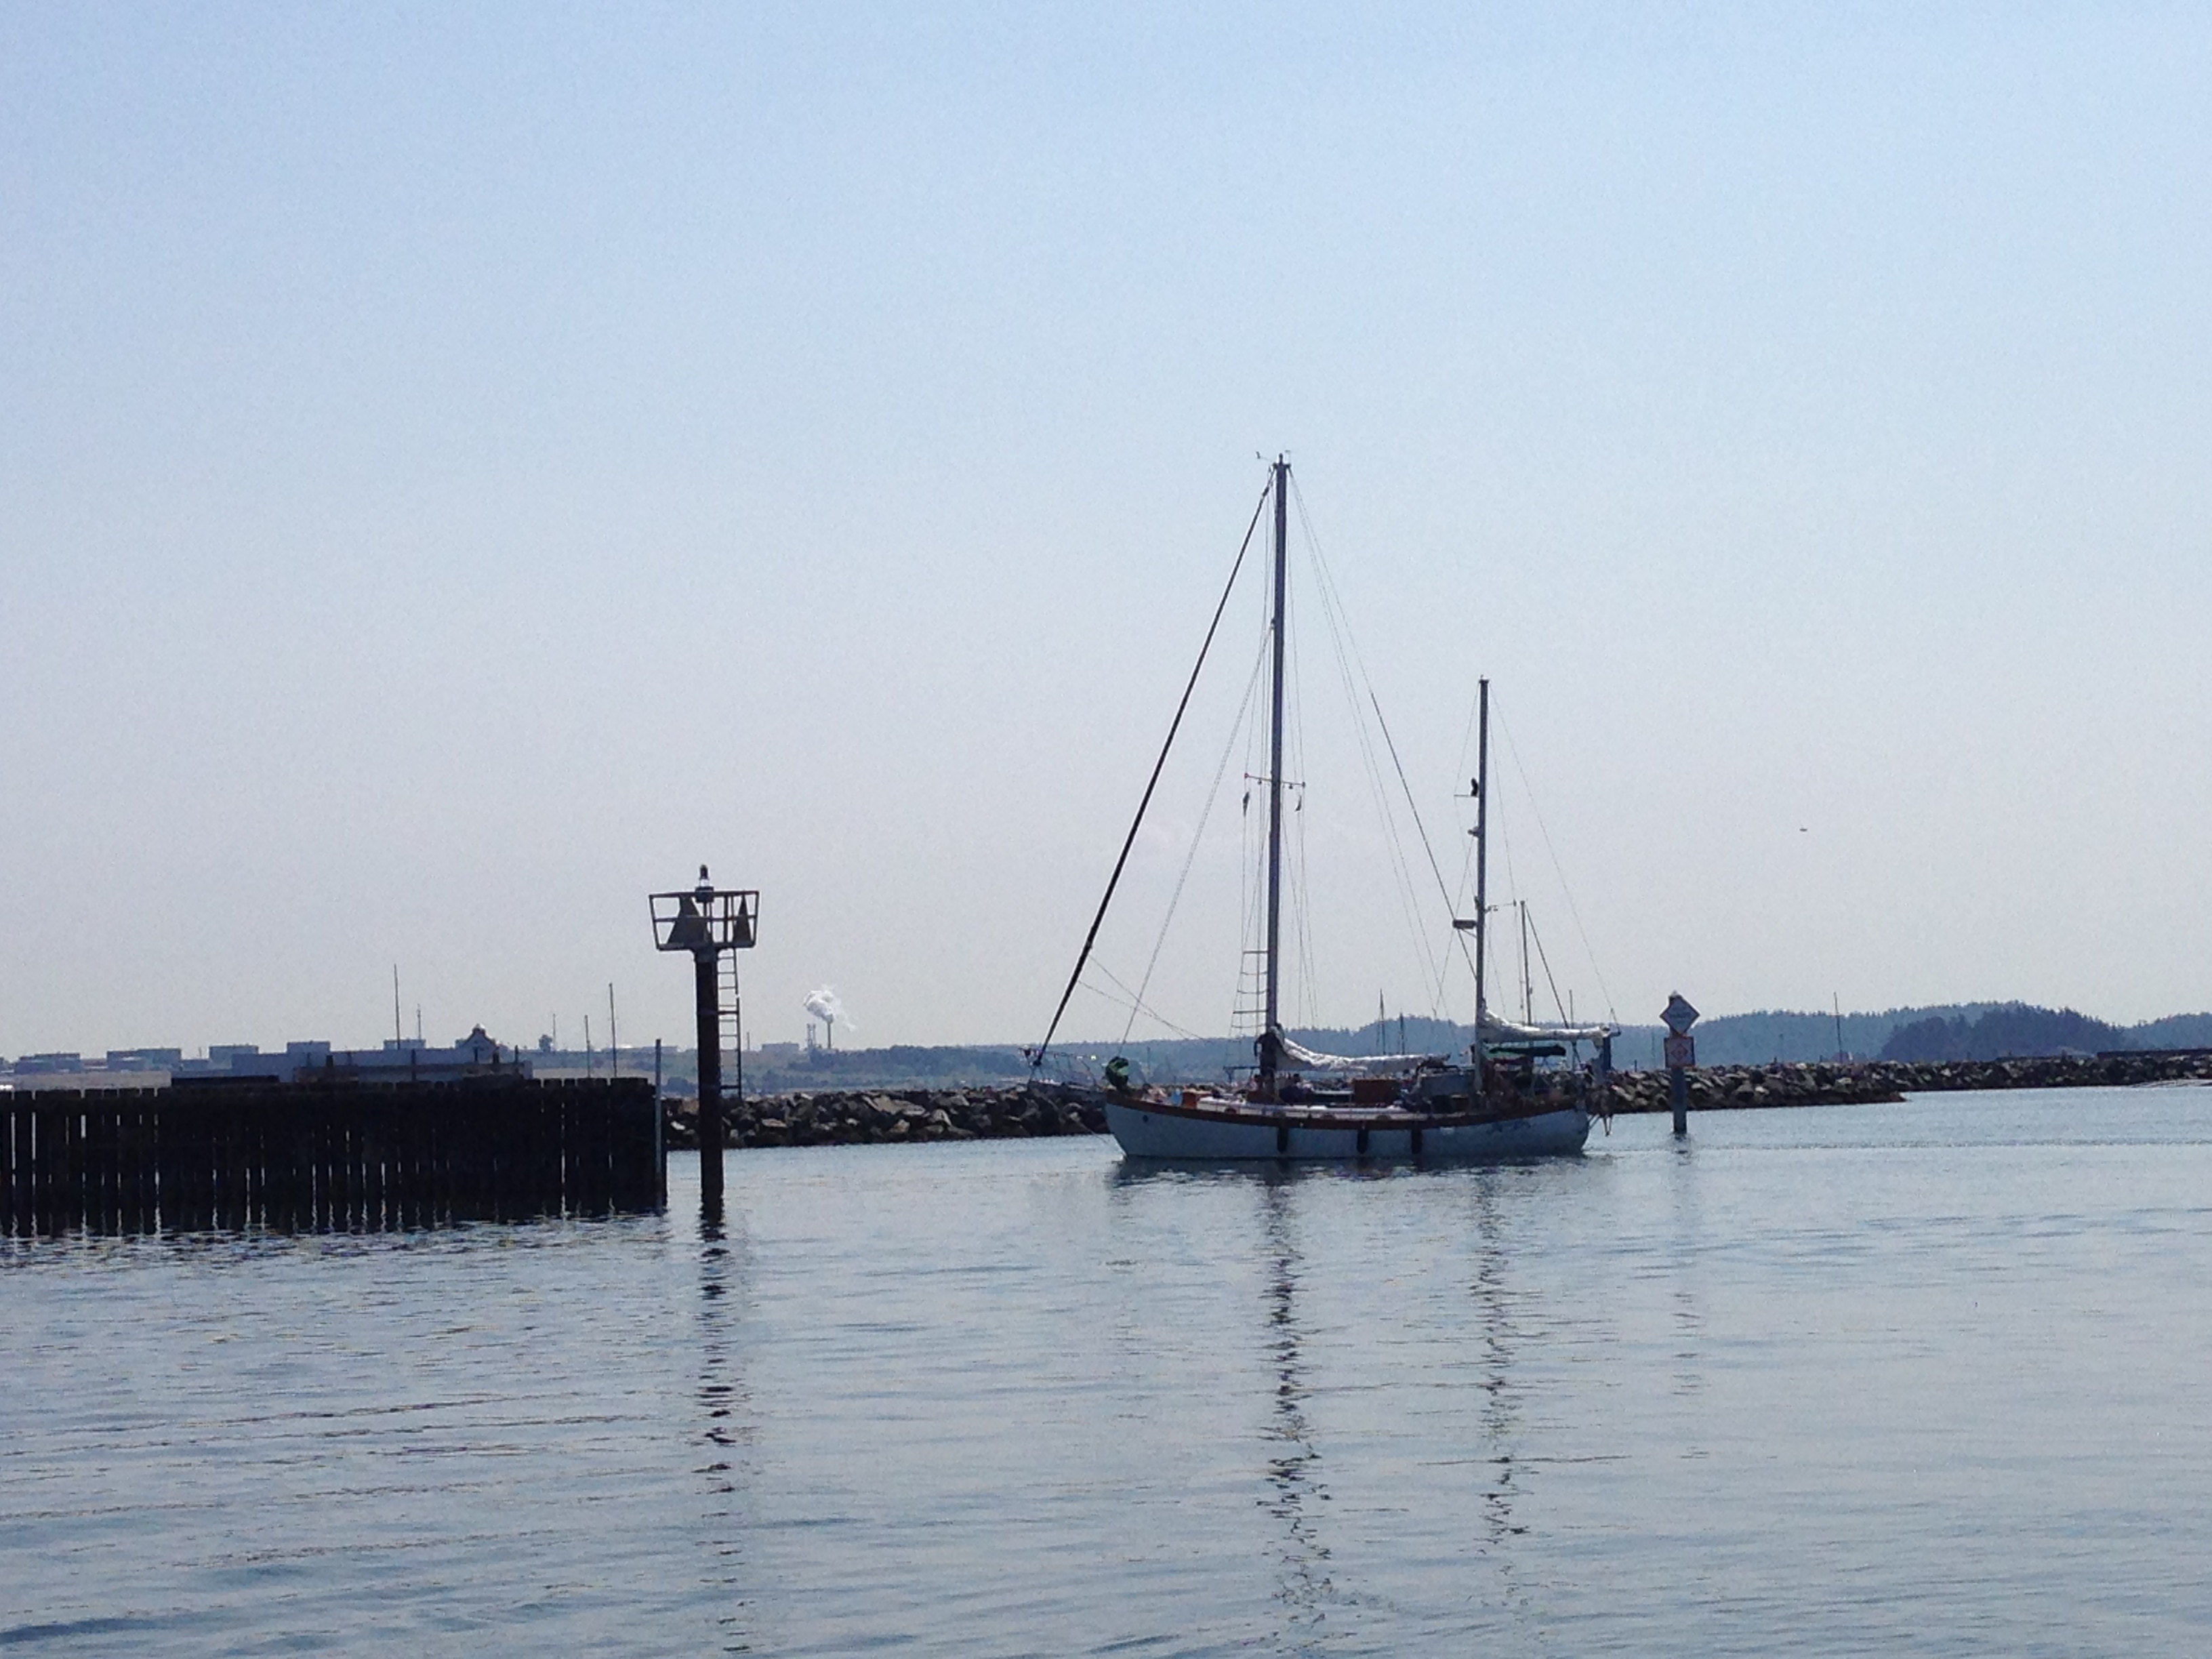
Our trip from Anacortes to Port Angeles went well. After motoring a few hours, the wind picked up and we crossed the Strait of Juan de Fuca under sail. Apropos was well balanced with the Genoa, Main, and Mizzen out. We tried out the windvane (mechanical autopilot)with much success! It’s an older Fleming model but very well built. We decided to name him Ian (Ian Fleming–bond 007). So Ian steered us on course for a few hours close-hauled in 10 knt winds. Pulled into Port Angeles after dark around 10pm after motoring the final 2 hours into a headwind–very bouncy. Decided not to take a chance on snagging a log with anchoring and pulled into the dock. Up today at 4am and left by 4:20am to catch a nice ebb tide and currently 11nm west of PA motoring at 6knt with a beautiful sunrise. Should reach Neah Bay mid afternoon.
It was a morning of frenzied activity after the Pirate Party at Anacortes Marina last night. Despite that Jacintha managed to set up her art and tattoo stall. Unfortunately all the pirates were on their boats nursing their sore heads from too much grog the night before . So business was sloooow.
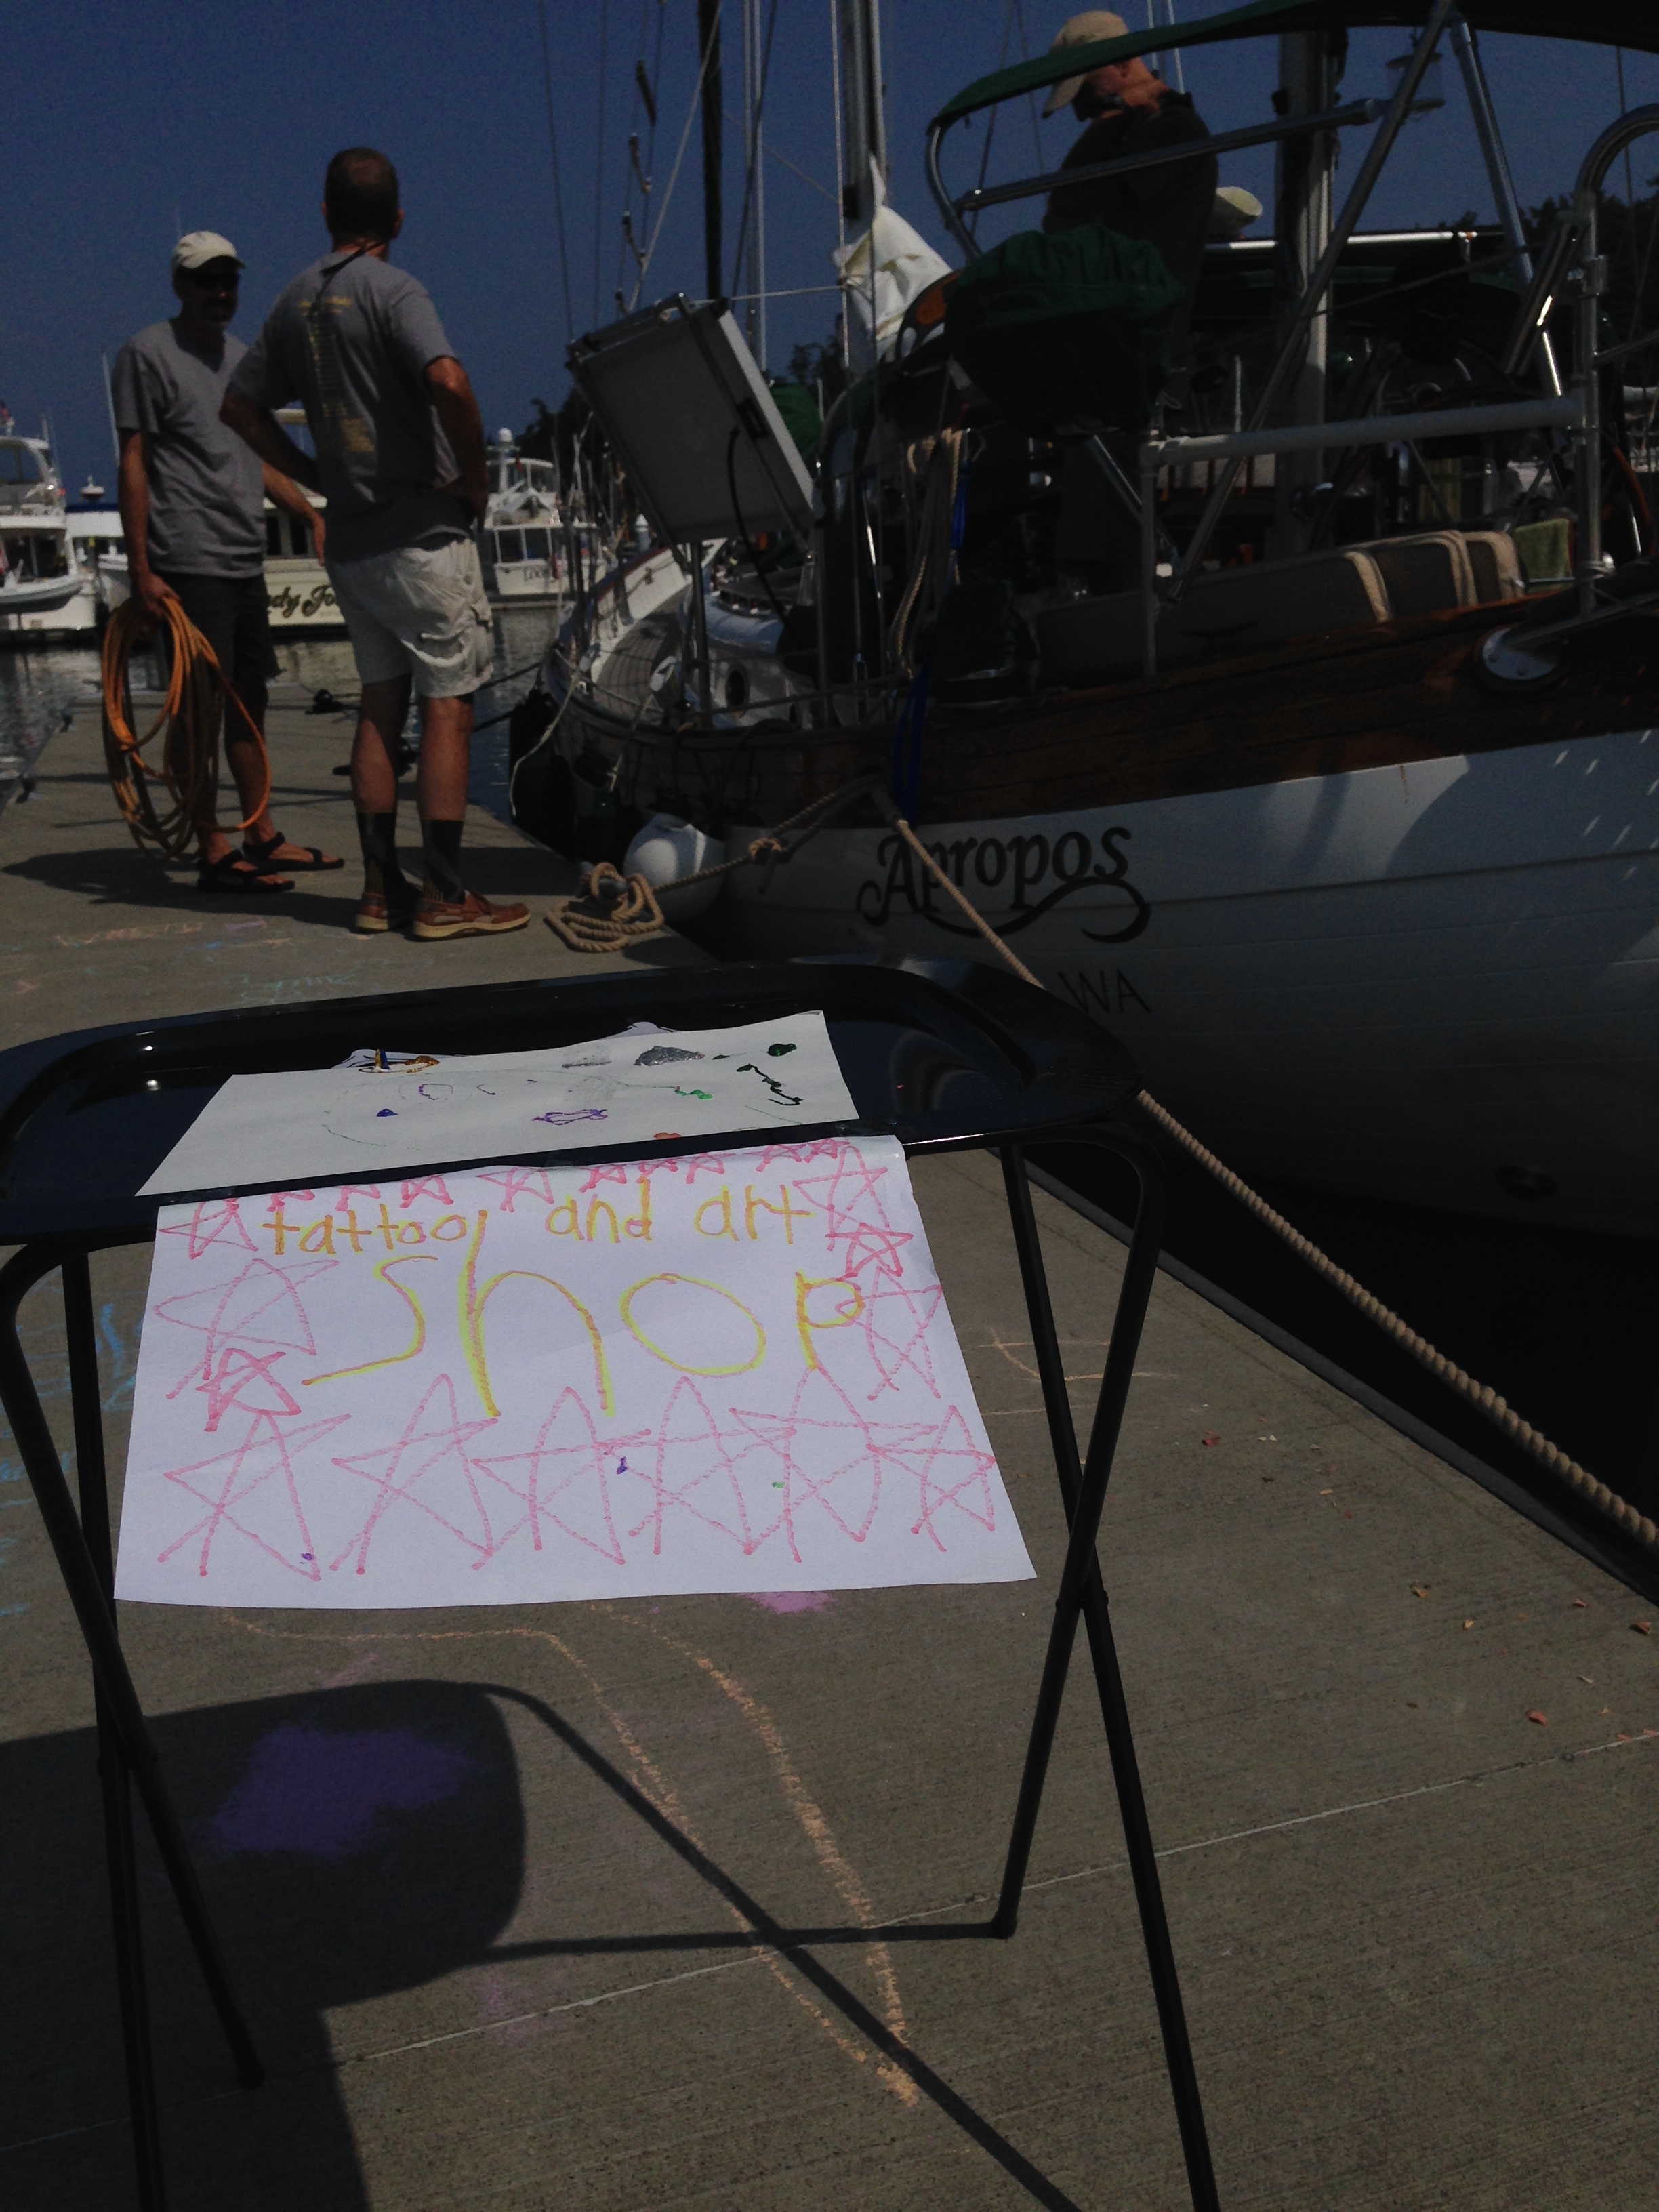
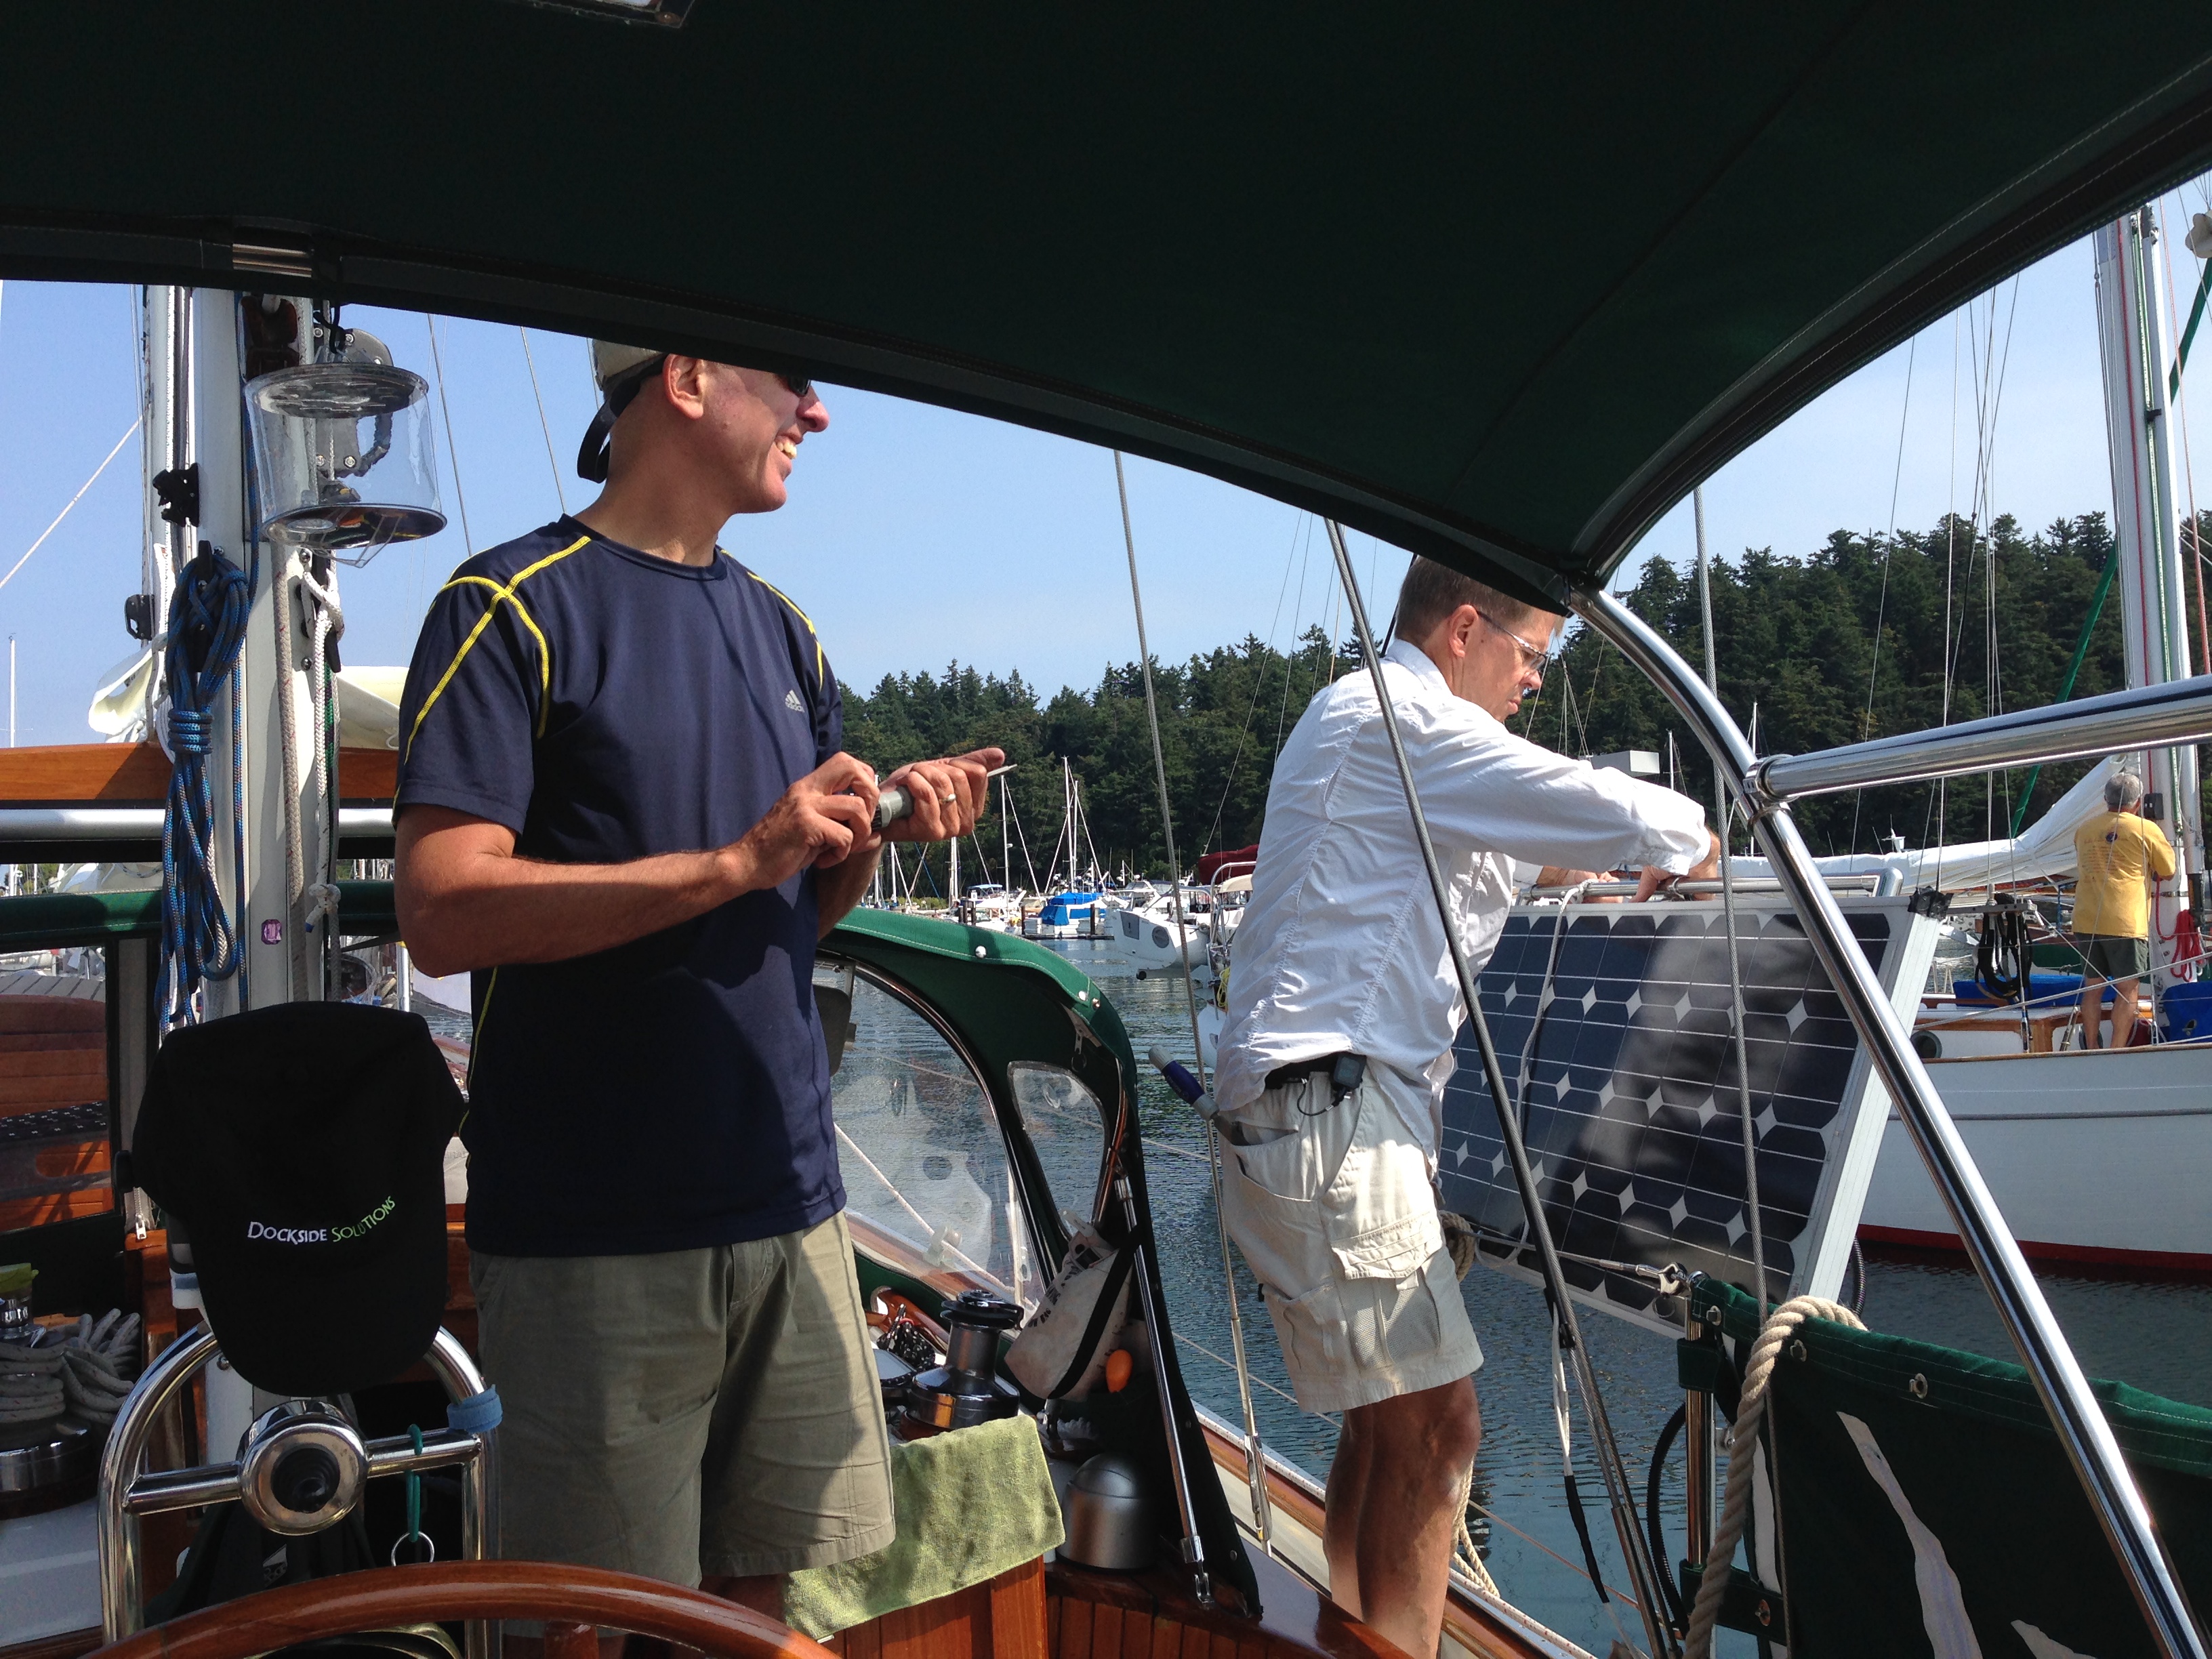
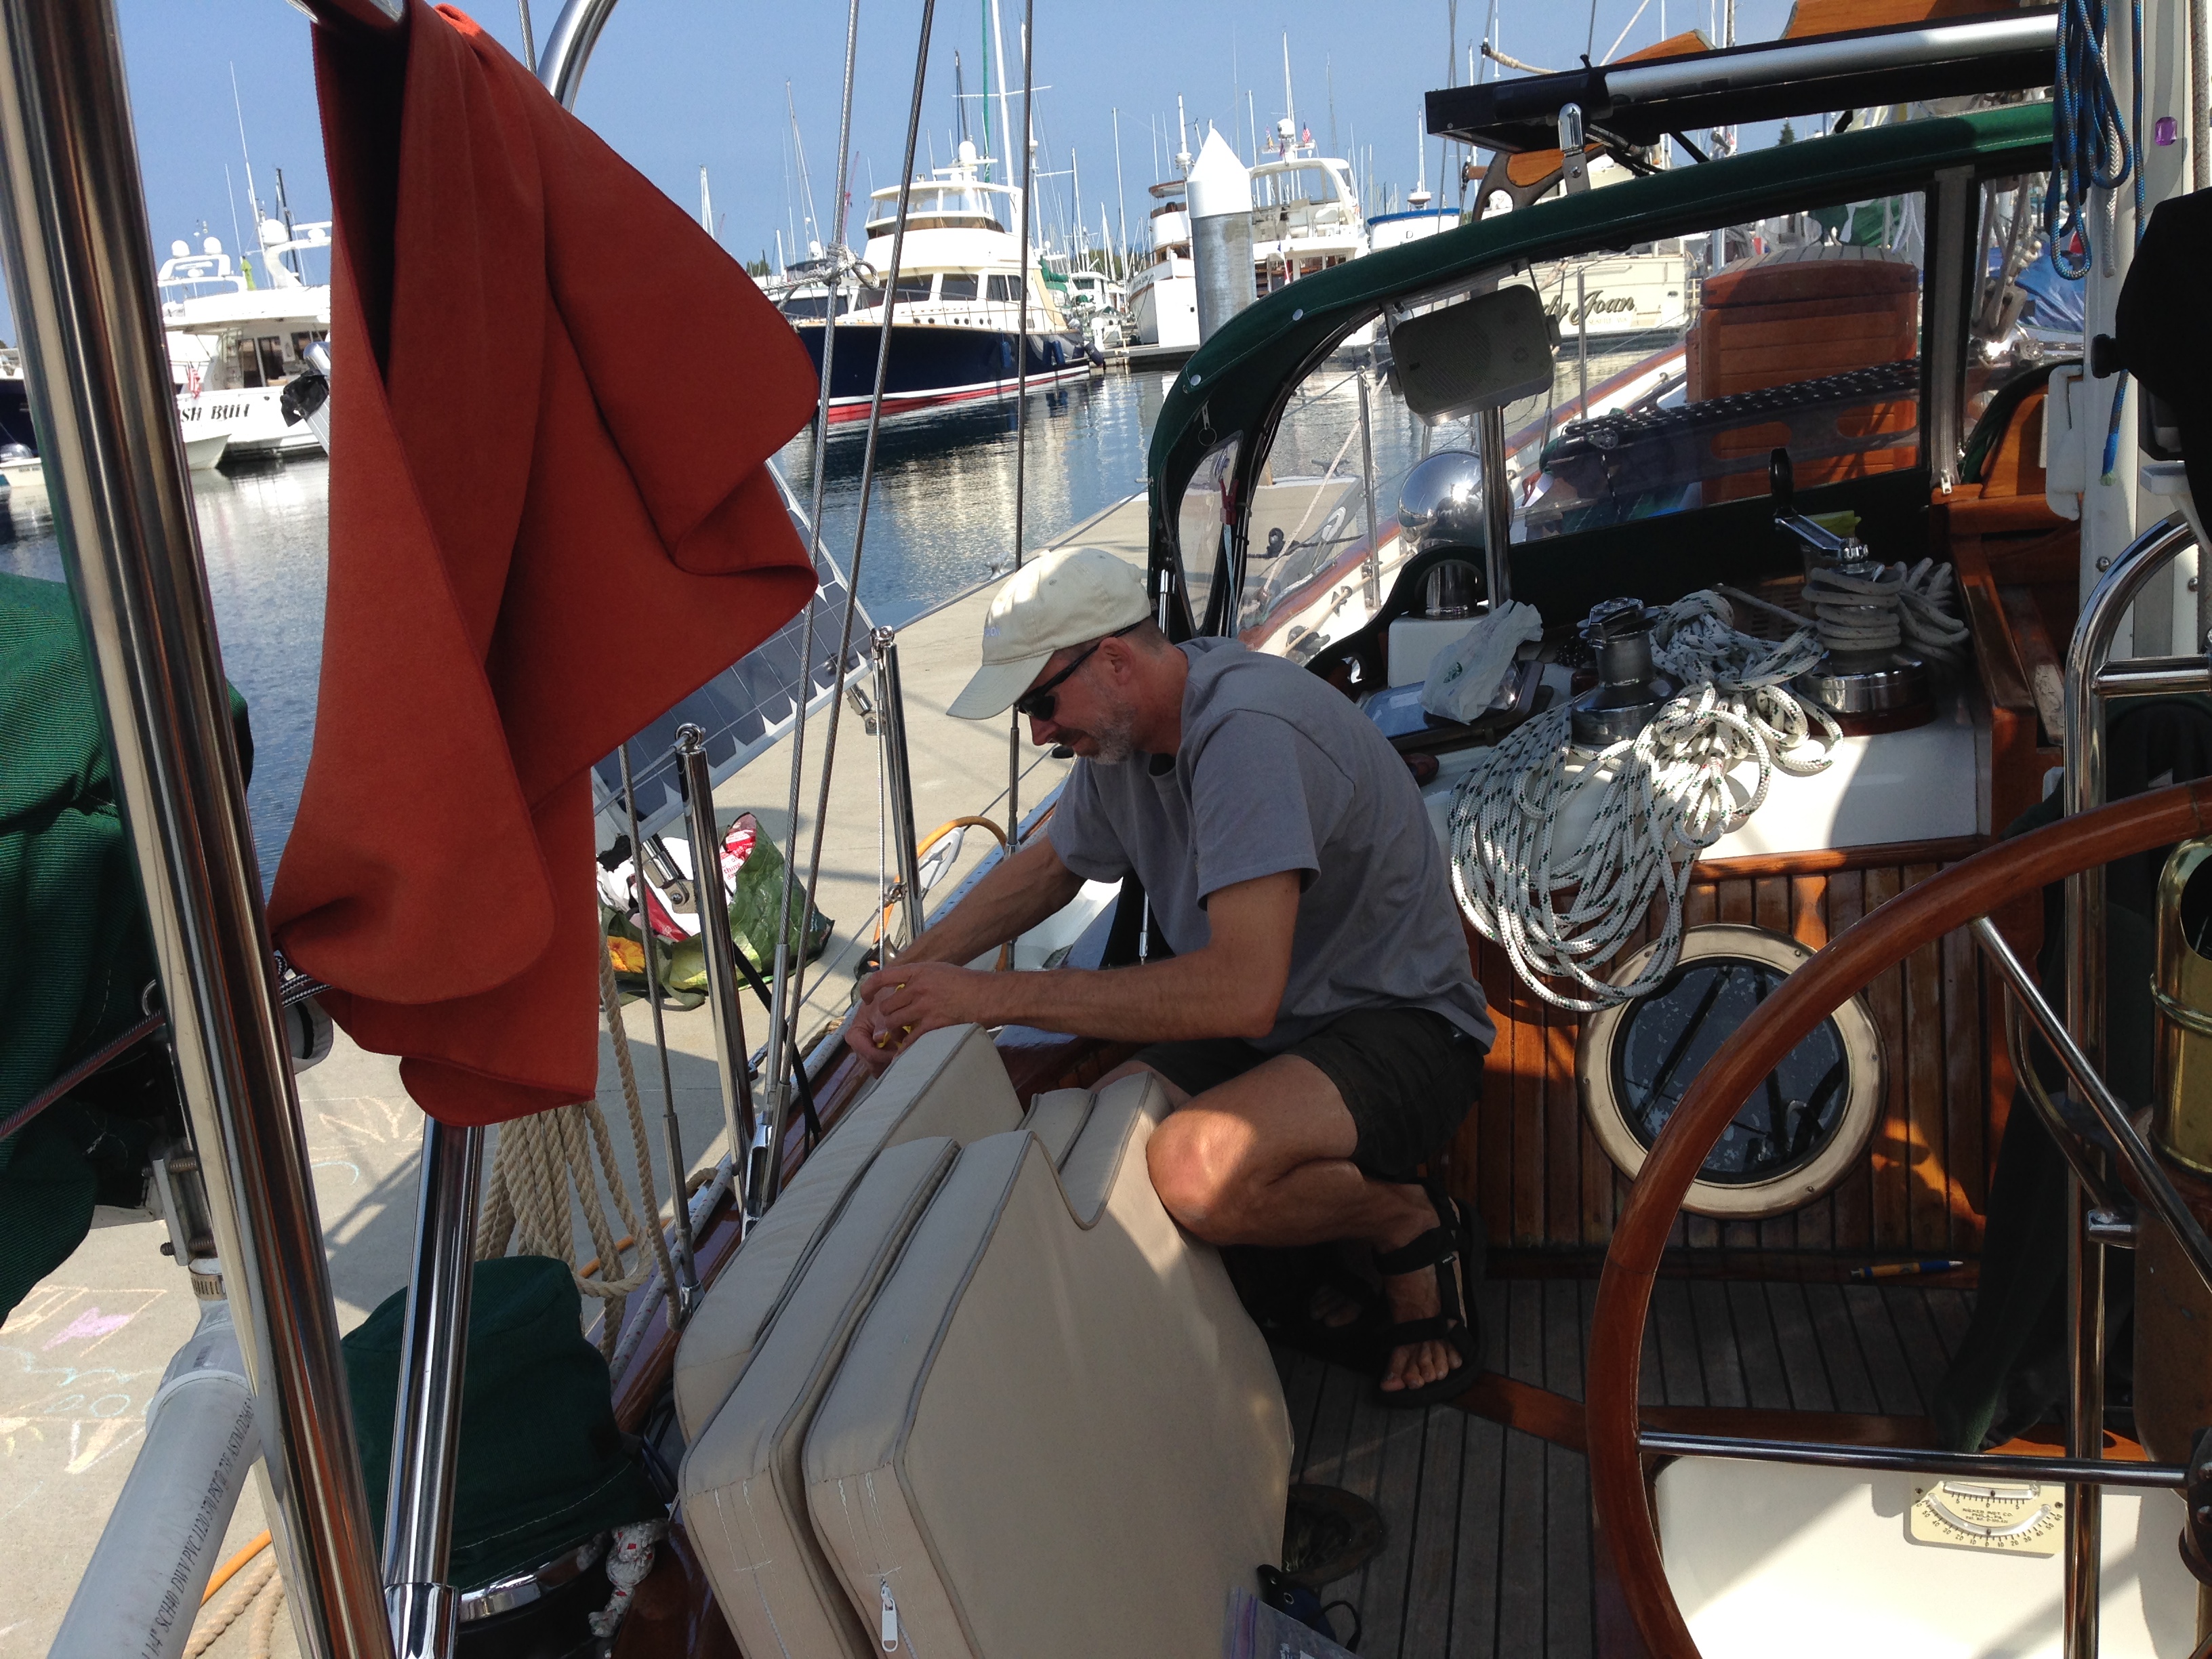
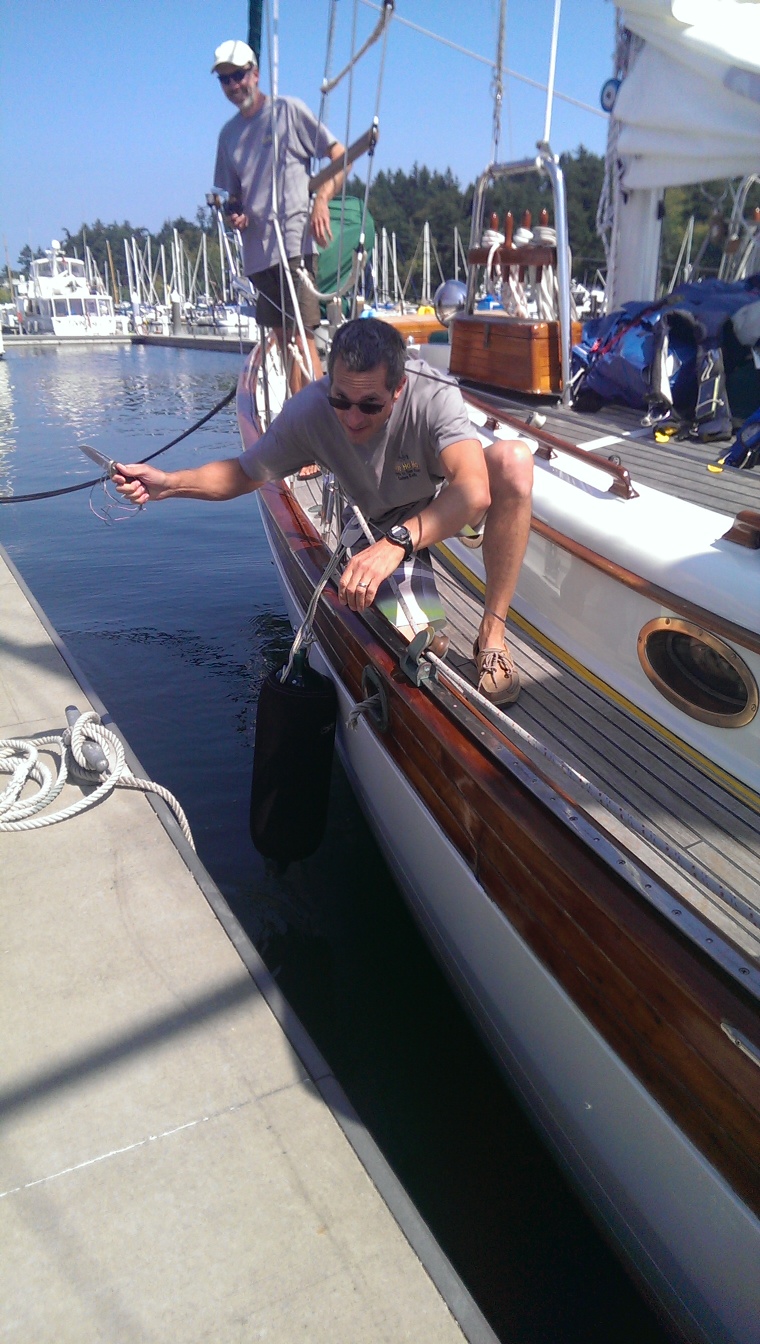
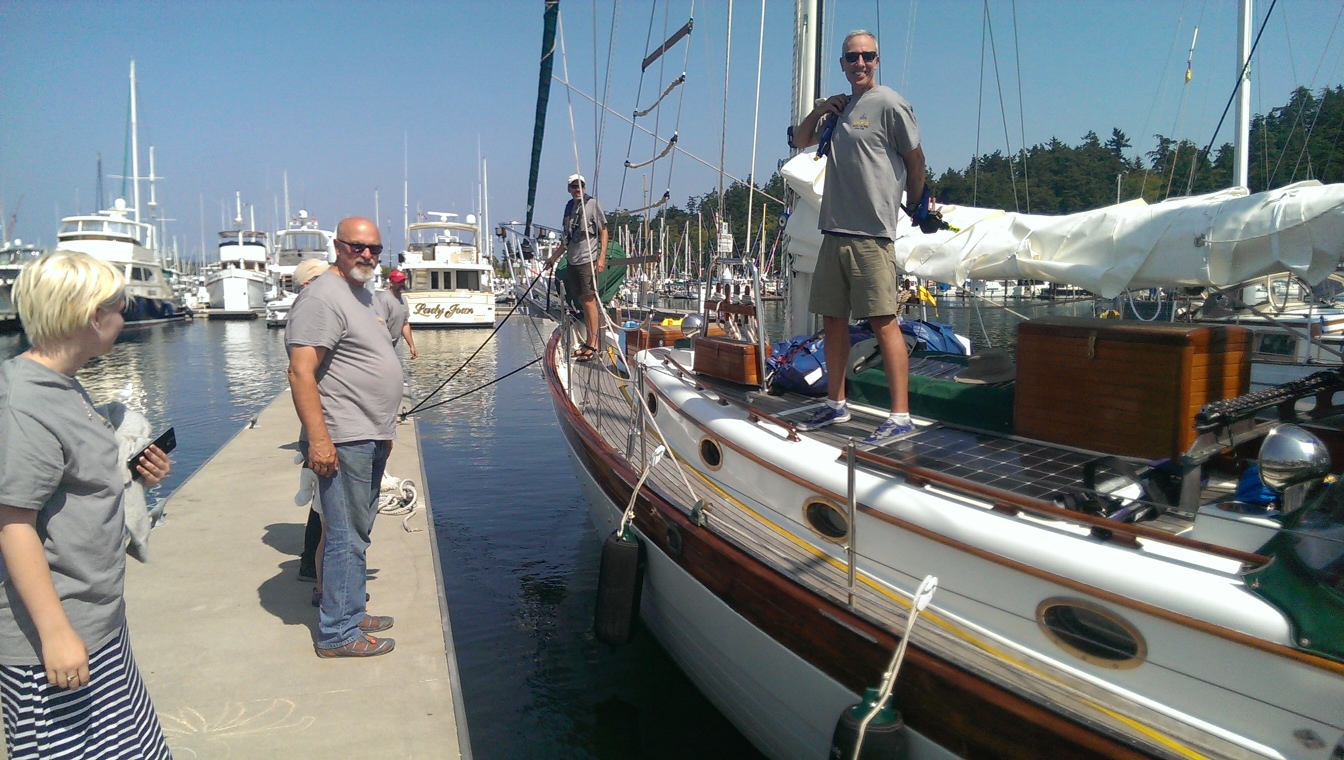
The men were busy readying the boat for the noon departure. Last minute things were stowed away, some things were taken off the boat and the solar panels and jack lines installed.
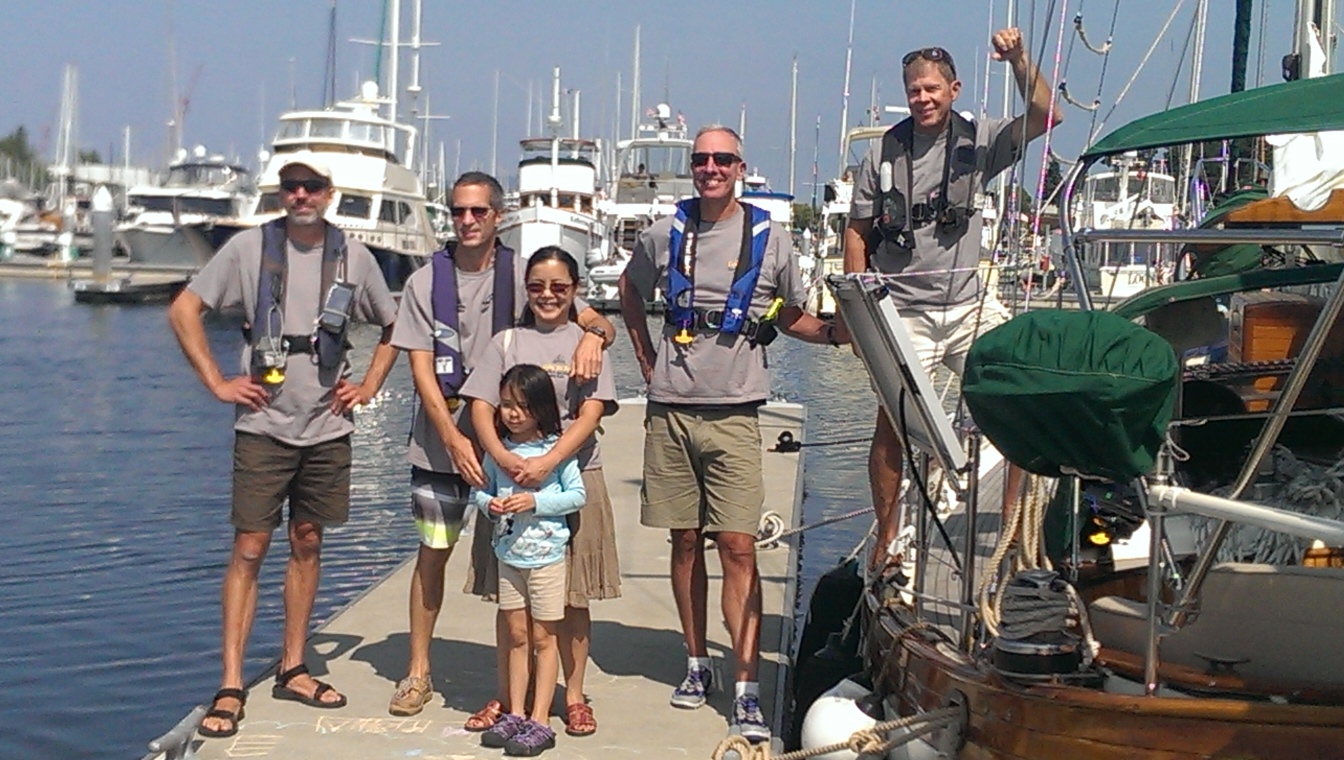
Then it was time to have a photo and a boatside toast to Neptune/Poseidon…..
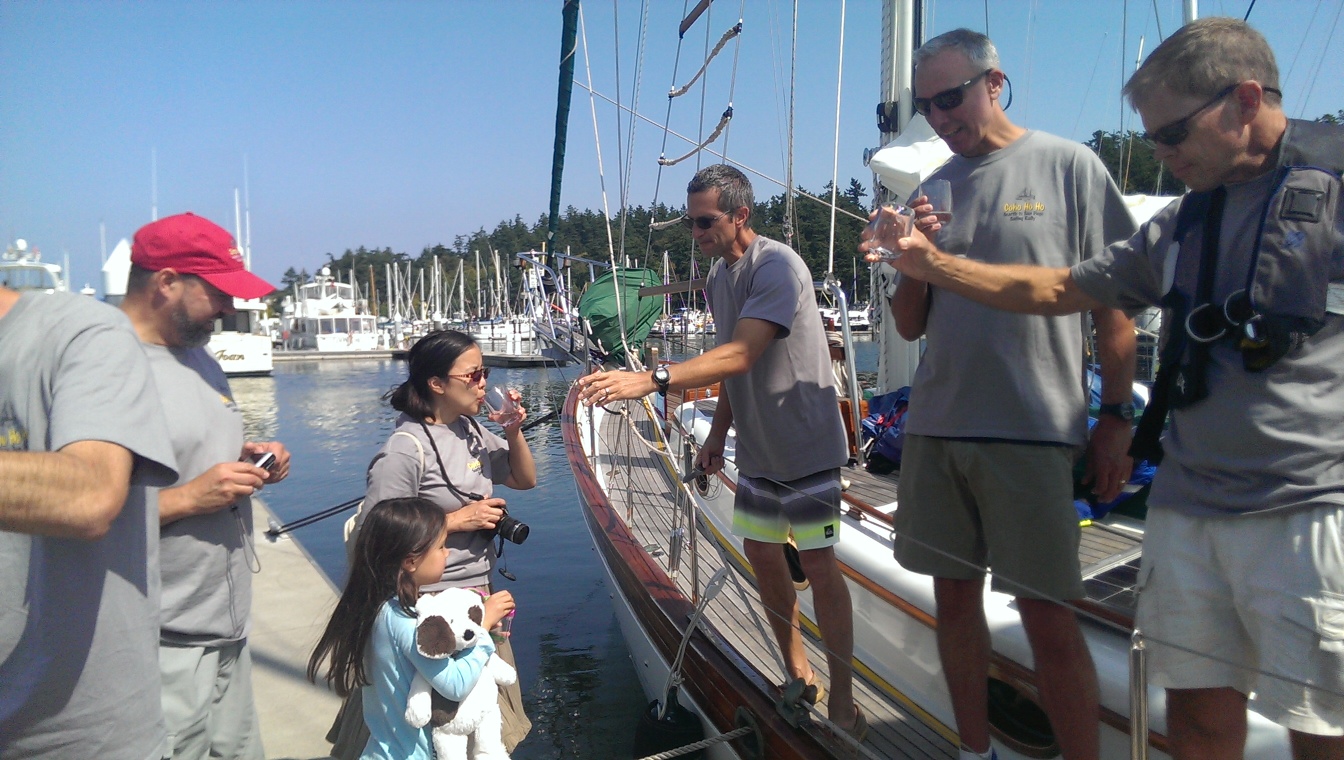
…then it was finally time for Jim to cut the lines to the dock! And off they went!
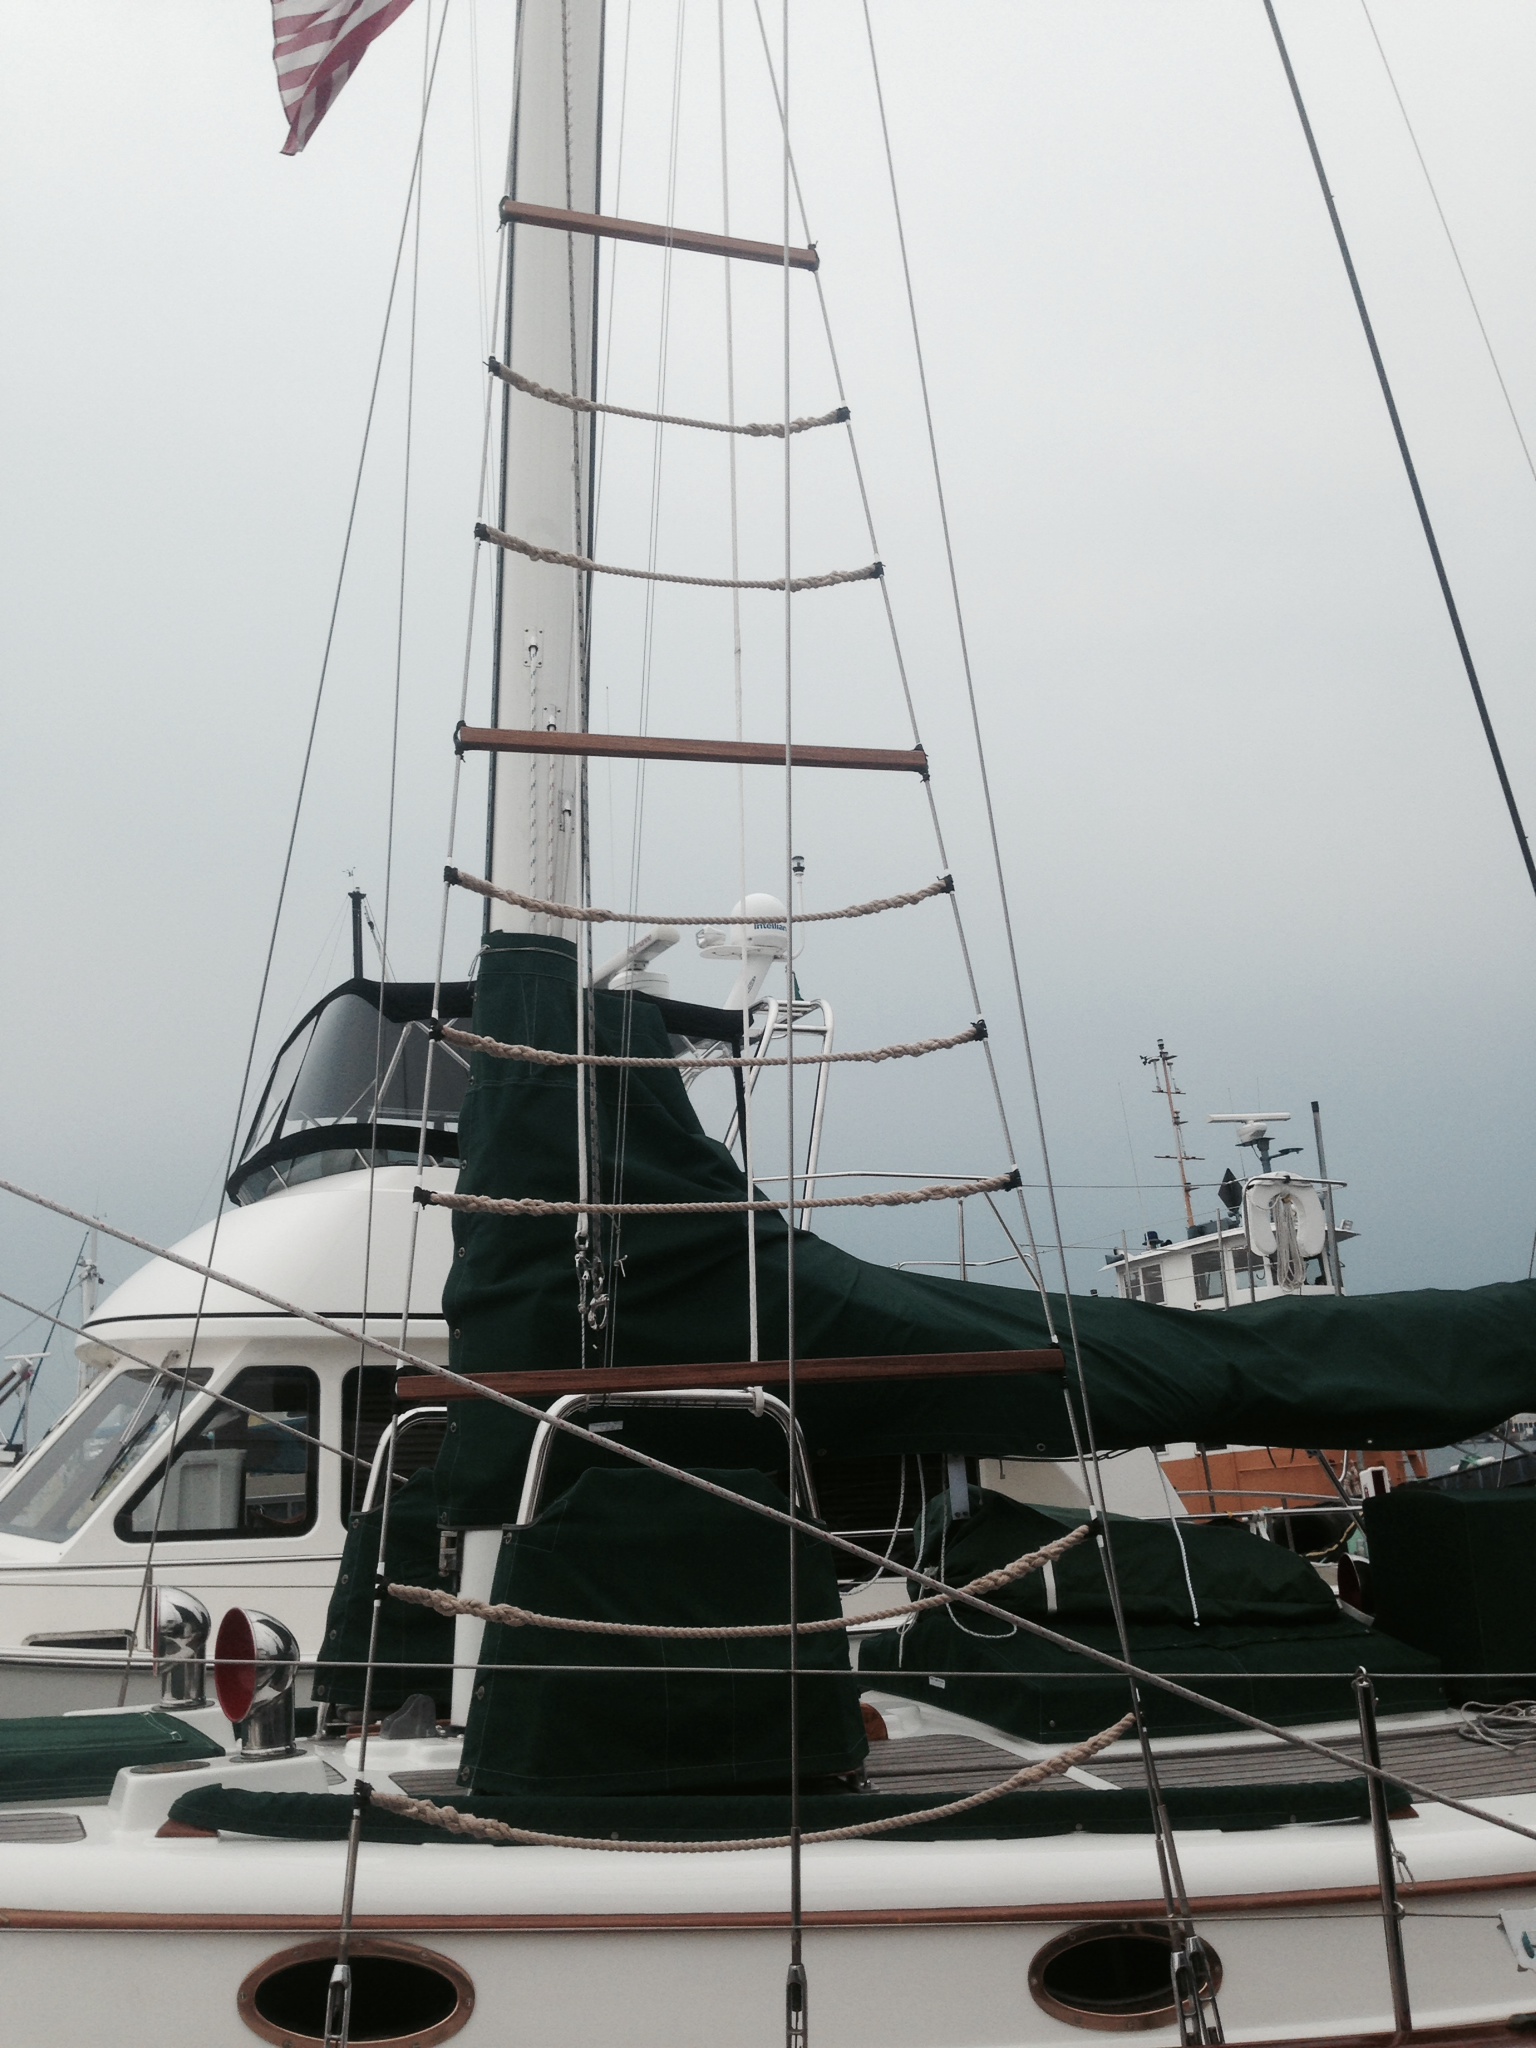
Most atolls in the South Pacific have surrounding coral reefs. To safely get to the inner lagoon, you sometimes have to carefully steer through a narrow passage. Charts may not be accurate so it’s always good to keep a good lookout whenever you’re near reefs. Positioning yourself high up in the rig makes it easier to see the changes in water color to spot the reefs. Ratlines are an age-old method for quickly climbing up rigging. One method is to use a set of lower shrouds coming off the spreaders on the main mast to tie the ratlines to. I used a combination of ratlines (3-strand rope) and ratboards (teak wood). The rat boards help keep the shrouds from pulling inwards as they do when only using ratlines. Two or three ratlines between ratboards seem to be a good combination.
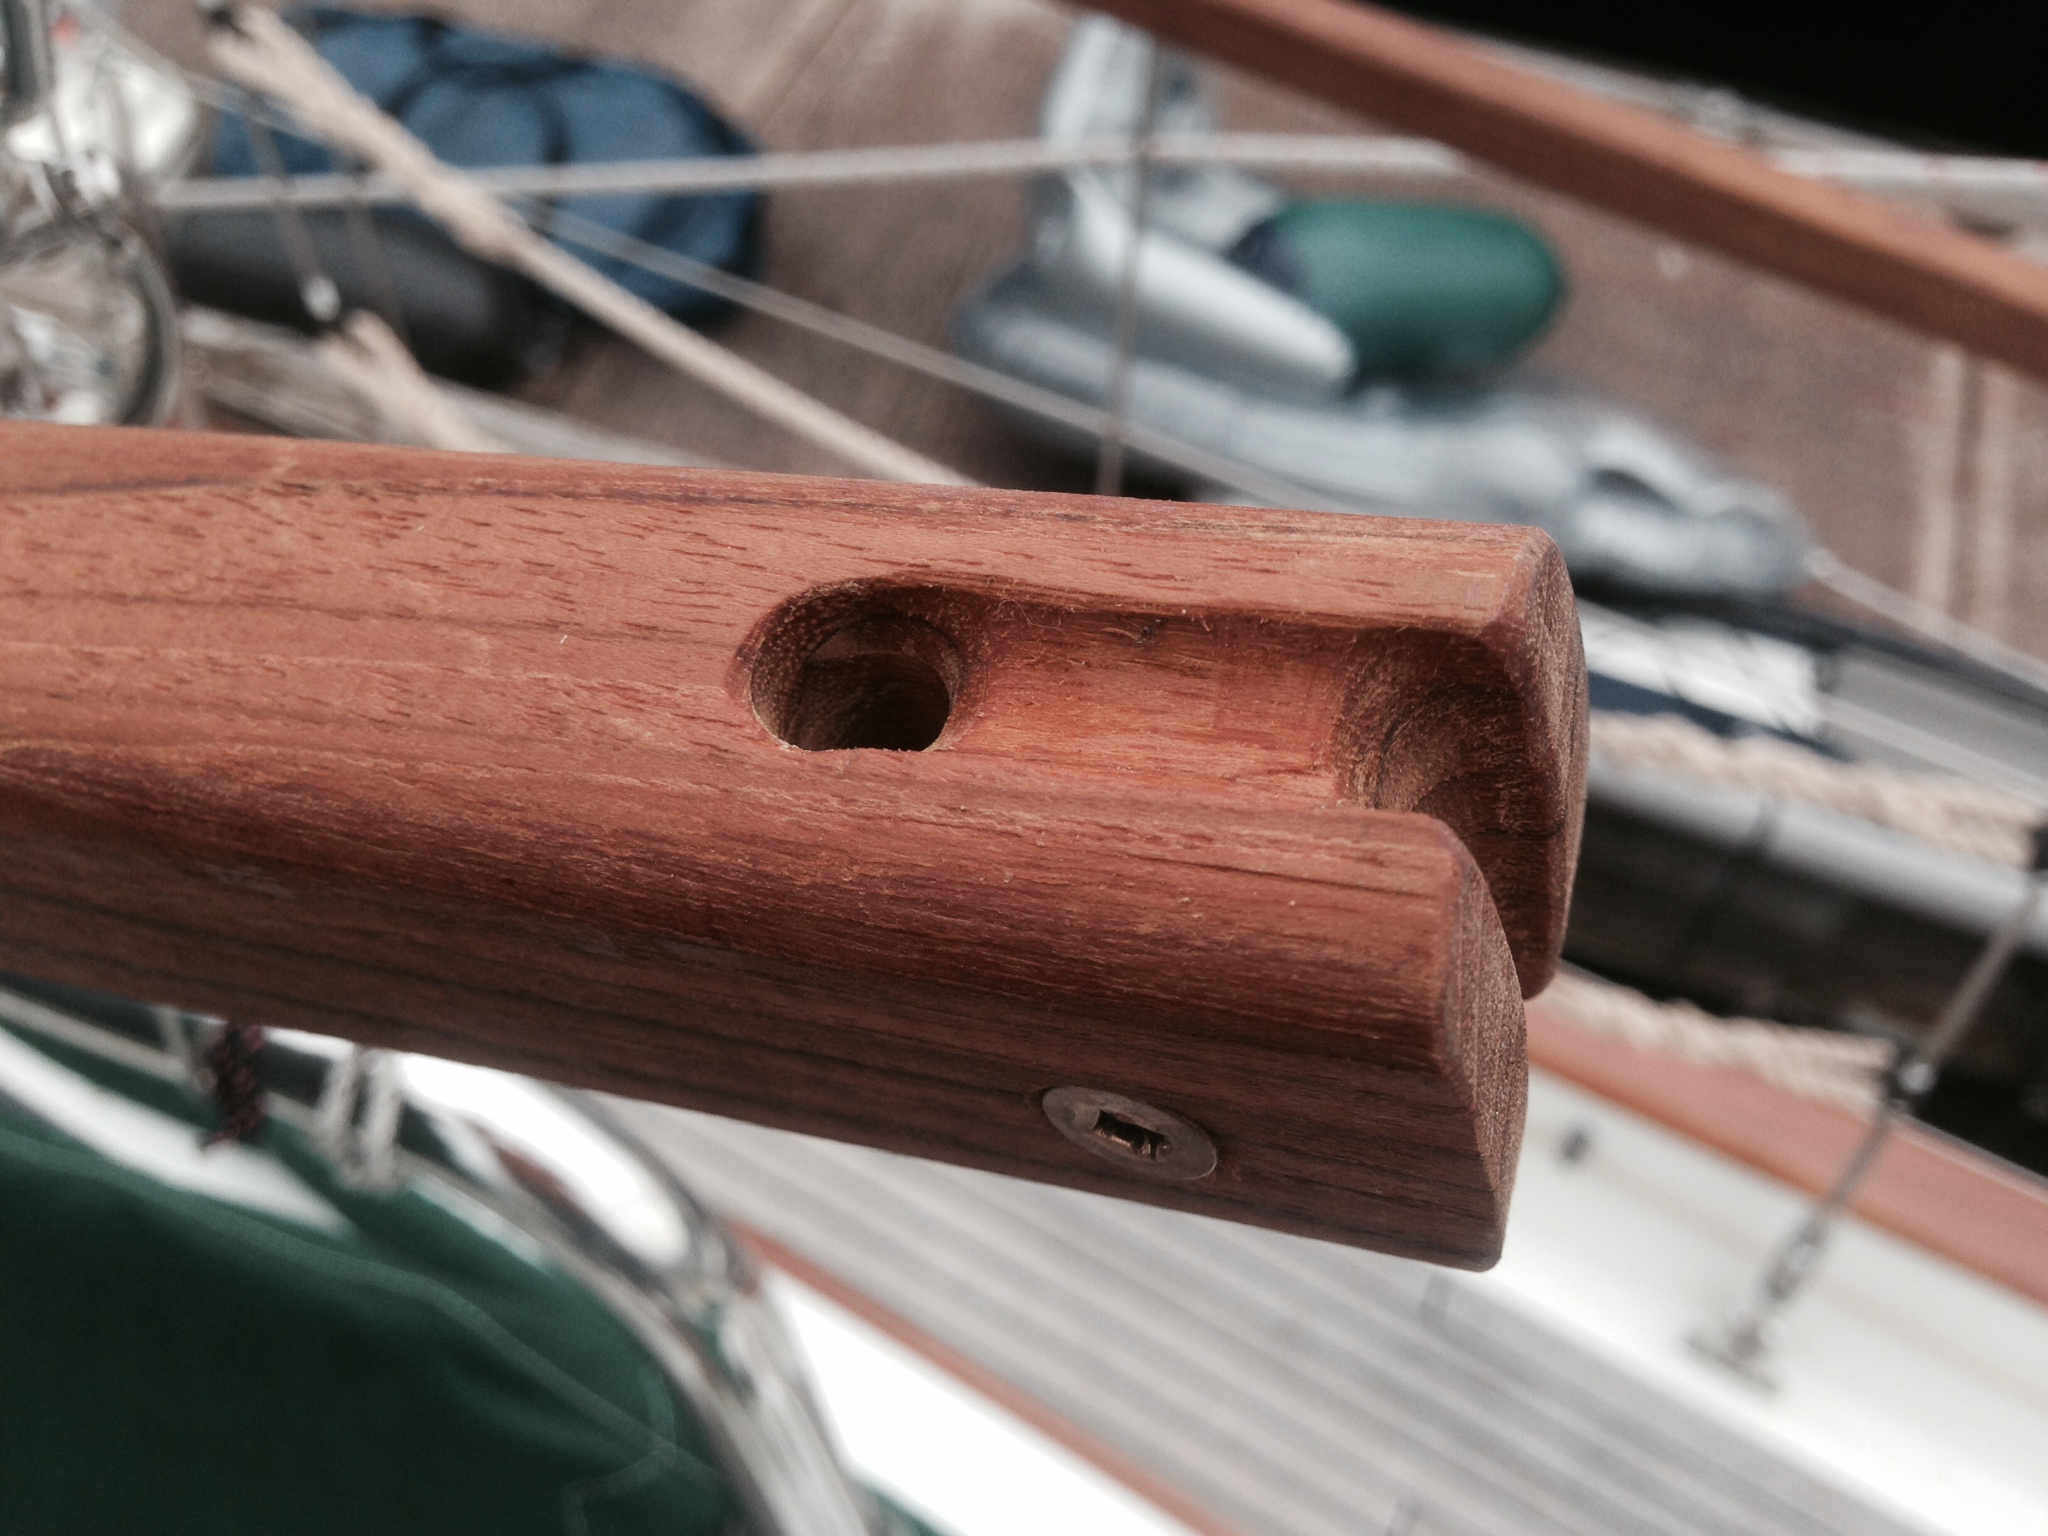
Ratboards–The ratboards came from a 3″x3.5″x8′ stock of teak, which was ripped and cut to produce enough 1-1/4″x1-5/8″ ratboards for port and starboard. A hole was drilled through each end and a groove was routed along the top, end, and bottom for lashing the boards to the shrouds. Next I put on 2 coats of teak oil. A bronze screw was used for added strength.
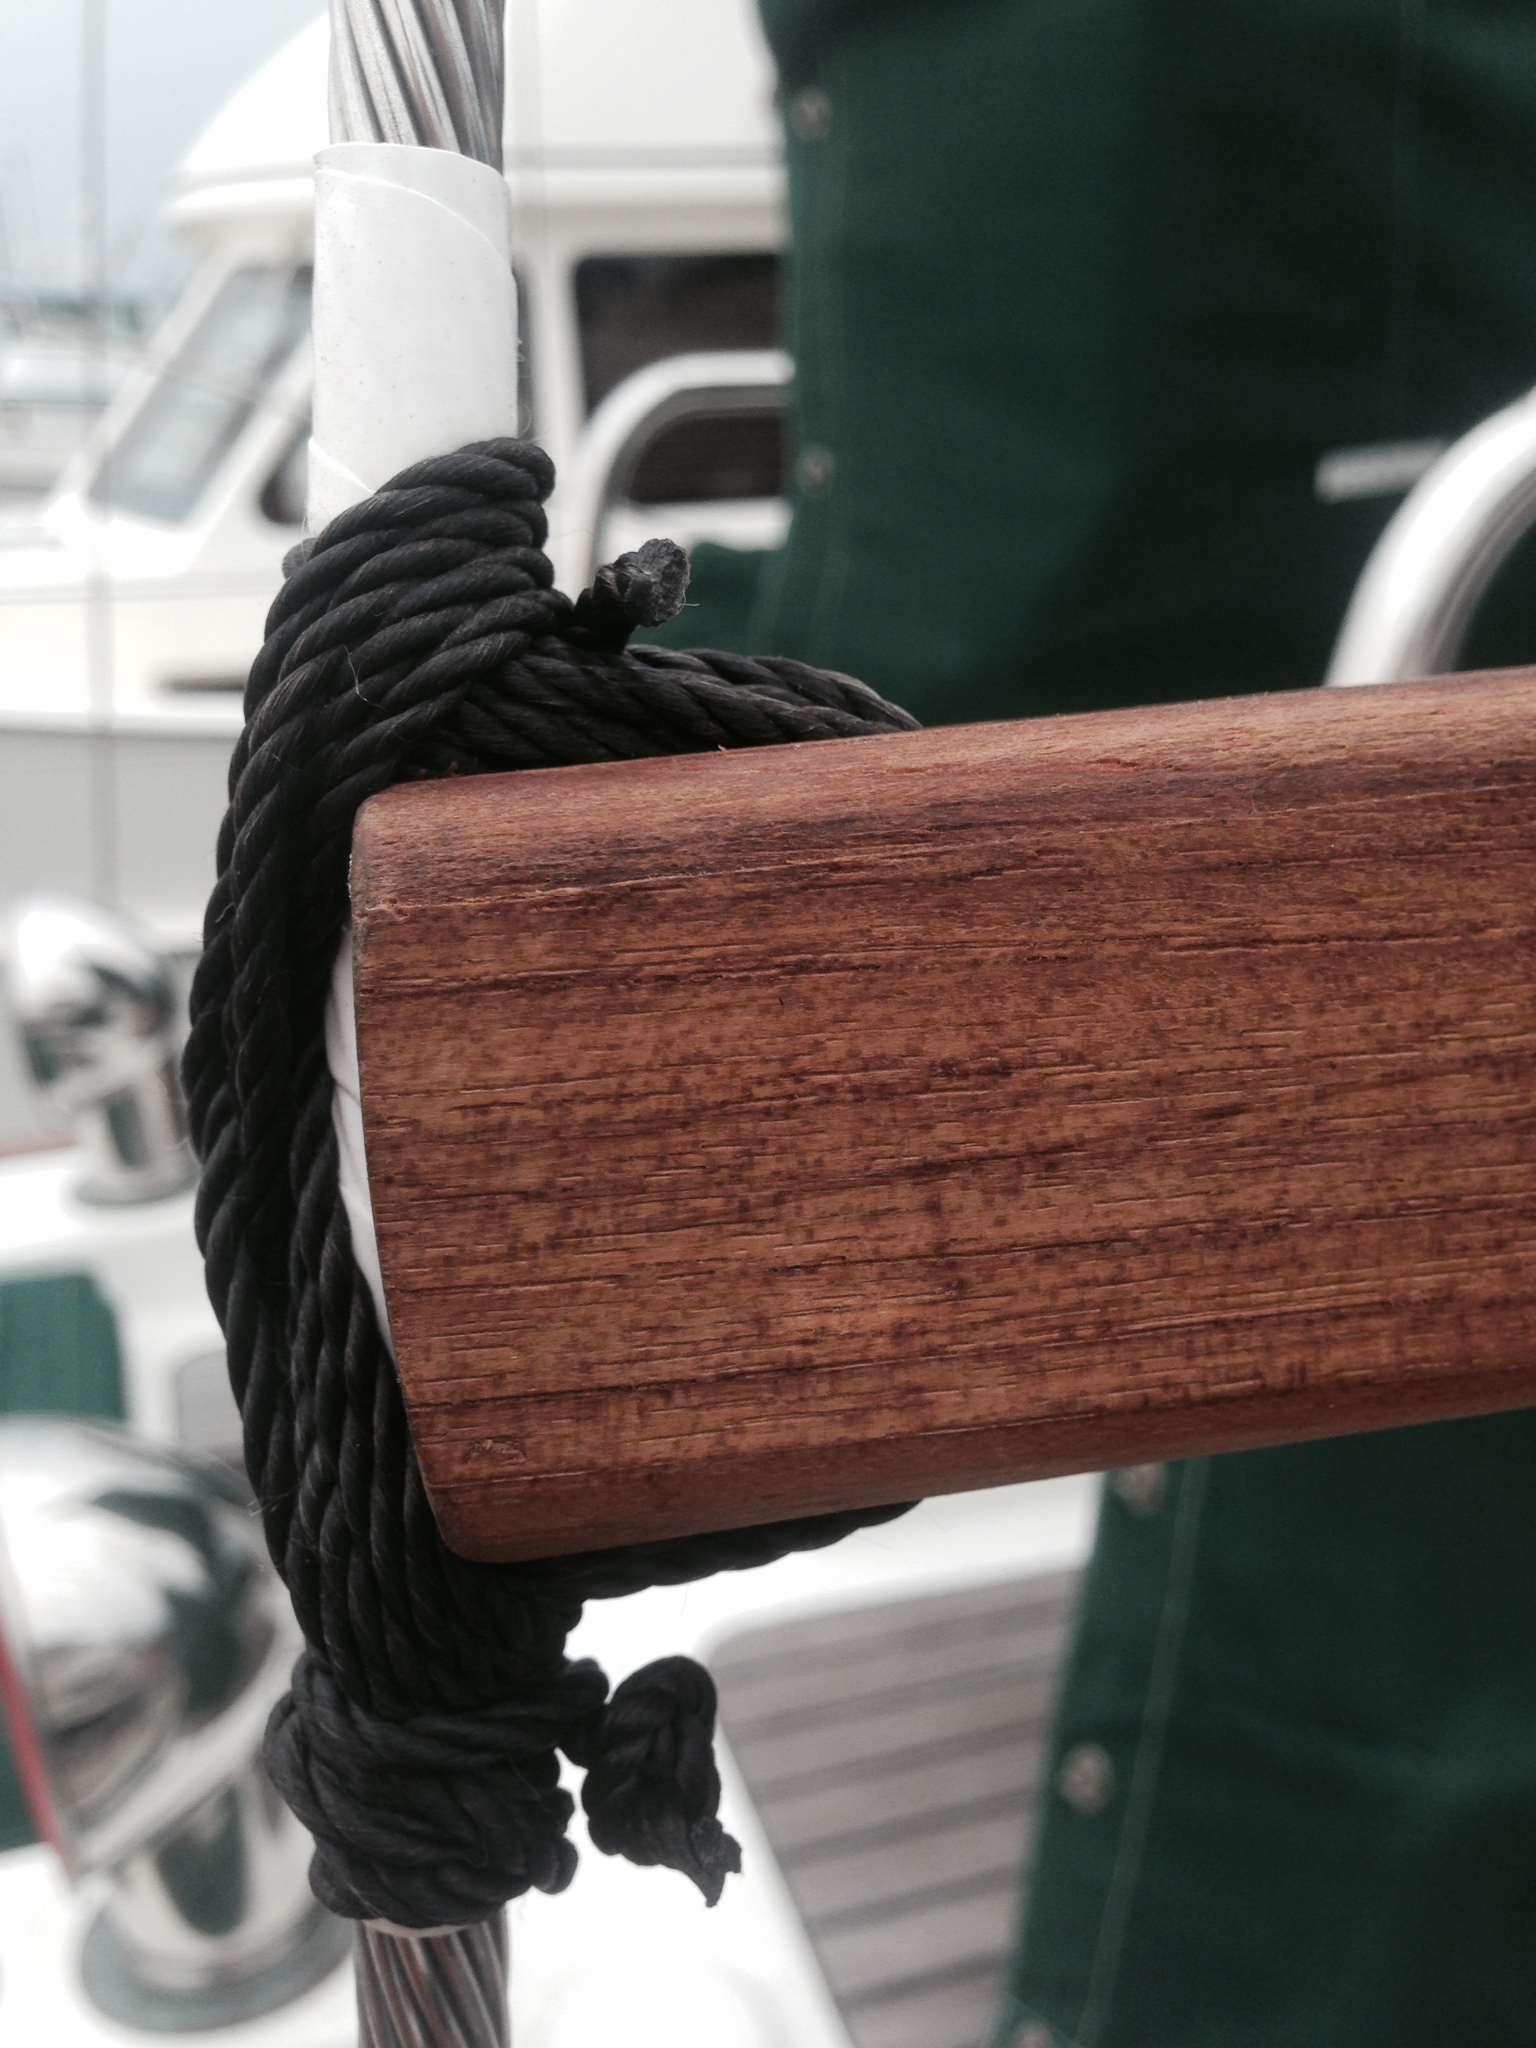
I used #72 tarred seine twine for the lashing. Riggers tape was wrapped around the shroud for a better grip. The lashing started with a buntline hitch to the shroud, then a series of square lashings followed by figure-eight turns finished with a few half hitches.
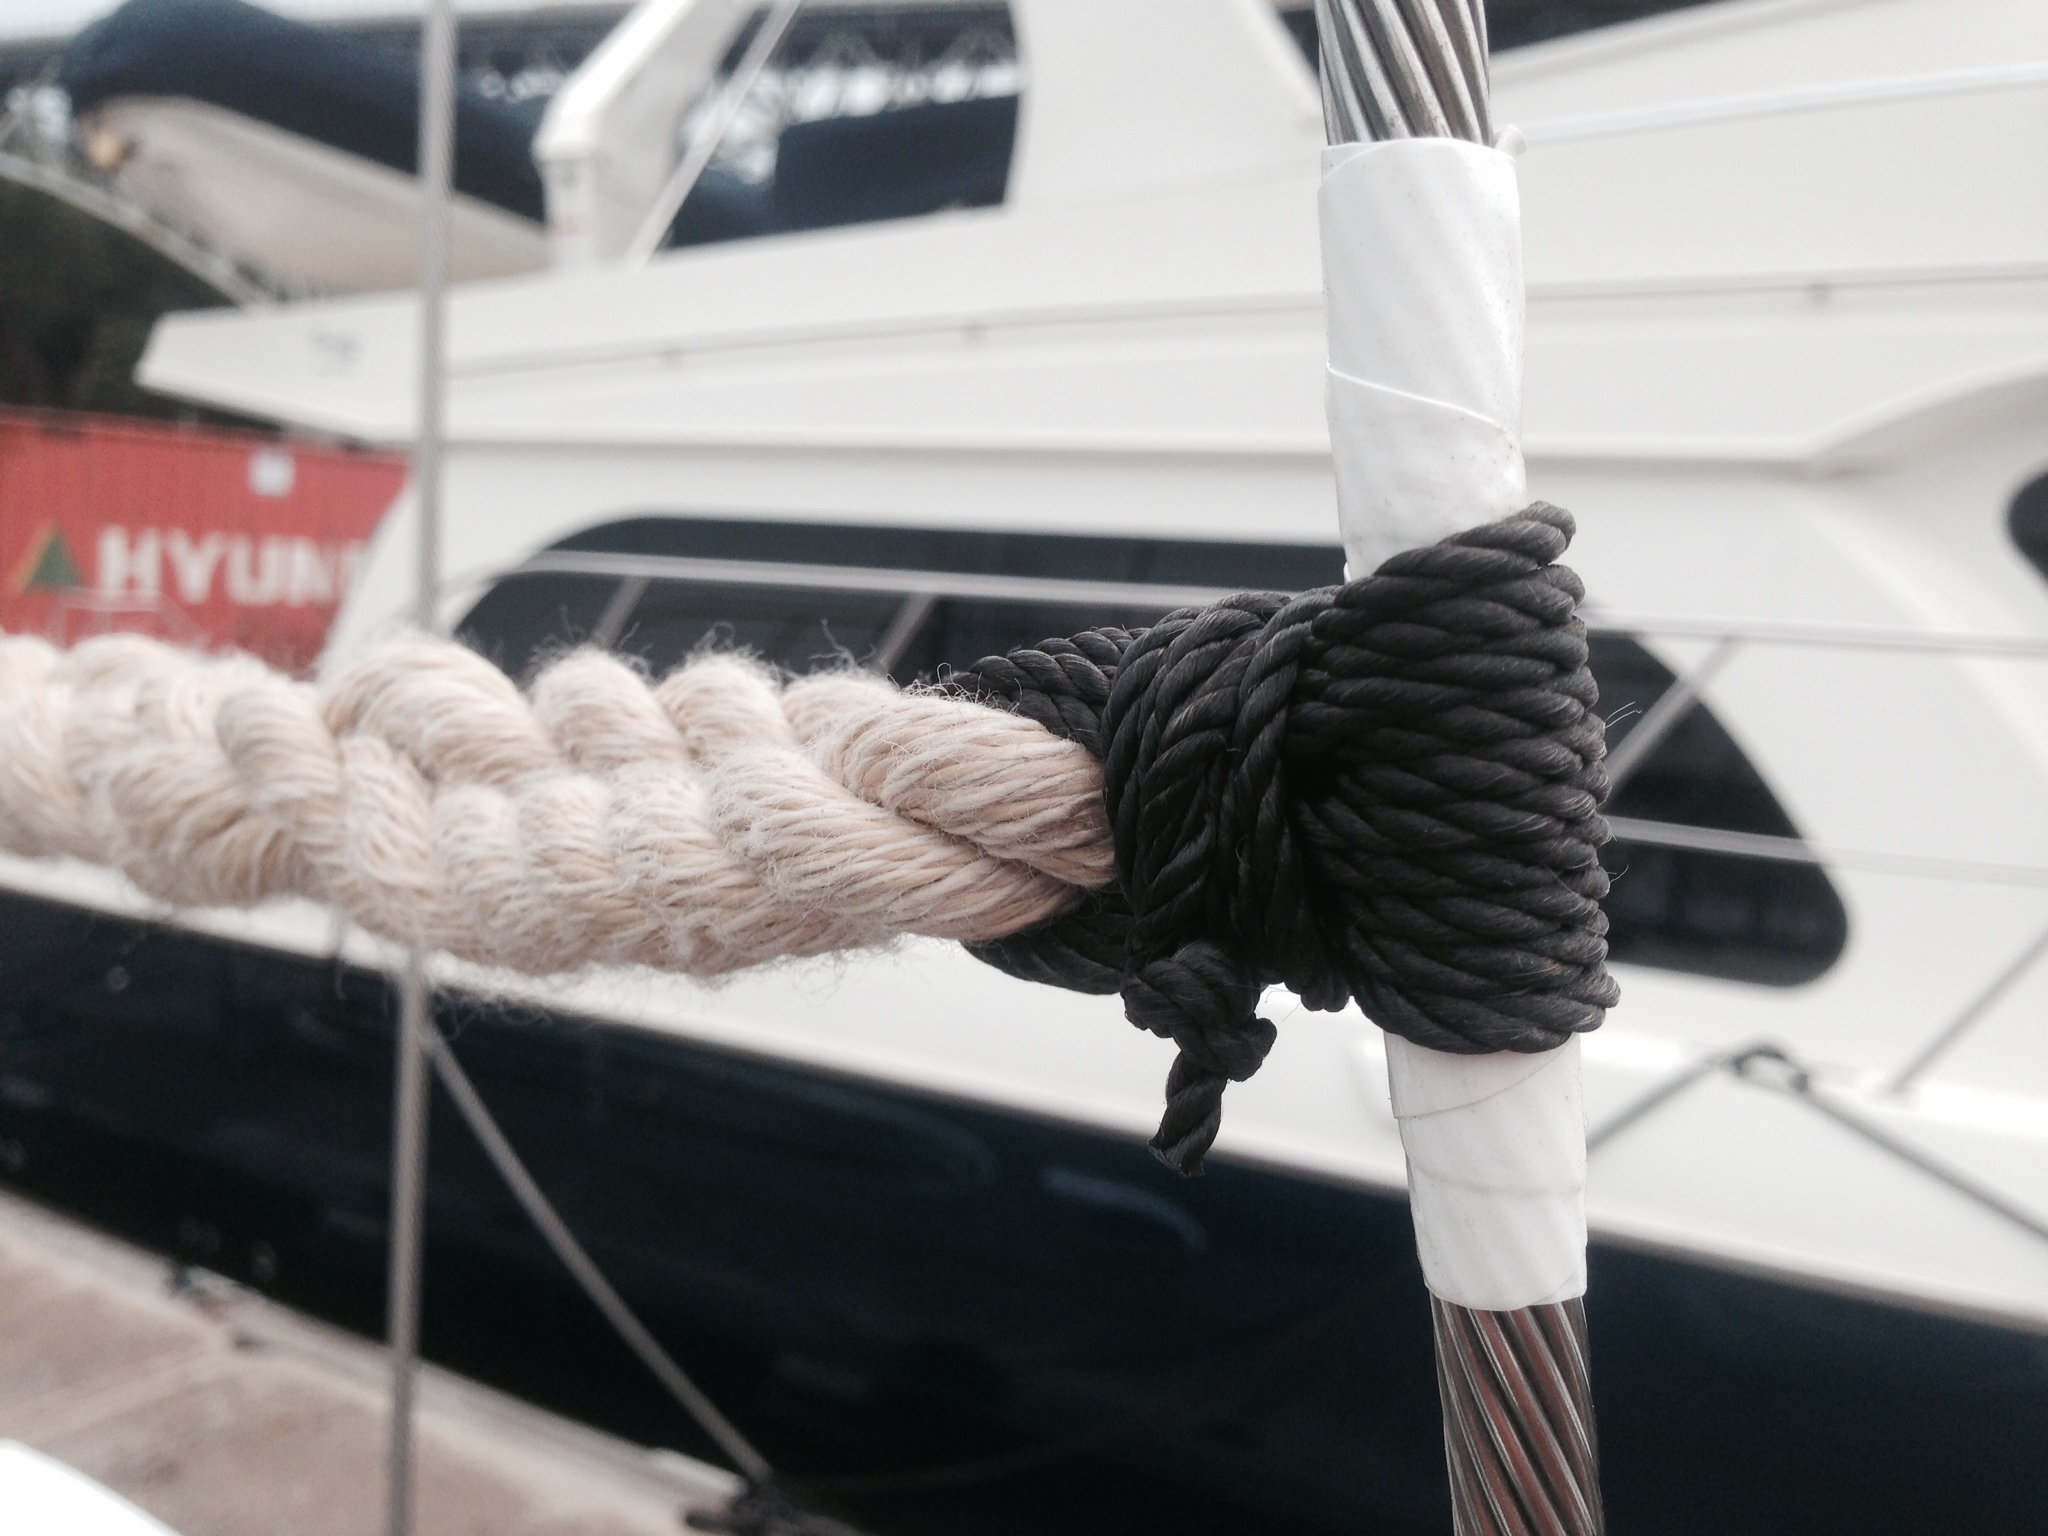
Ratlines–The ratlines were made from 5/8″ 3-strand polyester (vintage style). I spliced eyes in each end and lashed them to the shrouds. A buntline hitch around the rope followed by square lashing as before, but this time finished off with frapping turns between the wire and the rope, and 2 half hitches. I worked a figure-eight knot into the end up close to the last hitch to prevent the end from pulling out.
Port-side progress–Since a lot of this work can be done after we depart from Seattle, my goal was to get all the ratboards cut and have enough 3-strand rope to be able to finish port and starboard steps while in Mexico. The progress I made on the port-side was 3 ratboards and a total of 7 ratlines. I’ll add another 2 ratlines and 1 ratboard above the top ratboard shown below, then repeat everything on the starboard side.
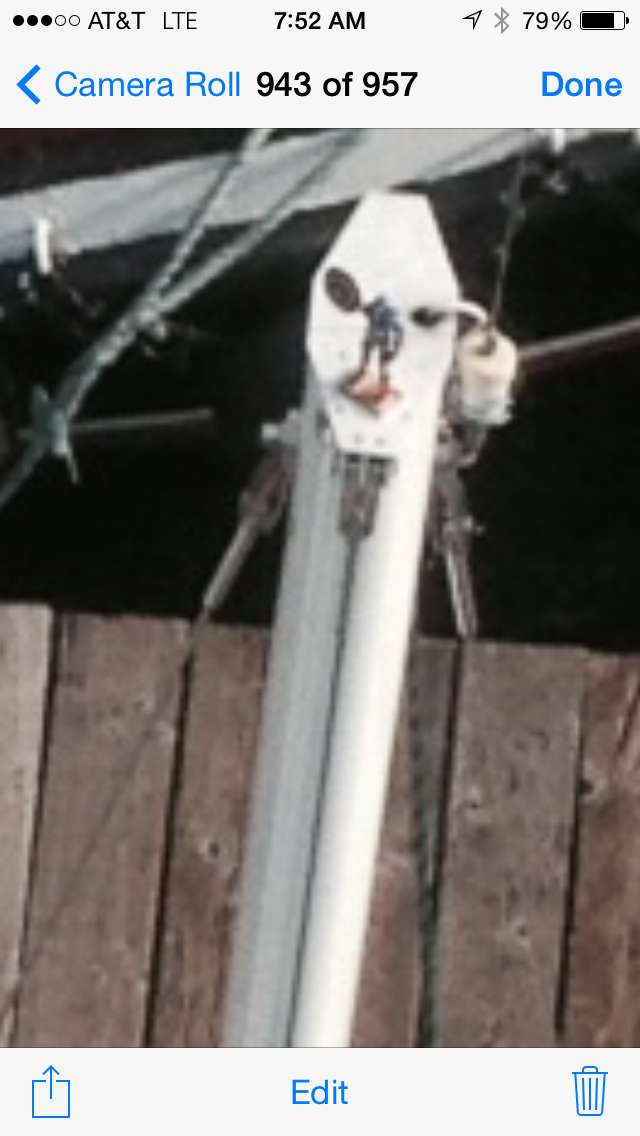
Not all boat trip-preparations are serious! Since we’re sailing half way around the world, I figured Apropos could use some protection from things like lightning strikes, pirates, sea monsters, and rogue waves. So I placed a figure of Captain America atop the mizzen mast.
Since Captain America had flexible joints, the first thing I did was to make him non-flexible with some gorilla glue (forgetting that it expands about 10x as it hardens, but who’ll notice 40′ in the air). That way he’ll stand upright in 30 knot winds. I attached him to a small piece of teak then used 5200 adhesive to affix him to the masthead.
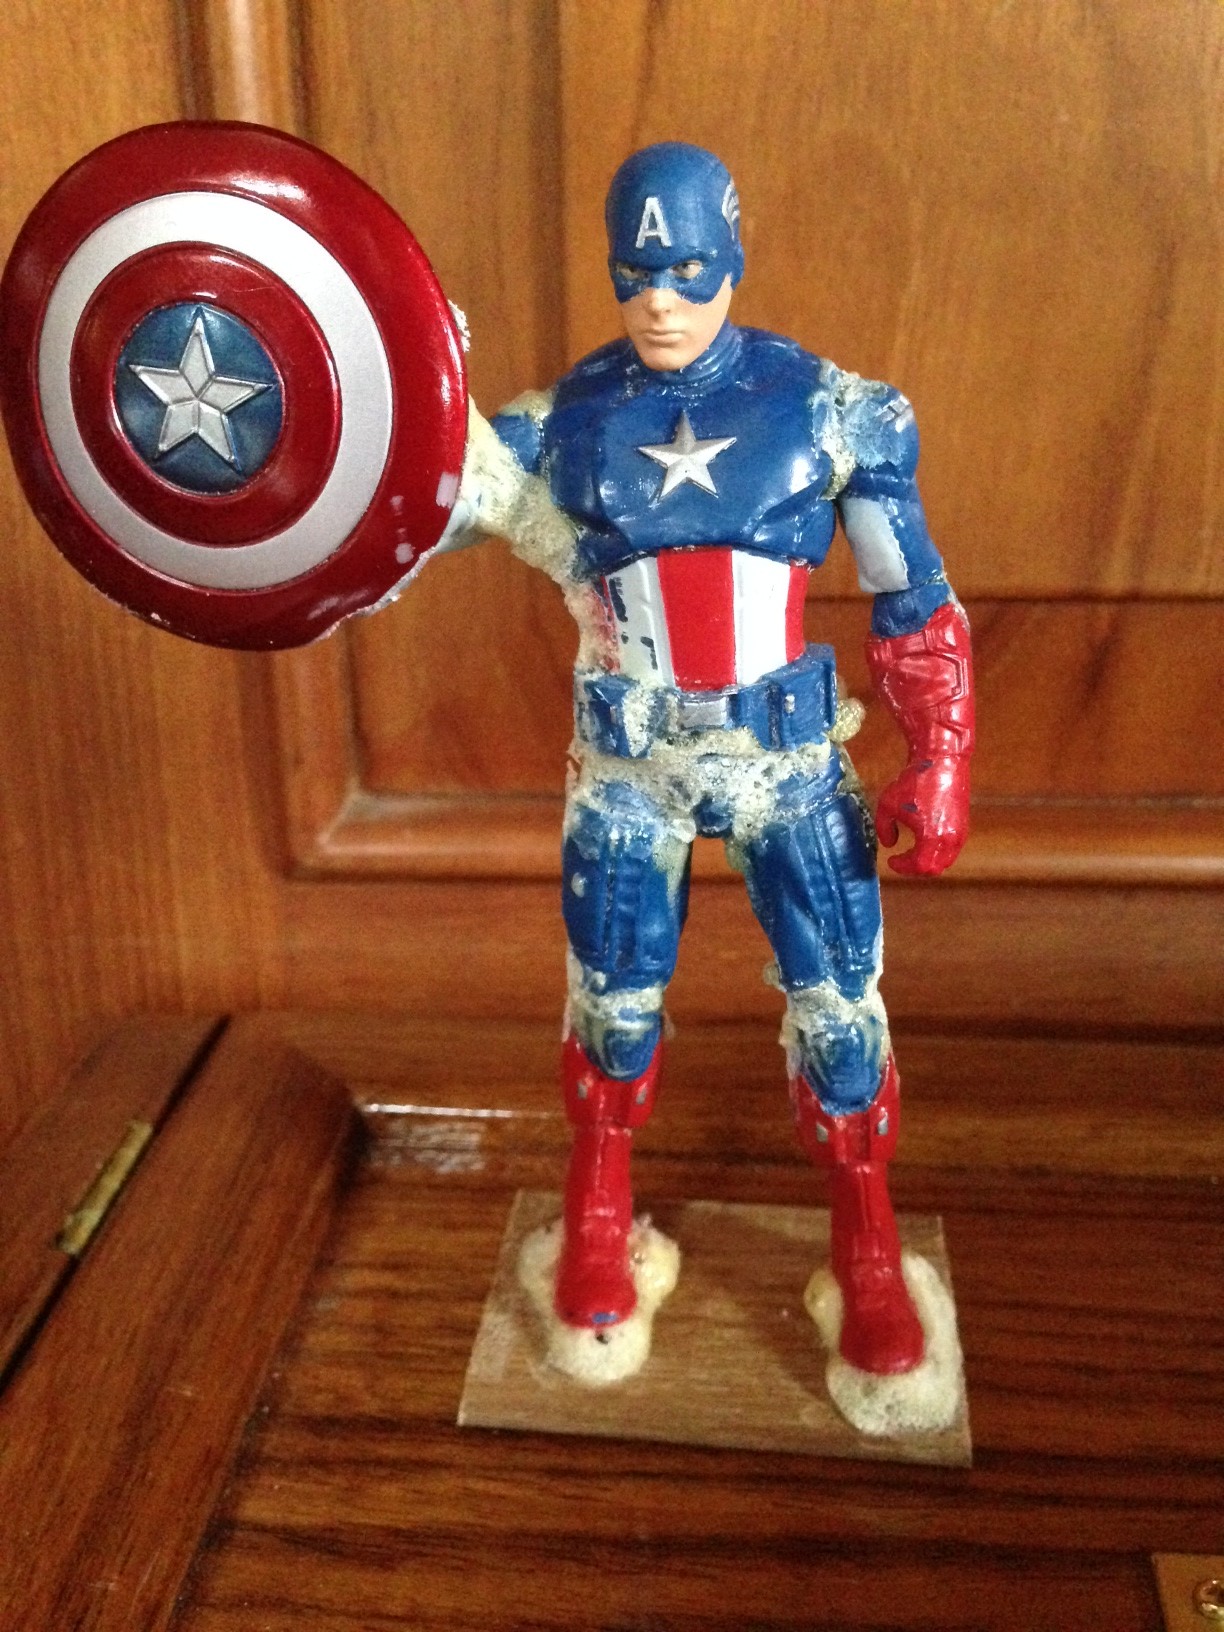
I’ll bet that no other sailboat sailing between Seattle and Australia with a Captain America on the mizzen mast has ever suffered from any of the above mentioned perils!
Preparing for our 14 month-long cruise has been a huge effort, and for me, a full-time job for the past 6 months. During these months I installed a watermaker, outfitted Apropos with new sails, replaced the whisker stays, replaced 4 halyards, modified the autopilot to rudder post connection, had the fuel tanks polished, re-painted the bottom, changed all zincs, marked the anchor chain, and added more solar. Over the past 2 months we rented out our condo and moved onto the boat, where we’re slowly getting things organized. Deciding what to bring on the boat and where to store it isn’t easy (it was hard saying goodbye to my big-screen TV with surround sound!). One good thing is that we’ve found some new, out of the way areas on the boat that make nice storage for small things that are not often needed (extra watermaker filters, spare parts, etc).
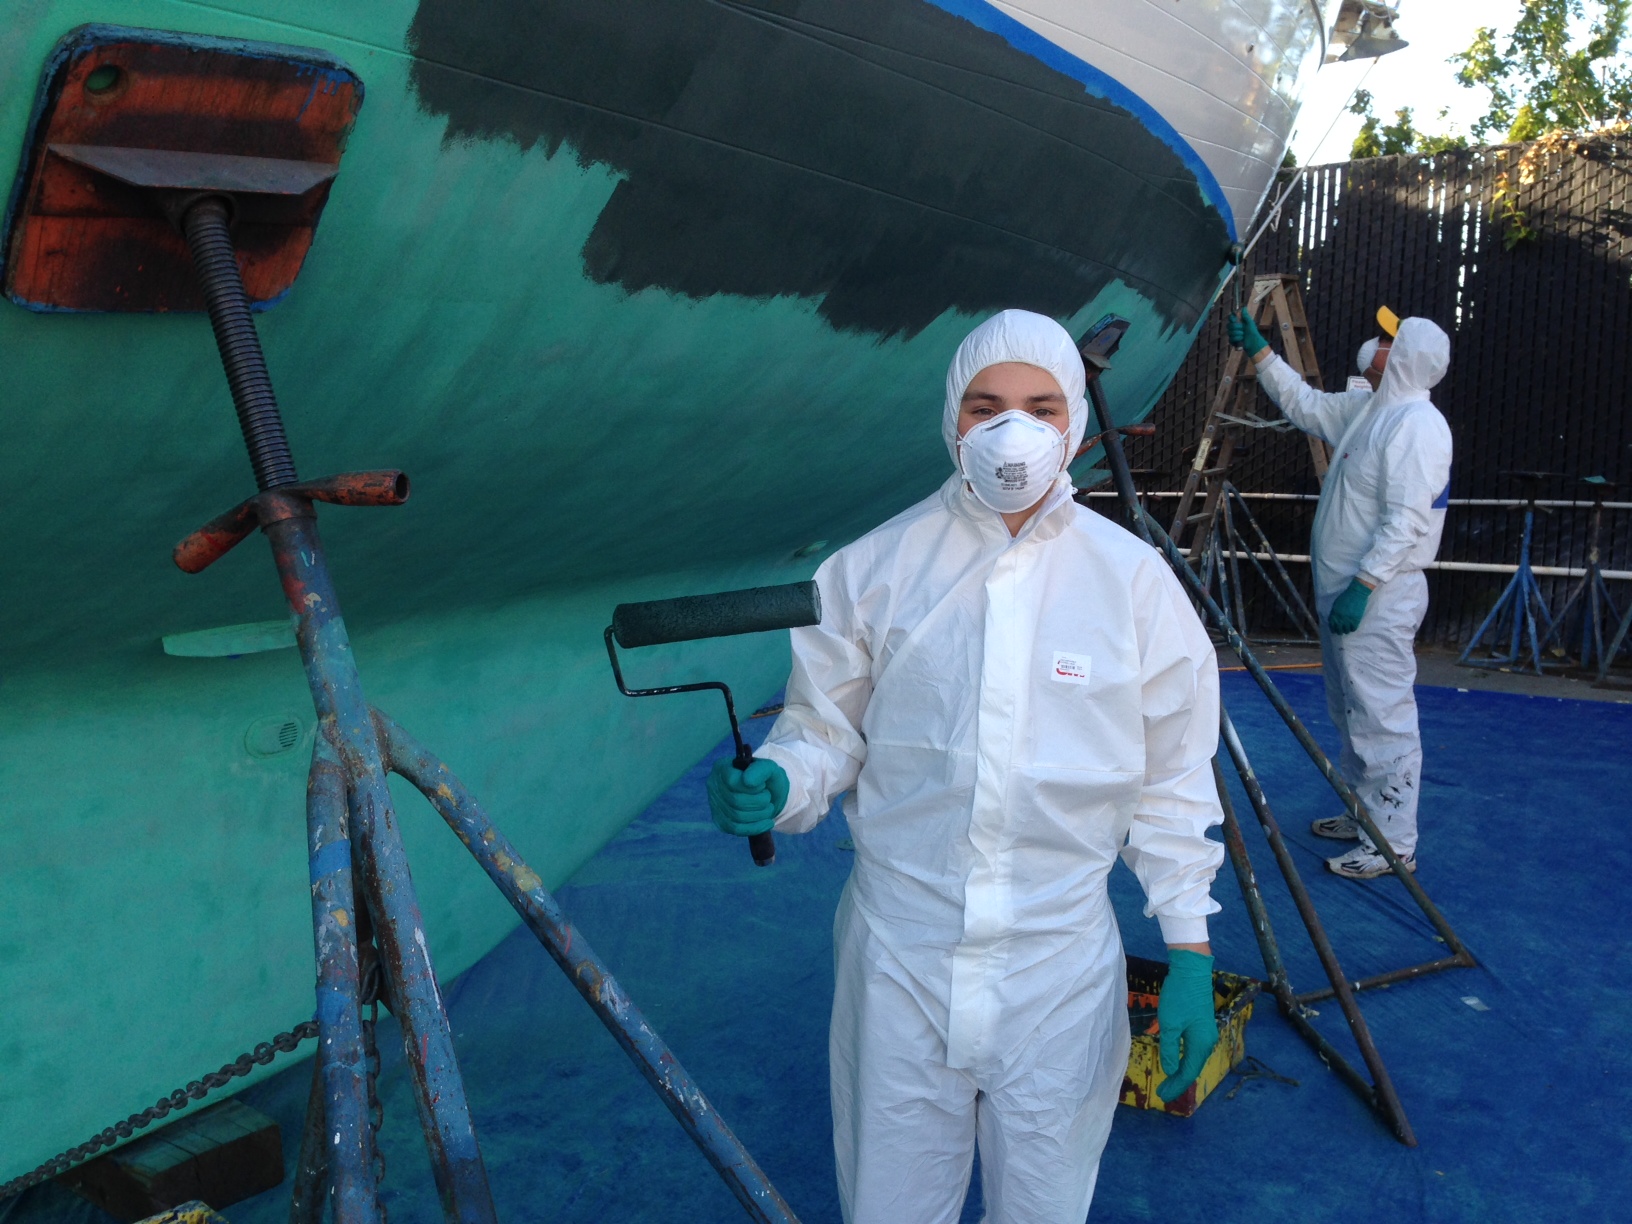
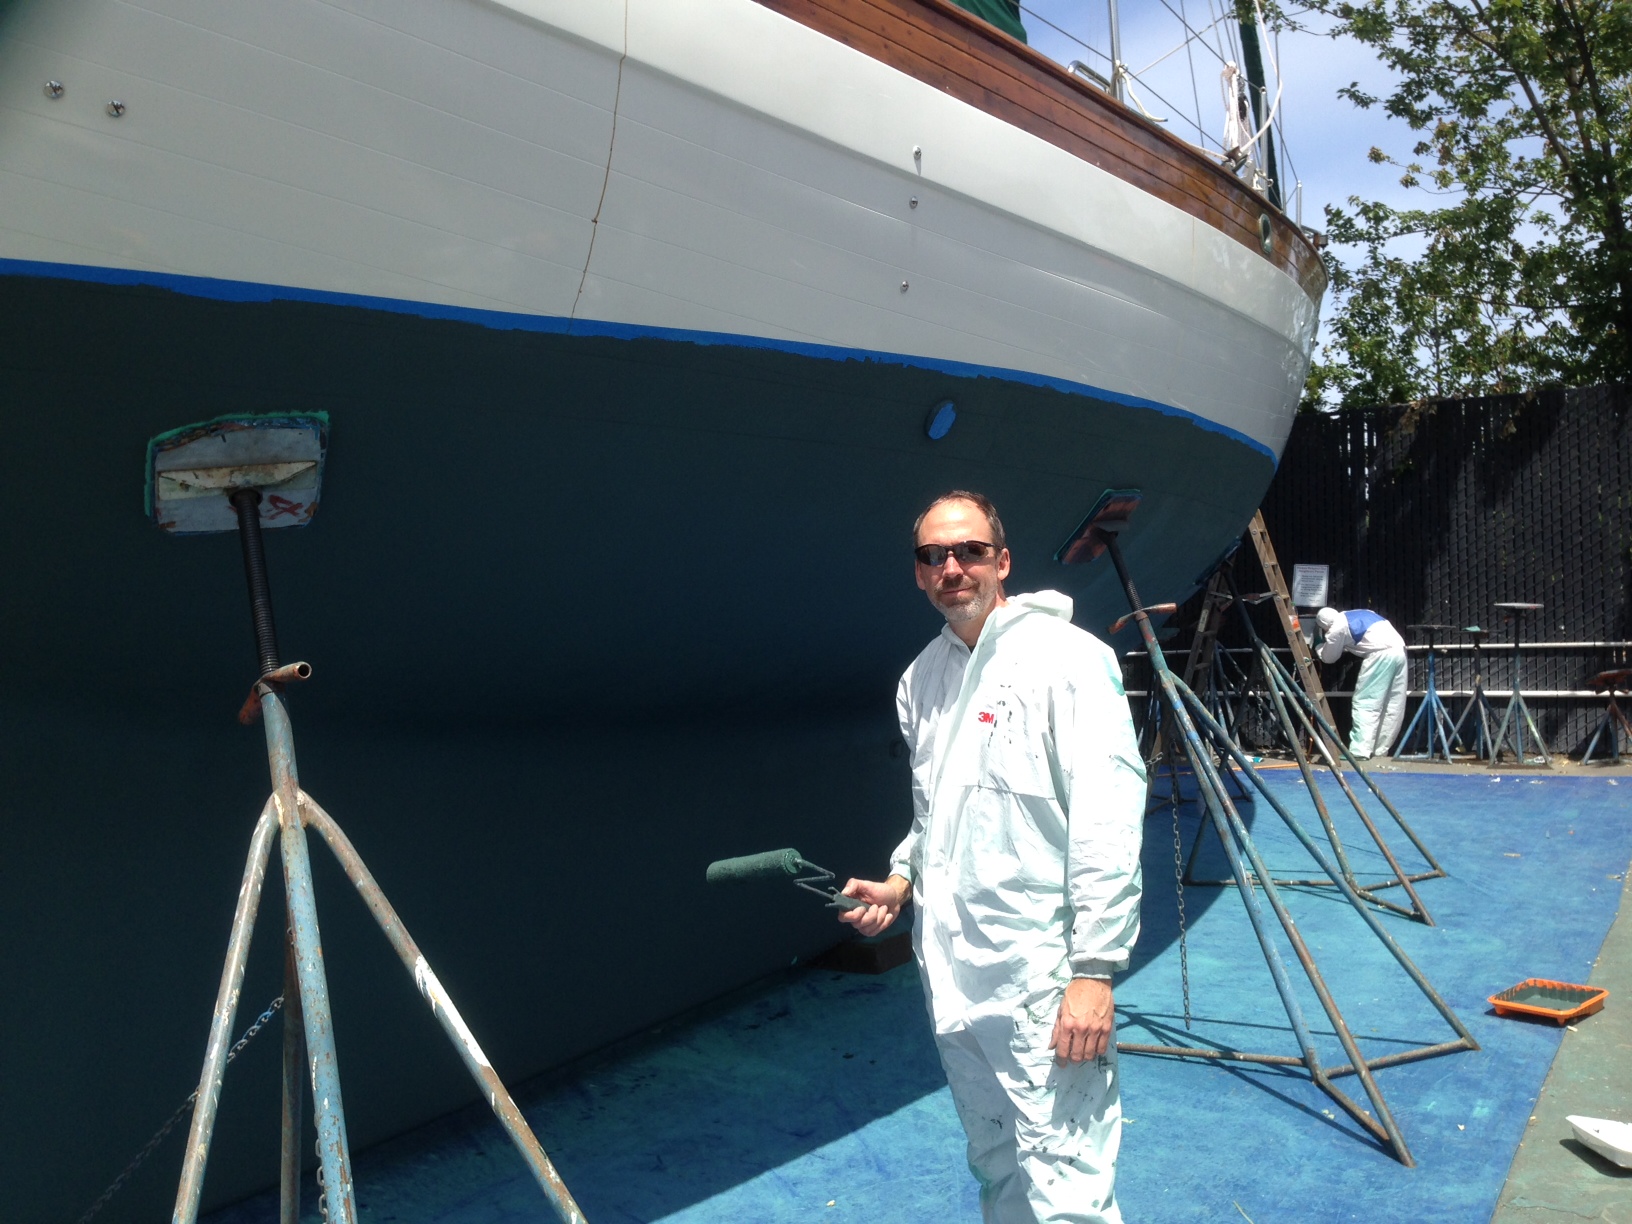
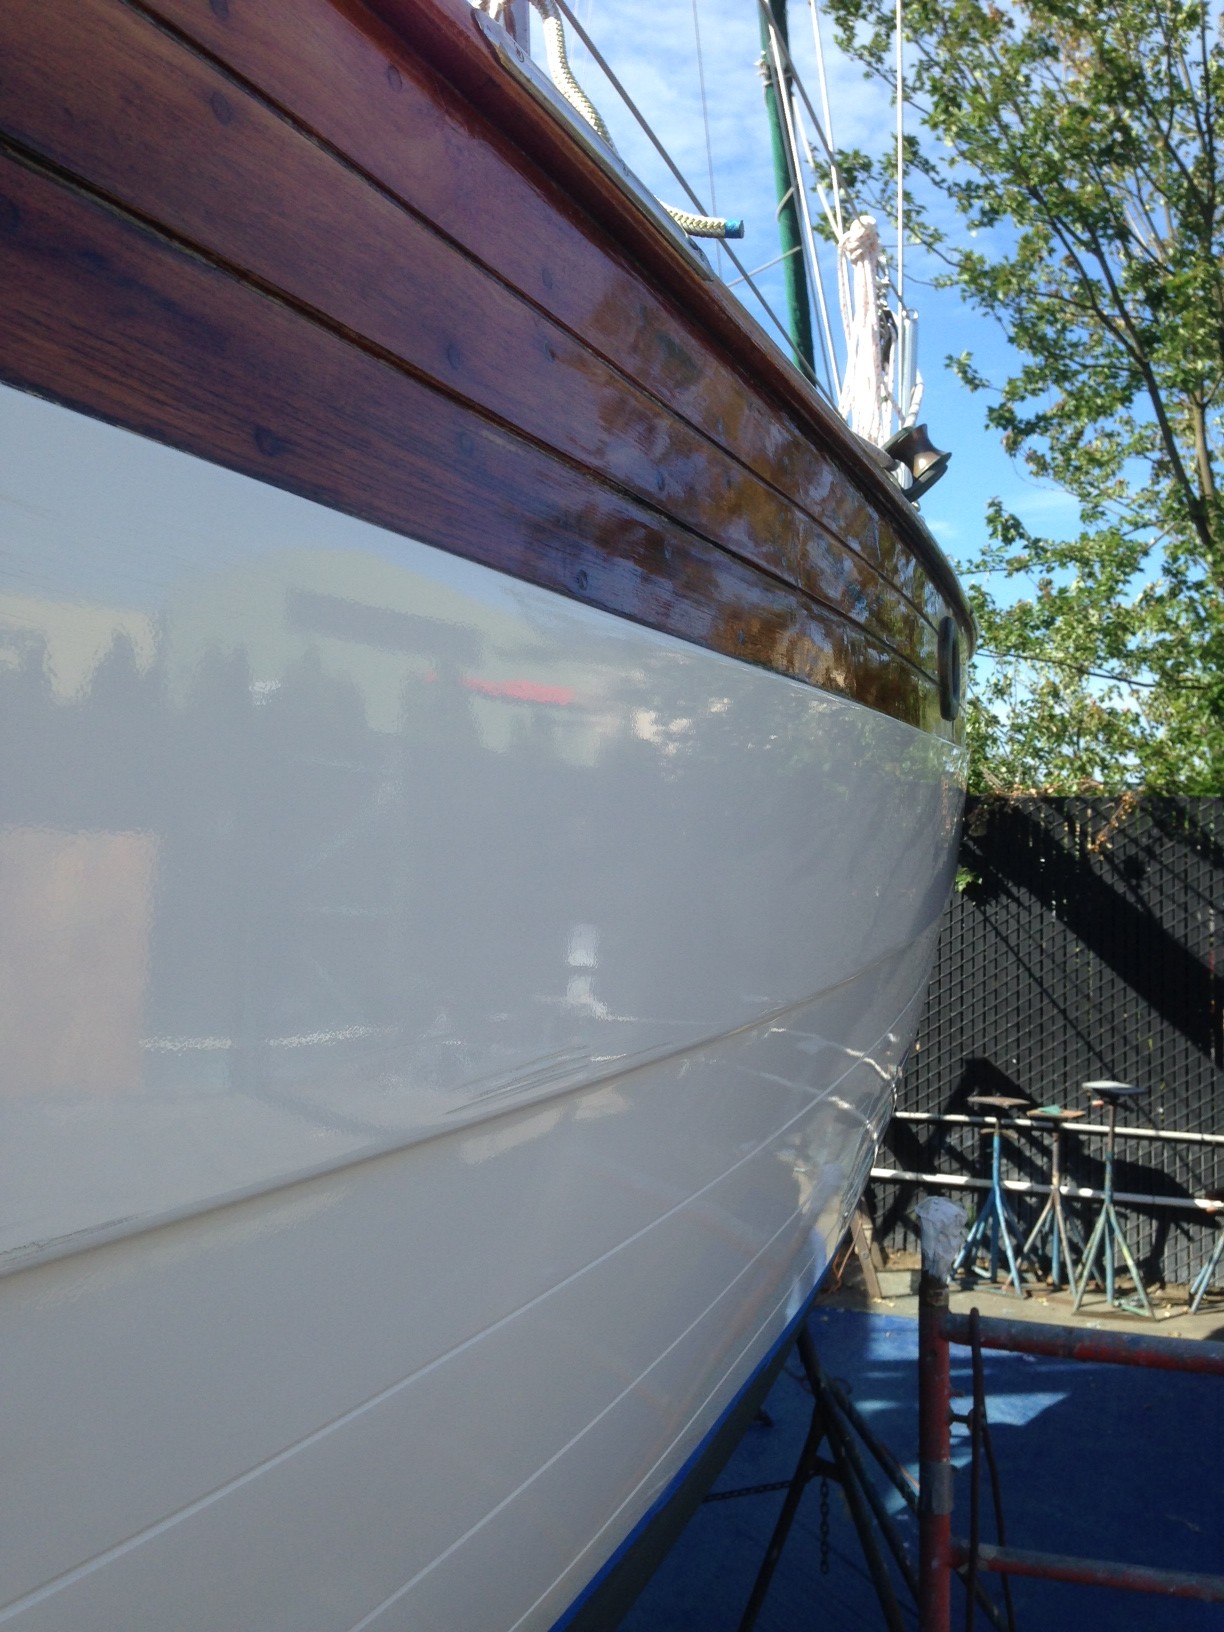
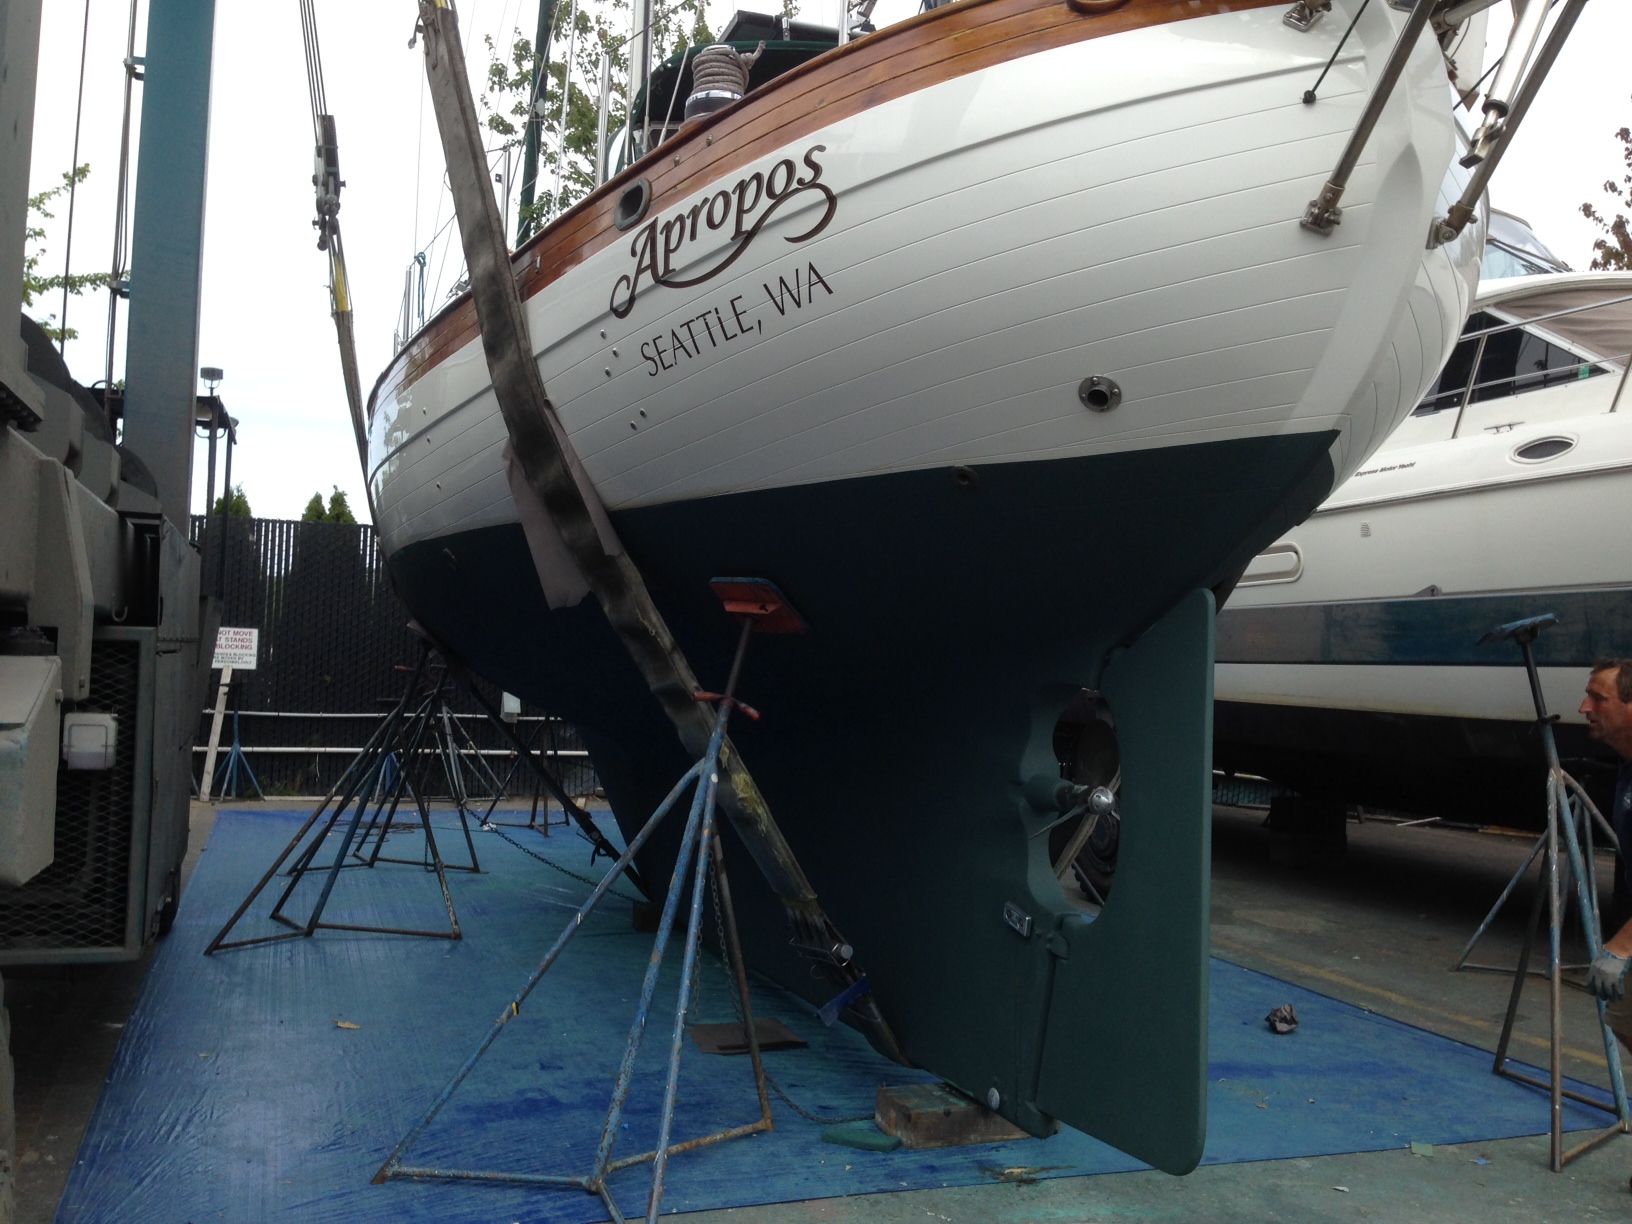
Bottom Paint and Survey This is always an exhausting 3-4 day job. This time I hauled the boat out on a Friday, spent most of that day with a marine surveyor going over nearly every inch of the boat looking for any problems, defects, or issues. The boatyard prepped the bottom by first pressure washing it, then power-sanding. On Saturday we taped above the bottom line and all the thru-hulls, then rolled on the first coat of Cukote Biocide Antifouling paint. On Sunday we applied the second coat, changed the zincs, and greased the feathering 3-blade MaxProp. On Monday we applied a 3rd coat of paint at the waterline, and polished then waxed the entire hull. The good news over these 4 days was that each day I had help from someone. The bad news was that the weekend also coincided with the weekend we were packing up the condo, the weekend of my daughter Jacintha’s birthday party, and the weekend of my other daughter Amanda’s ballet recital. And to top it off, Jacintha got sick at camp on Monday and I had to run and pick her up, race back to the boatyard to finish the polishing and cleaning up before the 3pm haul-in and motor up the canal before the drawbridges stayed down for rush hour traffic! Despite the ultra-busy weekend, everything turned out nicely. No major problems were found in the survey and Apropos is looking good with her darker green bottom!
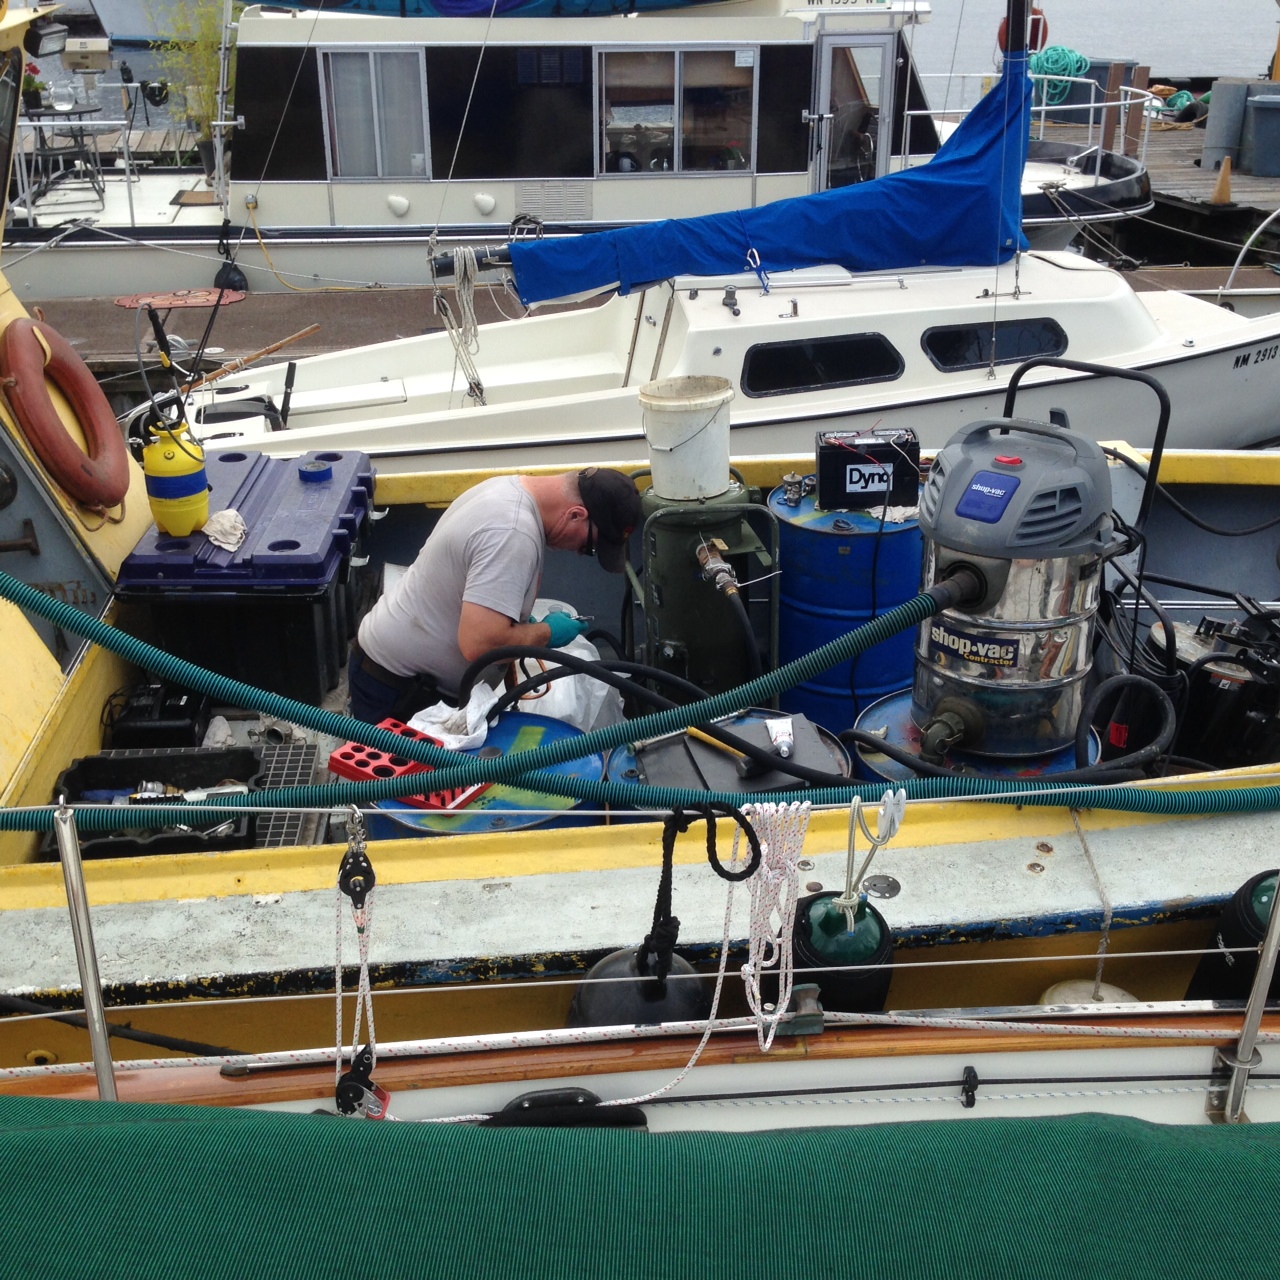
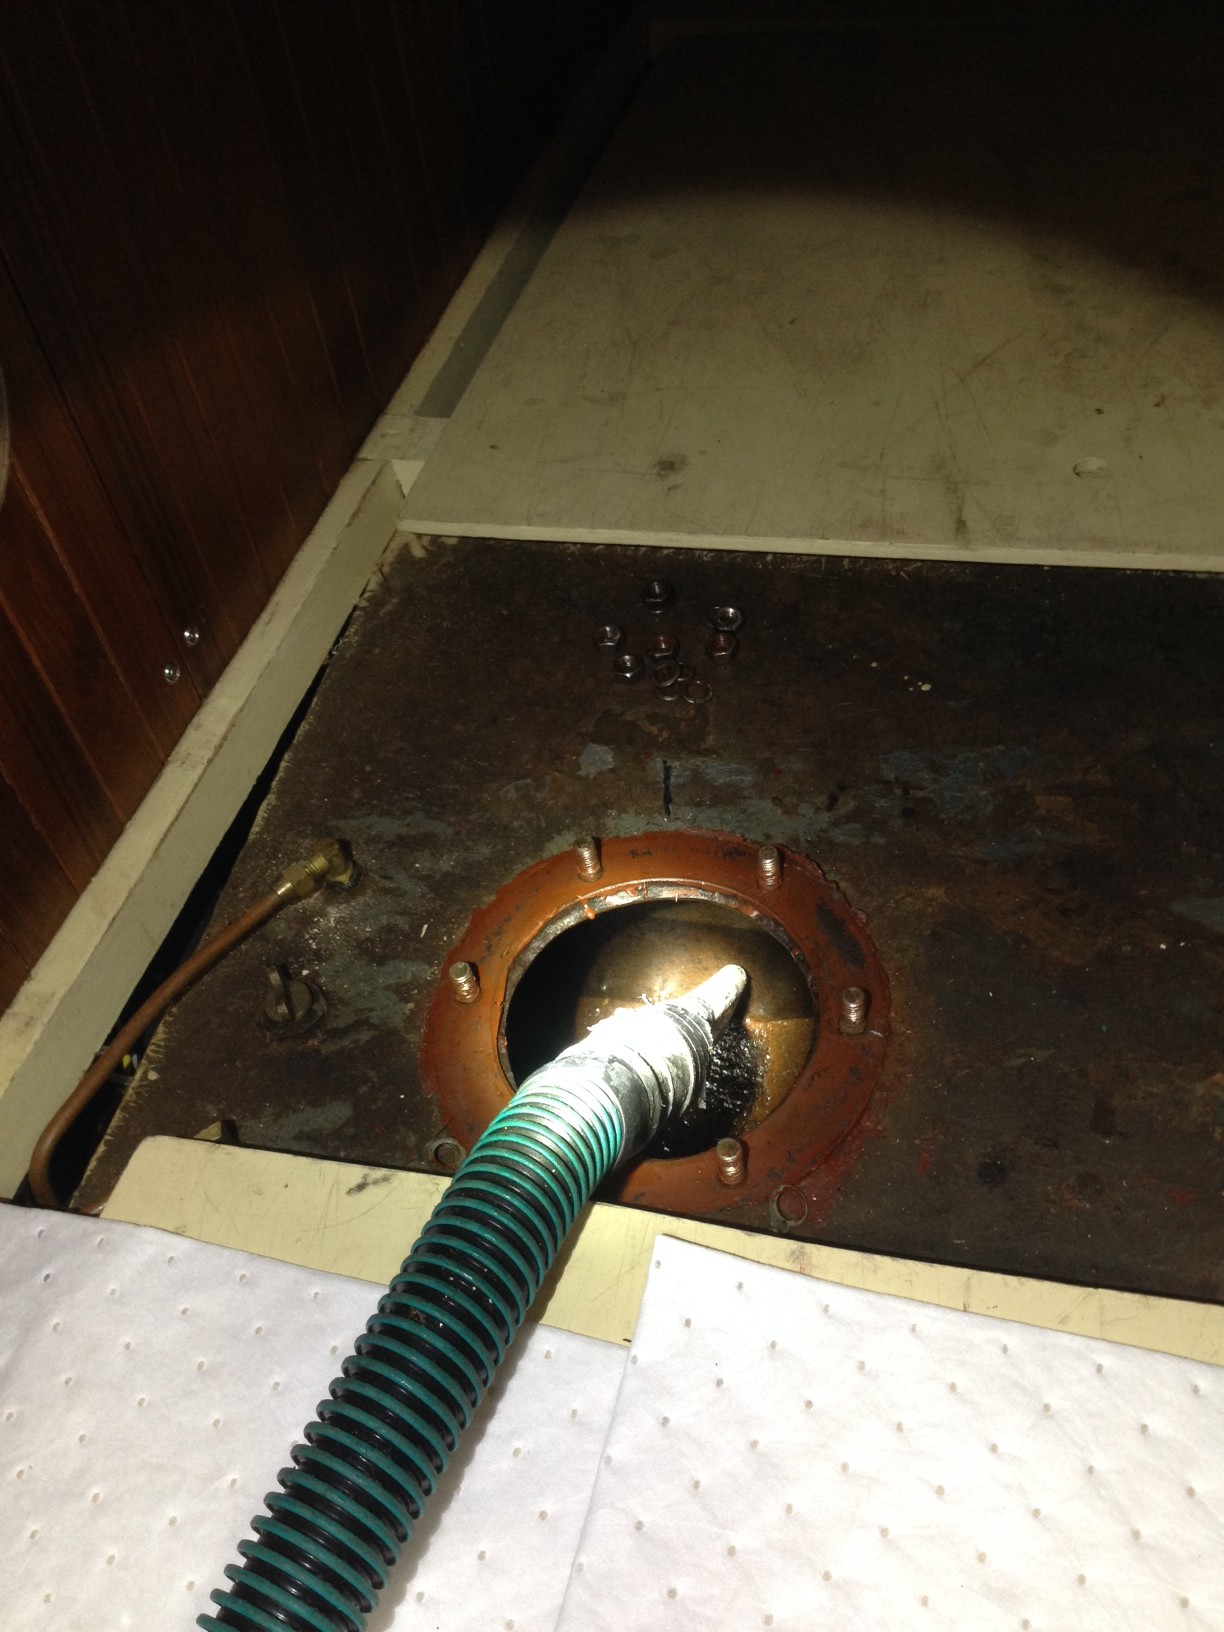
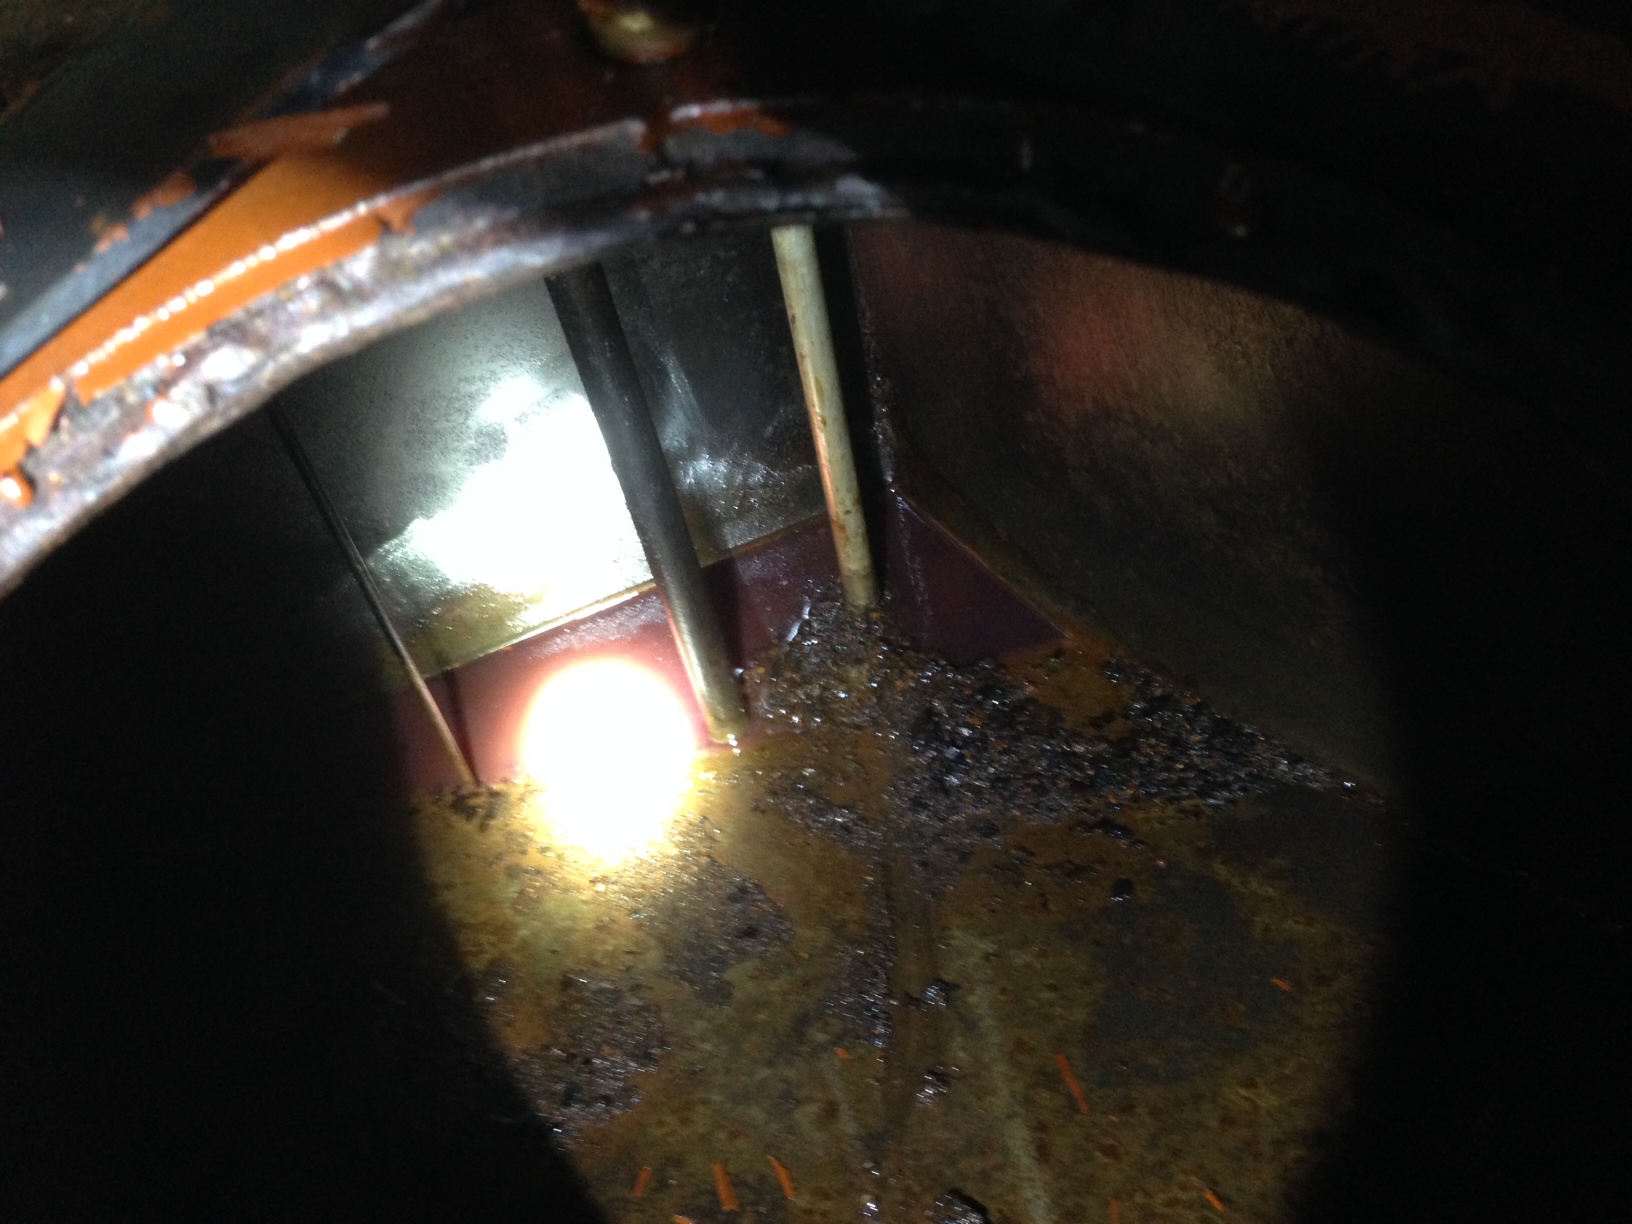
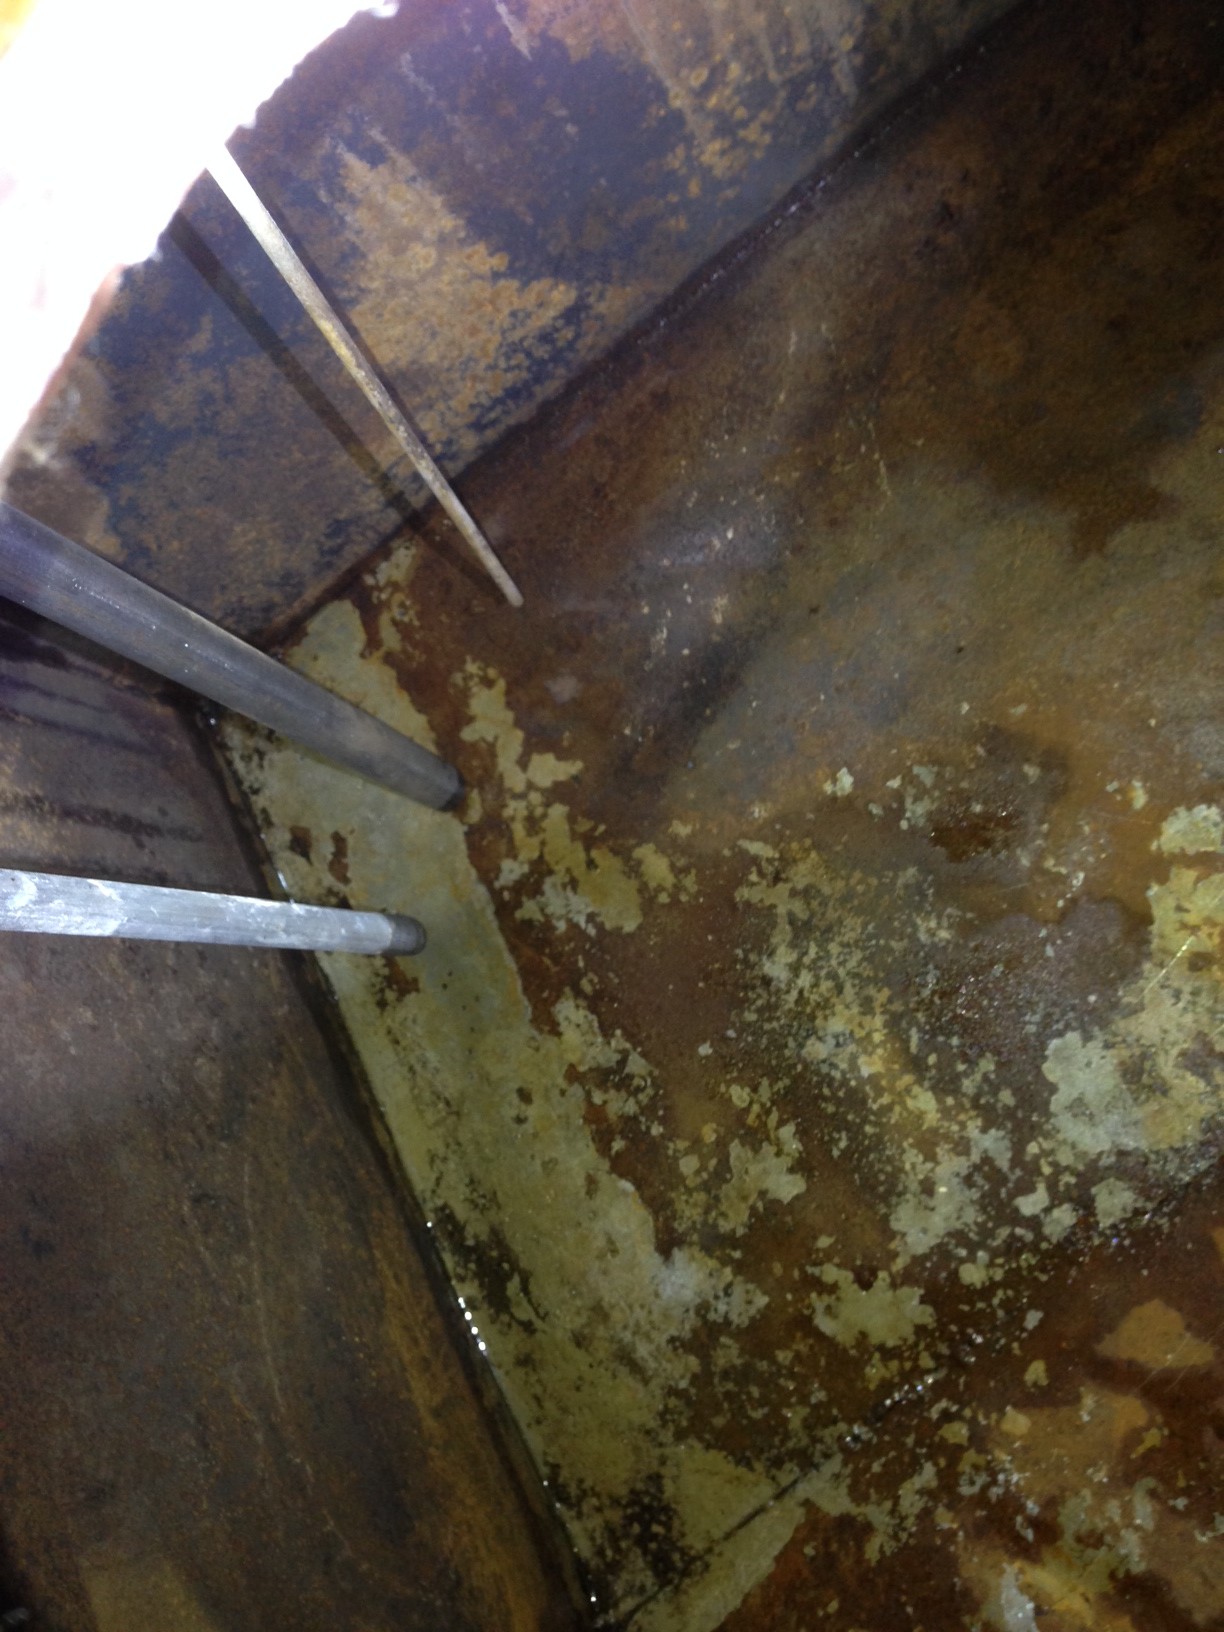
Polishing the Fuel Tanks Apropos has 2 steel 60-gallon diesel tanks located under the port and starboard aft bunks. When diesel fuel sits in tanks, condensation can occur especially if the tanks are not kept full. Water from the condensation sinks to the bottom and living things called microbes grow. These microbes make acidic deposits on the bottom of tanks that can actually eat away at a steel tank and create pinholes. One remedy that works well is to treat the fuel with a biocide that kills the microbes (I do this whenever I add fuel to the tanks). Even so, after so many years the bottom of a tank can get pretty dirty. When going to sea, rough weather can stir up junk in the tank and clog fuel filters, killing the engine–usually at a time where you REALLY need the engine. So as a precaution, I decided to have the tanks polished. Here’s how it worked–a boat came to the marina, removed the 12″ access plates on top each tank, pumped out the diesel from both tanks and filtered it as it went into a barrel on their boat. Next they used an industrial shop vac to remove all the sediment remaining in the tanks, then used a high pressure washer with 200 degree water to clean the tanks. My tanks have a baffle in the middle to reduce sloshing, so they used a 90 degree fitting on the pressure wand to reach around the baffle. After suction-drying the tanks, they inspected the bottoms for any sign of corrosion. There were a few very minor pits at the low points of each tank, but nothing to worry about (for badly pitted tanks, they need to epoxy the bottoms). Finally, they returned the diesel to the tanks, filtering it again as they pumped it back in. Now we can have some peace of mind when bouncing around in rough seas off the Washington/Oregon/California coasts.
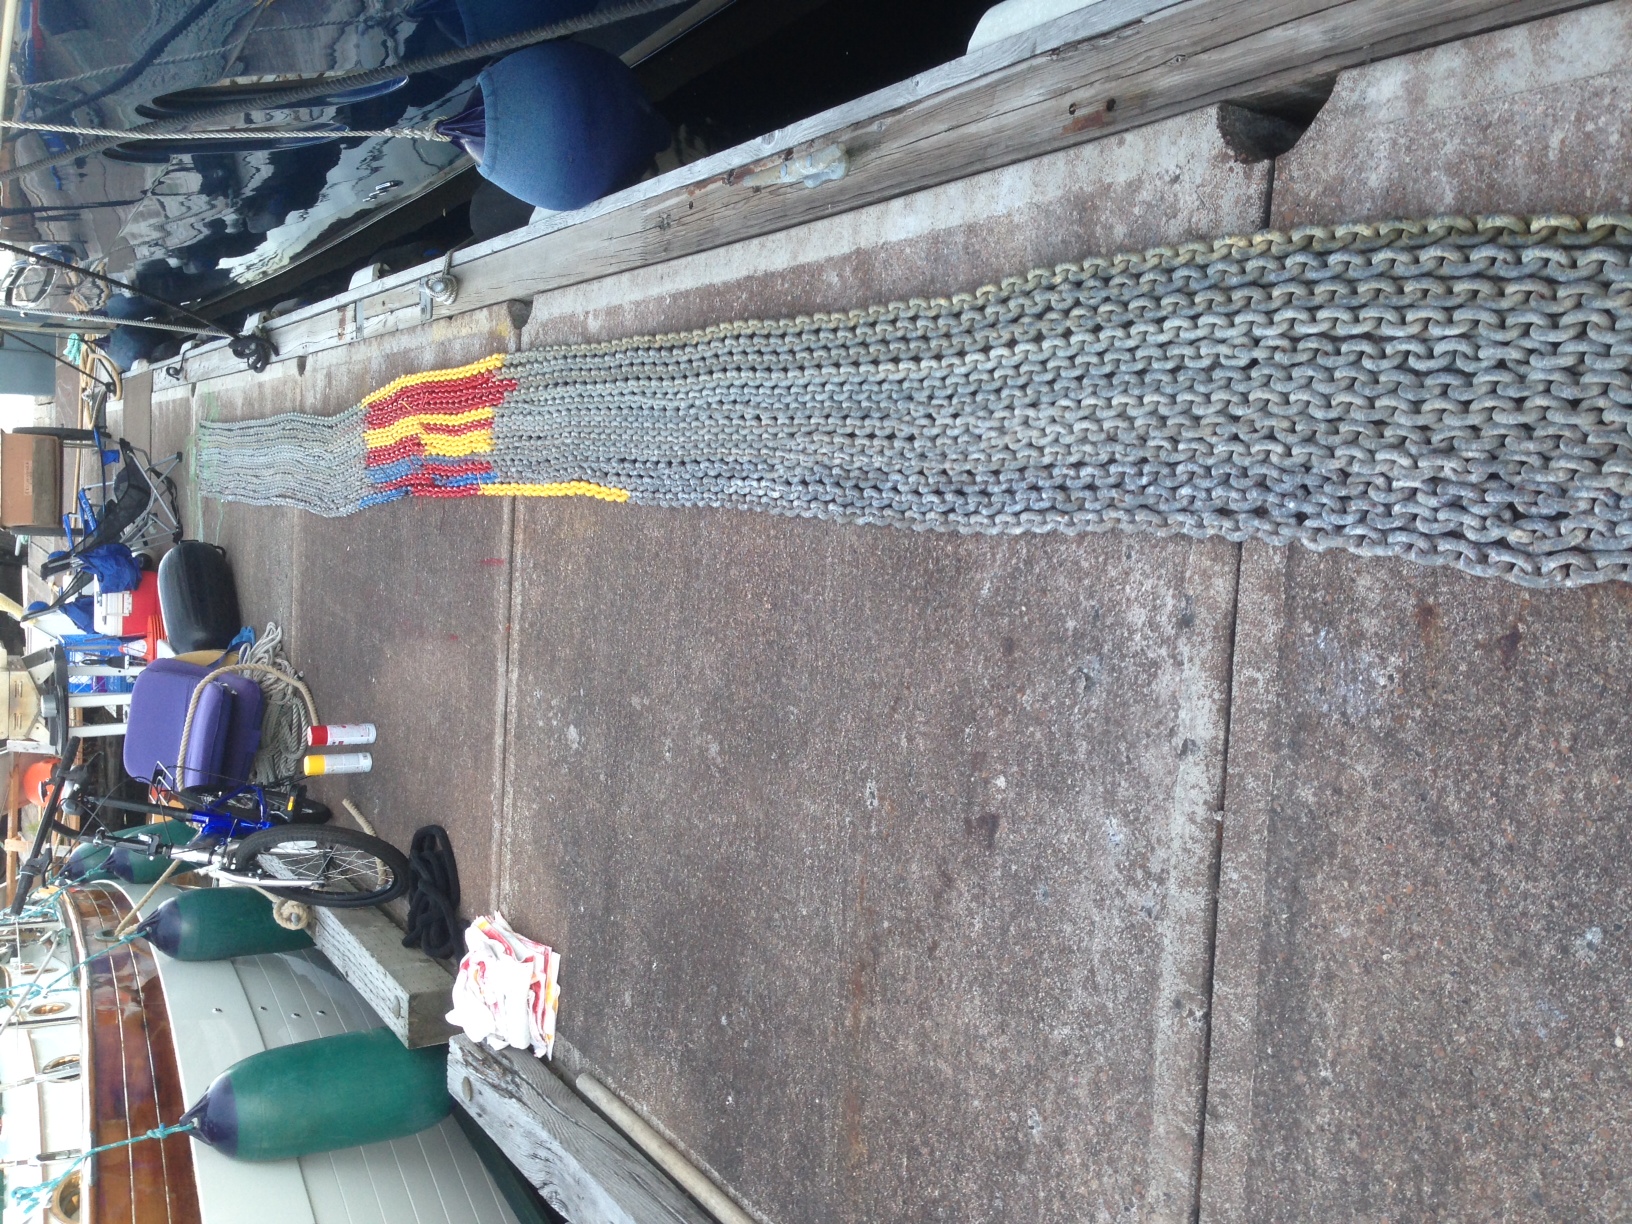
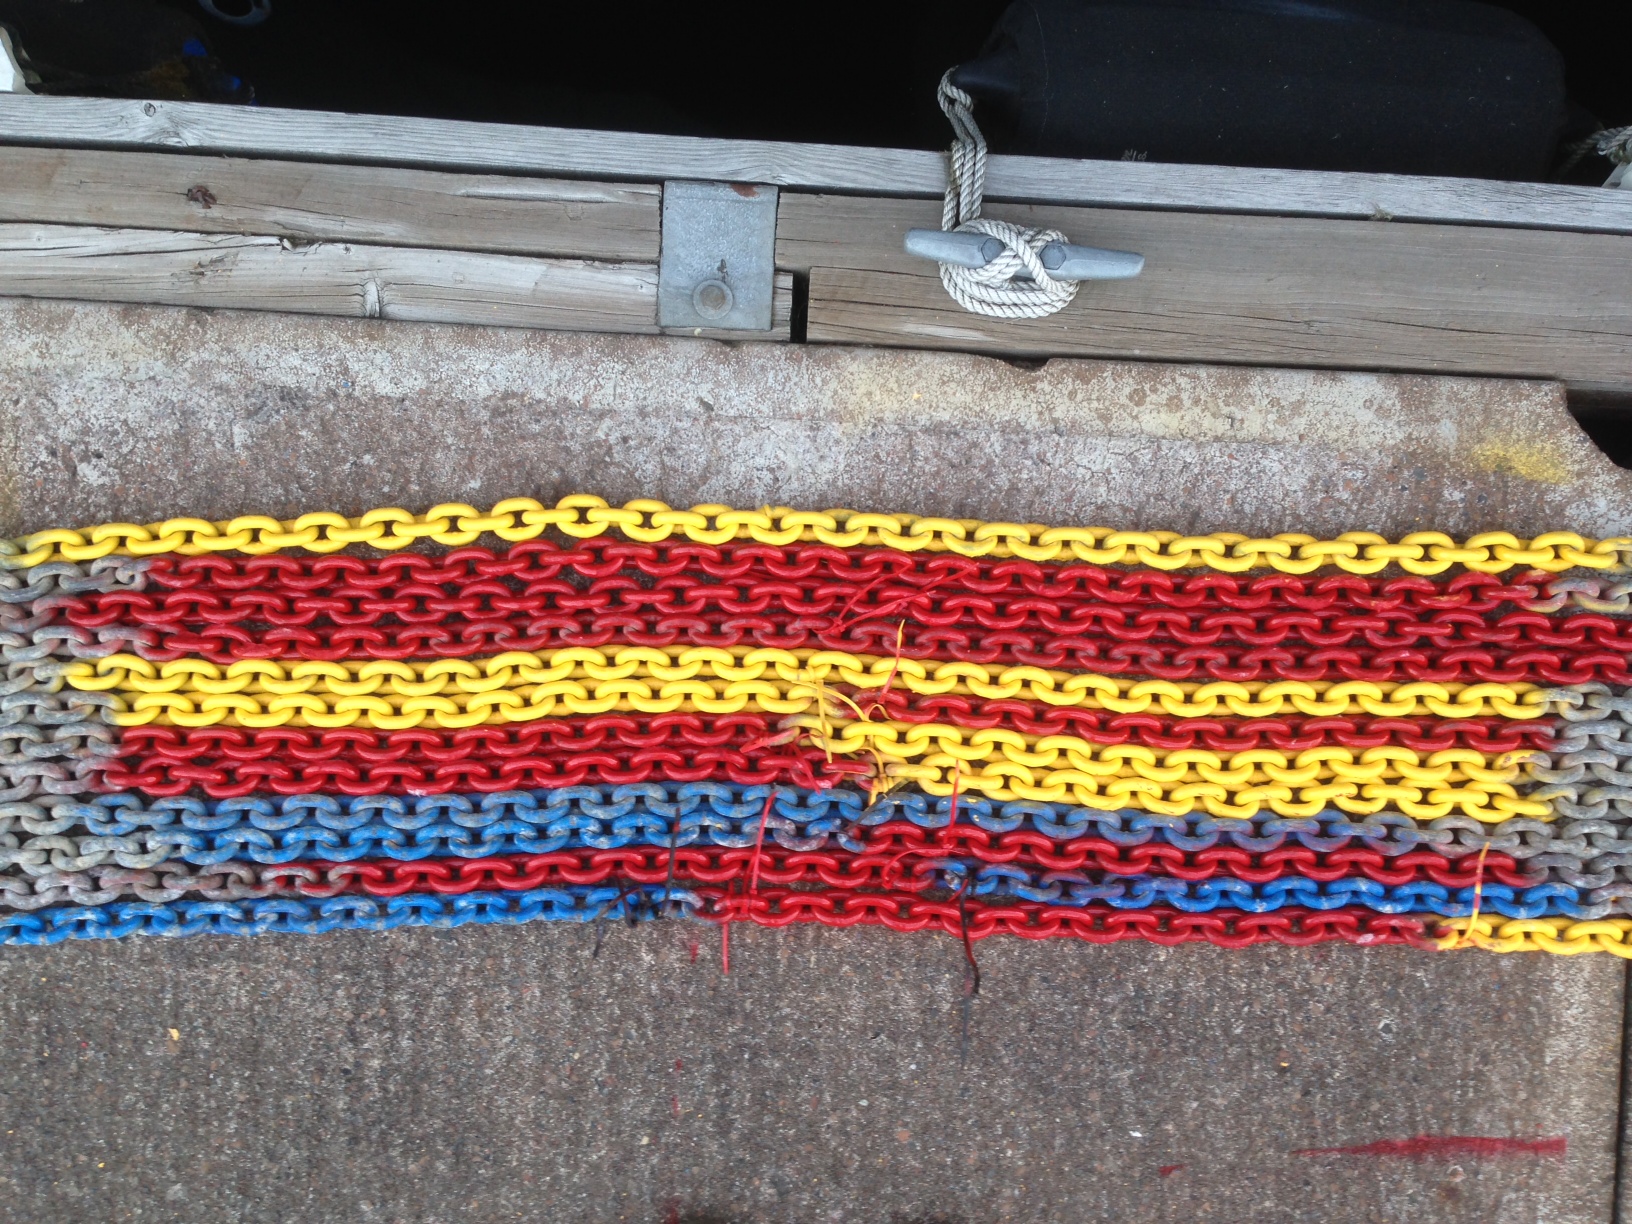
Marking the Anchor Chain The main anchor on Apropos is a 60 lb CQR plow-type with 300′ of 3/8″ chain. When anchoring, it’s important to know how much chain is out, so I like to mark the chain at 25′ intervals. I do this with a combination of paint and colored zip ties. The last time I did this was 8 years ago and the paint was still ok, but I thought I’d re-do it since we’ll be anchoring most of the time on the trip. I lowered about 25′ of chain at a time into the water, then pulled it on the dock for marking. I used 3 spray cans of Rustoleum paint–red, yellow, and blue. The chain markings are observed as they come off the windlass gypsy and the code is as follows:
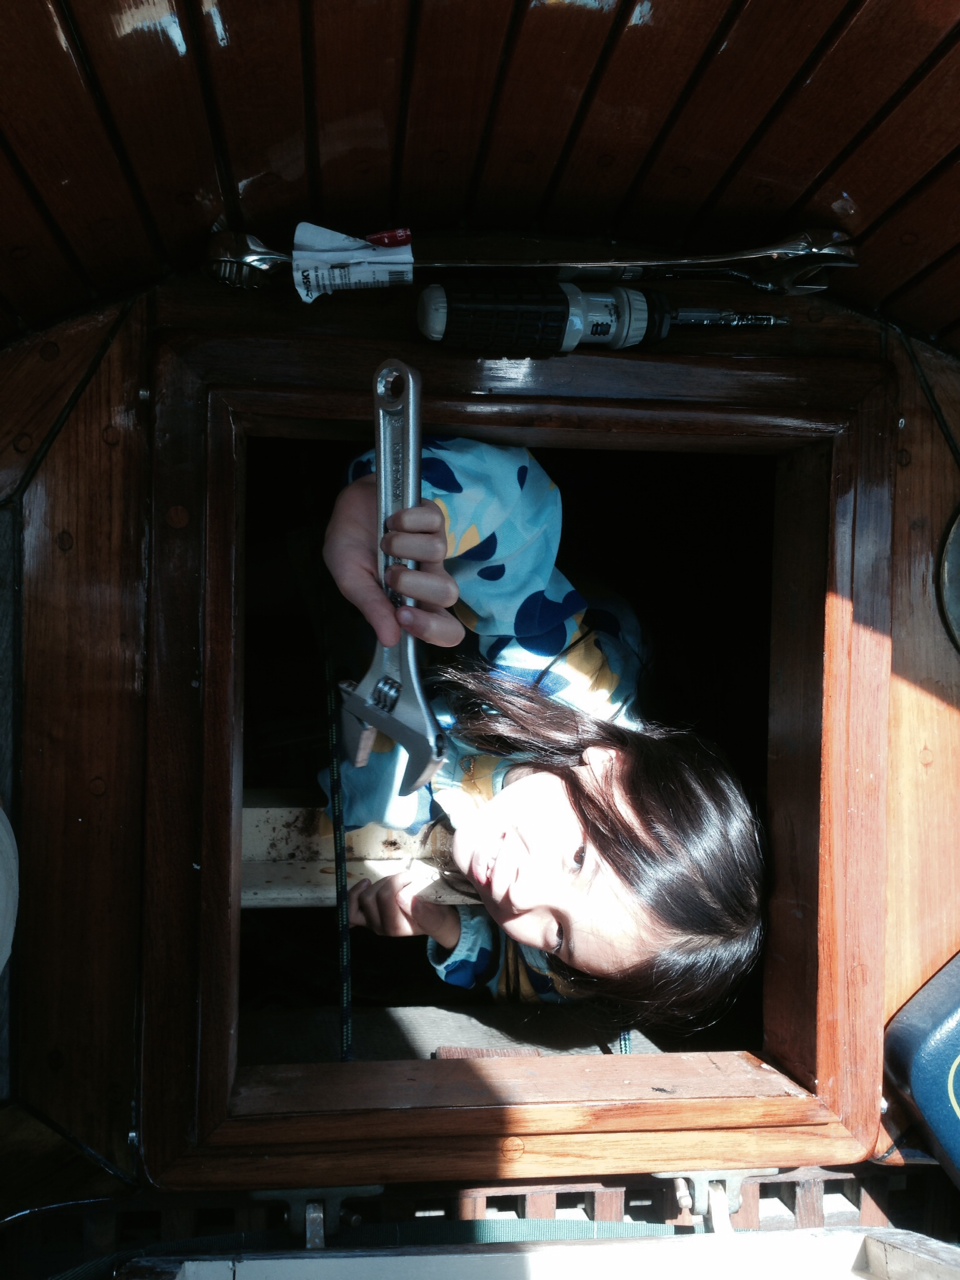
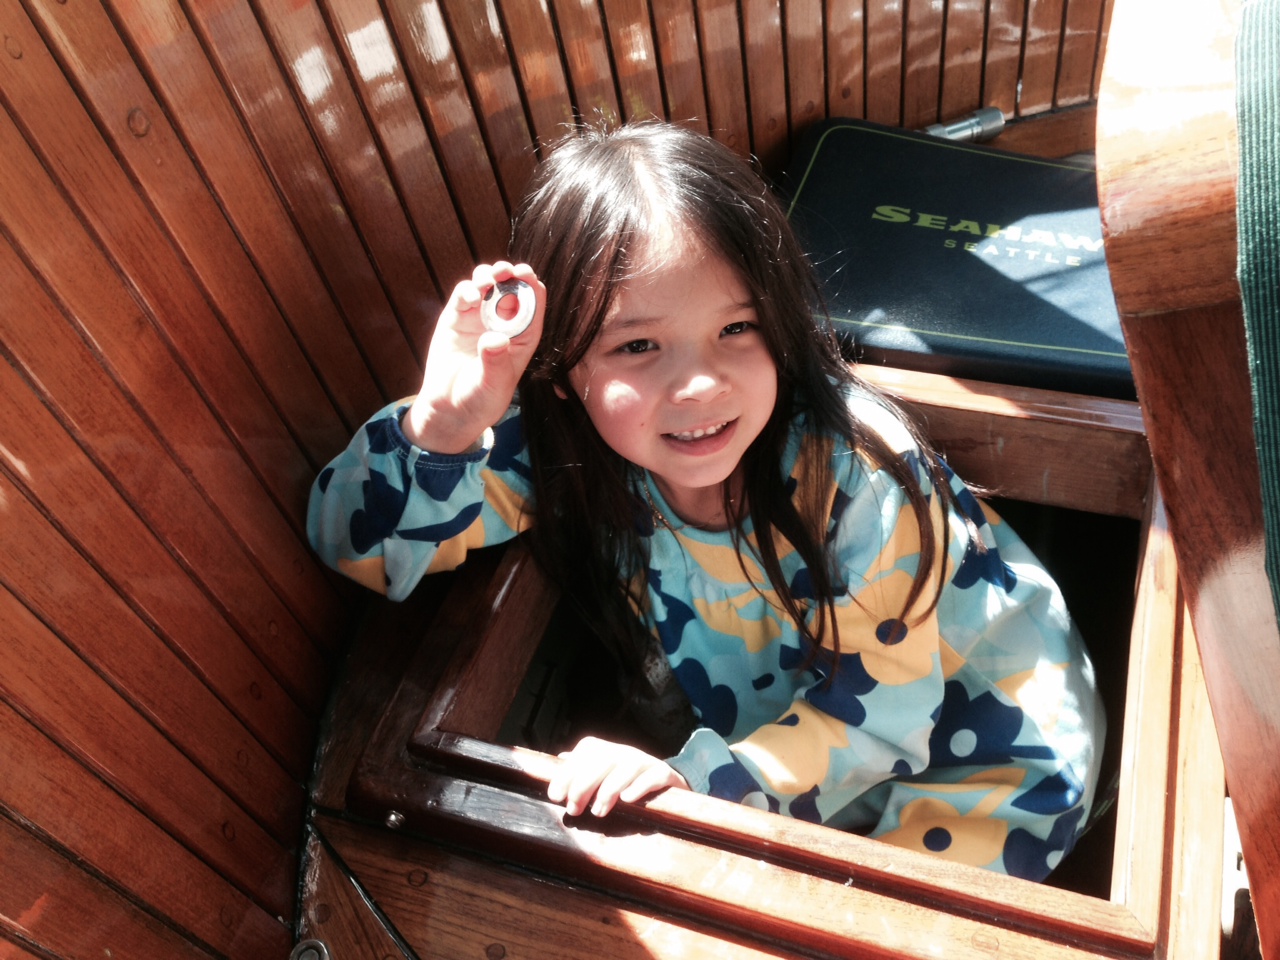
Rudder Post Modification The wheel turns the rudder via gears, a large diameter stainless steel cable, and a quadrant. The centerpoint of the quadrant is the rudder post. If the gears or cable fail, steering with the wheel won’t work, but an emergency tiller fitted atop the rudder post will work. The problem with the setup on Apropos was that there was less than a half inch of rudder post available to connect the collar on the tiller to. This had to do with fitting the boat with an electrical autopilot, which has a electro-hydraulic ram that moves the quadrant. The fix was to use ss washers as a spacer that stacks up to about 1.25″ to essentially lower the arm the ties the rudder post to the end of the autopilot ram. Lower the arm by 1.25″ exposed that much more of the top of the rudder post for connecting the emergency tiller. This was a simple fix in theory but made somewhat difficult by the cramped quarters inside the lazerette and the heavy-duty large fasteners (most wrench and socket sets end at 7/8″, this required a 1-1/8″). And working from above, accessing things from the opened helm seat, was difficult. But I had a 7 year old helper who I twice lowered down through the opening to retrieve a dropped washer and wrench!
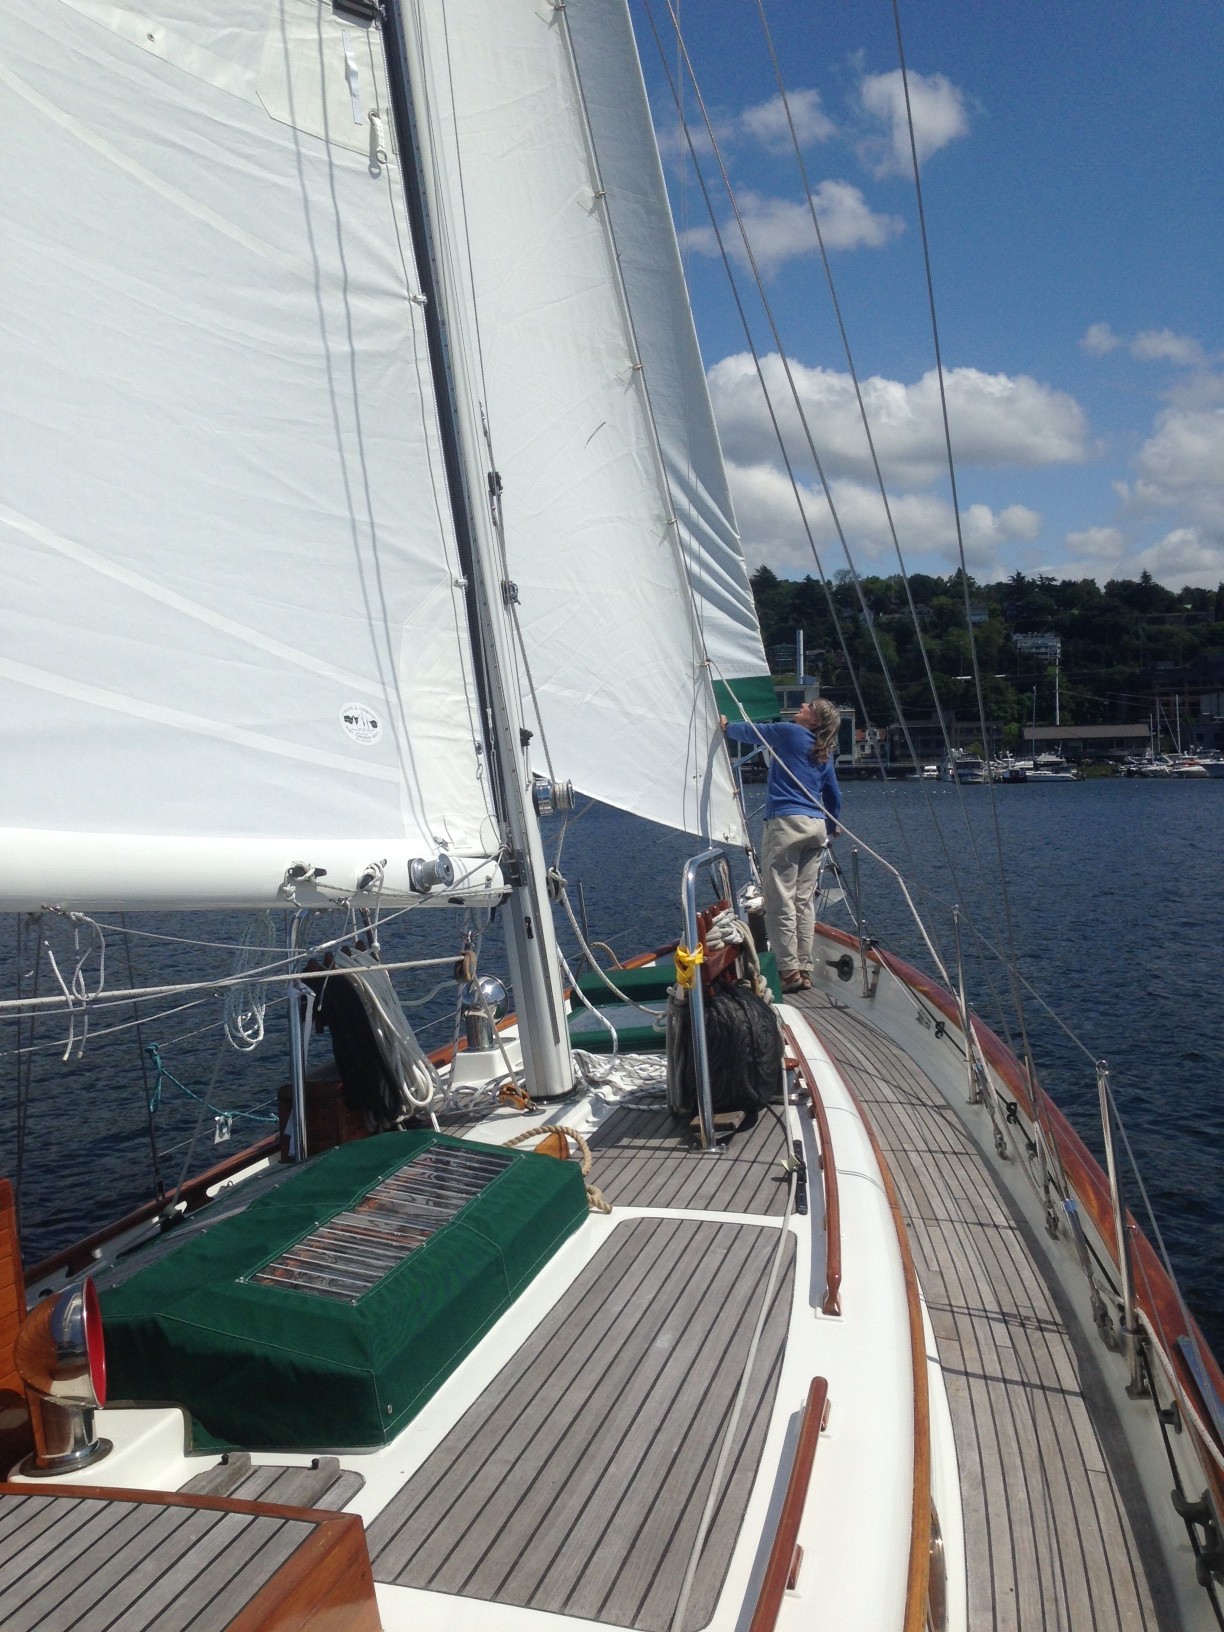
Today we had the opportunity to sail with Carol Hasse, owner of Port Townsend Sails. She’s an amazing source of knowledge when it comes to offshore cruising sails. Back in September 2013 we first spoke with her about outfitting Apropos with new sails. My dad and I sailed the boat up to Port Townsend and spent about 6 hours with Carol taking all the measurements (she personally measures every boat). Around that time we were also adding a bimini to the boat, which required the mizzen boom to be raised about 13″. After the bimini was finished, Carol came to Seattle to take additional measurements for the mizzen sail. In the spring I sailed the boat back to Port Townsend with Lance and Carol (owners of Syrah, another Hans Christian) to bend on the sails. The 4 new sails include a 105% furling Genoa with foam luff, a hank-on Stays’l, a full-baton Main with double reefing, and a full-baton Mizzen with single reefing. The workmanship and quality of the sails are top-notch!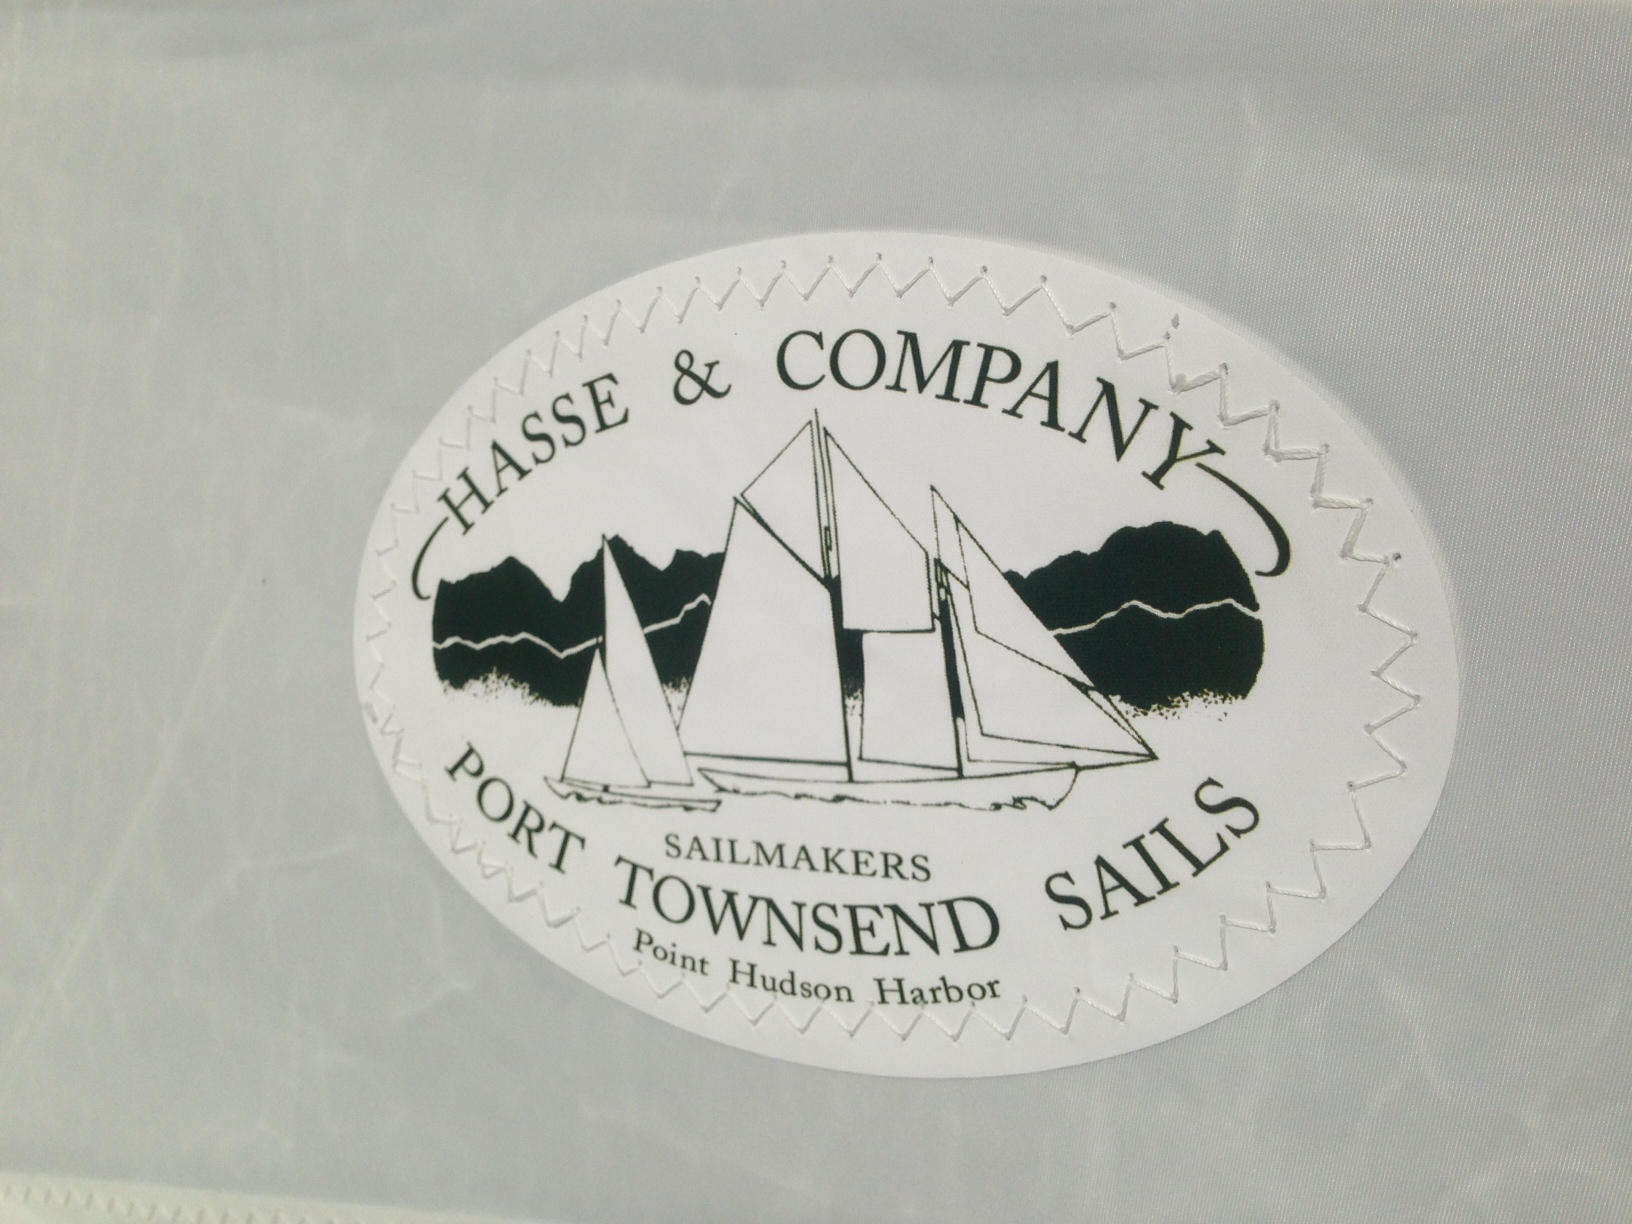
So, back to today’s sail. We had a nice breeze on Lake Union and had all 4 sails out. Carol gave us some good pointers on sail trim, how to properly read tell-tails, how to adjust sheet cars, how to set up a Cunningham on the boat to improve sail shape (leach), how to set up a soft Vang to improve sail shape (luff), and how to rig a preventer. During the 2 hours we did a lot of tacking with Karen at the helm and Carol and I working the sheets and going around to each sail and talking about sail-shape, halyard tensioning, sheet car positioning, etc. We also sailed under a partially furled Genoa and put the boat in a hove-to position by back-winding the headsails. Carol was very pleased with how the sails fit and also how the boat handled when properly trimmed with very little weather helm. We were so busy sailing and absorbing information, we didn’t get a chance to take many pictures!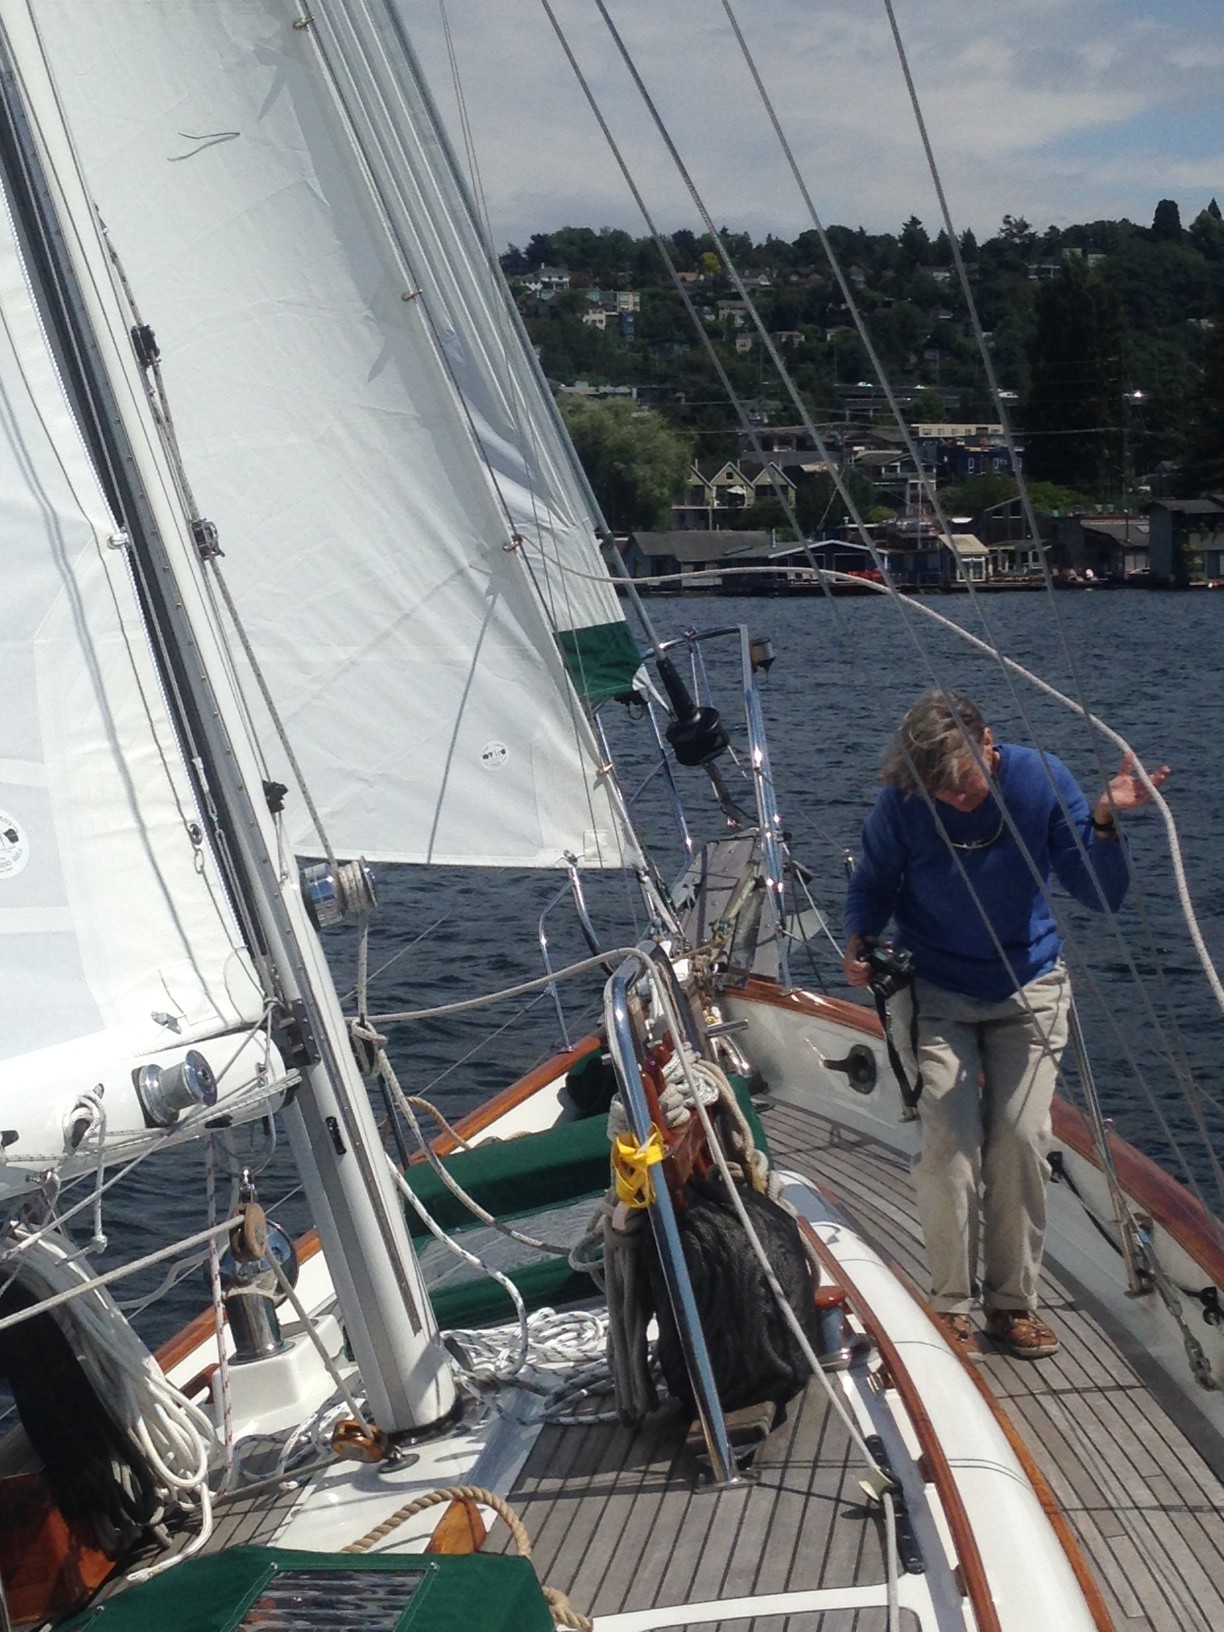
Being a health practitioner and in preparation for our upcoming offshore excursion I decided to “brush up” on some Wilderness Medicine.
The meeting was attended by a large variety of healthcare professionals from physicians, nurses and nurse practitioners to EMTS and medical students. The topics included Alpine and Travel medicine to search and rescue and fracture/dislocation reduction/immobilization plus a variety of hands on practical courses like knot tying, things for your medical kit.
There were also guest presentations from a variety of speakers for interest.
Dr Matt Oliva, an ophthalmologist presented his work with in Nepal with the Himalayan Eye Project. This organisation’s quest is to cure blindness with a simple cataract operation through training, mobile field hospitals and grassroots local clinics. The model has been so successful that they’re now implementing a similar model in Ethiopia. It was inspirational to watch videos of people who were previously blind for years when the bandages were taken off a day after their surgery. The pure joy on their faces when they realised they could see again and the dancing and celebration!
Dr Micheal van Rooyen talked about the Frontiers of Humanitarian Medicine, touching on the quest to eradicate malaria in the third world and the emergence of dengue fever as a new threat to those who live and visit the tropics. There is exciting emerging science in the field of mosquito borne diseases that will hopefully make a difference in the coming years to eradicate these diseases that cause a lot of morbidity and mortality.
Dr Karen van Hoesen talked about her expedition to Antarctica to test new SCUBA regulators under the polar ice cap. The photos were spectacular and amazing.
The things that I learnt from the meeting are as follows.
1. Dengue Fever is on the rise in the tropics. This is a mosquito borne disease causing a flu like illness of high fever and pain, often called breakbone fever” which can be debilitating. It is now prevalent in ALL areas tropical. For those exposed to it a number of times you are in danger of getting Dengue Hemorrhagic Fever which is also life threatening. There is no vaccination, no treatment and no cure for this disease. All that can be done is “supportive therapy” hence treating the symptoms.
An ounce of prevention is better than any cure. These mossies bite during the day as well as night! Wear long sleeve clothing, use lots of insect repellant, sleep under a net.
www.cdc.gov/Dengue/prevention/index
2. Diarrhea is very common, you will get it and it will make you miserable but it won’t kill you.
Prevention is better than cure especially in underdeveloped countries where there may be feces in the soil etc. Purell doesn’t remove a lot of these bugs so carry some soap and water with you to wash your hands. Don’t use community soaps or towels. Boil/treat your drinking water and use this to brush your teeth as well.
wwwnc.cdc.gov/travel/yellowbook/2014/chapter-2-the-pre-travel-consultation/travelers-diarrhea
Pepto Bismol can help with the treatment of diarrhea and pull out the antibiotics only if it doesn’t get better or if you’re immunocompromised. Loperamide for symptoms if needed. If you’re in South East Asia, Ciprofloxacin resistant Campylobacter is on the rise so you may need to take a different antibiotic there. Consult your medical practitioner.
3. I probably need some ear drops to prevent “swimmers ear” and for barotrauma from diving and some more ophthalmic drops for eye injuries and infections in my medical kit, which I didn’t think about.
4. A great refresher on how to reduce dislocations and simple fractures and the uses of SAM splints which i’m going to pack in my medical kit.
5. Safety pins and duct tape are useful improvisation tools for your medical kit.
Now I’m off to pack my Medical Kit.