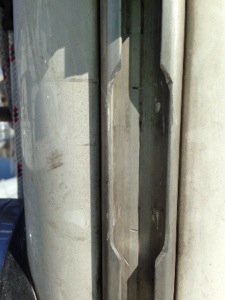
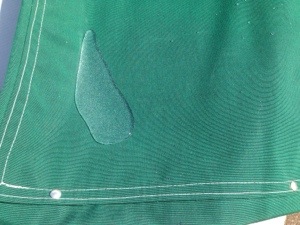
Before continuing on the Weather cloths, a batten had ripped a hole in the batten pocket and broken in two.
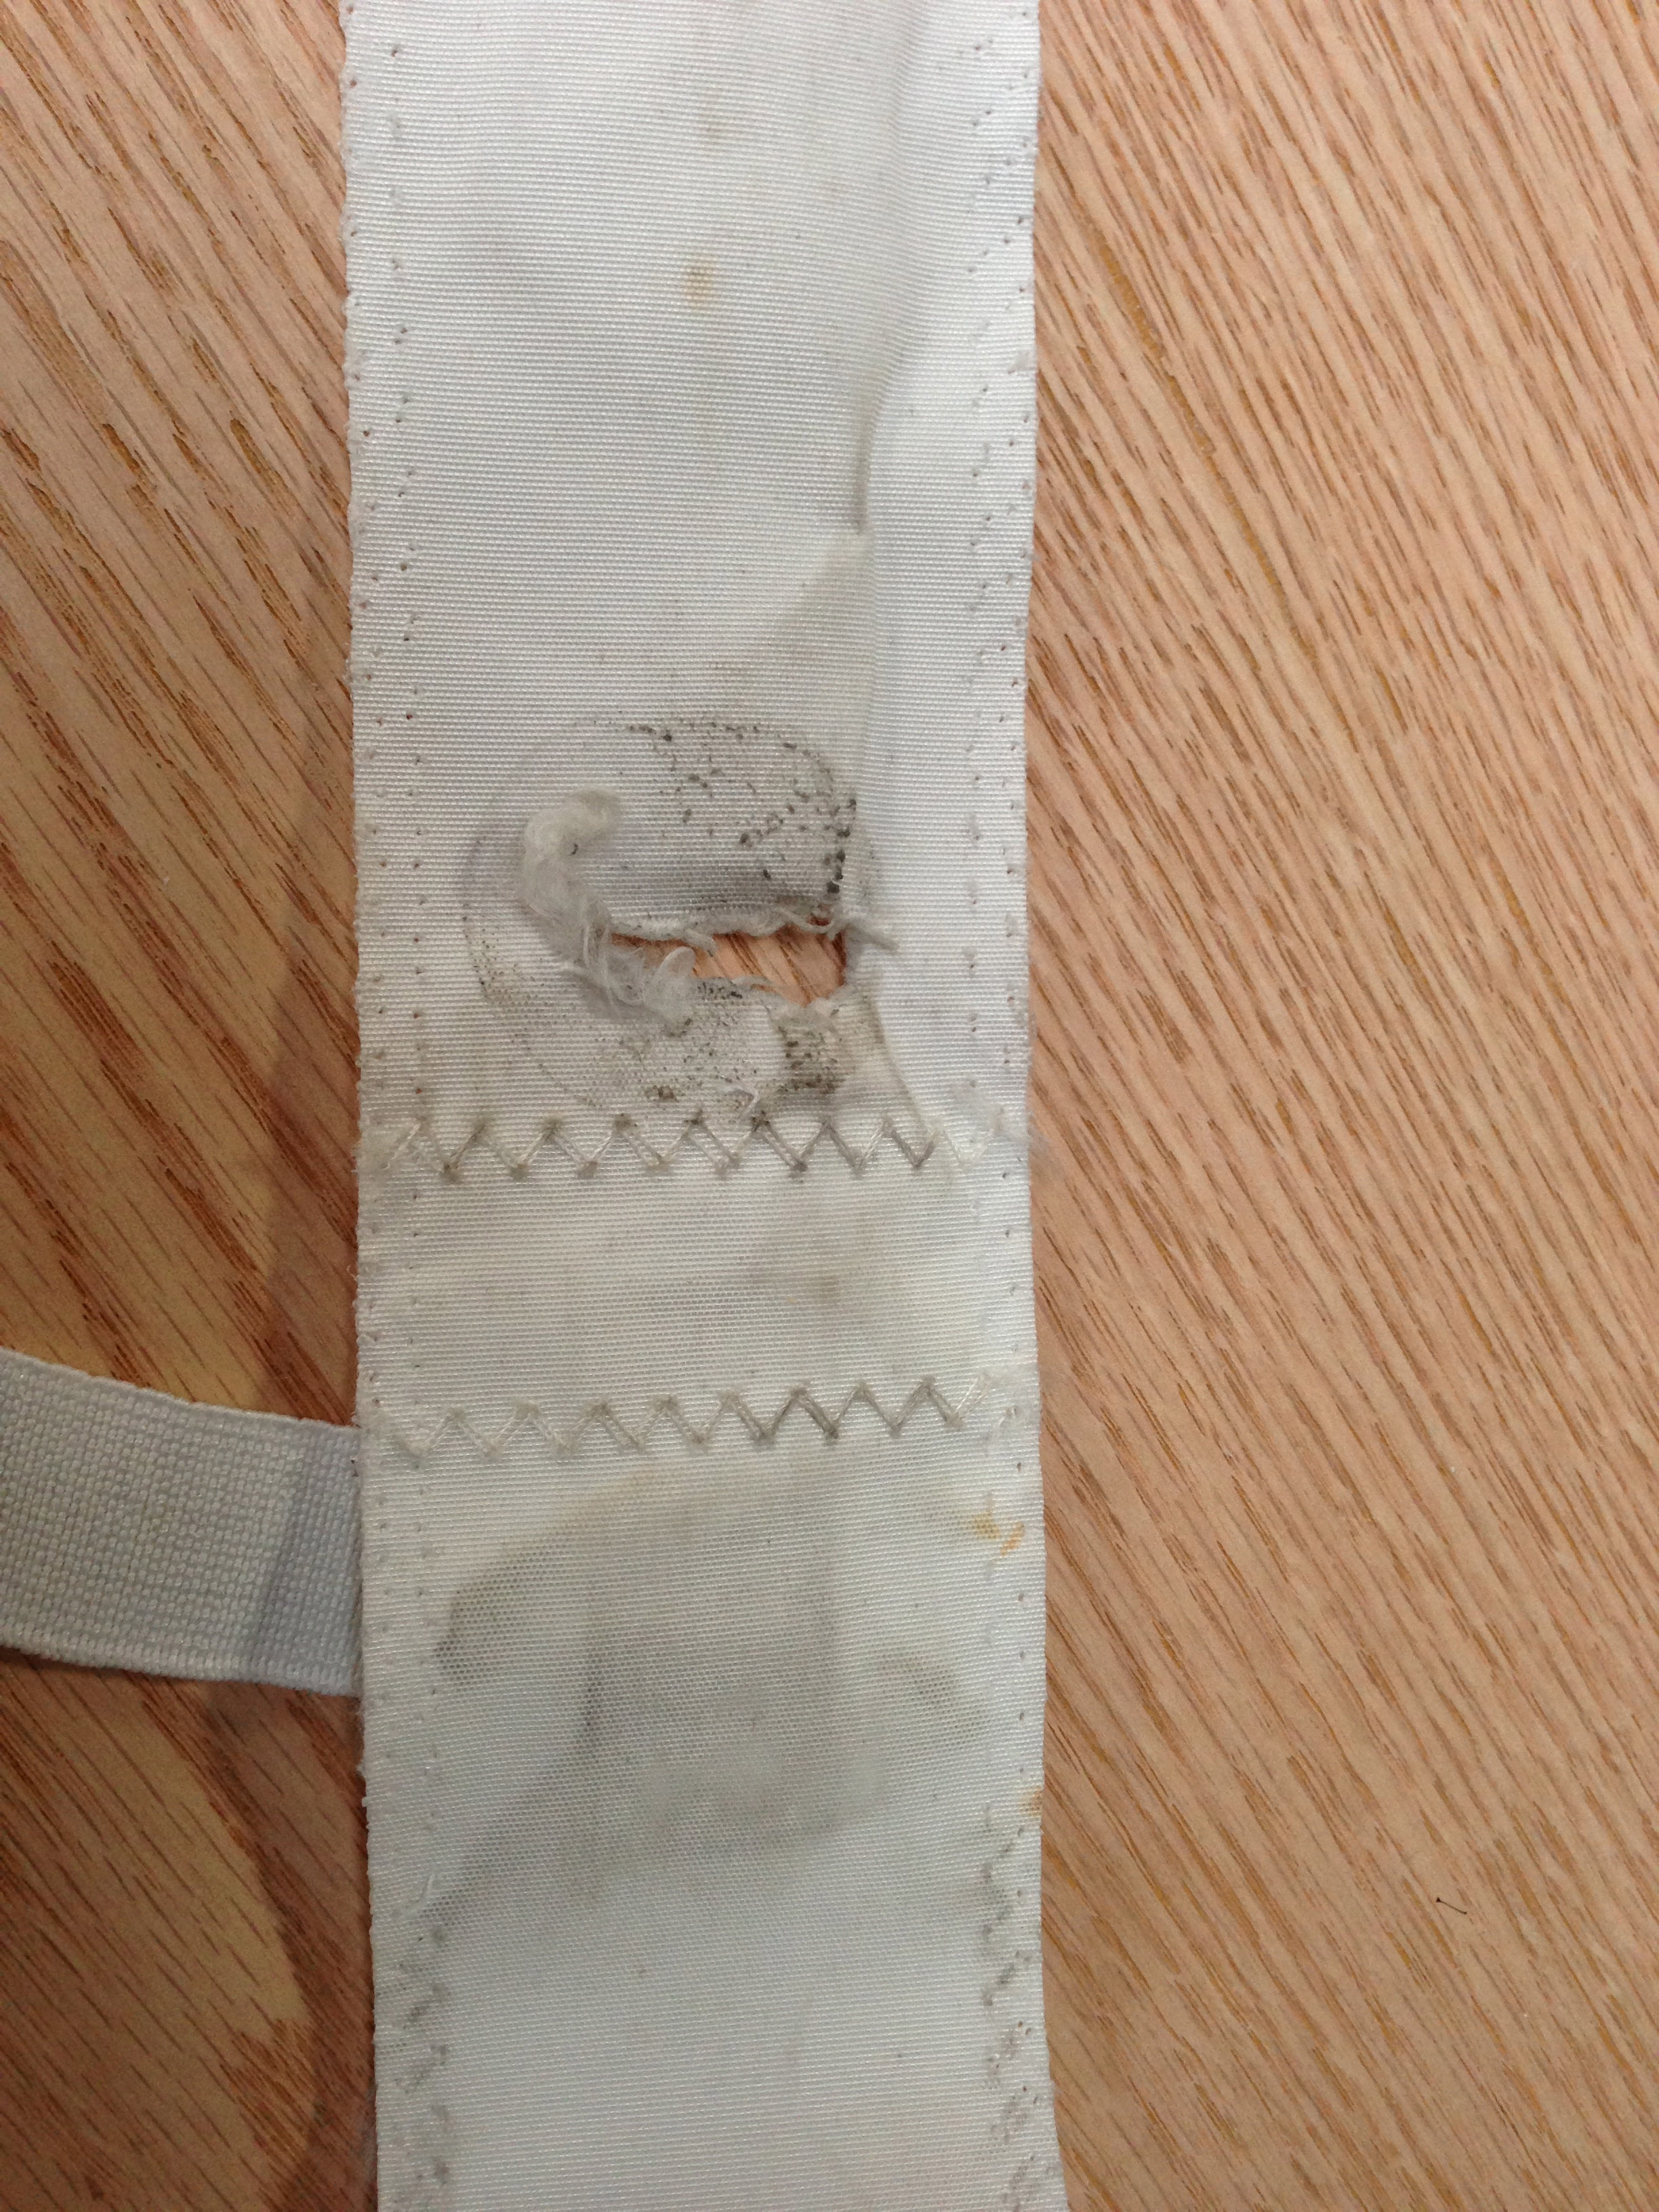
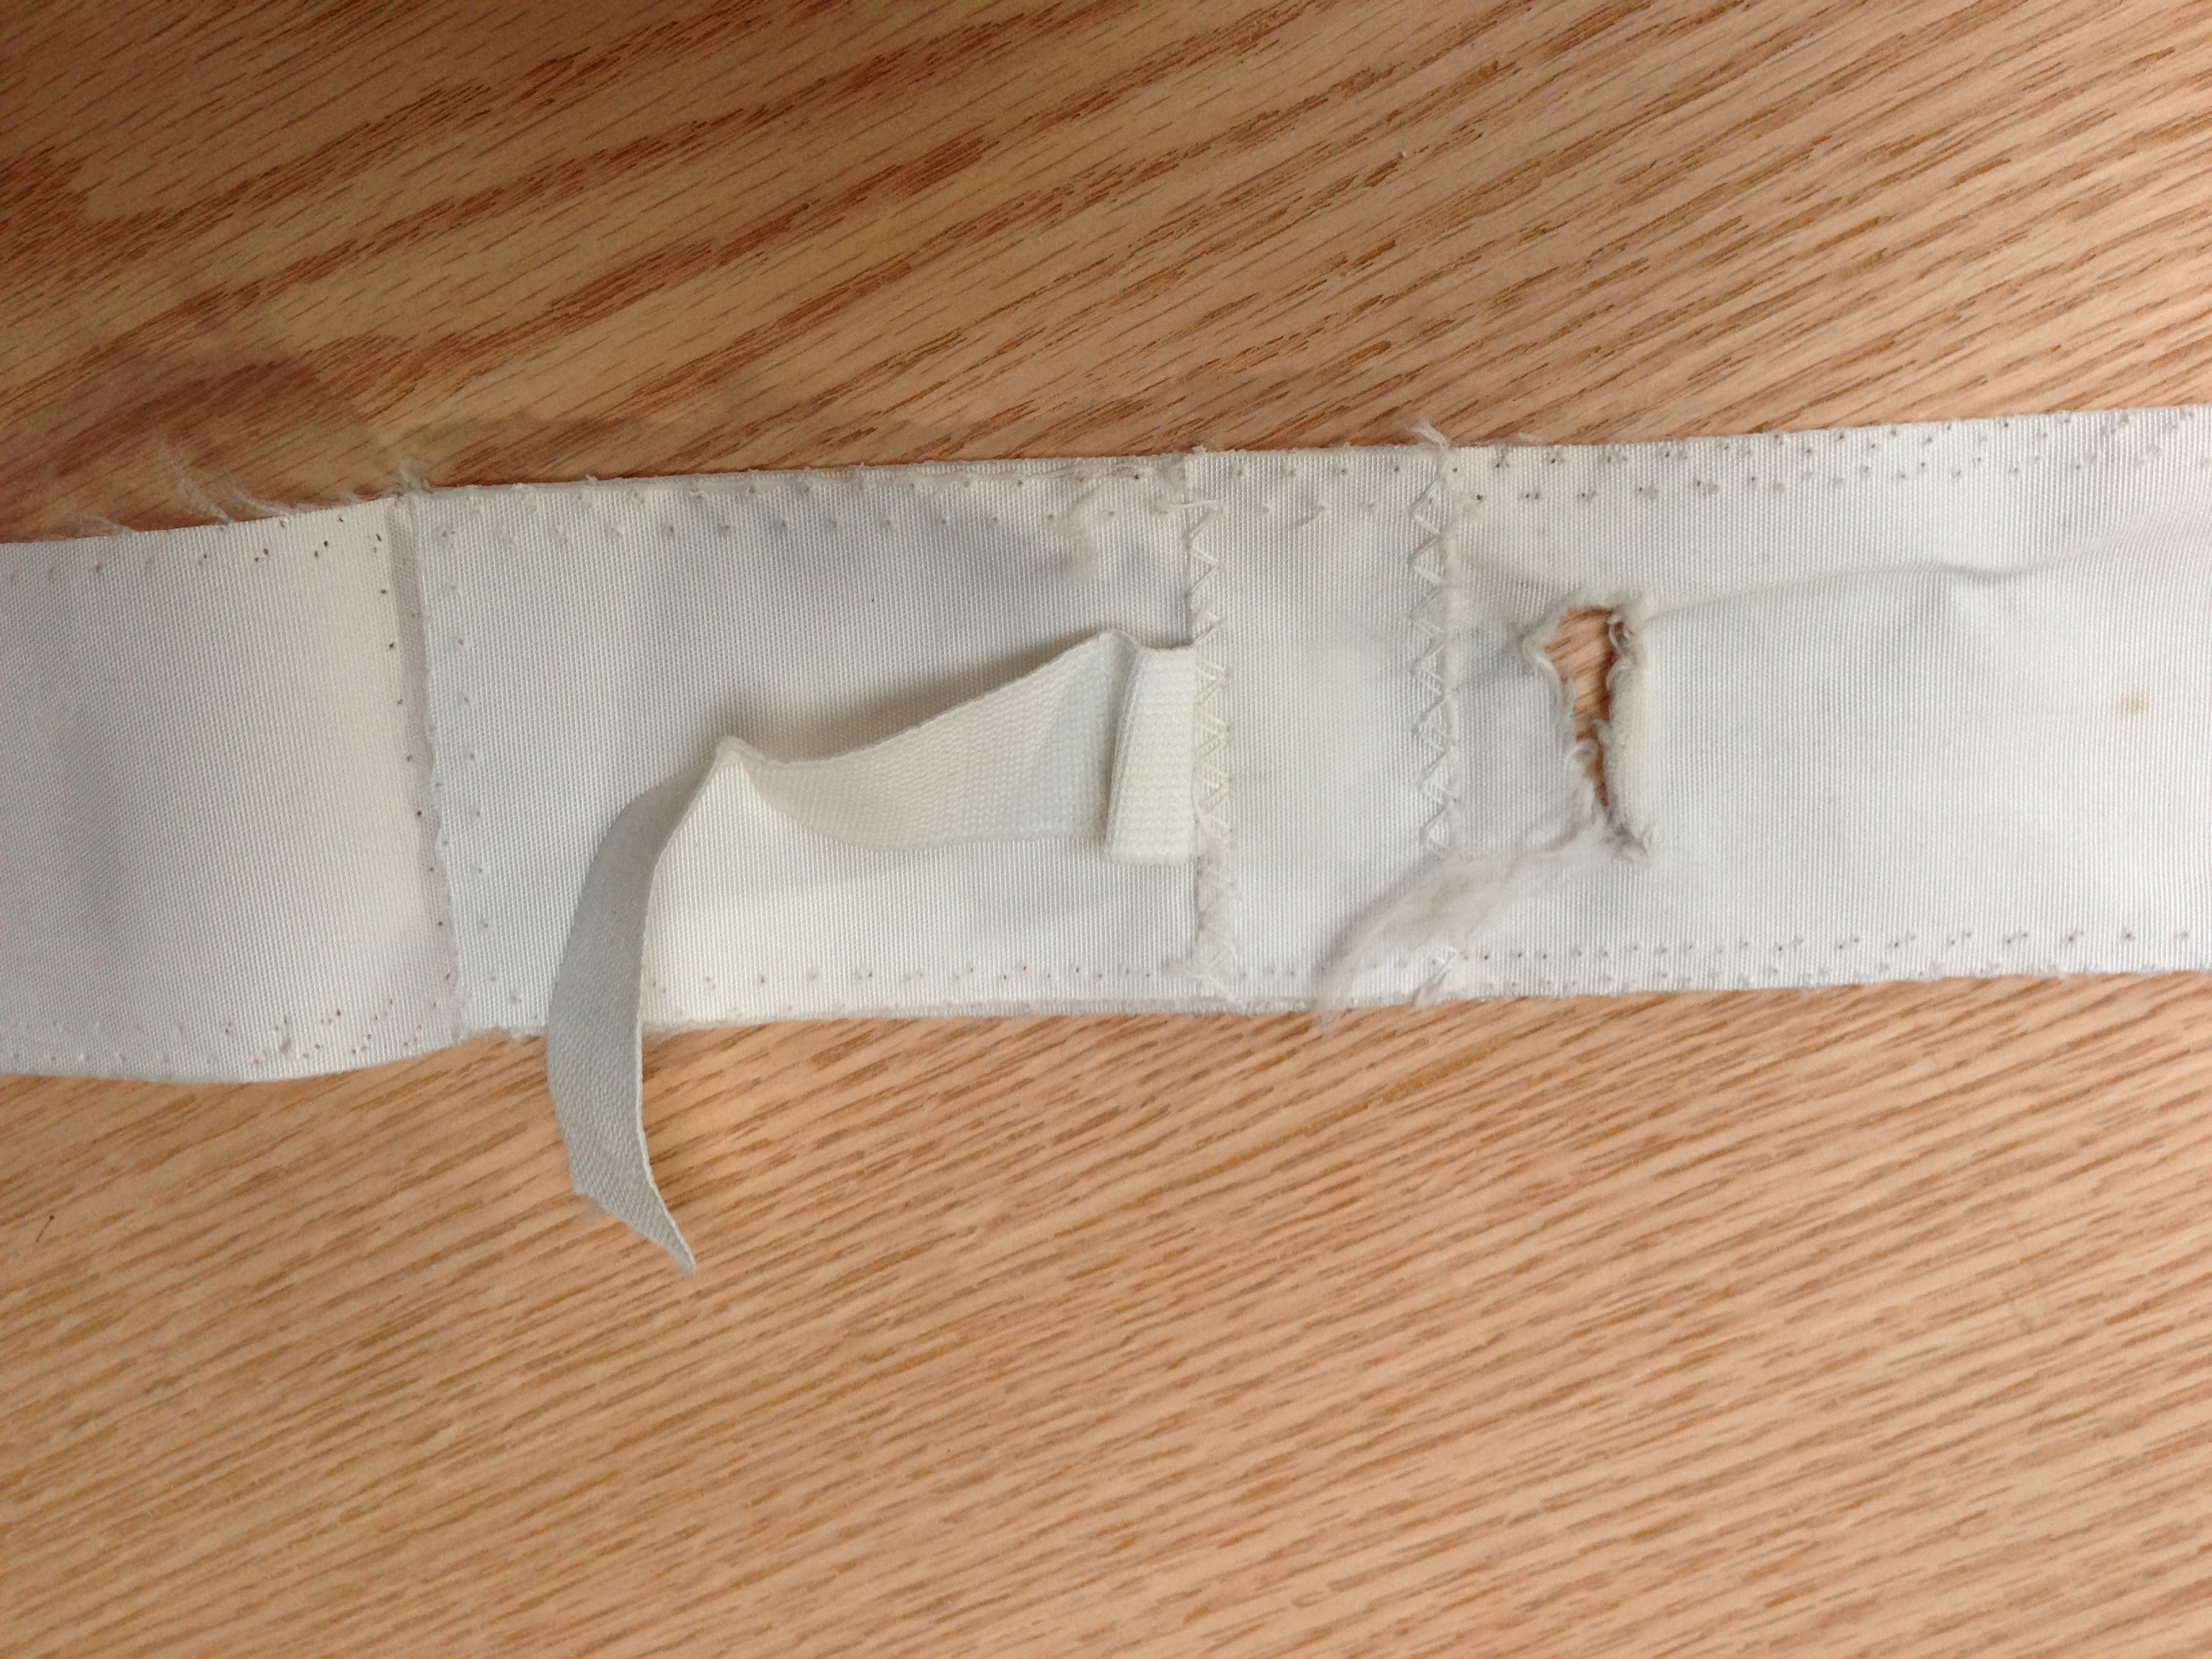
I copied the shape of the sail pocket onto some new dacron that we got from Seattle Fabrics, new elastic for the bow end of the batten. It was difficult getting the large main sail into the small arm of the sewing machine but we managed it. Also, the sailcloth is much more slippery and harder to sew than canvas. I finally managed to sew on the pocket. I did manually it using the monster wheel as it was easier to control than with electricity and i had to work on the deck of the boat as the sail was so large and difficult to maneuver.
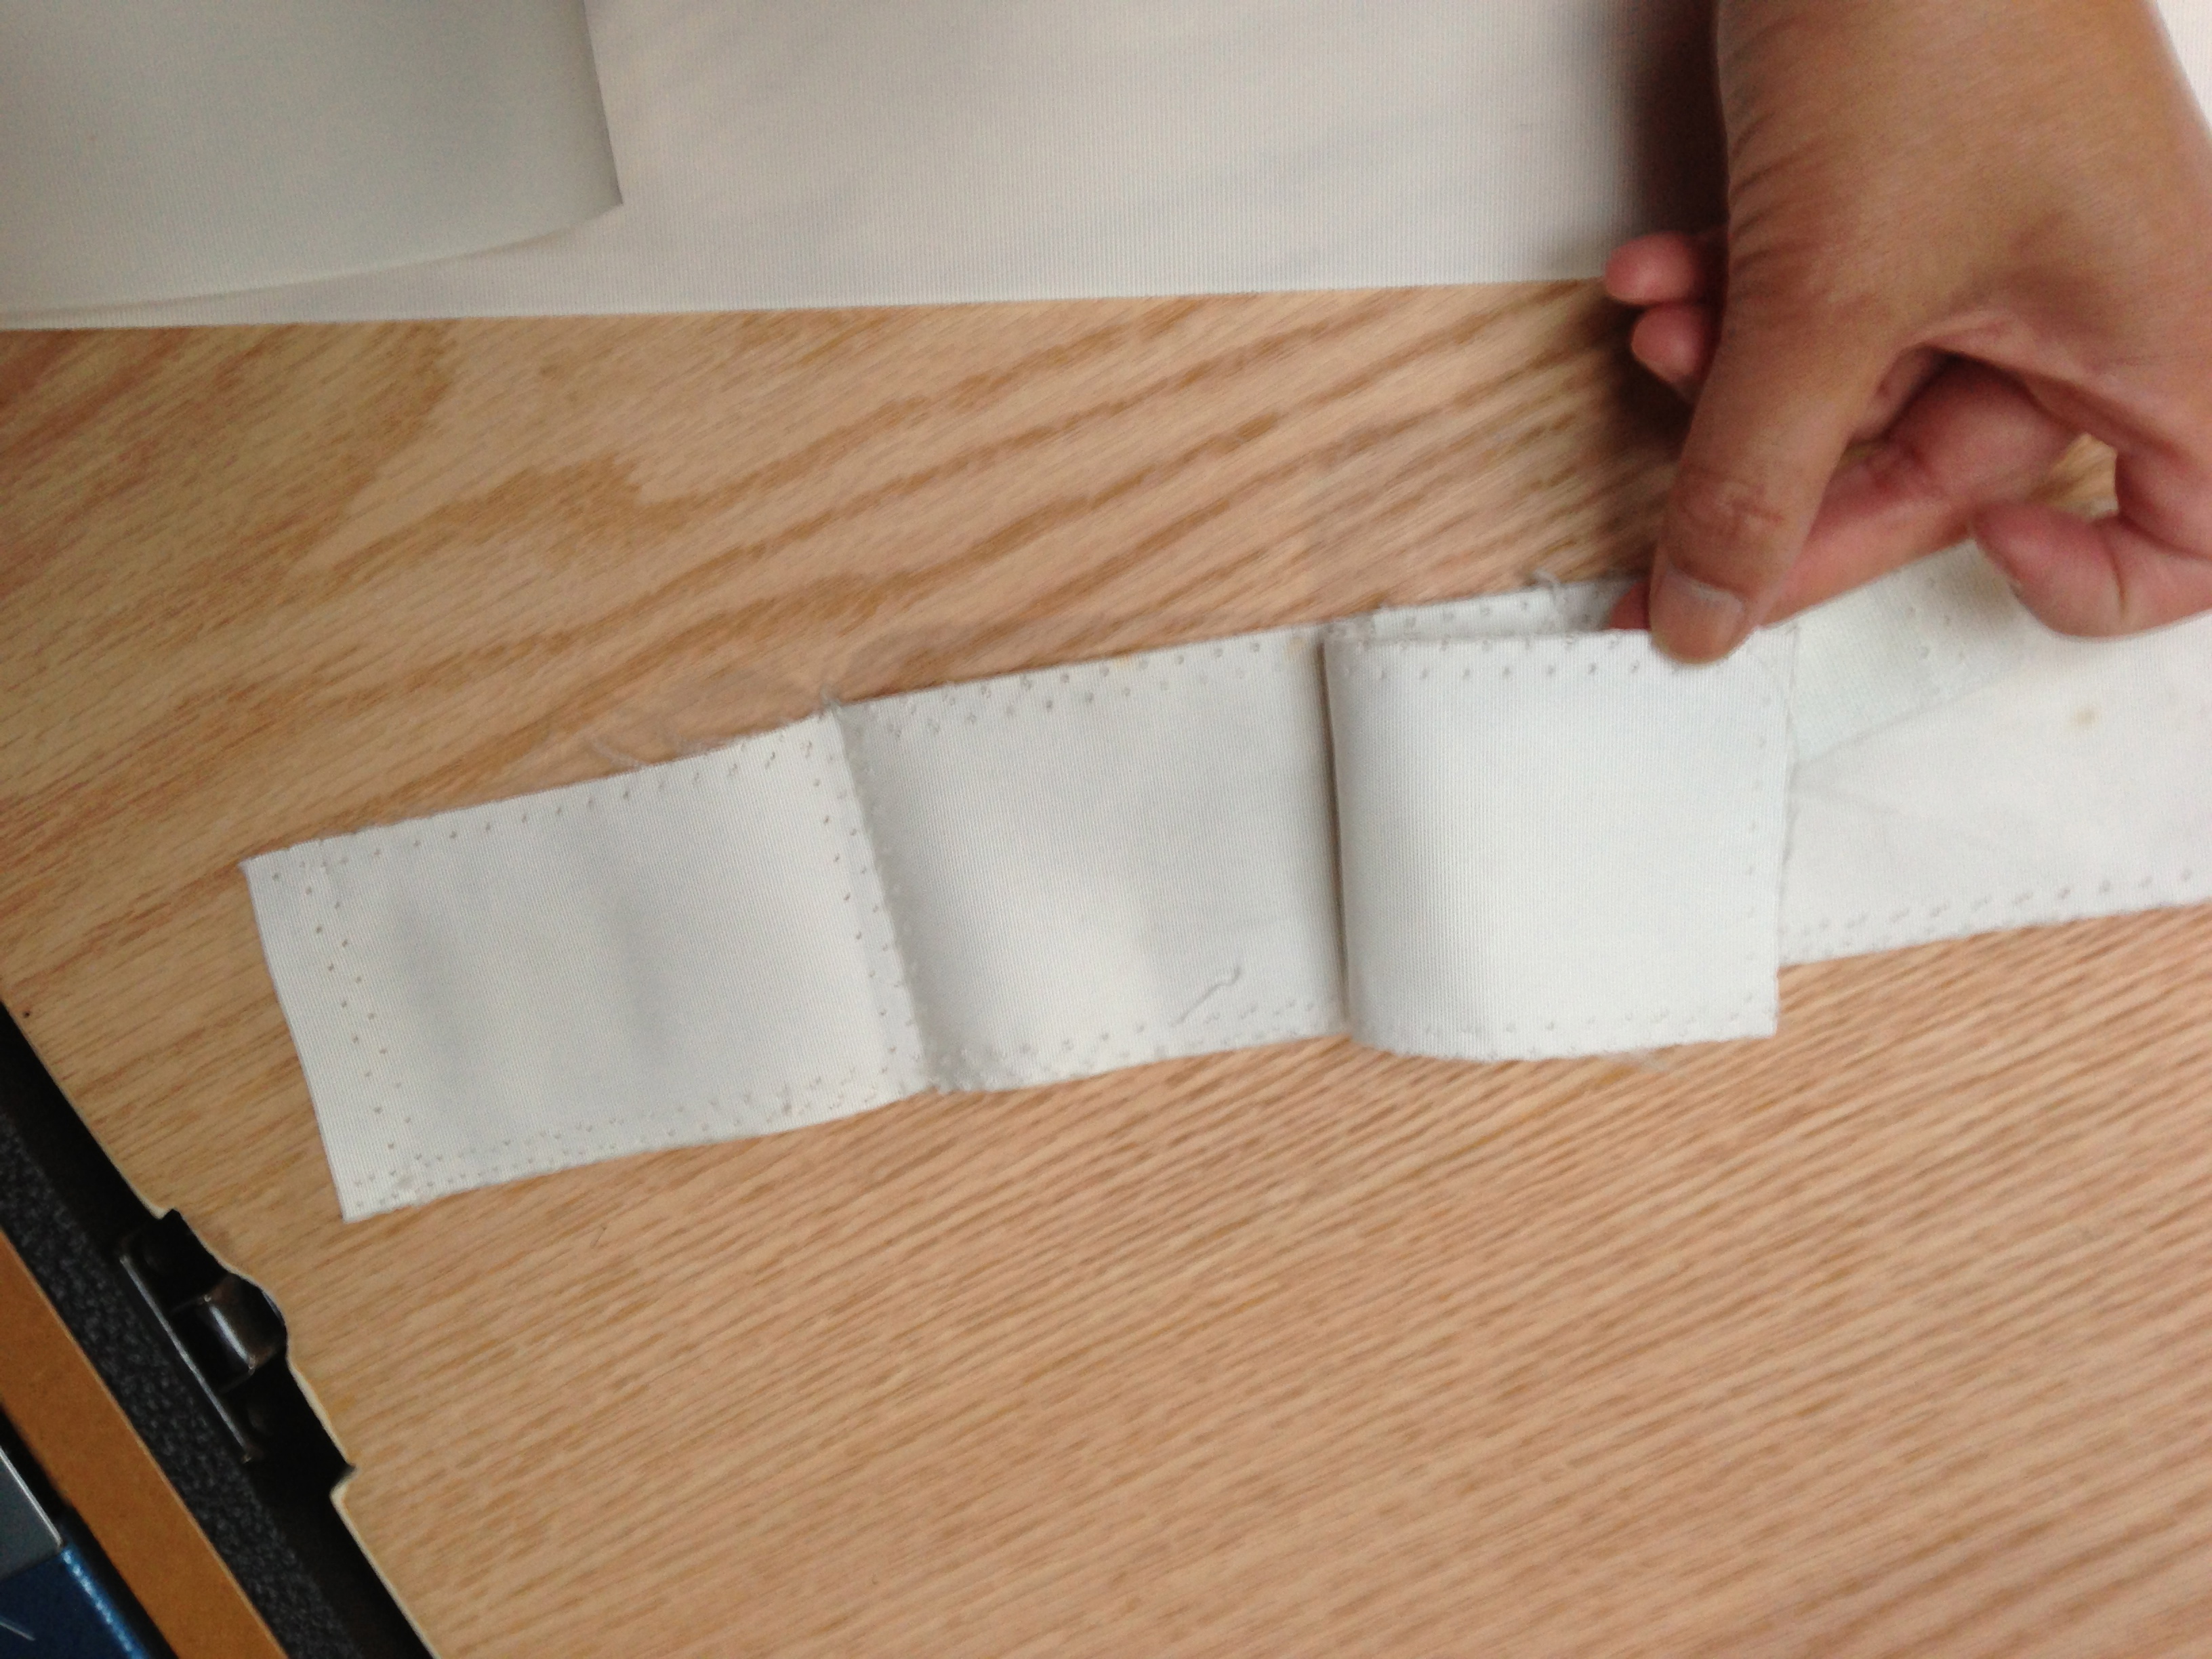
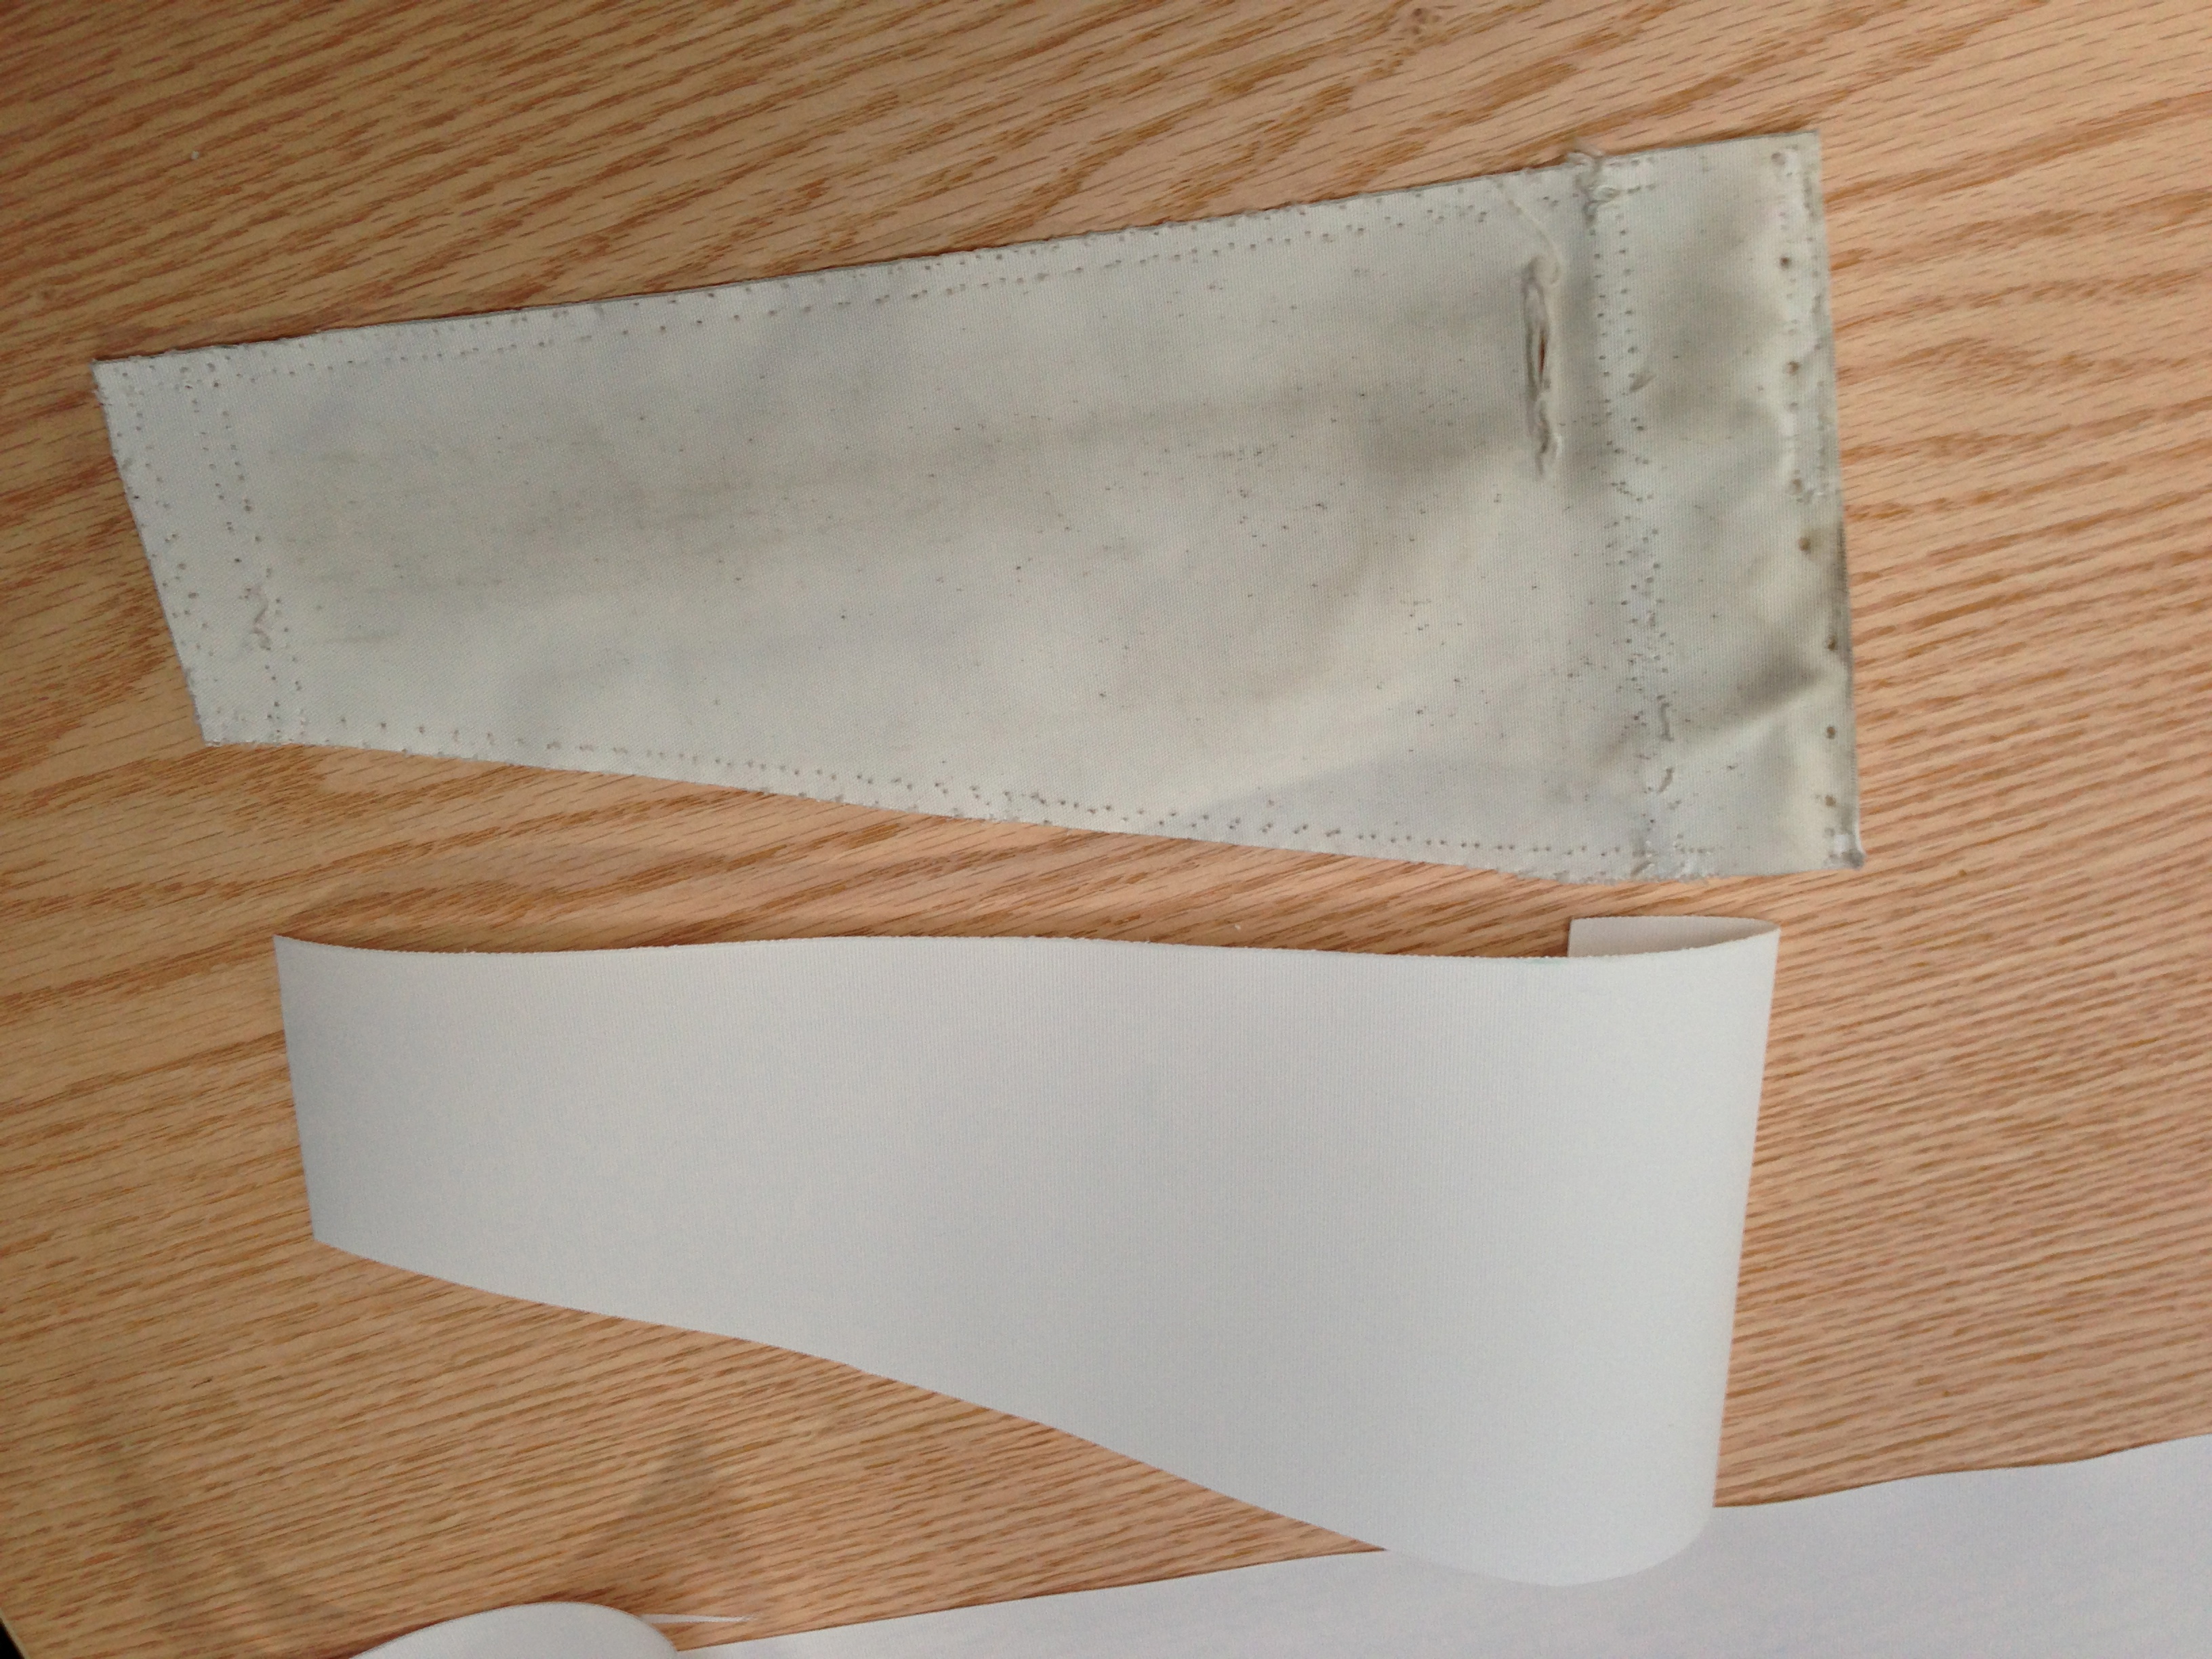
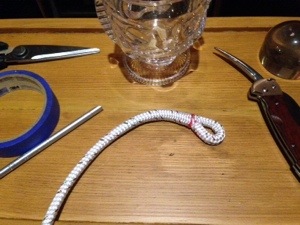
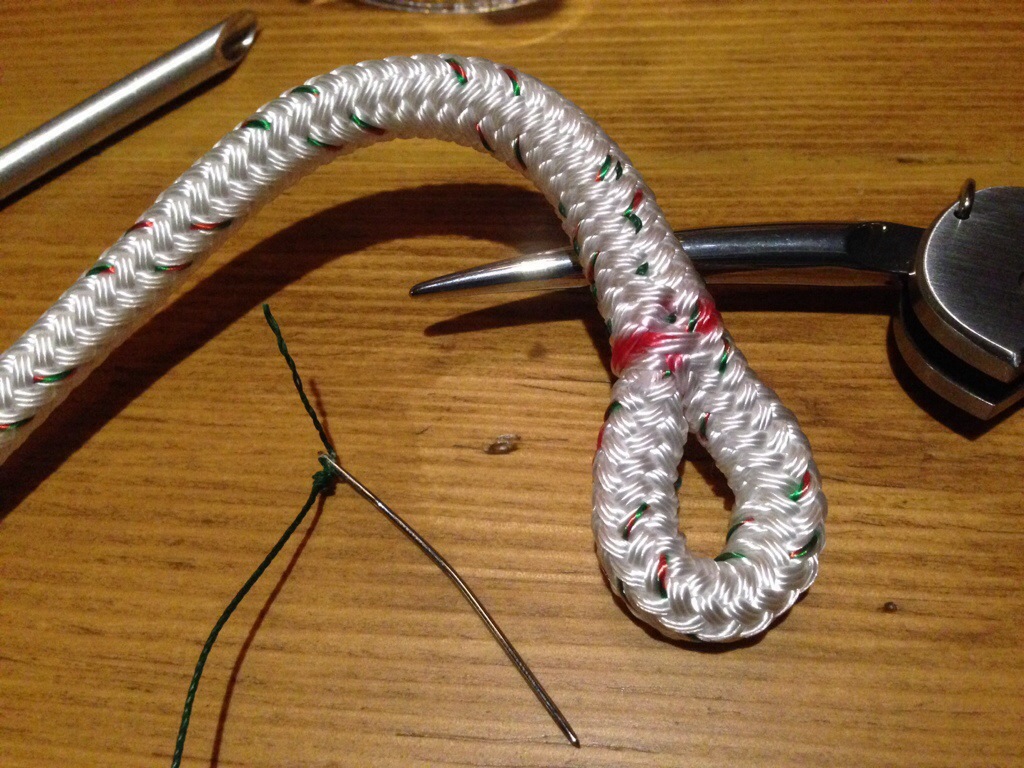
Jim purchased a new batten and shaped it and we inserted it into the pocket and manually sewed the end of the pocket up with my palm and needle.
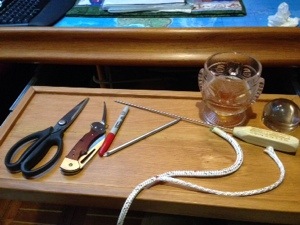
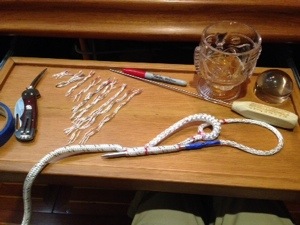
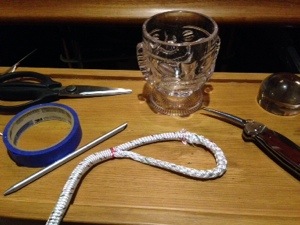
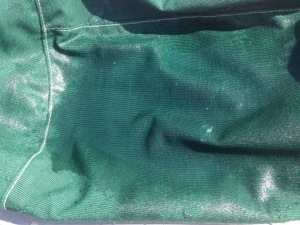
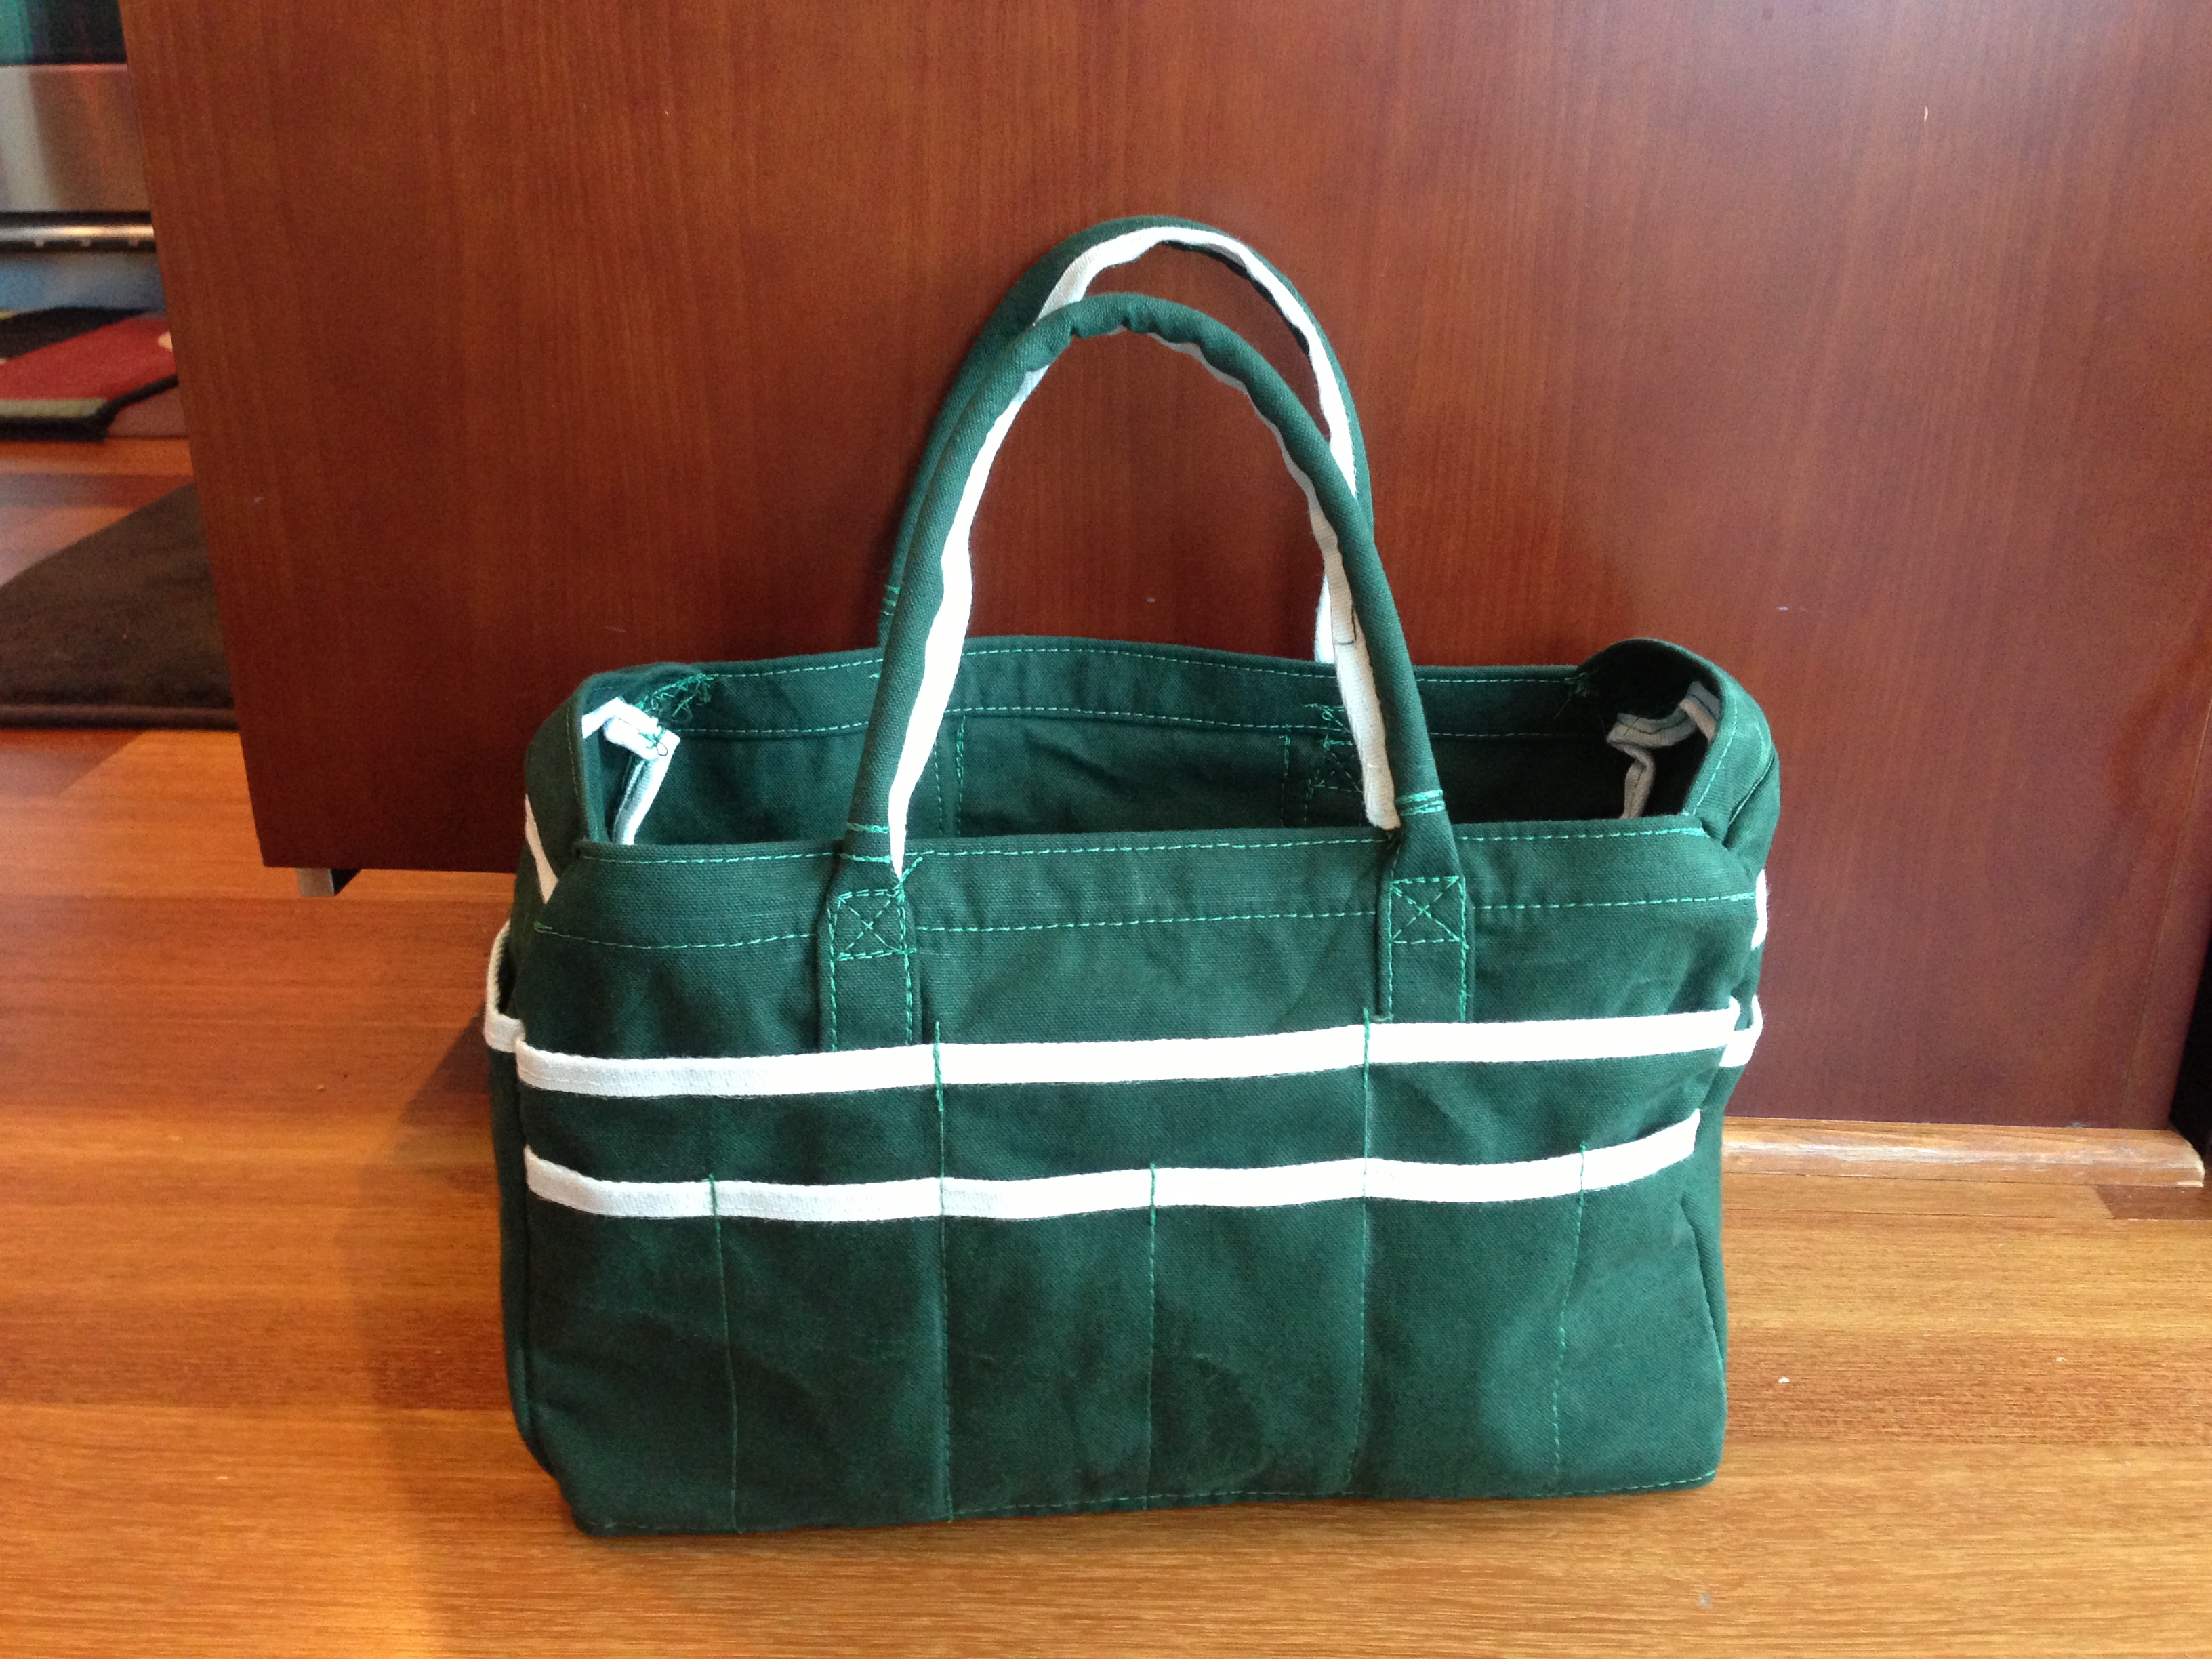
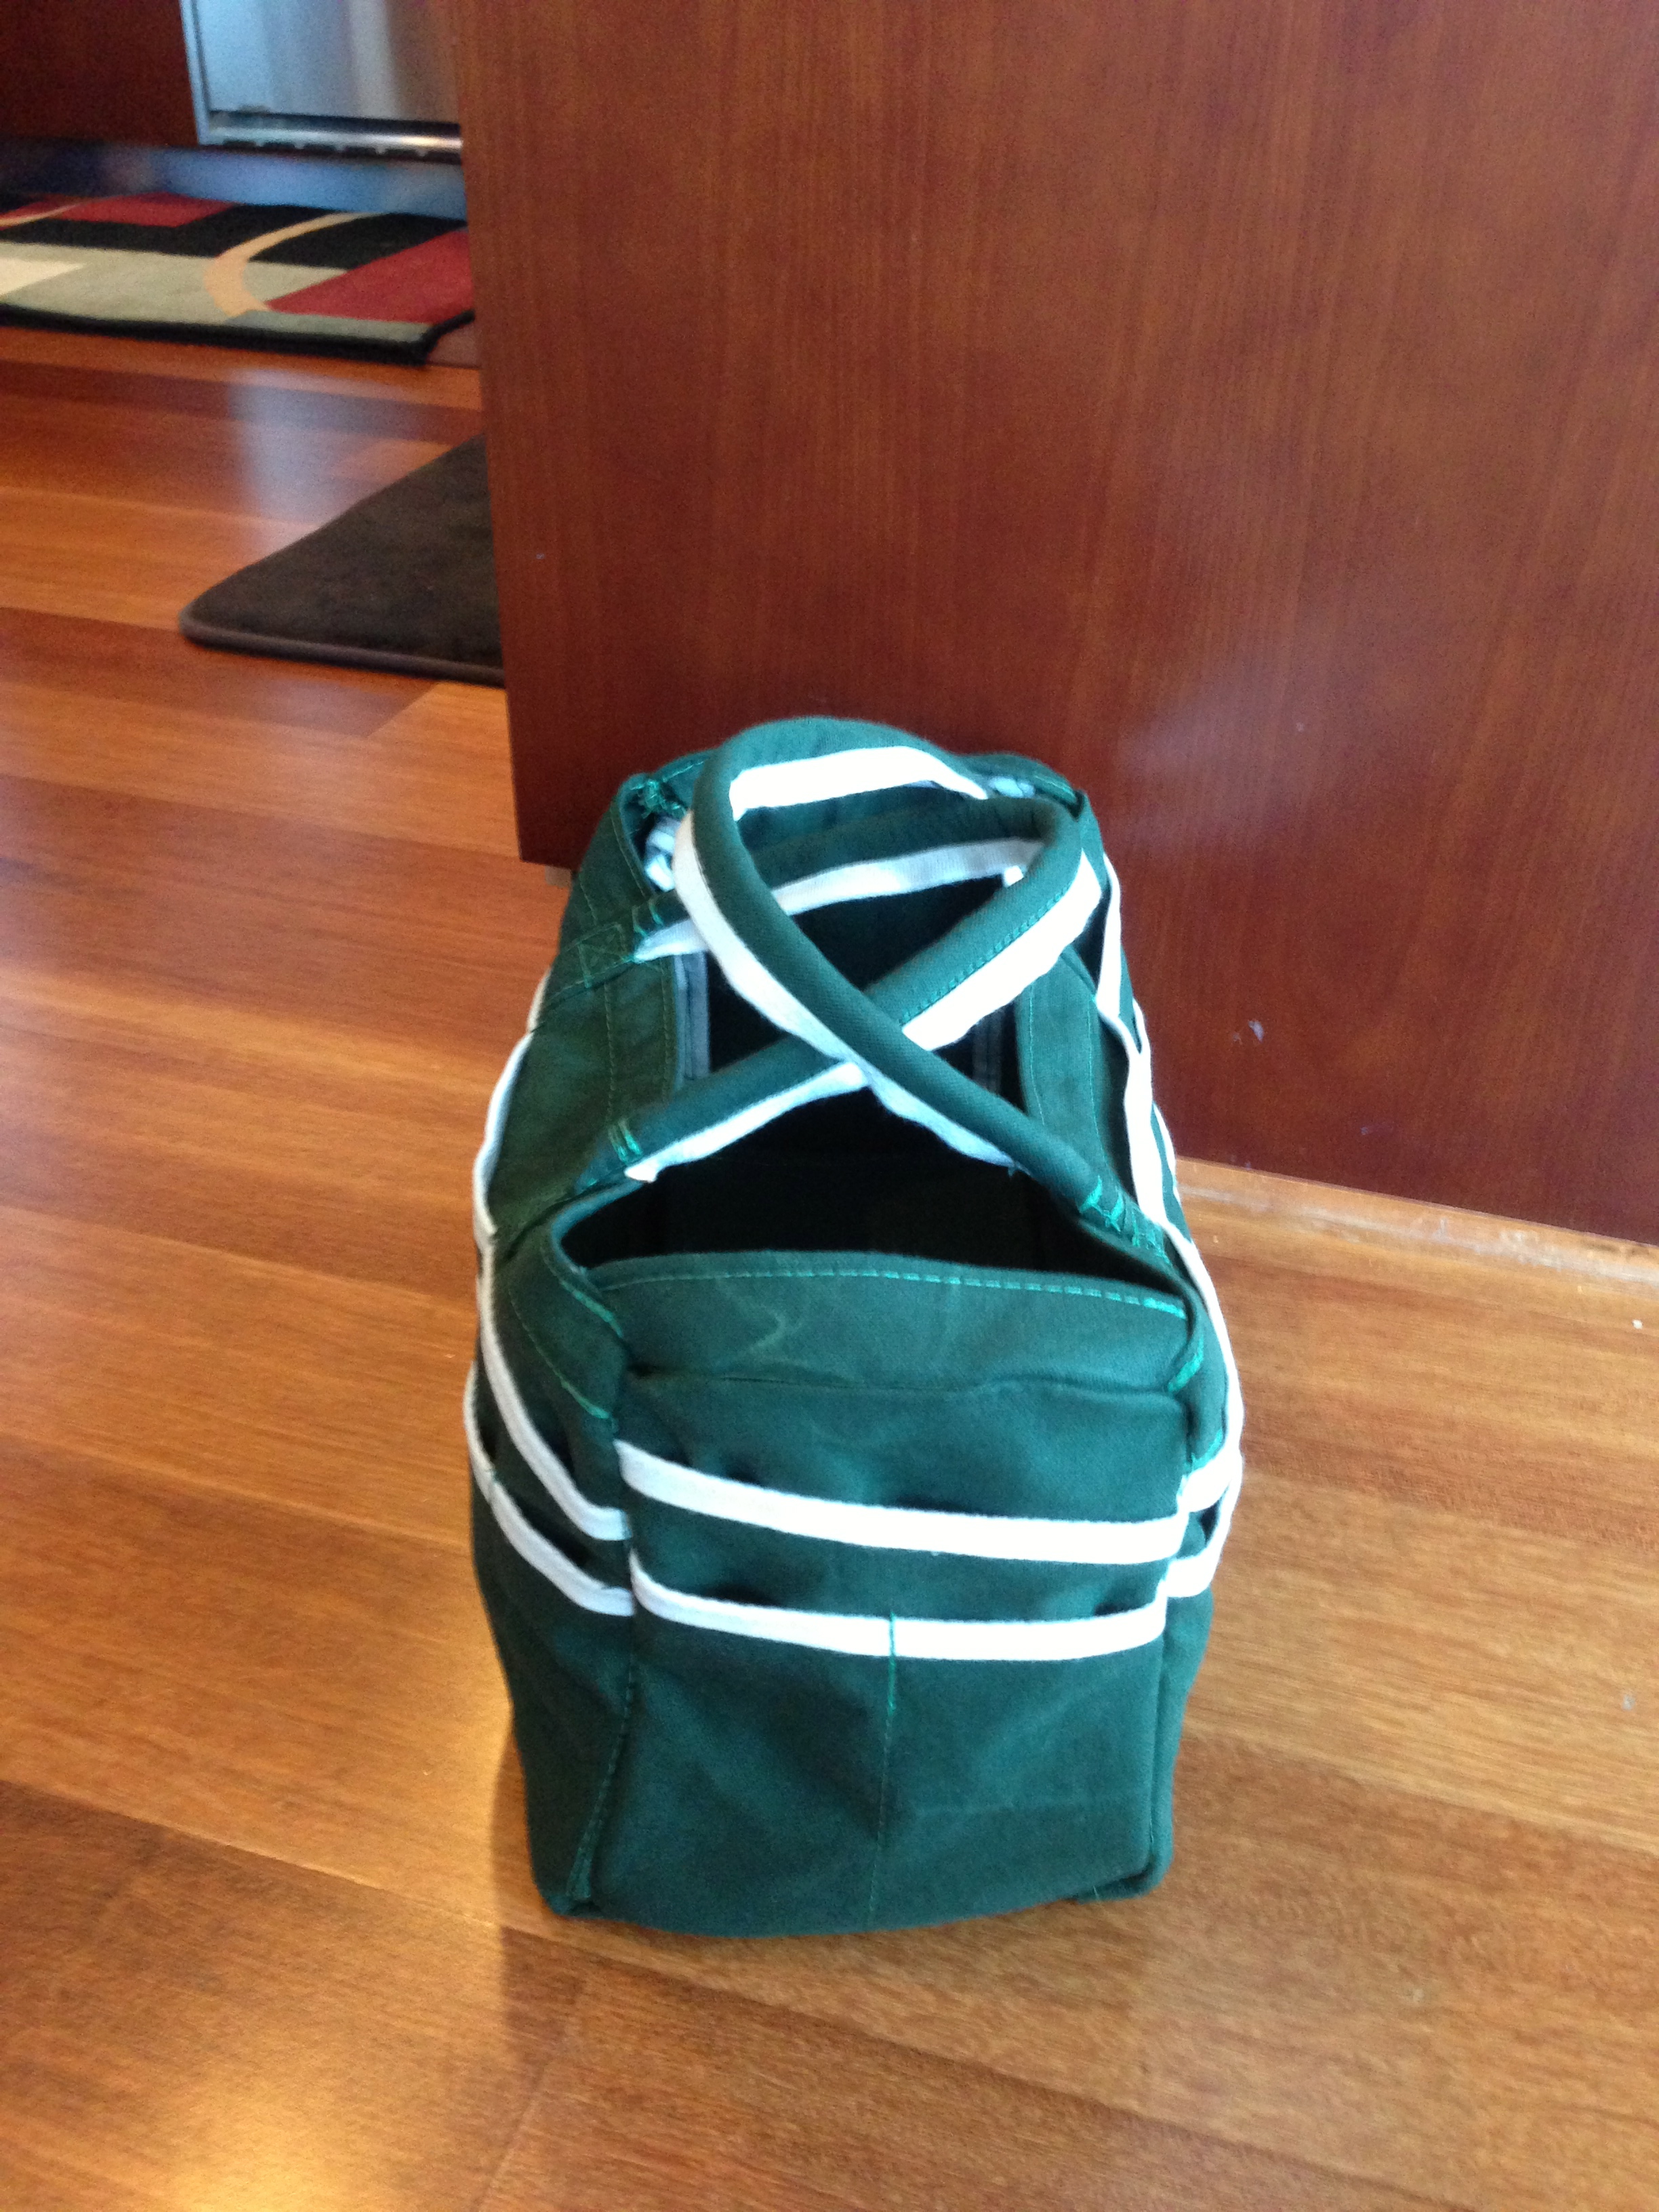
I had some spare green canvas which I then made up into a ditty bag to put all my sewing stuff into. I found the pattern in the book “Canvas for Cruisers” by Julie Gifford http://www.boatcanvasbook.com/index.html . It is a really great resource book for sewing your own canvas. Between this book and the youtube videos put out by Sailrite.com it’s really easy to learn to sew canvas.
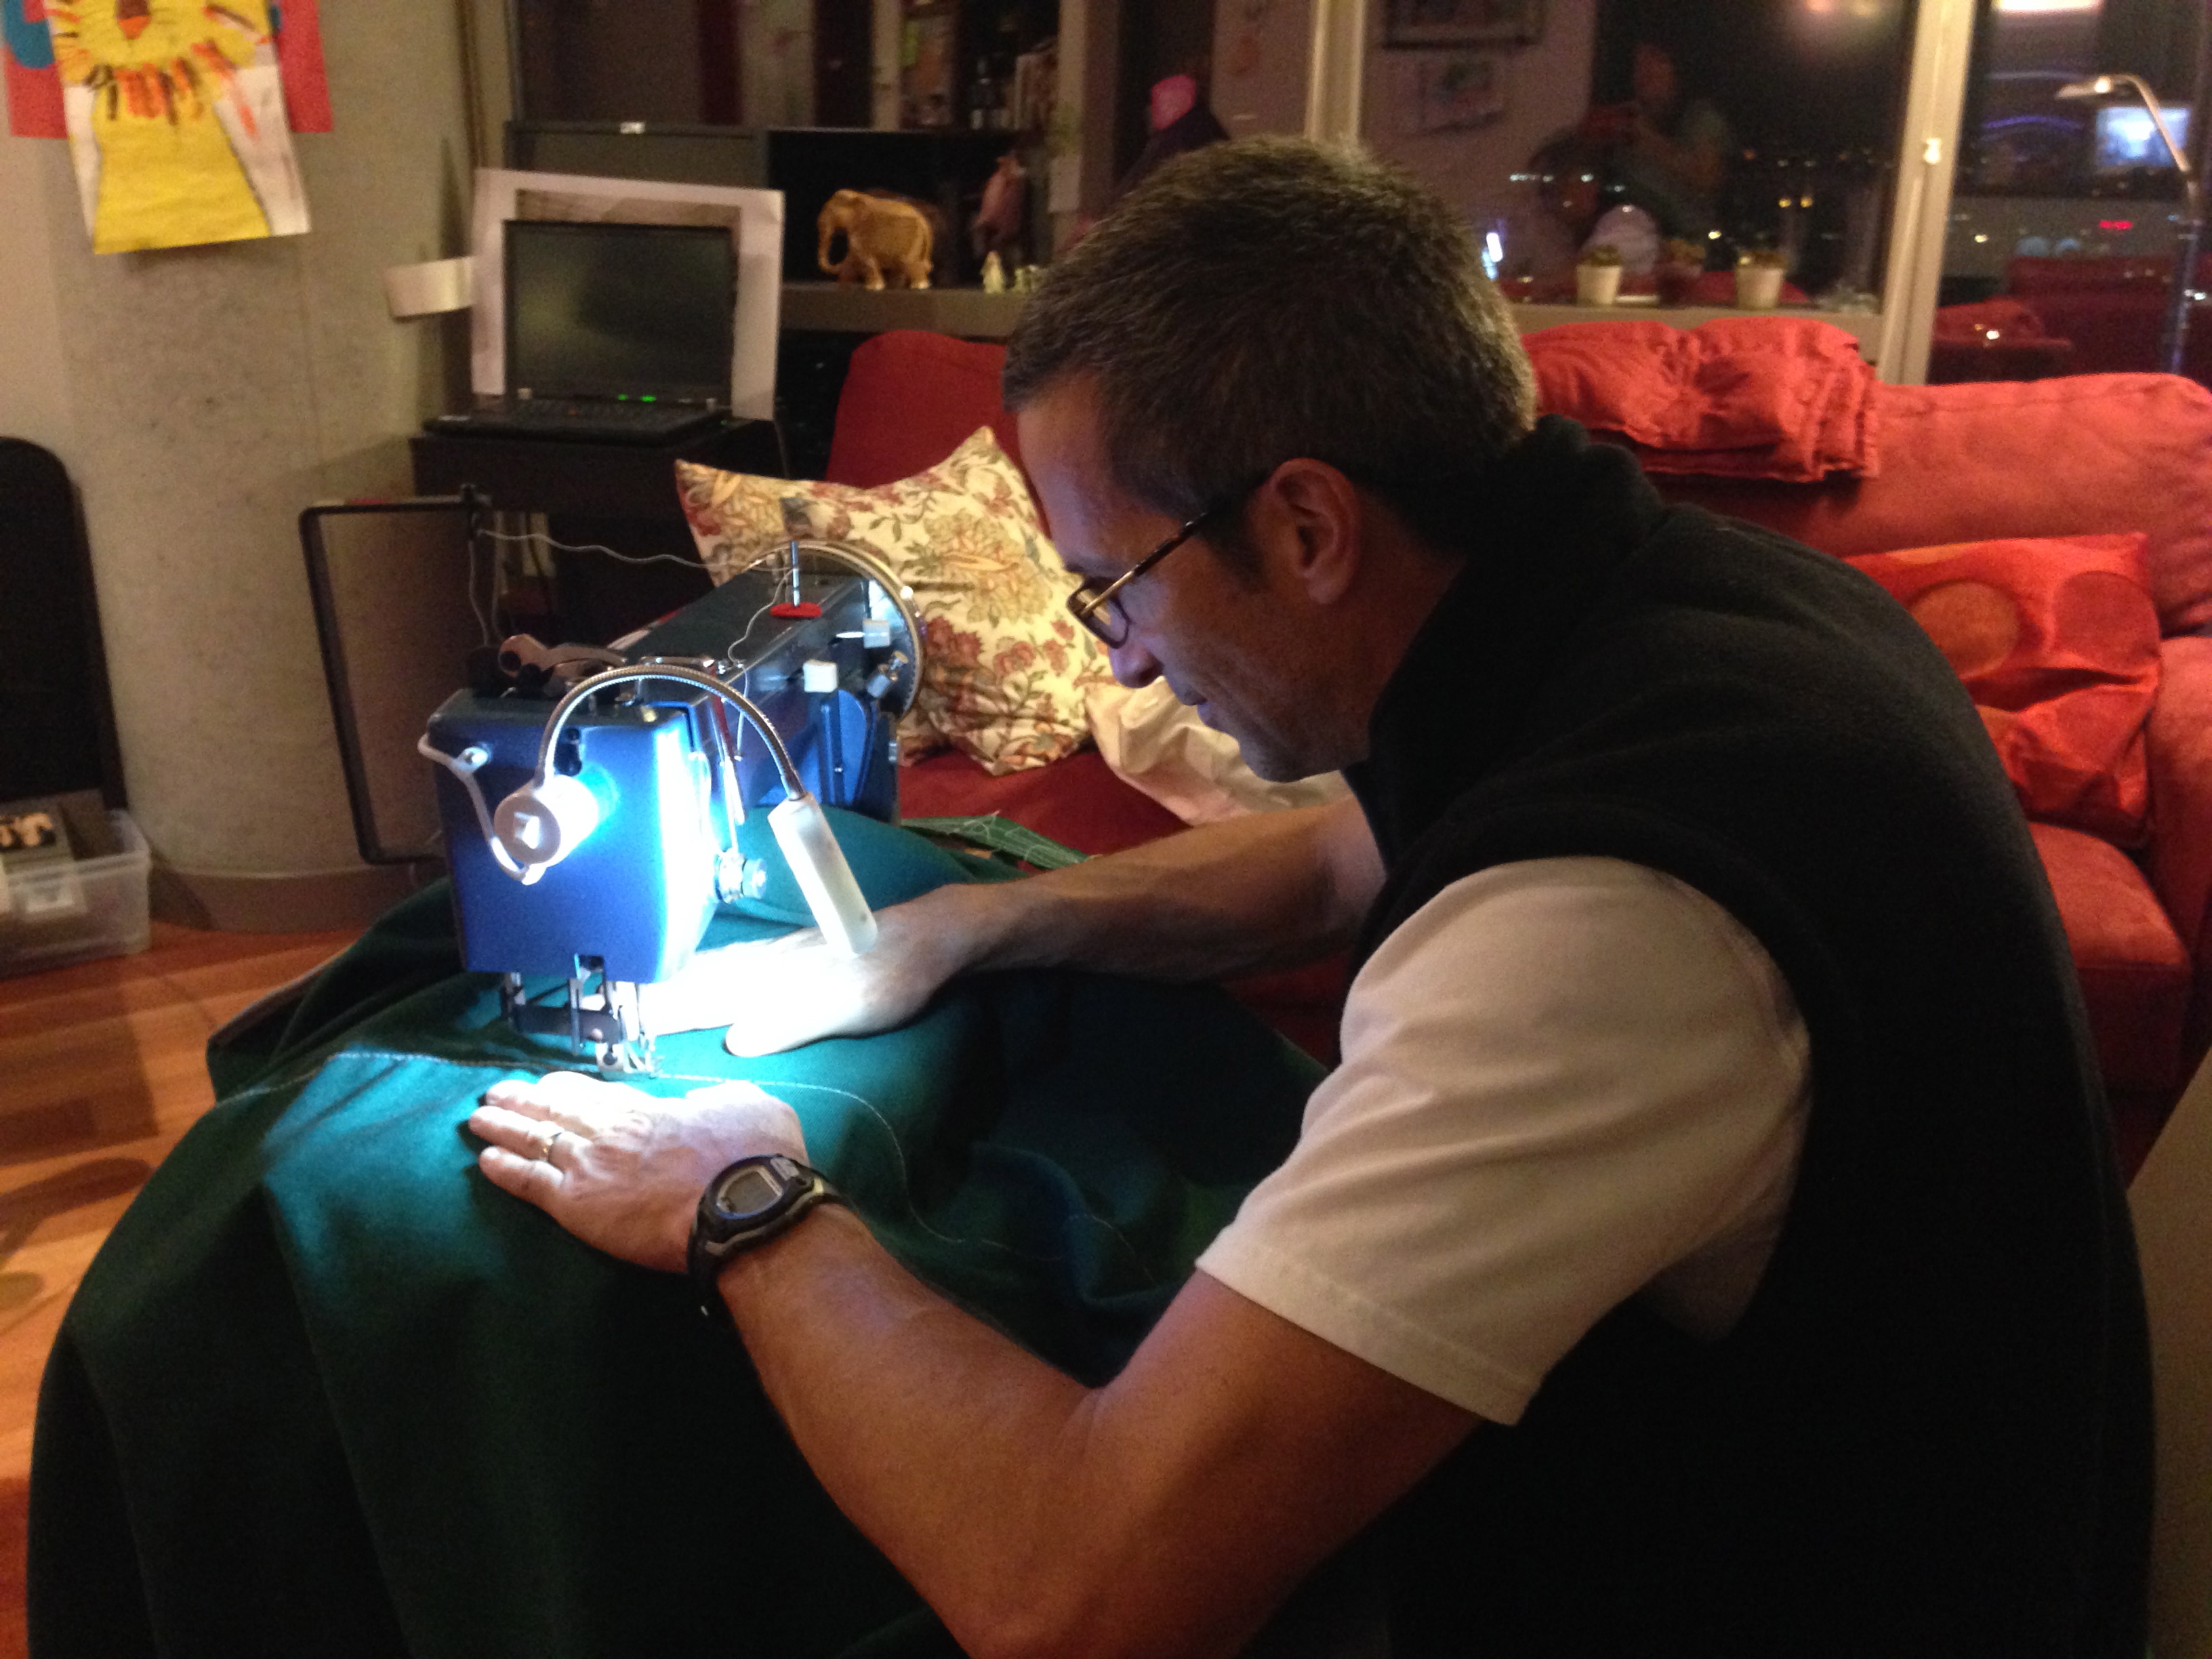
Even Jim got into the act of sewing. Here he is learning to use the Beast and sewing a cover for the forward hatch. The biggest problem I have now is he likes to hog the Beast when he has a project to do as well.